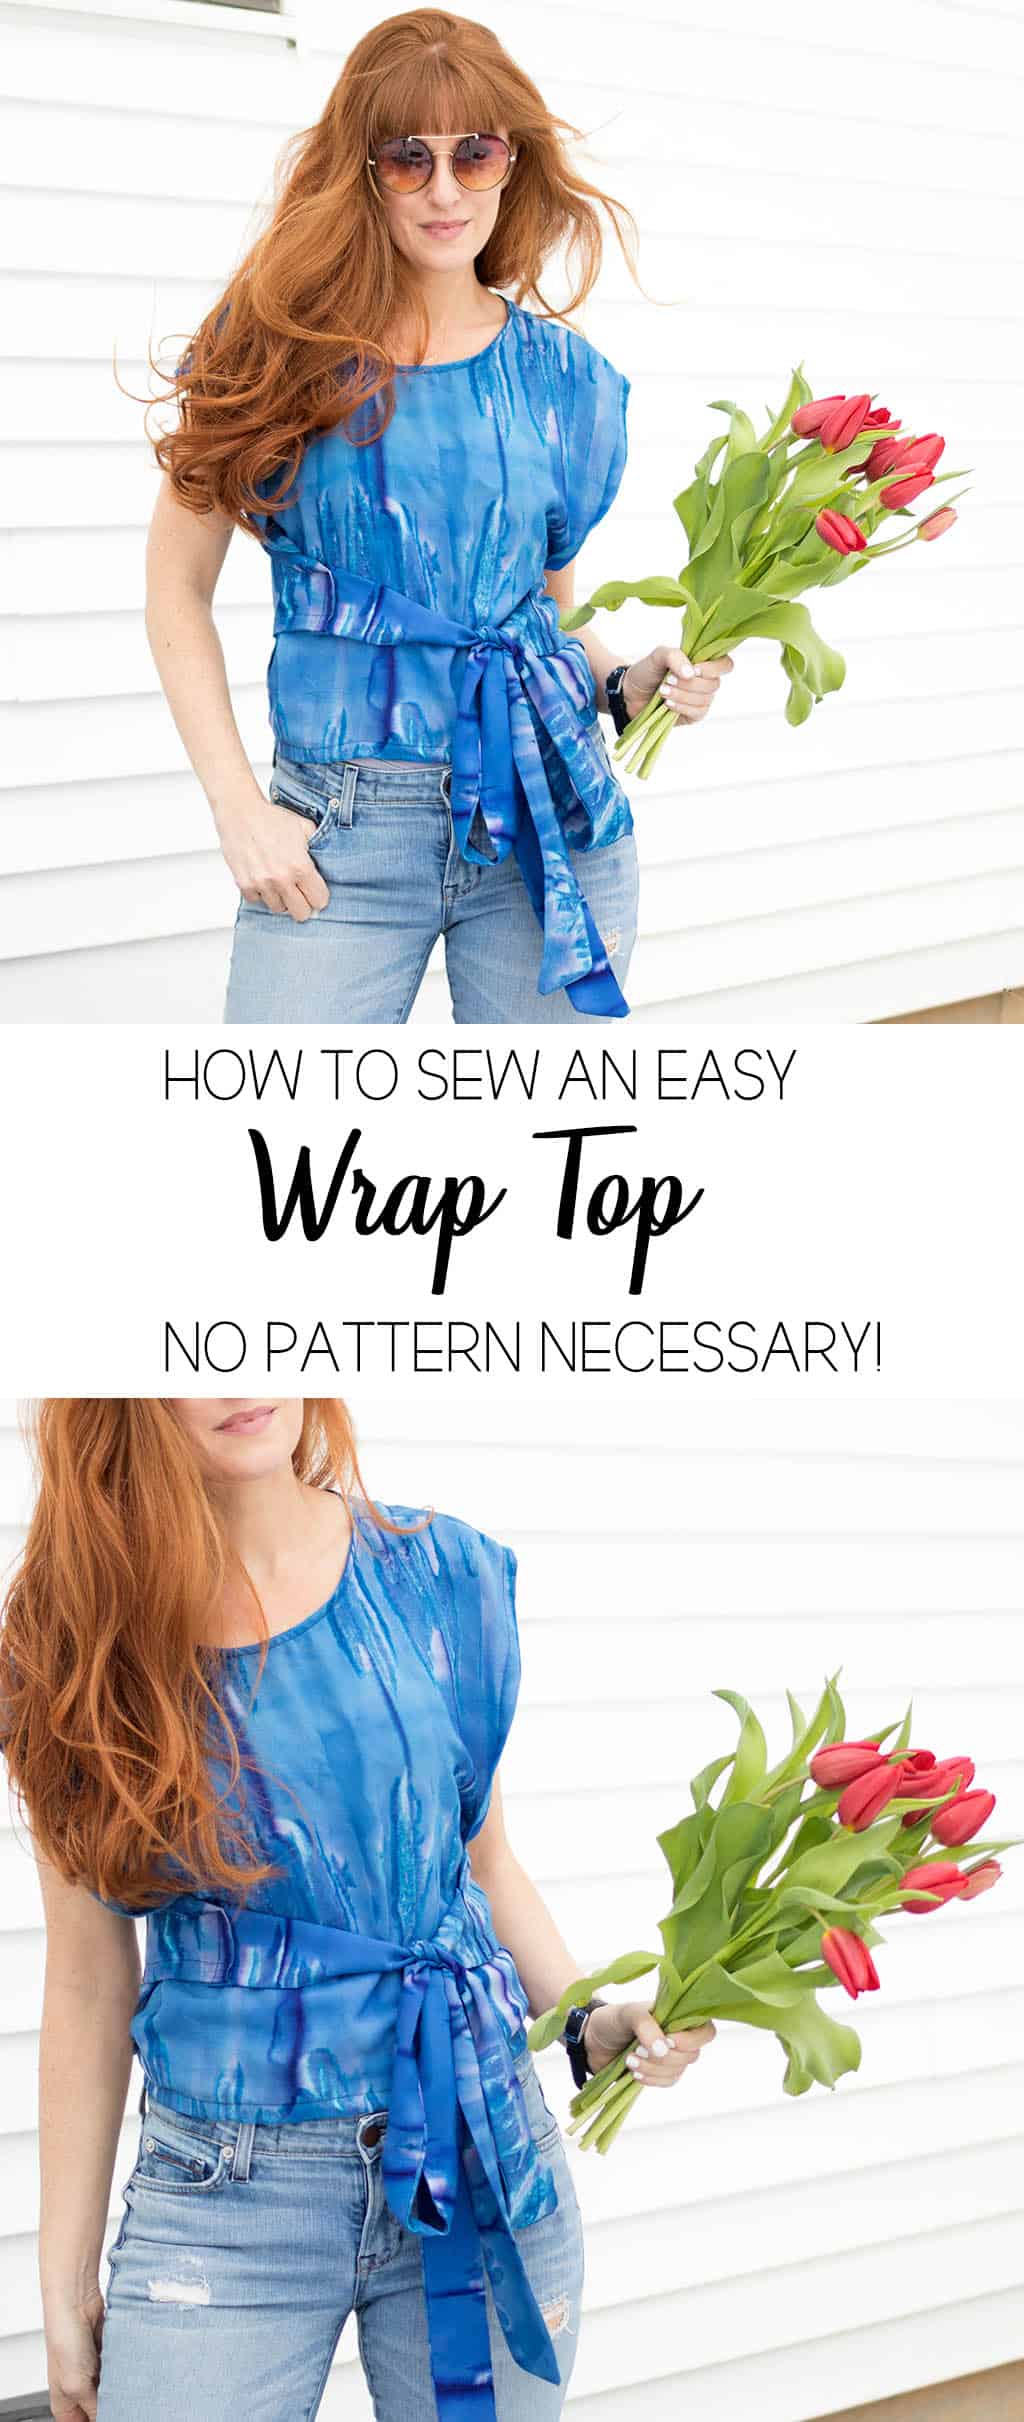
How to Sew a Wrap Top (Easy Beginner Sewing Project You Can Make in a Day)
How to sew a wrap top with this easy beginner sewing tutorial. This simple DIY wrap top requires no pattern and can be made in a day!
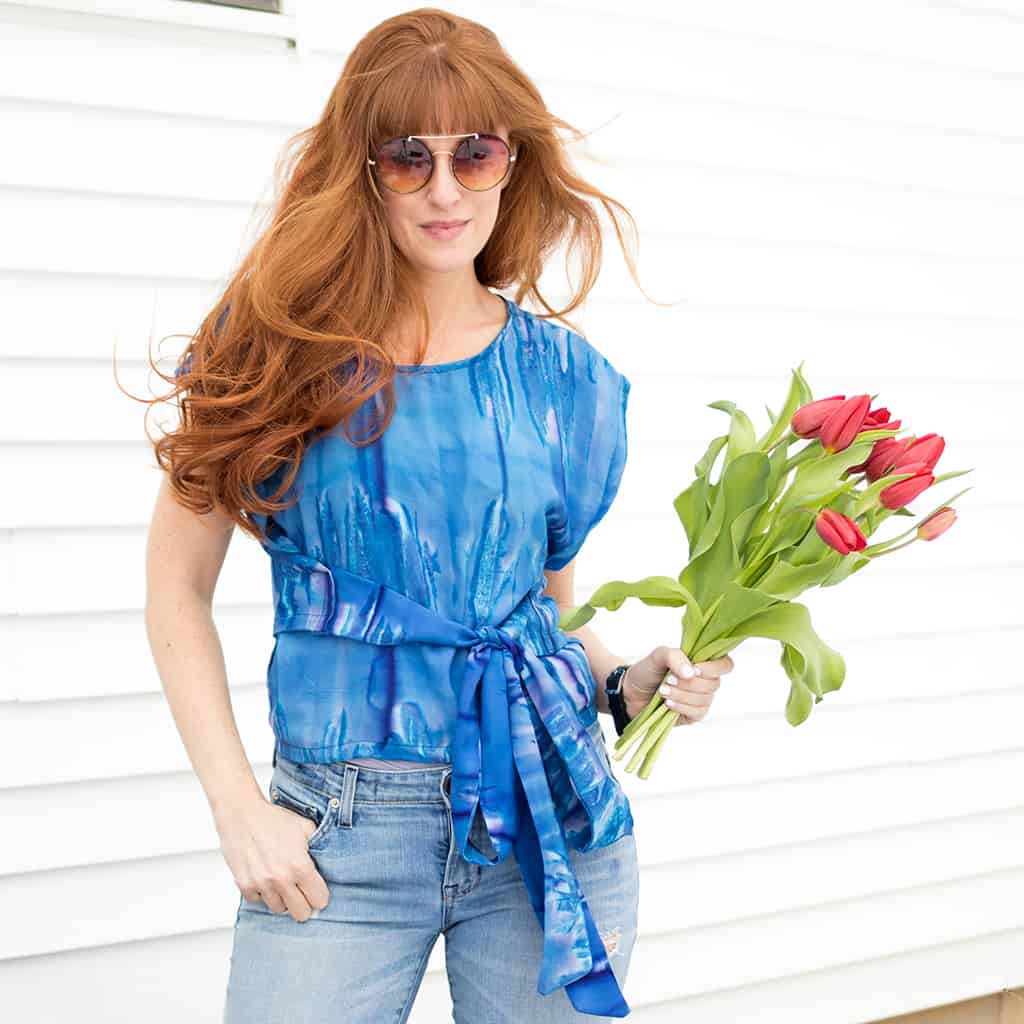
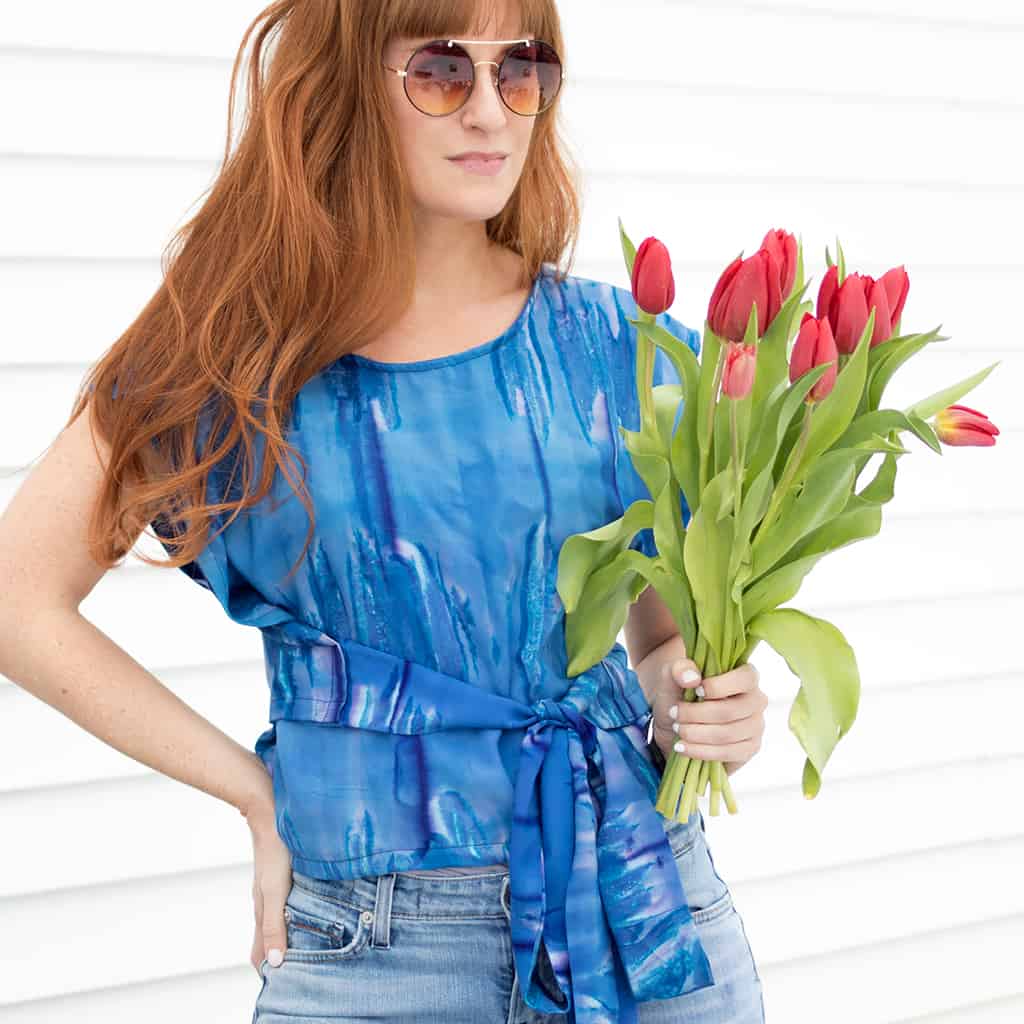
If you’ve been wanting to learn how to sew a wrap top, this easy beginner sewing project is the perfect place to start. With just a few simple cuts and straight seams, you can create a stylish, flattering top you’ll actually want to wear—no complicated pattern required.
This DIY wrap top is designed with beginners in mind. It’s quick to make, easy to customize, and can be finished in just a few hours using lightweight fabric. Whether you’re brand new to sewing or looking for a fast, satisfying project, this wrap top is one of those pieces you’ll come back to again and again.
Even better? The adjustable wrap design makes it forgiving and versatile, so you don’t have to worry about getting the fit exactly right. If you can sew a straight line, you can make this top.
Why You’ll Love This Easy Wrap Top
There’s a reason wrap tops are such a popular beginner sewing project.
✔ Adjustable fit (ties make it flexible for multiple sizes)
✔ Minimal cutting and shaping
✔ No zippers, buttons, or tricky closures
✔ Works with lightweight, flowy fabrics
✔ Perfect for everyday wear
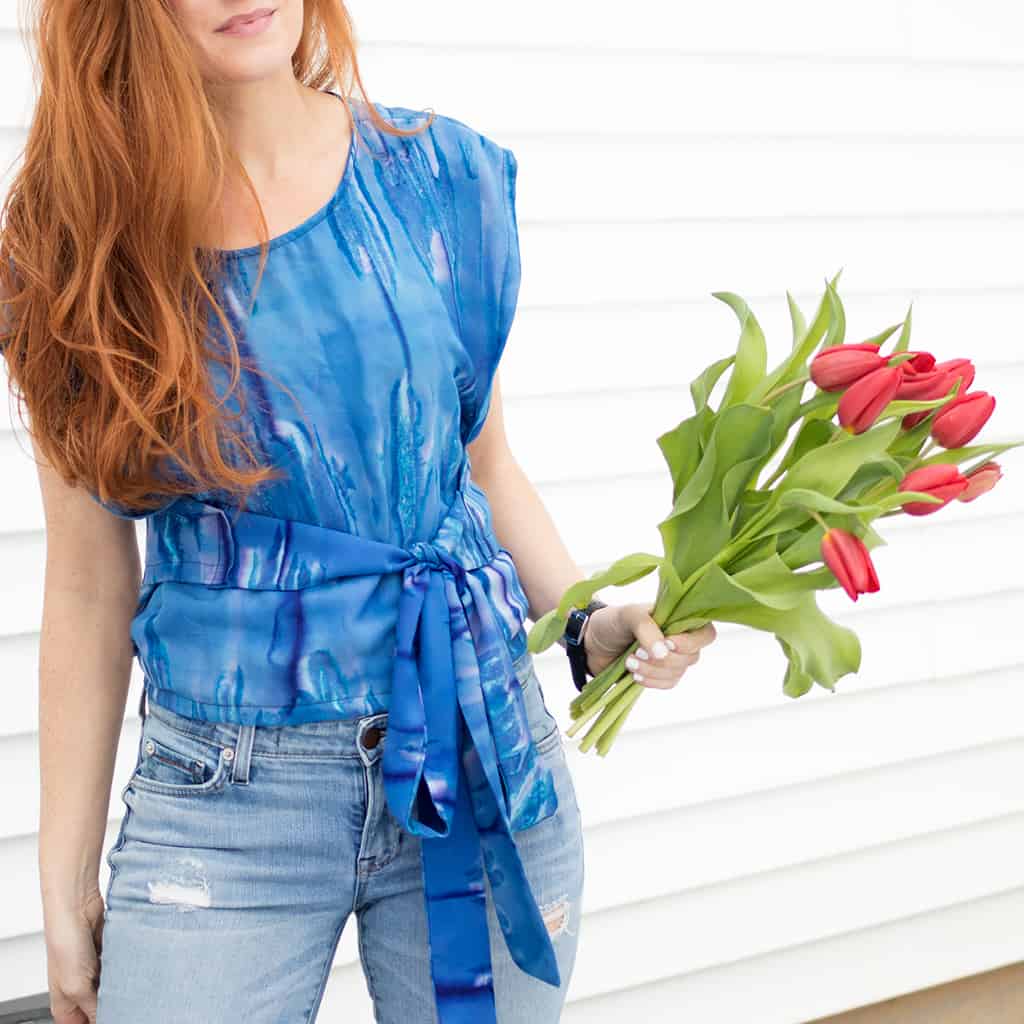
This top looks just as good with jeans as it does with skirts, making it a versatile addition to your handmade wardrobe.
Looking for more Easy Sewing Projects?
How to Make a Sewing Pattern out of Existing Shorts
How to Sew Kid’s Leggings
Free Kids T-Shirt Sewing Pattern (Easy Beginner Tee in Multiple Sizes)
How to Sew a Kids Tank Top- using a t-shirt as a pattern
How to Sew a Wrap Top (Easy Beginner Sewing Project You Can Make in a Day)
Materials You’ll Need
Before you get started, gather your supplies:
- 1 ¼ yards lightweight fabric (Rayon challis works beautifully)
- Bias tape (for finishing the neckline)
- Sewing machine
- Matching thread
- Fabric scissors
- Pins or clips
- Iron
Fabric Tip:
Choose a fabric with a soft drape like:
- Rayon
- Lightweight cotton
- Linen blends
These fabrics will give your wrap top that effortless, flowy look.
How to Sew a Wrap Top

Cutting Your Fabric Pieces
One of the best parts of this project?
No complicated pattern required.
You’ll cut three simple rectangles:
1 large rectangle: 26″ x 42″
1 strip: 6″ x 46″
1 strip: 2″ x 46″
That’s it.
This simplified construction is what makes this project so approachable for beginners — you’re essentially building the top from basic shapes.
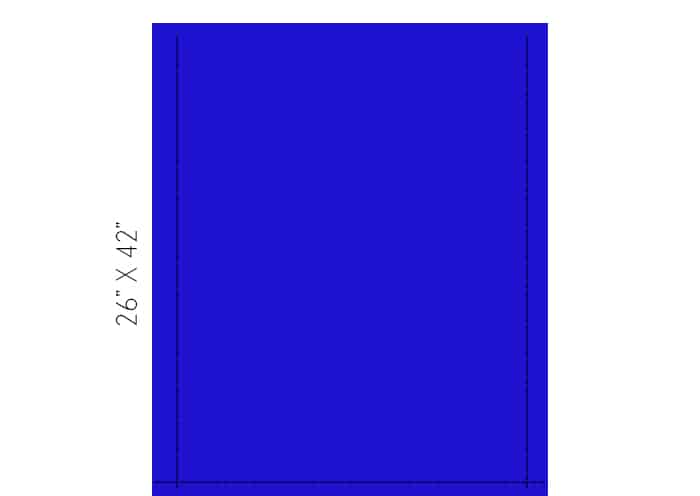
For the large rectangle- using an iron, press down the sides and hem 1/2 inch. Fold over and press down again. Topstitch down.
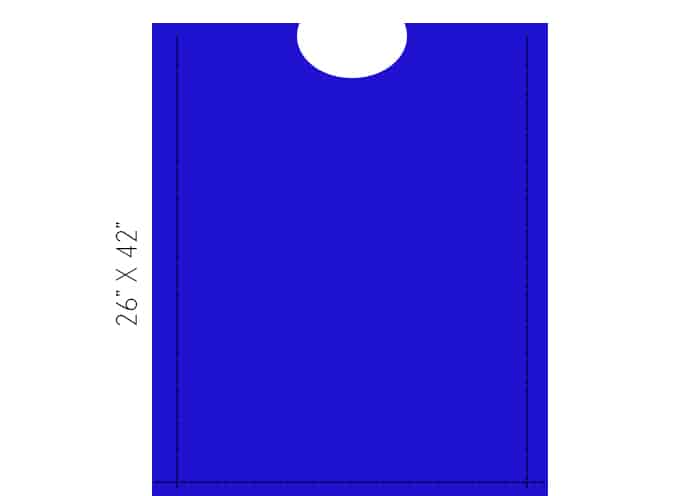
Place a bowl or plate halfway on the fold line and use it to trace a semi-circle for the neck.
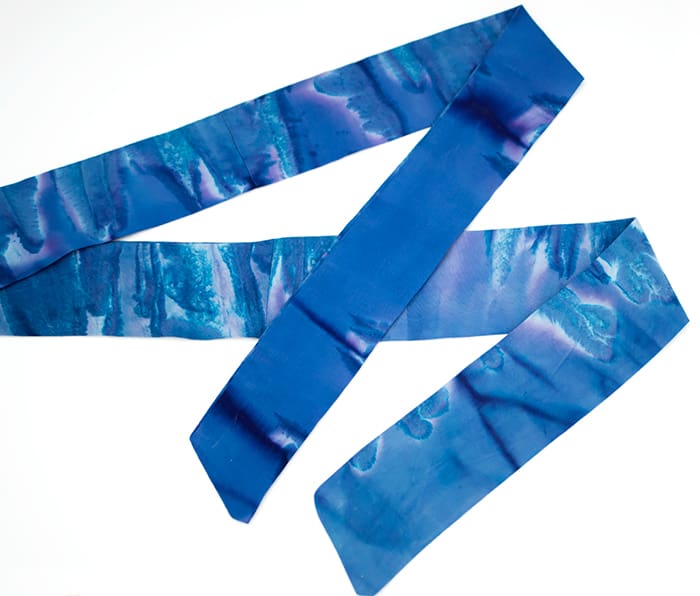
Cut the 6″ X 46″ (2, 23 inch long) strip in half. Fold right sides together and stitch down. Turn right side out and iron.
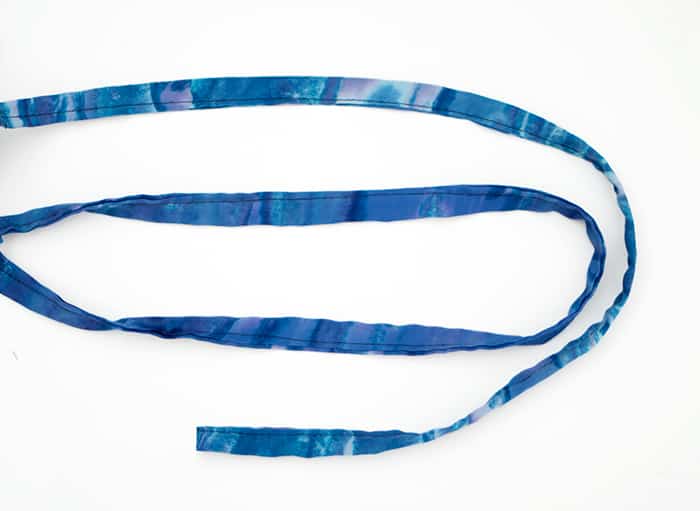
Cut the 2″ X 46″ strip in half (2, 23″ inch long strips). Using an iron, press the edges down on both sides. Fold together, press down and stitch in place.

Sew the narrow ties to the bottom edges on one side (this will be the front of the top)
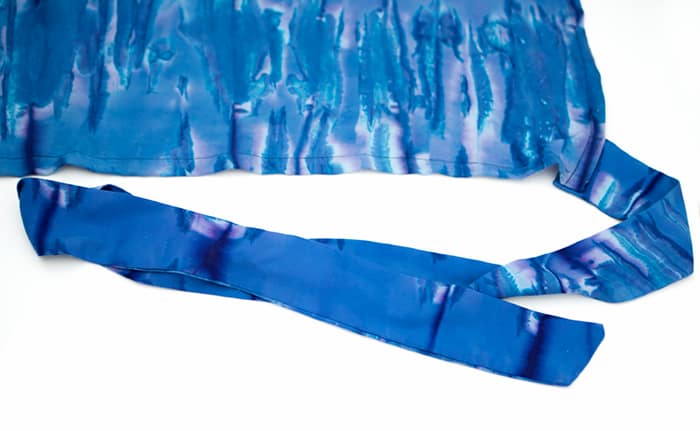
Sew the wider ties to the back corners.
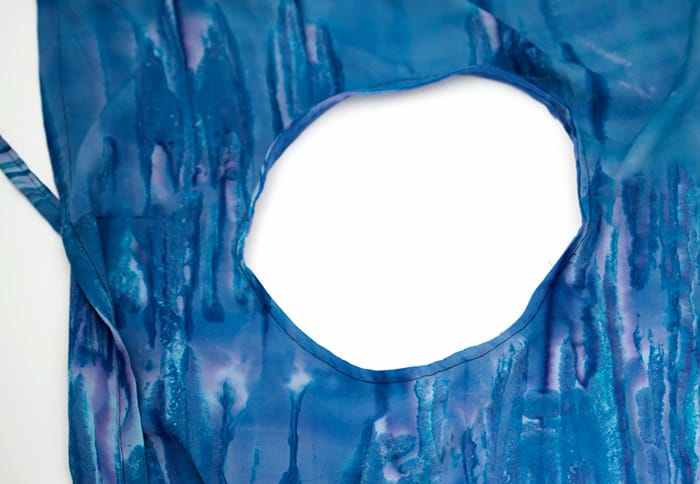
Sew the bias tape to the neck hole. Fold over and topstitch down.
More Easy Sewing Projects to Try
If you loved this project, here are more beginner-friendly tutorials to try next:
How to Sew An Easy Caftan Dress- No Pattern Needed!
How to Sew an Easy Beach Dress- no pattern necessary!
How to Sew Bra Cups into a Dress (No Bra Needed!)
How to Sew a Kids Beach Towel Poncho- no pattern necessary!
These projects follow the same philosophy:
👉 simple shapes + easy construction + wearable results
You can explore even more ideas in your sewing section here:
👉 Gina Michele Sewing Projects and Tutorials
Beginner Sewing Tips (Don’t Skip These)
If you’re new to sewing, these simple tips will make a big difference in how your finished project looks and feels:
✔ Start simple
Projects like this wrap top are perfect for beginners because they avoid complicated techniques like zippers, darts, or lining. Starting with simple shapes and straight seams helps you build confidence quickly—and sets you up for success on more advanced projects later.
✔ Press as you go
Don’t skip the iron! Pressing your seams after each step helps your fabric lay flat and gives your finished top a clean, professional look. It might seem like an extra step, but it truly makes a huge difference.
✔ Use sharp scissors
Sharp fabric scissors are essential for clean, precise cuts. Dull scissors can snag fabric or create uneven edges, which makes sewing more difficult and affects the final result. Keep a pair of scissors just for fabric so they stay sharp longer.
✔ Test your stitches first
Before you start sewing your actual project, test your stitch settings on a scrap piece of fabric. This helps you adjust tension, stitch length, and make sure everything is working smoothly—especially important when using lightweight fabrics.
✔ Take your time
Sewing isn’t a race. Going slowly—especially around curves like the neckline—will give you much better results and help you feel more in control.
✔ Pin or clip your fabric
Keeping your fabric layers aligned is key to getting neat, even seams. Use pins or clips to hold everything in place before sewing, especially if your fabric is slippery or lightweight.
These small habits might seem simple, but they’re what separate a beginner project from one that looks polished and handmade in the best way.
Why This Project Is Perfect for Beginners
Many beginner sewing projects focus on things like pillowcases or tote bags.
But this one is better because:
You actually get a wearable item
You learn garment basics
You build confidence fast
Beginner sewing projects are most effective when they use simple seams and minimal shaping, which is exactly what this wrap top does.
How Long Does It Take?
Most beginners can finish this project in:
👉 2–4 hours
More experienced sewists?
👉 Under 2 hours
It’s the perfect weekend or afternoon project.
FAQ: How to Sew a Wrap Top
Is this wrap top really beginner-friendly?
Yes! This project is perfect for beginners because it uses simple shapes, straight seams, and minimal construction. There are no zippers, buttons, or complicated techniques involved. If you can sew a straight line and follow basic instructions, you can absolutely make this wrap top.
Do I need a sewing pattern?
No pattern is required for this project. The wrap top is made from simple rectangles with a cut-out neckline, which makes it much easier and more approachable than traditional garment patterns. This also means you can easily adjust the size to fit your body.
What type of fabric works best?
Lightweight fabrics with a soft drape work best for this project. Rayon, cotton blends, and linen are great options. Avoid stiff or heavy fabrics, as they won’t wrap or tie as nicely and can make the top feel bulky.
Can I adjust the size or fit?
Yes! One of the best things about a wrap top is how adjustable it is. The ties allow you to customize the fit around your waist and bust. You can also slightly change the size of the fabric pieces to make the top looser or more fitted.
How long does it take to make?
Most beginners can complete this wrap top in about 2–4 hours. If you have some sewing experience, you may be able to finish it even faster. It’s a great weekend or afternoon project.
Do I need a serger?
No, a serger is not necessary. A regular sewing machine works perfectly for this project. You can finish seams with simple techniques like folding edges or using zigzag stitches if needed.
If you’ve been wanting to try garment sewing, this is the kind of project that makes it feel simple, doable, and actually fun. Learning how to sew a wrap top doesn’t require advanced skills or expensive tools—just a little time, a few basic materials, and the willingness to give it a try.
This easy wrap top is one of those projects that looks impressive but comes together quickly, which is exactly what you want as a beginner. It’s practical, flattering, and something you can wear right away—whether you’re pairing it with jeans for everyday or dressing it up a bit.
Once you finish your first one, don’t be surprised if you want to make more. Try different fabrics, adjust the length, or play around with the ties to create new variations. It’s a great way to build confidence and start creating a handmade wardrobe you actually love.
Most importantly, don’t stress about perfection. Sewing is something you get better at with each project—and this is a great place to start.
✨ I’d love to see what you’re making! ✨
If you’ve tried one of my knitting patterns, crochet projects, DIYs, or recipes, share your finished project on Instagram and tag me so I can see it 💛
There’s nothing better than seeing your creations come to life—from cozy knits to delicious recipes and everything in between. It truly makes my day!
Tag me @ginamicheleny so I can share your work and cheer you on!
Happy making!