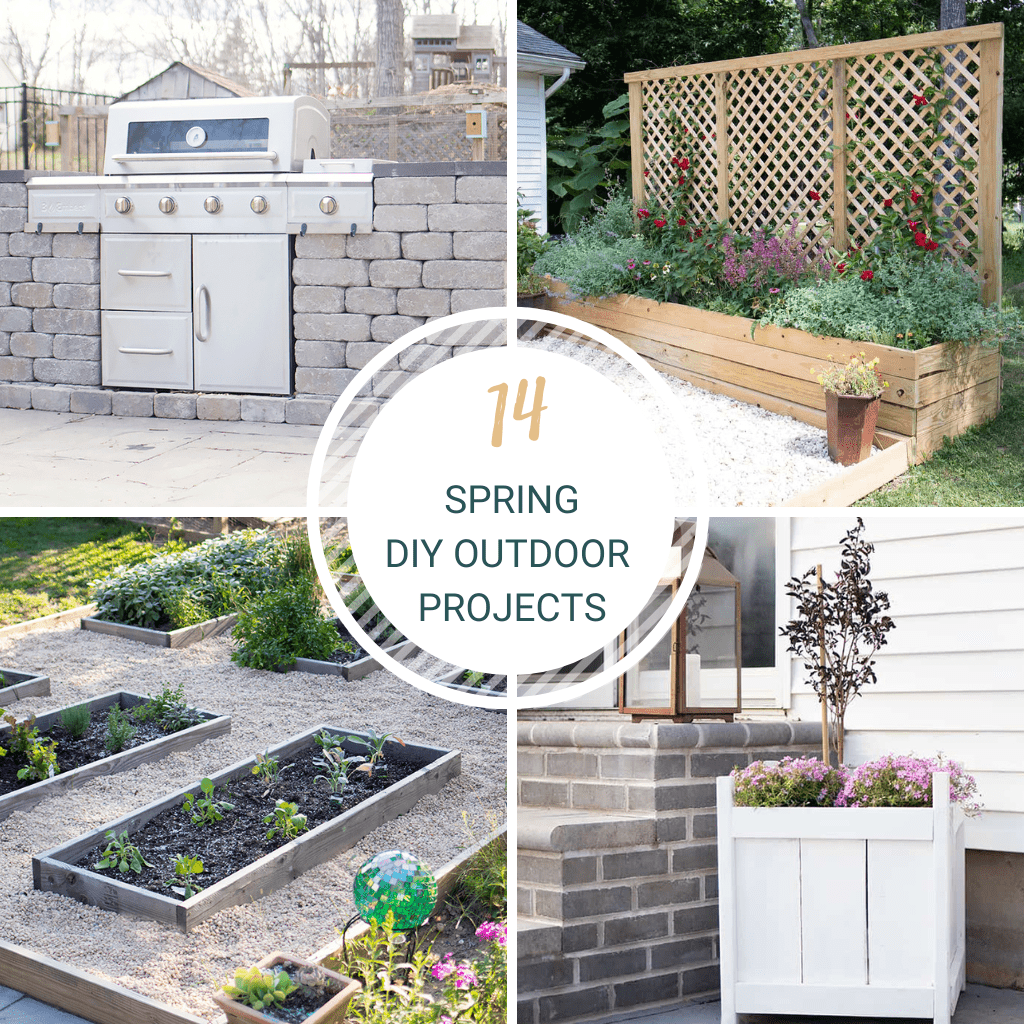
DIY Kids Climbing Wall for a Treehouse (Easy Backyard Project in One Afternoon)
Build a DIY kids climbing wall for a treehouse with this easy step-by-step guide. A budget-friendly backyard project you can finish in one afternoon.
If you’re looking for a fun way to upgrade your backyard, this DIY kids climbing wall for a treehouse is one of the easiest and most rewarding projects you can make.
It’s simple, budget-friendly, and turns an ordinary treehouse into something your kids will use every single day. Even better? You can build this climbing wall in just one afternoon using basic tools and materials.
Whether you’re creating a full backyard play space or just adding a new feature to an existing treehouse, this project is perfect for beginners who want a big impact without complicated steps.
If you love simple DIYs like this, you might also like my
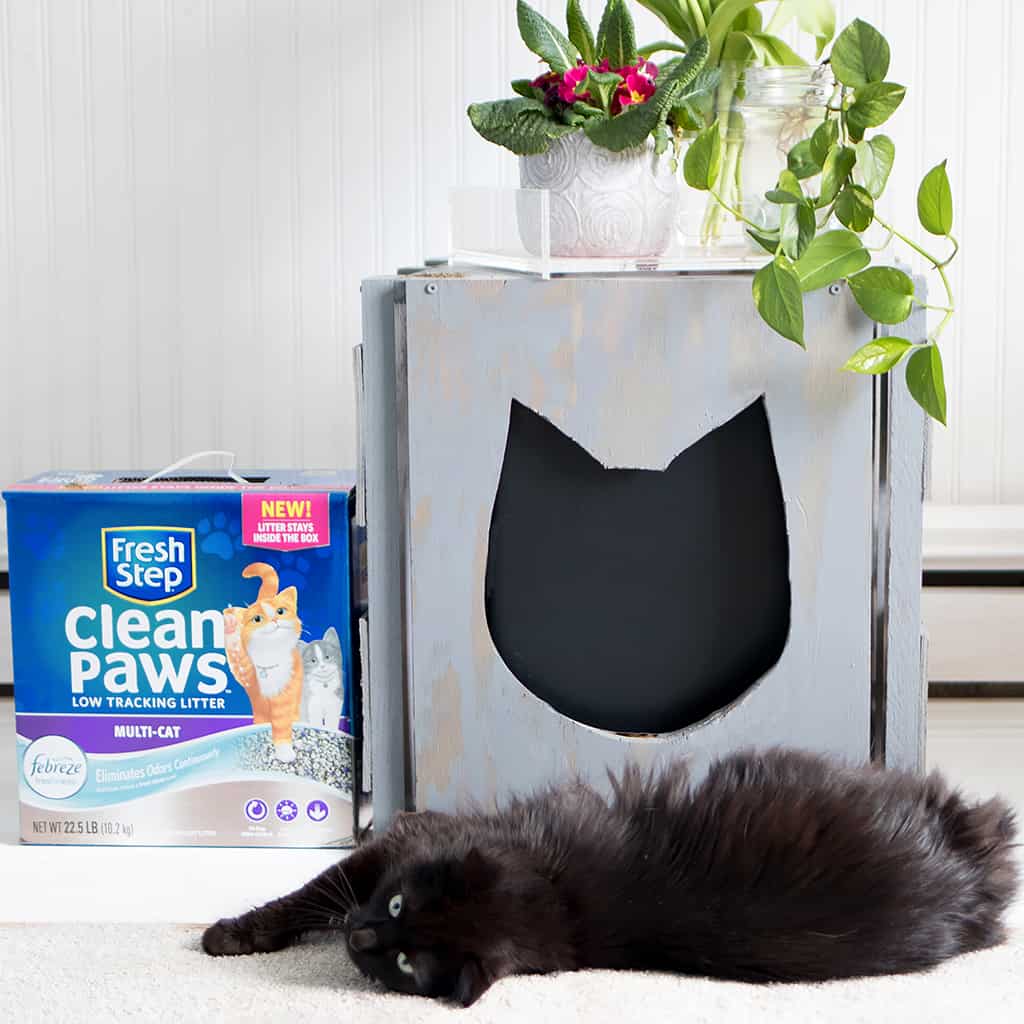
👉 Outdoor Chalkboard DIY
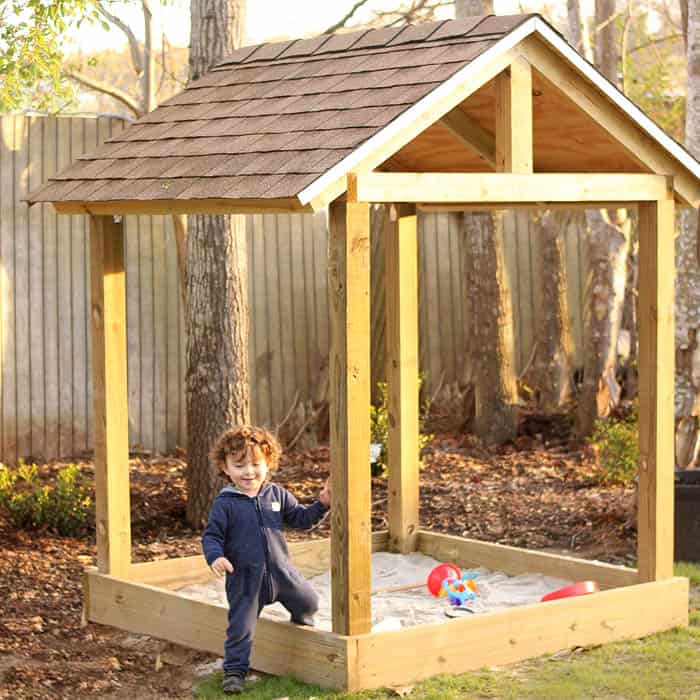
👉 Easy Sandbox DIY
👉 Easy Platform for a Playhouse
These all work beautifully together to create a complete backyard play area.
Why Build a DIY Climbing Wall for a Treehouse?
A climbing wall adds more than just fun—it creates an active play space that encourages movement, confidence, and creativity.
Here’s why this project is worth it:
Keeps kids active and outdoors
Builds strength and coordination
Easy to customize for different ages
Affordable compared to store-bought structures
Works with almost any treehouse design
Plus, it instantly makes your treehouse feel like a true adventure space instead of just a platform.
DIY Kids Climbing Wall for a Treehouse (Easy Backyard Project in One Afternoon)
(Note- I didn’t include cutting lengths for this post. Since there’s no standard size for a treehouse, measurements will vary)
Supplies needed:
2x4s
2x6s
1×6 deck boards
1x3s (for trim)
Choose the Right Location
Start by deciding where your climbing wall will go.
The best spot is:
Attached to the side of the treehouse
Slightly angled (not completely vertical for beginners)
Close to the ground for safety
Make sure the area underneath is safe. Grass is fine, but adding mulch or rubber mats is even better.
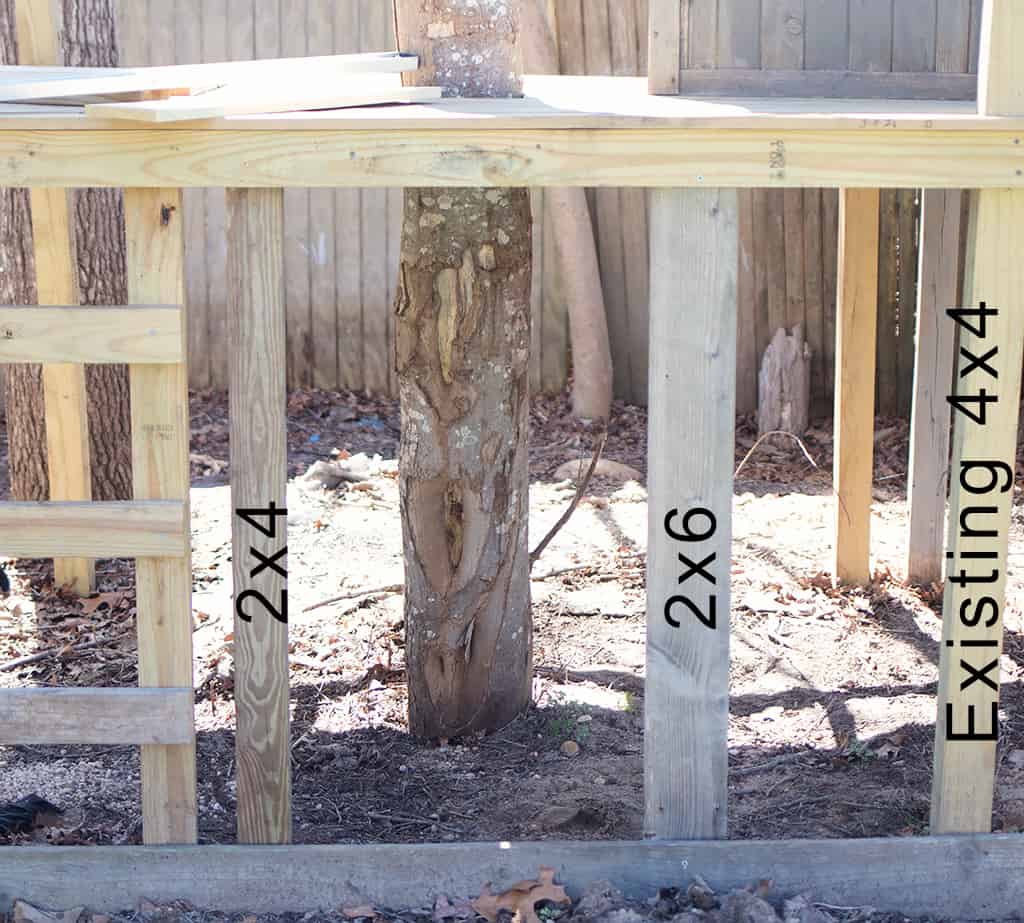
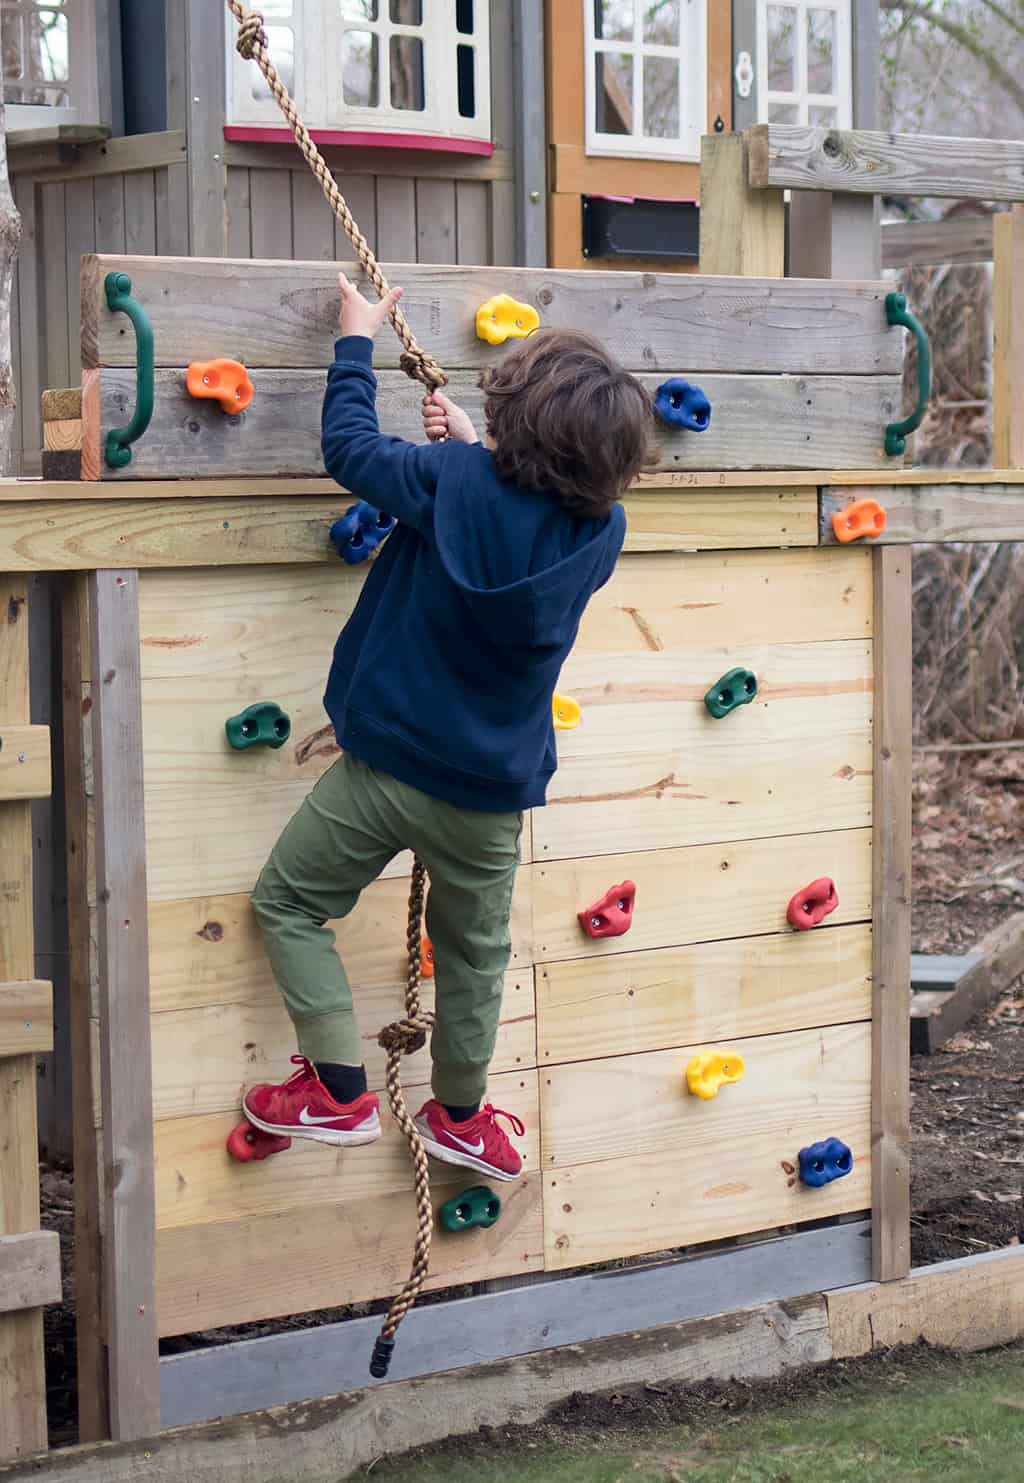
I used 4 pieces of wood for vertical support. I added a 2×4 to the side and a 2×6 to the middle. The 2, 4×4 posts were already there. I would recommend adding a support beam every 24 inches or so.
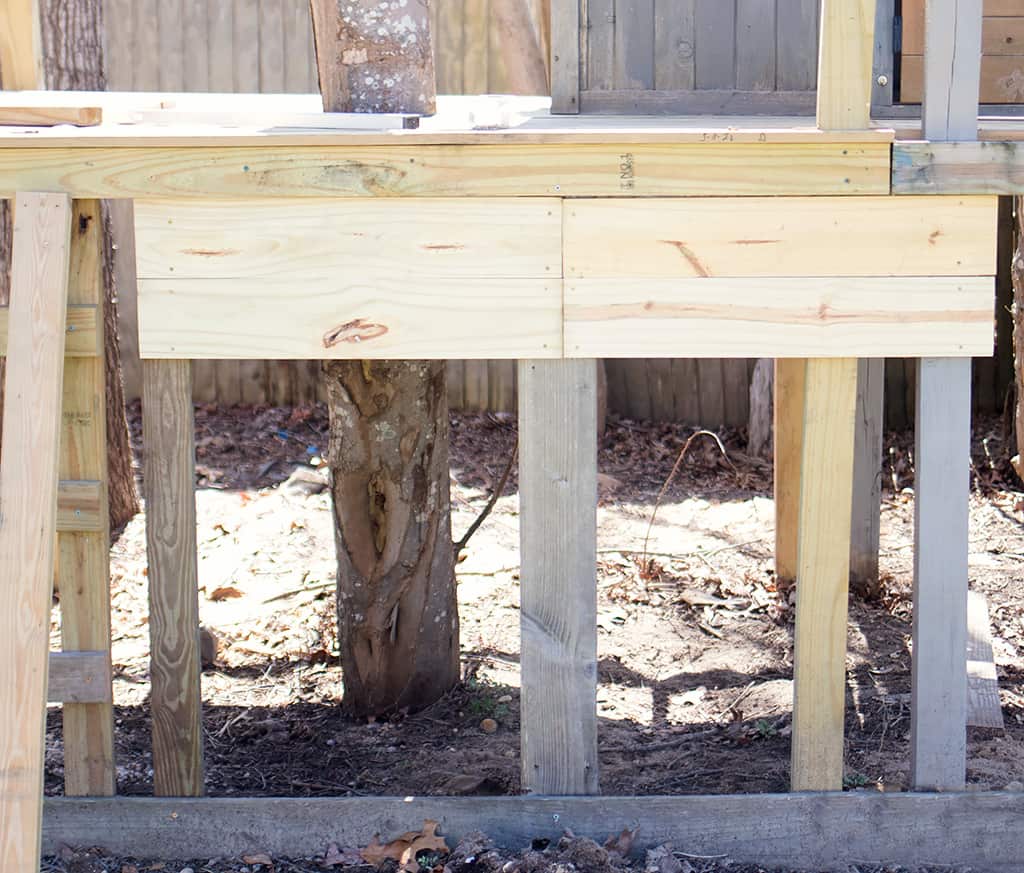
I used leftover pieces of deck board and connected them in the middle of the 2×6. You could also use 1 long deck board for each row.
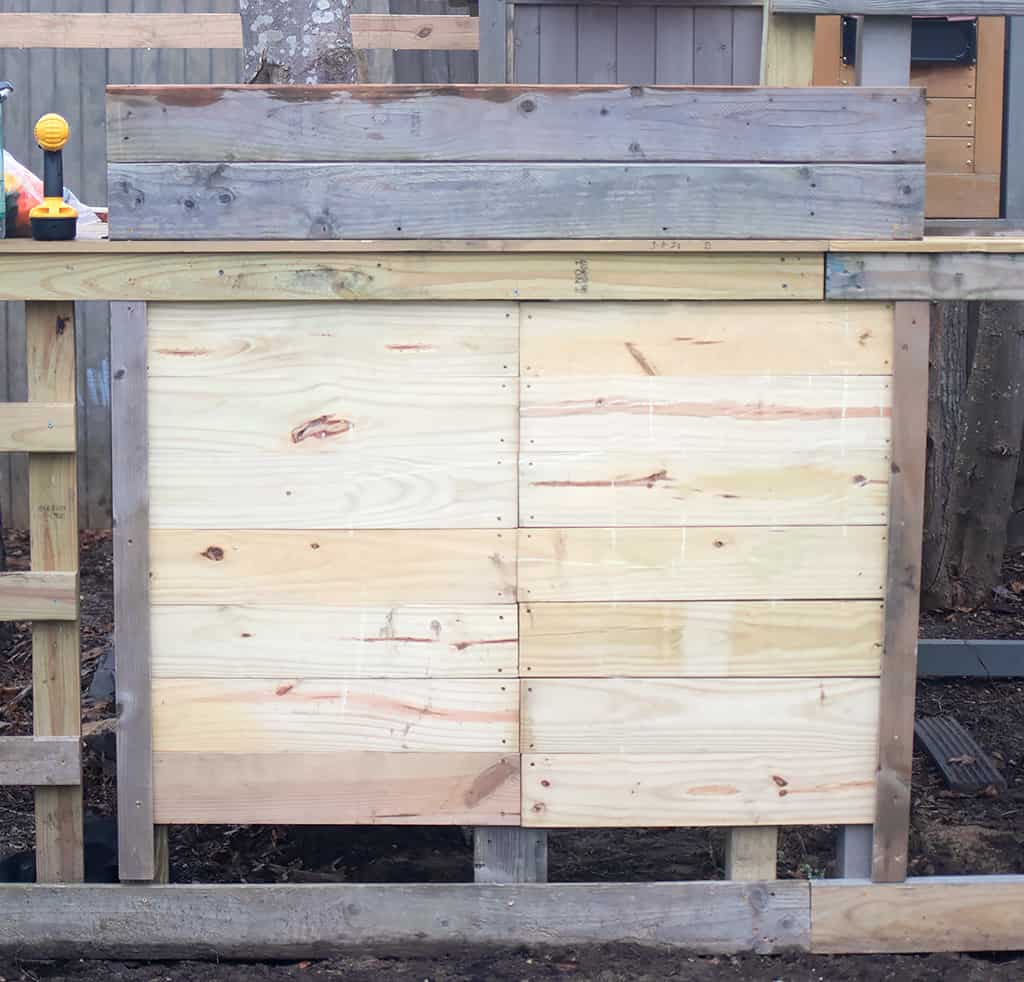
I added 1×3 trim to the sides for a more finished look. I also added two 2x6s to the top to make the wall higher. This not only improves the overall appearance but also helps the climbing wall feel more complete and sturdy. The added height gives kids a bit more of a challenge while still keeping the structure safe and manageable.
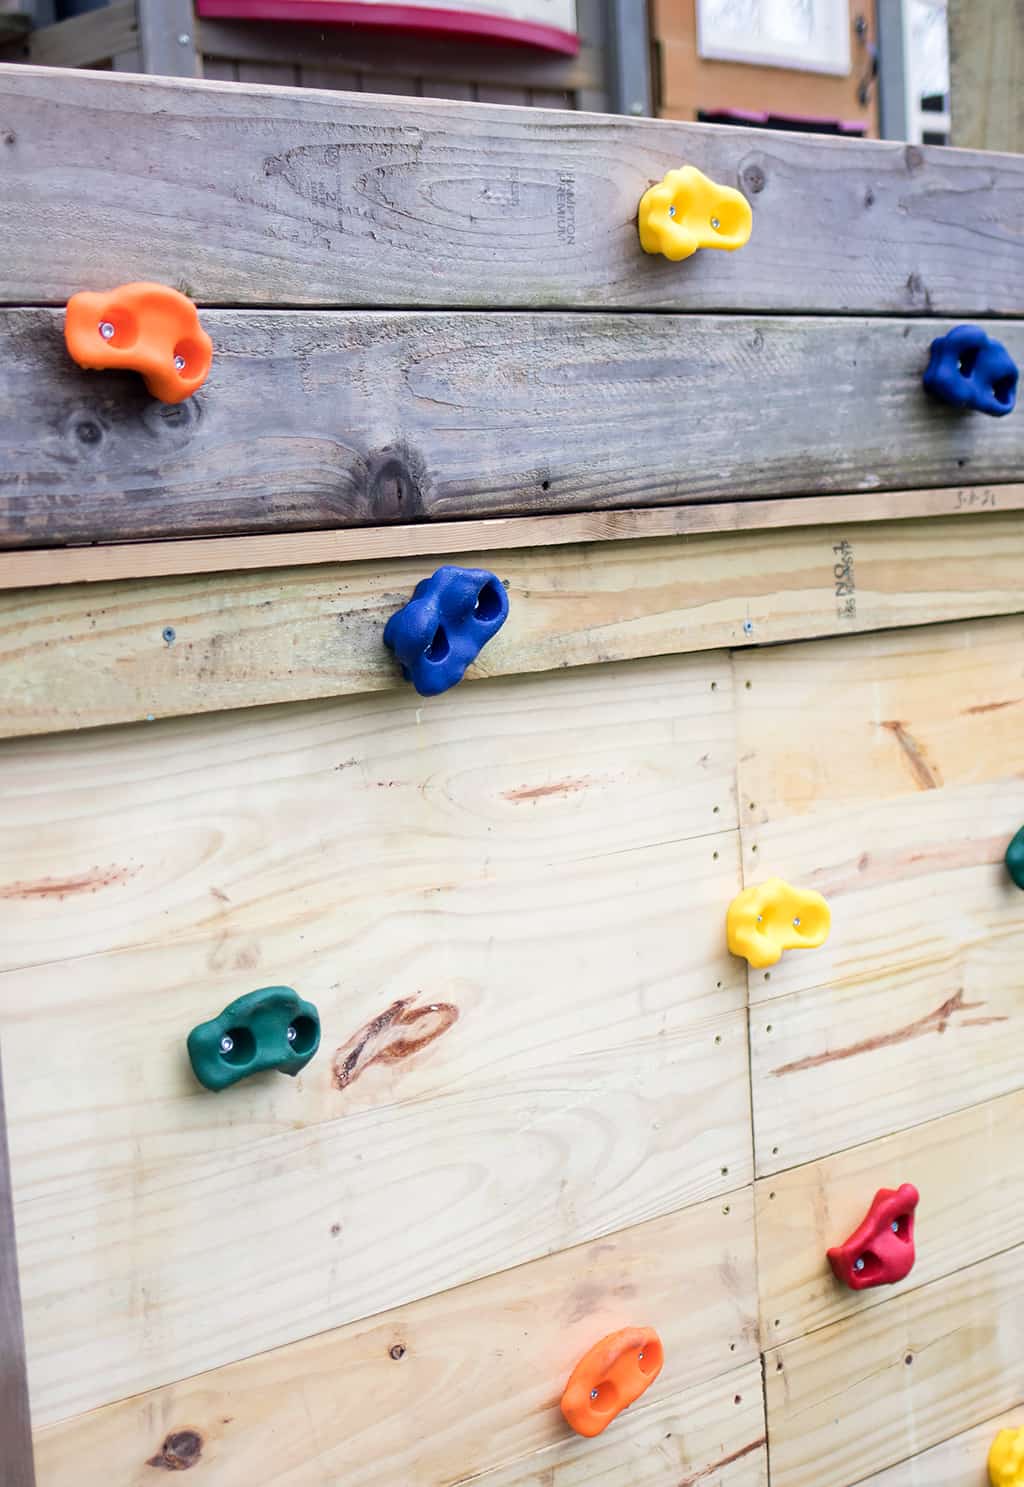
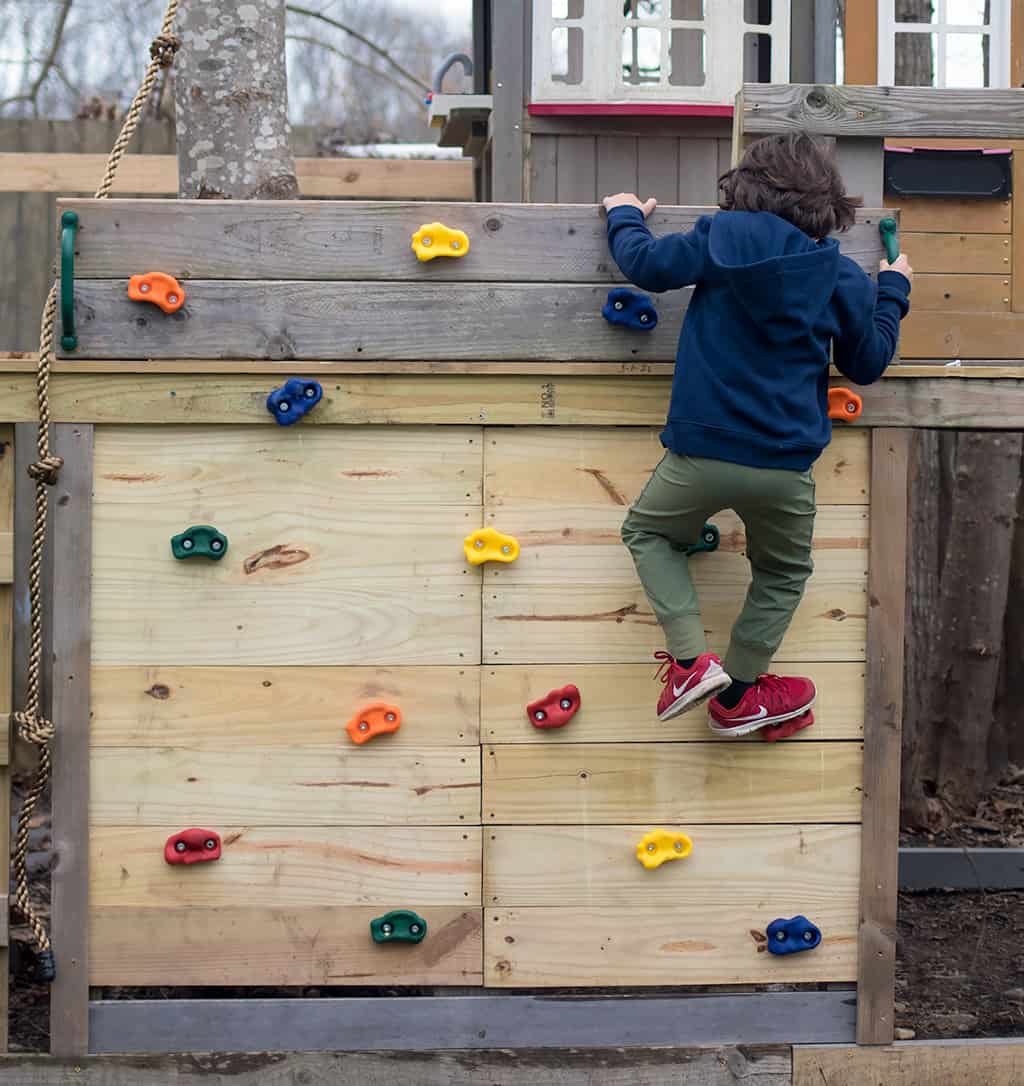
The next step is to attach the climbing holds. I pre-drilled holes and then secured them using the hardware provided. Make sure each hold is tightened firmly so it doesn’t spin or shift while climbing. Once everything is installed, give each hold a quick test to ensure it feels stable and secure before letting kids use the wall.
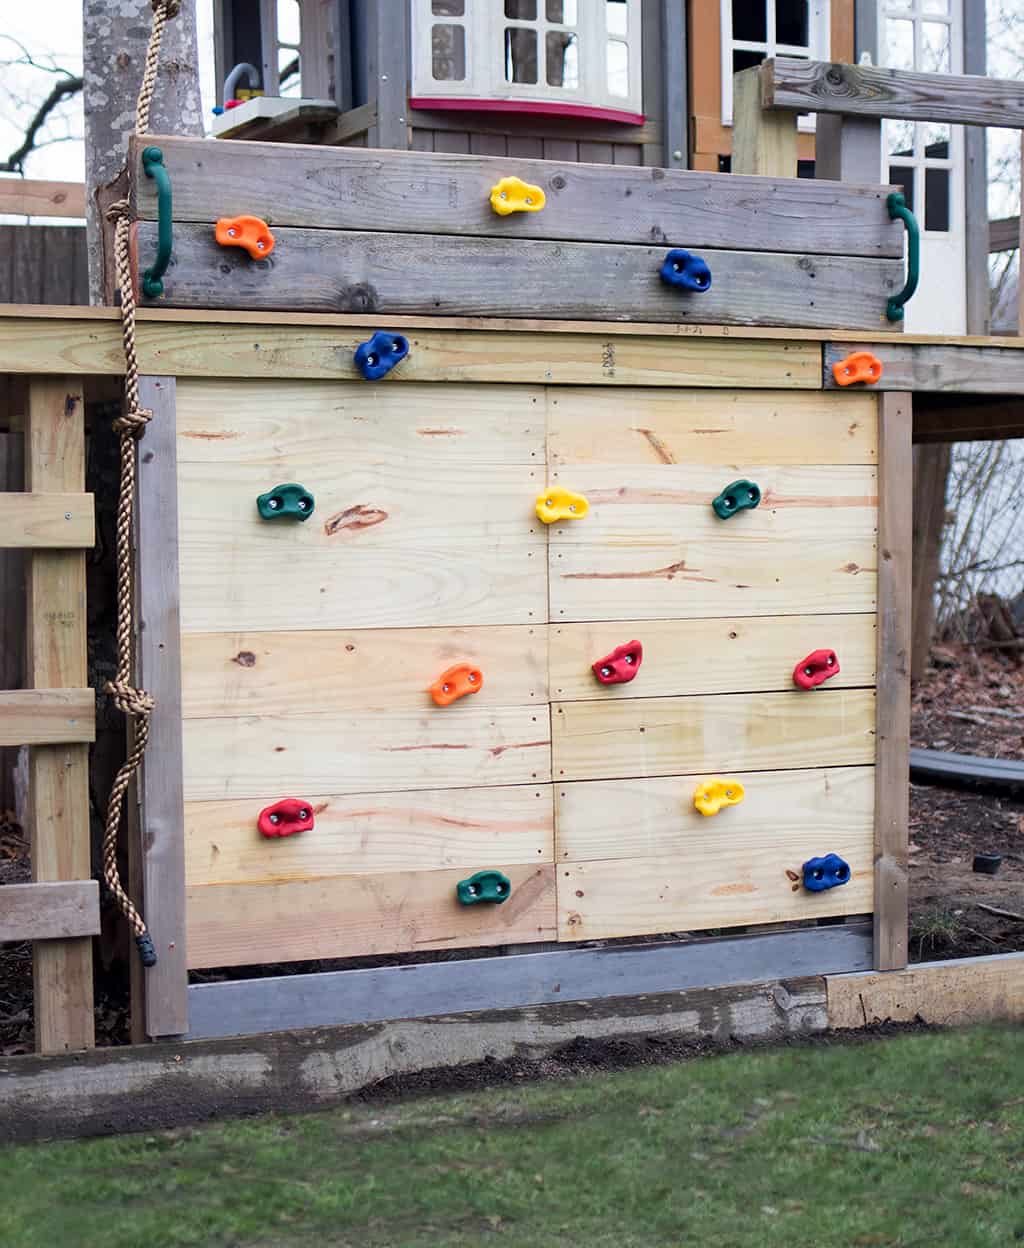
Finally, I screwed on the plastic handles and attached the climbing rope (both included with the climbing holds) to a tree.
Looking for more Easy Outdoor DIY Projects?
Outdoor Chalkboard DIY- Weatherproof and Durable!
How to Build a Sandbox with a Roof
Safety Tips for Your Treehouse Climbing Wall
Safety is key when building any backyard play feature.
Keep these tips in mind:
Keep the wall height appropriate for your child’s age
Use soft ground below (grass, mulch, or mats)
Check holds regularly to make sure they’re tight
Avoid sharp edges or splinters
Supervise younger kids while climbing
A slightly angled wall is also safer and easier for beginners than a vertical one.
Make It Even Better: Backyard Play Ideas
Once you build your climbing wall, it often turns into the start of a bigger backyard setup.
You can easily expand your space with:
👉 Easy DIY Platform for a Playhouse
👉 Outdoor Chalkboard DIY
👉 Easy Sandbox DIY
Together, these projects create a full outdoor play zone your kids will love.
How Much Does It Cost?
One of the best parts of this project is how affordable it is.
Typical cost breakdown:
Lumber: $60
Climbing holds: $23 (for 15)
Hardware: $10
👉 Total: Around $90–$125 (depending on size)
Compared to pre-made climbing structures, this is a huge savings.
Can Beginners Build This?
Yes—this is a true beginner-friendly DIY project.
If you can:
Use a drill
Measure and cut wood
Follow basic instructions
You can build this climbing wall.
It’s one of those projects that looks impressive but is actually very simple once you start.
FAQ: DIY Kids Climbing Wall
Is a DIY climbing wall safe for kids?
Yes, a DIY climbing wall can be very safe when built correctly and used with supervision. The key is to keep the wall at an appropriate height for your child’s age and skill level, and to ensure all climbing holds are tightly secured. It’s also important to install the wall over a soft landing surface like grass, mulch, or rubber mats to help cushion any falls. Regularly check the structure, bolts, and holds to make sure everything remains stable over time.
What kind of wood should I use for an outdoor climbing wall?
Pressure-treated plywood is the best choice for outdoor use because it’s designed to resist moisture, rot, and weather damage. A thickness of at least ¾ inch is recommended for durability and strength. Pair this with sturdy 2×4 framing to create a strong, supportive base. If you want to extend the life of your climbing wall even further, you can add an outdoor sealant or paint for extra protection.
How far apart should climbing holds be placed?
The spacing of climbing holds depends on the age and ability of your child. For younger kids or beginners, place holds closer together to make climbing easier and more confidence-building. For older kids, you can space them farther apart to create a more challenging experience. Drilling multiple holes in a grid pattern gives you the flexibility to rearrange the holds as your child grows.
Can I adjust or move the climbing holds later?
Yes! One of the best parts of building your own climbing wall is that it’s fully customizable. By drilling a grid of holes across the plywood, you can easily move, swap, or add new climbing holds at any time. This allows you to change the difficulty level and keep the climbing wall fun and engaging as your kids get stronger and more experienced.
If you’re looking for a backyard project that’s fun, affordable, and actually gets used, this DIY kids climbing wall for a treehouse is a perfect choice.
It transforms your treehouse into something more interactive and exciting—without requiring a full weekend of work or a big budget.
And once you build one, don’t be surprised if it becomes your kids’ favorite spot outside.
If you’re planning a full backyard setup, be sure to check out:
👉 How to Build a Firepit with Landscape Blocks
👉 How to Build an Easy Kayack Rack
👉 $20 Nerf Blaster Rack
These simple projects work together to create a space your kids will never want to leave.
✨ I’d love to see what you’re making! ✨
If you’ve tried one of my knitting patterns, crochet projects, DIYs, or recipes, share your finished project on Instagram and tag me so I can see it 💛
There’s nothing better than seeing your creations come to life—from cozy knits to delicious recipes and everything in between. It truly makes my day!
Tag me @ginamicheleny so I can share your work and cheer you on!
Happy making!