
DIY Outdoor Chalkboard (Cute Backyard Idea That’s Easy + Weatherproof)
Create a weatherproof outdoor chalkboard with this easy DIY—perfect for backyard fun and built to last through rain and sun.
Last Updated: May 2026
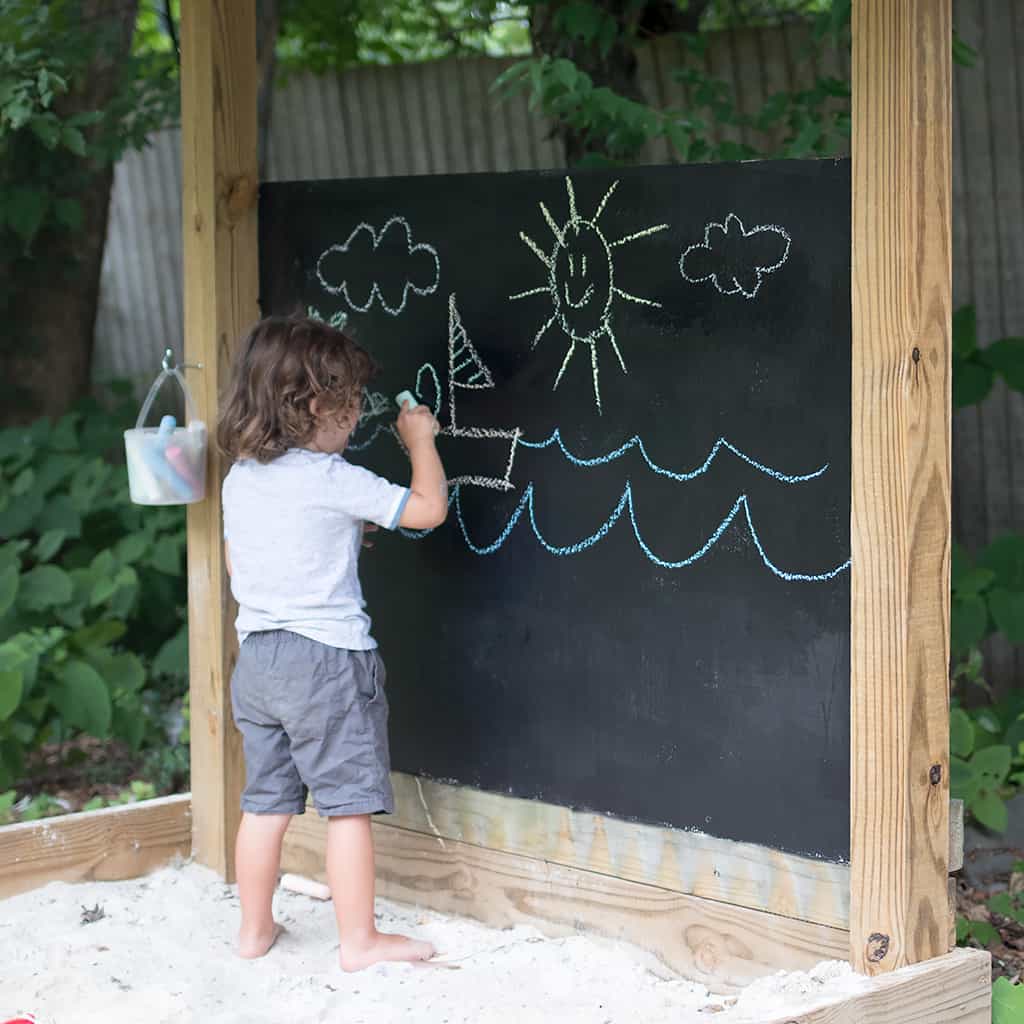
If you’re looking for a fun and creative outdoor project for kids, this Outdoor Chalkboard DIY is a fantastic addition to your backyard. A large chalkboard outside encourages creativity, imaginative play, and learning while enjoying fresh air.
Unlike many chalkboard tutorials that use materials not designed for outdoor conditions, this project focuses on creating a weatherproof outdoor chalkboard that can handle rain, sun, and everyday use.
The key to a durable outdoor chalkboard is choosing materials that resist moisture and weather damage. Using cement board instead of standard plywood helps prevent warping or rot because cement board is designed to withstand wet environments and outdoor exposure.
This simple DIY project can be completed in an afternoon and will provide years of creative play for kids.
If you enjoy family-friendly outdoor projects like this one, you may also want to explore more inspiration in my DIY Outdoor Projects collection:
DIY Outdoor Projects
Why Build an Outdoor Chalkboard?
Outdoor chalkboards are a wonderful way to encourage creativity and outdoor play. Kids can draw, write messages, practice letters, or play games like tic-tac-toe or hangman.
Here are a few reasons families love adding an outdoor chalkboard to their backyard:
• Encourages creative play
• Keeps kids entertained outside
• Easy and inexpensive DIY project
• Perfect for backyards, fences, or playhouses
• Durable outdoor activity for all seasons
Many parents also use outdoor chalkboards for learning activities like spelling practice, math games, and drawing exercises.
If you enjoy creating kid-friendly spaces outdoors, you might also enjoy projects like DIY Sandbox Builds, backyard playhouses, and outdoor play areas, which you can find in my DIY Outdoors category:
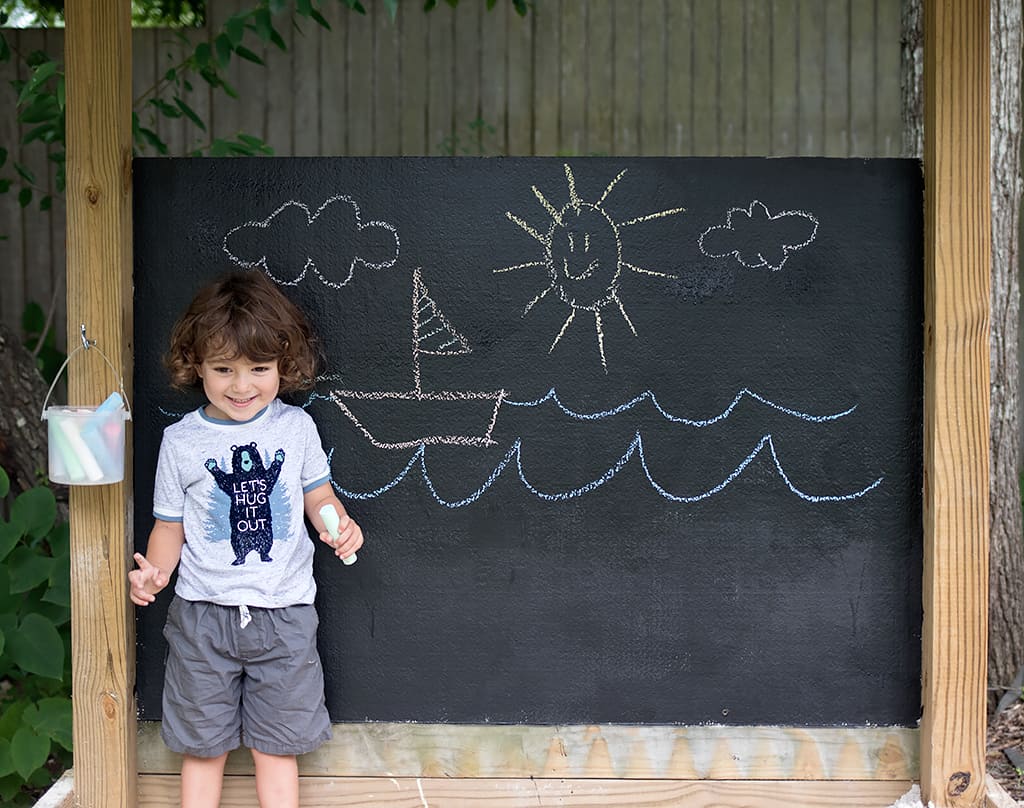
Outdoor Chalkboard DIY- Weatherproof and Durable!
(As an Amazon associate, I earn from qualifying purchases)
Materials for a Weatherproof Outdoor Chalkboard
Many of the Outdoor Chalkboard DIYs I’ve seen use sheathing plywood and chalkboard paint. These materials aren’t weatherproof and wouldn’t last a season of rain/snow. Instead of plywood, I used a Hardie board. Hardie boards are cement board siding with a smooth finish and they’re very durable! They’re used as siding on houses because they’re low-maintenance and long-lasting. At $12-$14 per board, they also make an affordable DIY chalkboard!
As for the paint, the chalkboard paint that’s sold in stores isn’t intended for outdoor use. Luckily, black exterior flat latex paint has a flat sheen that closely mimics chalkboard paint. It’s a very durable outdoor paint!
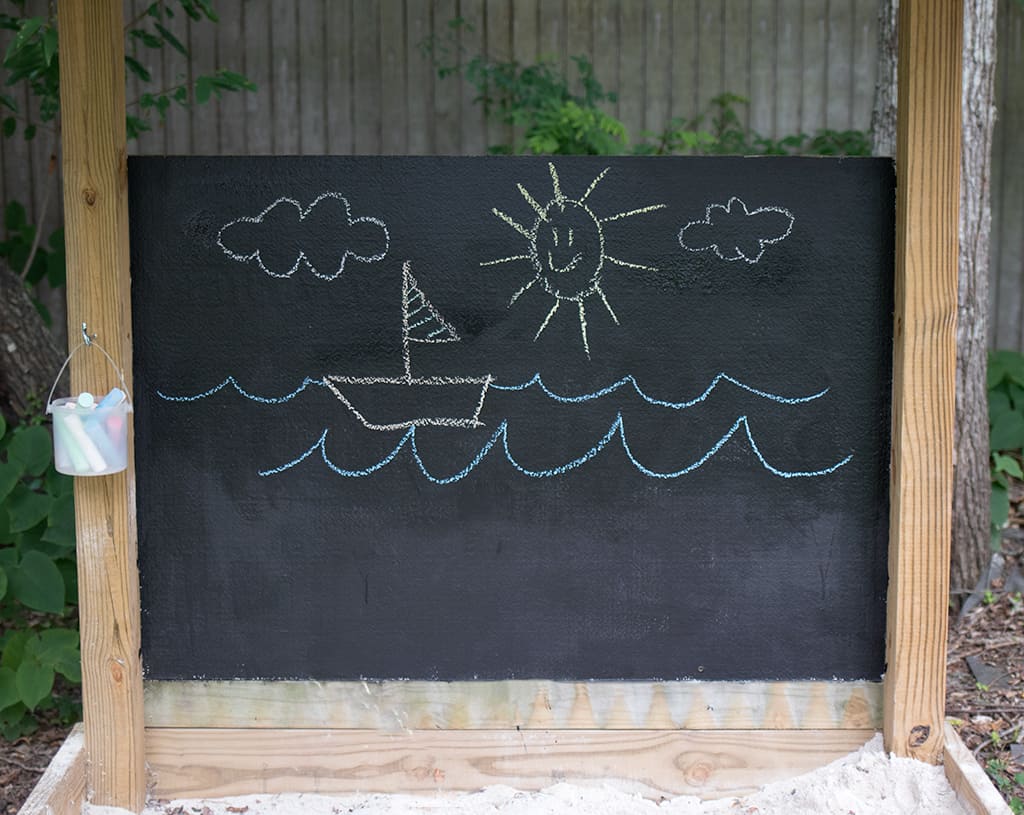
This Outdoor Chalkboard DIY can weather the elements for years of fun!
Supplies needed:
Pressure treated 2 x 4s
Hardie board
3 inch exterior screws
Exterior paint flat latex
Paint rollers
Tools needed:
Drill or driver
Want more Kid-Friendly DIY projects?
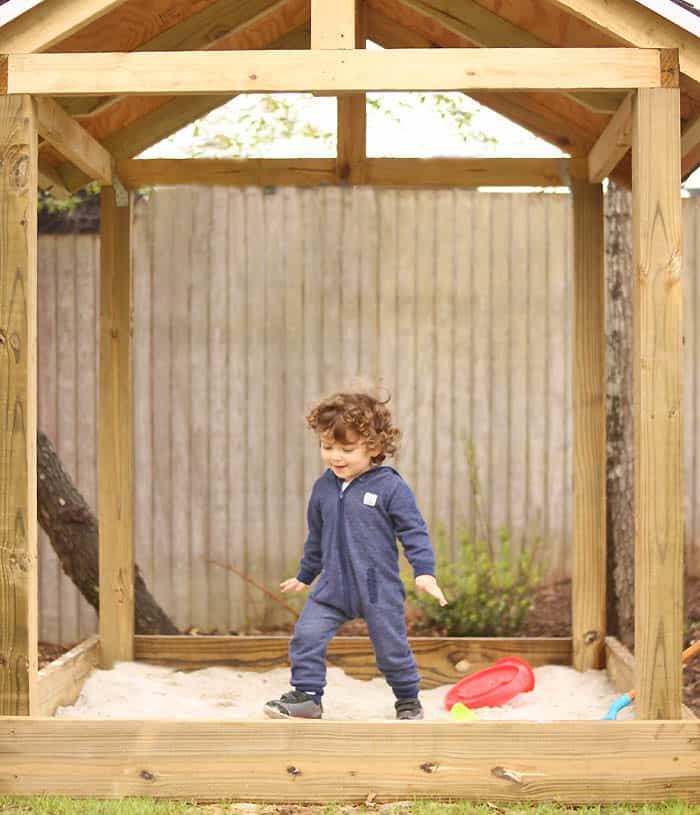
How to Build a Sandbox with a Roof
Tutorial:
The first step is choosing where to install your outdoor chalkboard.
Good locations include:
• Backyard fences
• The side of a playhouse
• Outdoor play areas
• Near a sandbox or swing set
Look for a spot that is easy for kids to access and visible from the house so you can keep an eye on playtime.
Outdoor chalkboards work especially well near play areas or patios where kids already spend time outside.
If you’re planning to upgrade your backyard space, browse more ideas in my Outdoor DIY Projects section:
https://gina-michele.com/category/DIY-Outdoors/
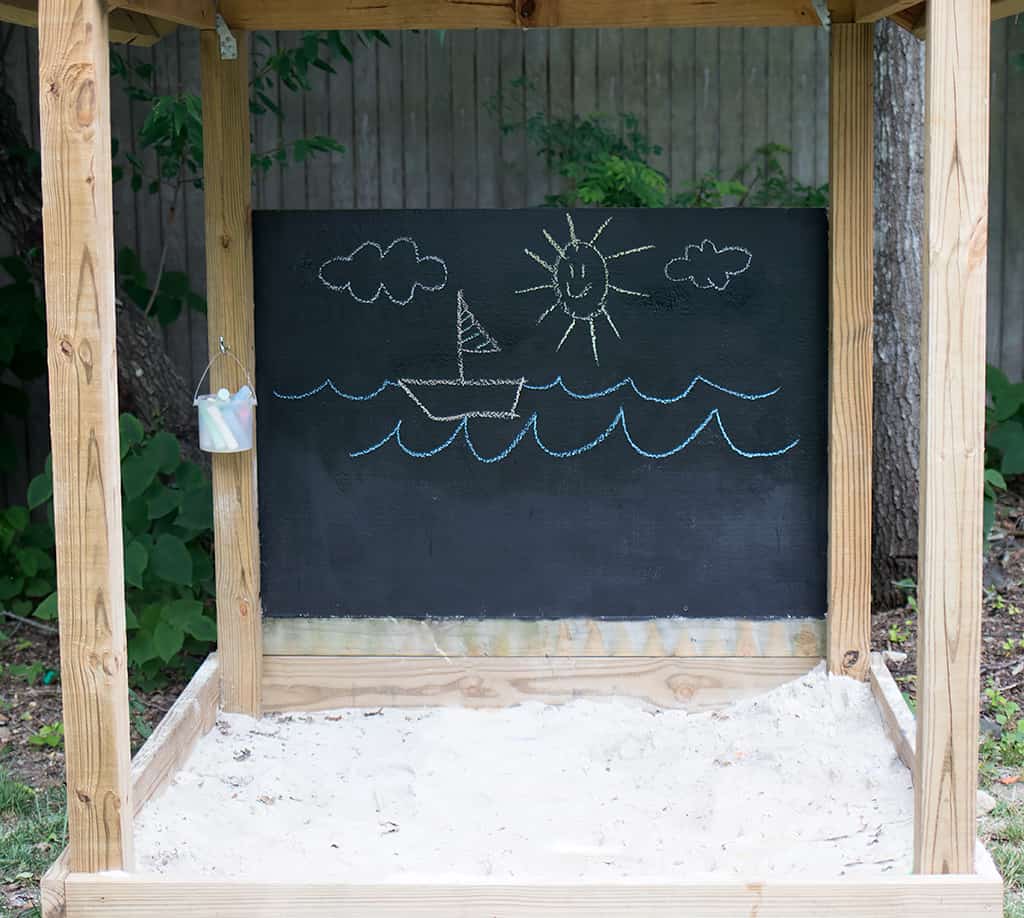
I leaned the Hardie board up against the sandbox posts from the back. Then I cut 2 pressure treated 2 x 4s the length of the sandbox posts. I screwed the 2 x 4s into the top and the bottom of the Hardie board on the back side.
If you’re attaching the chalkboard to a fence- use construction adhesive to adhere the board to the fence. Then, make a frame using the 2 x 4s. This will ensure that there are no visible screws through the chalkboard.
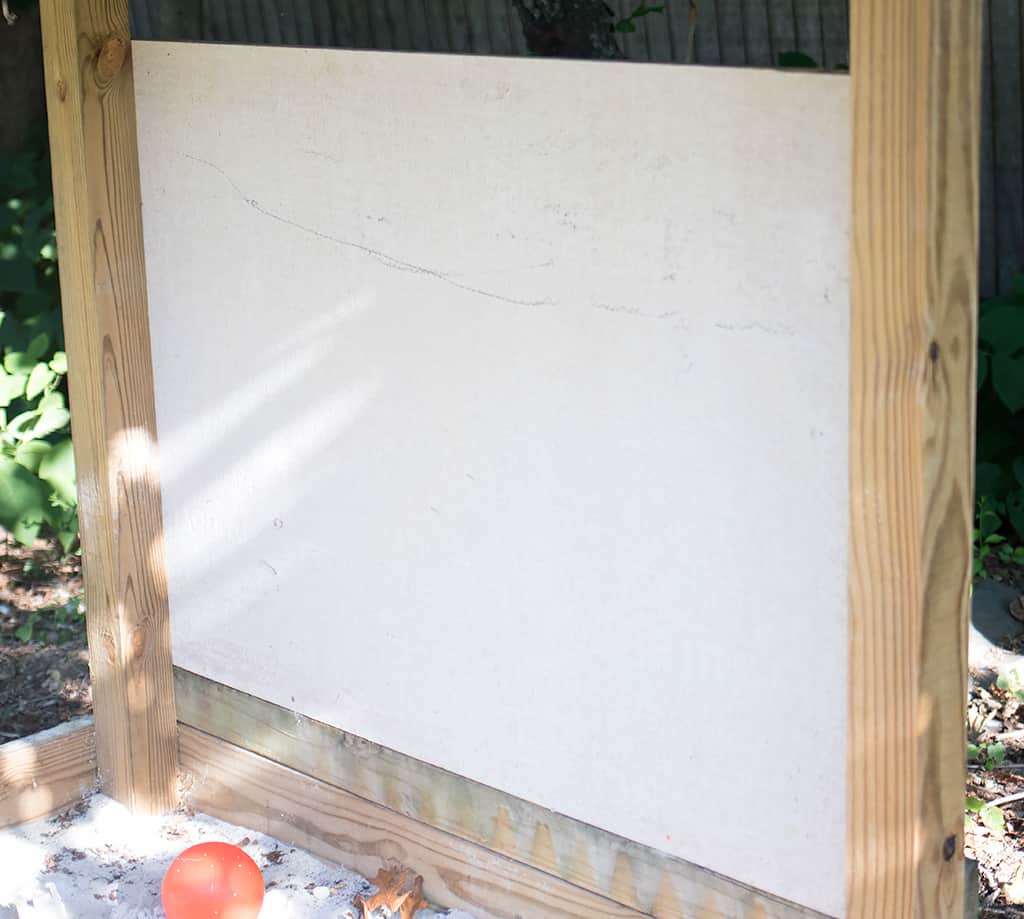
Once you have your cement board, you can prepare the chalkboard surface.
First, clean the board to remove dust and debris. This ensures the paint adheres properly.
Next, apply your exterior flat latex paint using a roller or brush. Two coats are typically enough for good coverage.
Allow the paint to dry completely between coats.
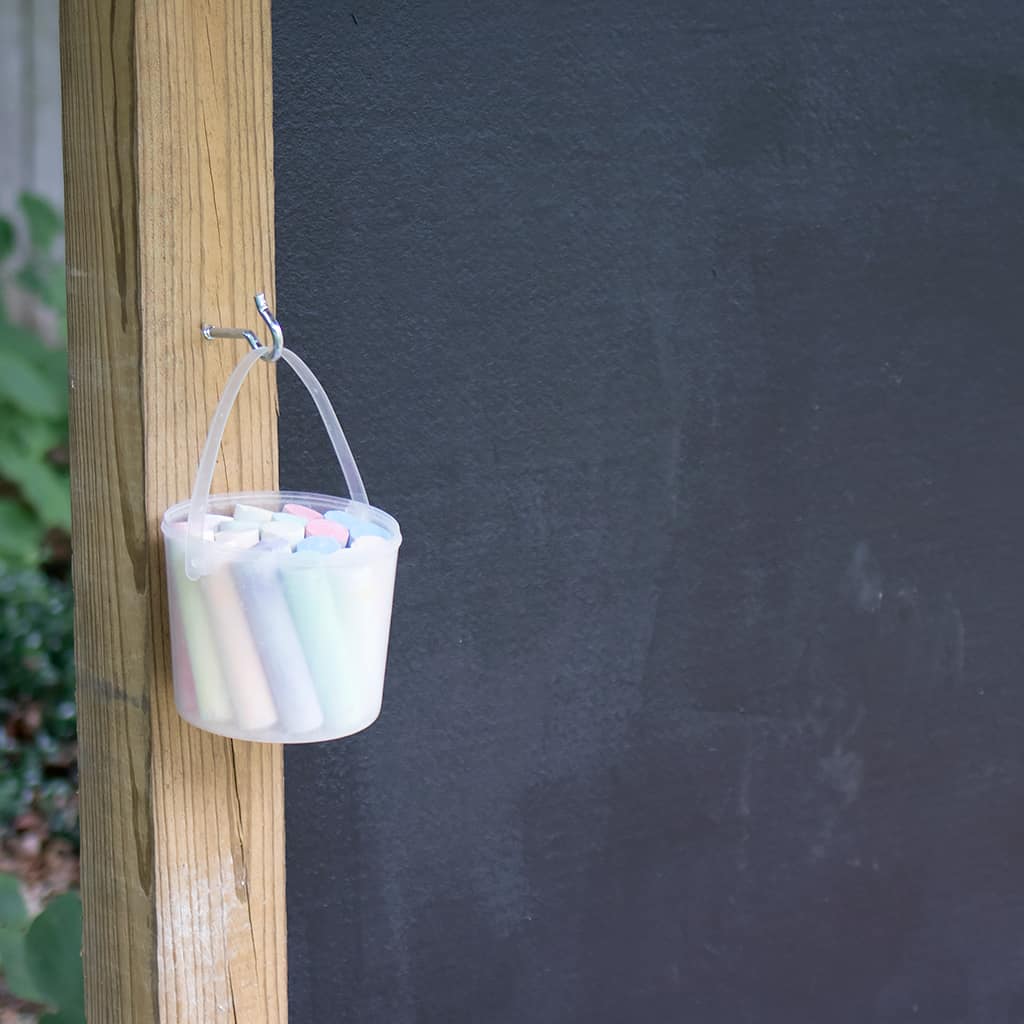
I also added a hook to hold the chalk bucket.
To make the chalkboard even more functional, add a small hook or container to hold chalk.
Some easy storage ideas include:
• Hanging buckets
• Mason jars
• Metal tins
• Wooden shelves
Keeping chalk nearby encourages kids to use the chalkboard more often.
Tips for Making Your Outdoor Chalkboard Last
If you want your DIY chalkboard to last for years, here are a few helpful tips.
Use weather-resistant materials
Cement board and pressure-treated wood resist moisture and weather damage.
Apply multiple paint coats
Extra paint layers improve durability and coverage.
Install under partial shade
This helps prevent sun fading and paint wear.
Clean regularly
Occasionally wiping the board keeps it looking fresh.
With proper materials and installation, outdoor chalkboards can last for many years with minimal maintenance.
Looking for free knitting patterns? Browse this full collection of easy knitting patterns you can start today:
50 Free Knitting Patterns You’ll Actually Want to Make (Beginner-Friendly)
10 Easy Baby Knitting Patterns for Beginners
10 Quick Summer Knitting Patterns
15 Easiest Free Knitting Patterns
15 Easy Summer Knitting Patterns You Can Make This Weekend
Fun Ways Kids Can Use an Outdoor Chalkboard
Once your chalkboard is installed, kids will find endless ways to use it.
Here are some fun ideas:
Drawing and Art
Kids love using giant outdoor chalkboards for drawing pictures and murals.
Educational Games
Parents can write spelling words, math problems, or drawing prompts.
Backyard Scoreboard
Use it to keep score during outdoor games.
Family Messages
Leave fun notes or reminders for family members.
Creative outdoor spaces like this help encourage imagination and outdoor play.
If you enjoy building creative backyard spaces, check out more projects in my DIY Outdoors category:
How to Build a Sandbox with a Roof
More Outdoor DIY Projects
If you liked this Outdoor Chalkboard DIY, you might also enjoy these backyard projects:
• DIY sandbox builds
• Backyard playhouse platforms
• Outdoor kids play areas
• Garden decor projects
• DIY outdoor furniture
You can explore all of these in my Outdoor DIY Projects collection:
https://gina-michele.com/category/DIY-Outdoors/
FAQ: Outdoor Chalkboard DIY
What is the best material for an outdoor chalkboard?
Cement board (such as Hardie board) is one of the best options because it is moisture-resistant and designed for outdoor conditions.
Can chalkboard paint be used outside?
Most chalkboard paints are designed for indoor use. However, exterior flat latex paint can create a similar chalkboard surface while providing better durability outdoors.
How do you protect an outdoor chalkboard from rain?
Using water-resistant materials like cement board and pressure-treated wood helps prevent damage. Mounting the chalkboard slightly off the ground also improves drainage.
Do outdoor chalkboards need maintenance?
Outdoor chalkboards require very little maintenance. You may occasionally need to wipe the surface clean or repaint it after several years of use.
How large should an outdoor chalkboard be?
Many outdoor chalkboards are between 3×4 feet and 4×8 feet depending on the available space and the number of children using it.
Larger boards give kids more room to draw and play.
Creative Ideas for Using Your Outdoor Chalkboard
Once your Outdoor Chalkboard DIY is installed, you may be surprised by how many different ways your family can use it. Kids naturally love drawing and writing with chalk, but a large backyard chalkboard can also become part of everyday play and learning.
One fun idea is to turn the chalkboard into a rotating art wall. Kids can draw pictures, create murals, or even practice drawing animals and shapes. Because chalk wipes away easily, they can start fresh every day with a new design.
Outdoor chalkboards also work great for learning activities. You can use the board to practice writing letters, spelling words, or solving simple math problems. Many parents enjoy turning the chalkboard into a playful learning station where kids can practice skills while still enjoying time outside.
Another creative idea is using the chalkboard for backyard games. You can draw tic-tac-toe grids, hangman puzzles, or scoreboards for outdoor competitions. If you host backyard parties or family gatherings, the chalkboard can even be used to write welcome messages or menus.
Because this project is durable and weather resistant, it can stay outside all season long and become a permanent part of your outdoor play area.
If you enjoy building projects that encourage outdoor creativity, be sure to explore more ideas in my Outdoor DIY Projects section where you’ll find many simple projects designed to make your backyard more fun and functional for the whole family.
This Outdoor Chalkboard DIY is a simple and durable project that adds creativity and fun to your backyard. By choosing weather-resistant materials and exterior paint, you can create a chalkboard that lasts through rain, sun, and years of play.
Kids love having a dedicated outdoor space to draw, write, and play games, and this project is a great way to encourage creative outdoor activity.
If you enjoy building outdoor projects for your family, be sure to explore more ideas in my DIY Outdoor Projects collection:
DIY Cedar Window Boxes: Easy Custom Planters That Make Your House Look Instantly Prettier
DIY Trellis (Easy, Budget-Friendly Garden Upgrade That Looks Expensive)
15 Easy Outdoor DIY Projects That Will Transform Your Backyard This Weekend
How to Build an Easy Kayak Rack (Cheap DIY That Holds Multiple Kayaks)
I love seeing your finished projects! If you enjoyed making this Outdoor Chalkboard DIY – Weatherproof and Durable, or any of my other projects, I’d love to see yours on Instagram. Just tag me @ginamicheleny so I can share and celebrate your creativity. Happy DIYing!
This chalkboard DIY project would be perfect for my kids. Love your ideas.