Easy Raised Vegetable Garden with Pea Gravel (Simple DIY for a Clean, Modern Backyard)
Learn how to build a raised vegetable garden with pea gravel in this easy DIY guide. A clean, low-maintenance backyard upgrade perfect for beginners.
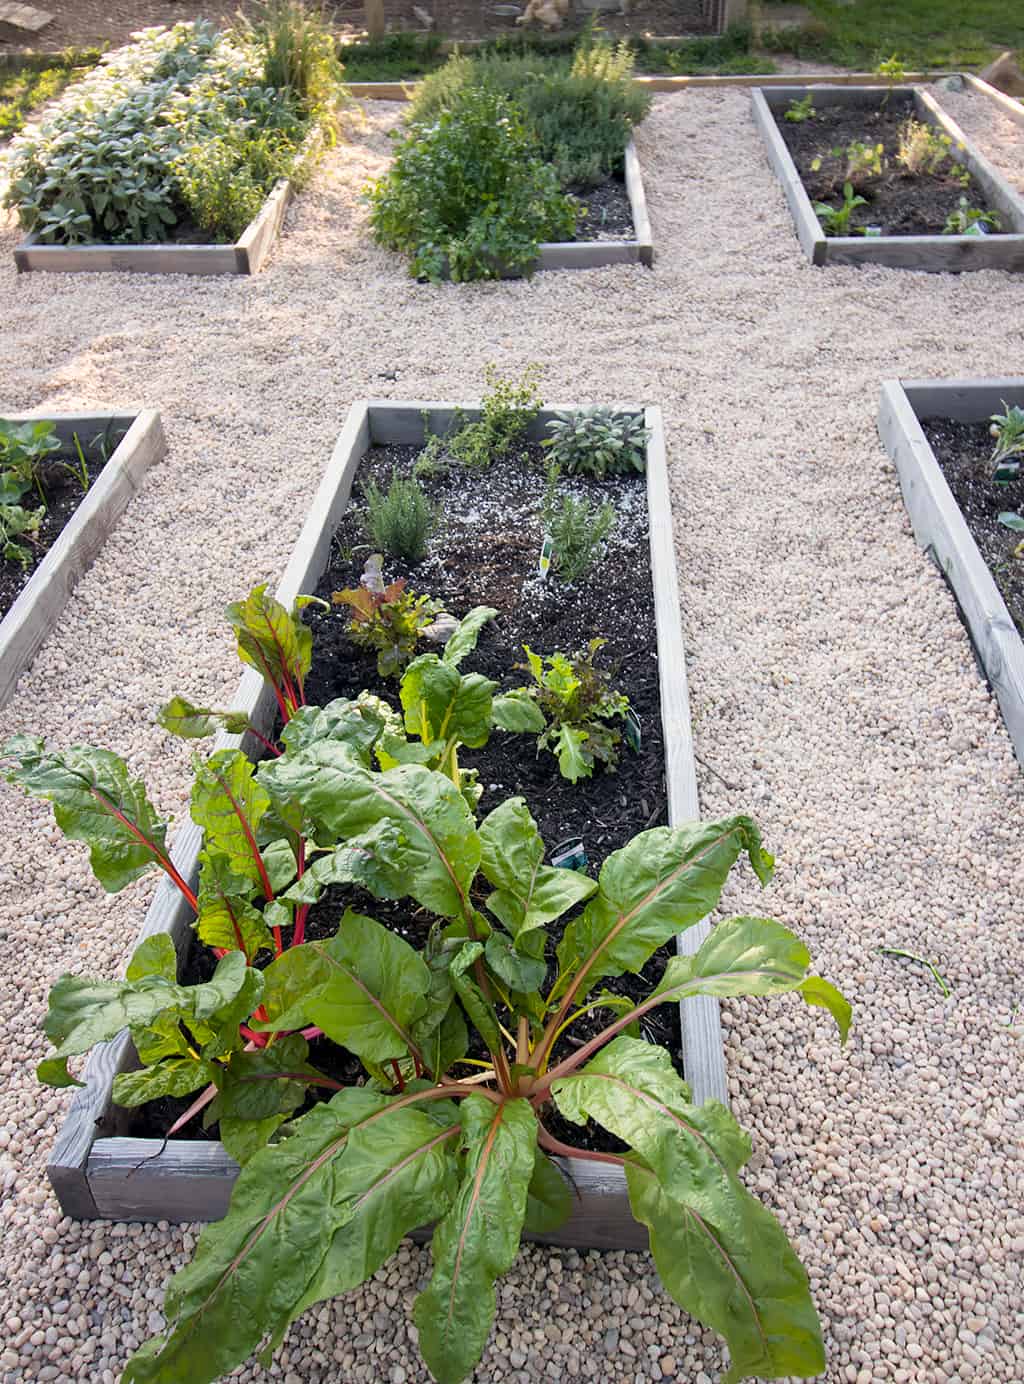
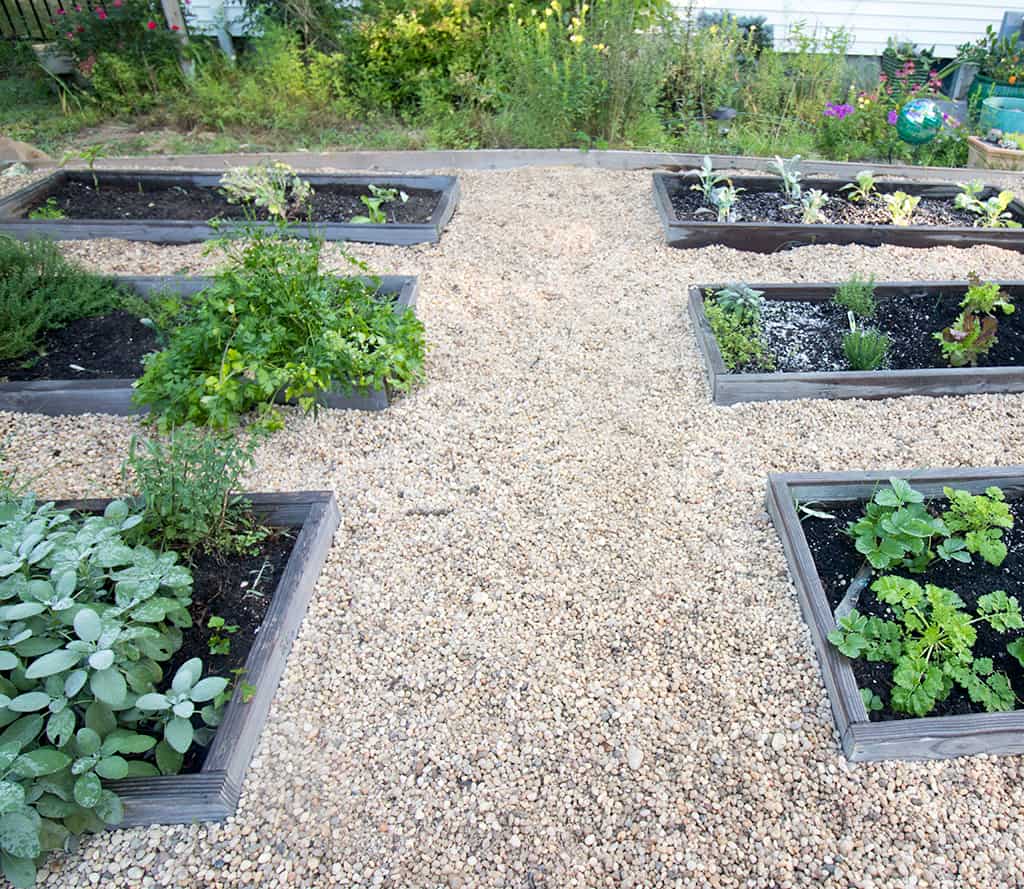
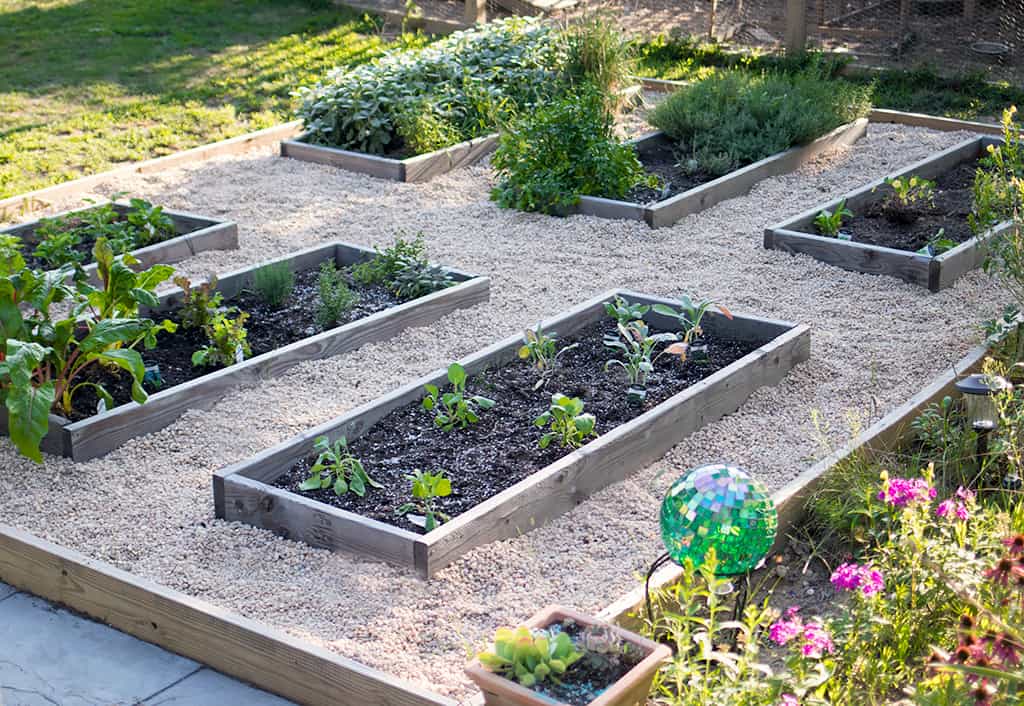
Creating a raised vegetable garden is one of the best ways to grow fresh, healthy food at home—and adding pea gravel takes it to the next level. This raised vegetable garden with pea gravel DIY combines function and style, giving you a clean, low-maintenance space that looks just as good as it performs.
If you’ve ever struggled with muddy walkways, poor drainage, or an unorganized garden layout, this project is a simple solution. By combining raised garden beds with pea gravel pathways, you create a space that is easy to maintain, visually polished, and perfect for growing vegetables, herbs, and greens.
This project is especially rewarding because it can be completed in a weekend and customized to fit your space, whether you’re working with a small backyard or a larger garden area.
Why Use Raised Garden Beds with Pea Gravel?
Raised garden beds are already a popular choice because they improve soil quality and drainage. Adding pea gravel around them enhances both the functionality and appearance of your garden.
Pea gravel allows water to drain easily instead of pooling around your beds, which helps prevent root rot and keeps your plants healthier . It also creates clean, mud-free walkways so you can access your garden even after rain.
Another major benefit is maintenance. Gravel paths reduce weeds when installed with landscape fabric underneath and make it easier to keep your garden looking neat and organized .
Easy Raised Vegetable Garden with Pea Gravel (Simple DIY for a Clean, Modern Backyard)
Project Overview
For this DIY project, you’ll create a defined garden area with:
- A framed perimeter
- Raised garden boxes
- Landscape fabric base
- Pea gravel filling the surrounding space
I used a 12′ x 18′ space, which is a great size for a backyard vegetable garden. Having materials delivered—especially gravel and lumber—can make the process much easier and more cost-effective
Supplies needed:
2 x 6s (pressure treated)
Mending plates (if joining together 2 pieces of wood in the center)
Corner braces
Screws and drill
Cedar deck boards for the raised garden boxes
Level
Staple gun
Pea gravel
Raised Vegetable Garden with Pea Gravel DIY
I outlined all the steps for building the DIY Pea Gravel patio in my previous post. This is nearly identical except the raised garden boxes are added before shoveling in the pea gravel. I cut the landscape fabric away from the inside of the garden boxes.
How to Build a Raised Vegetable Garden with Pea Gravel
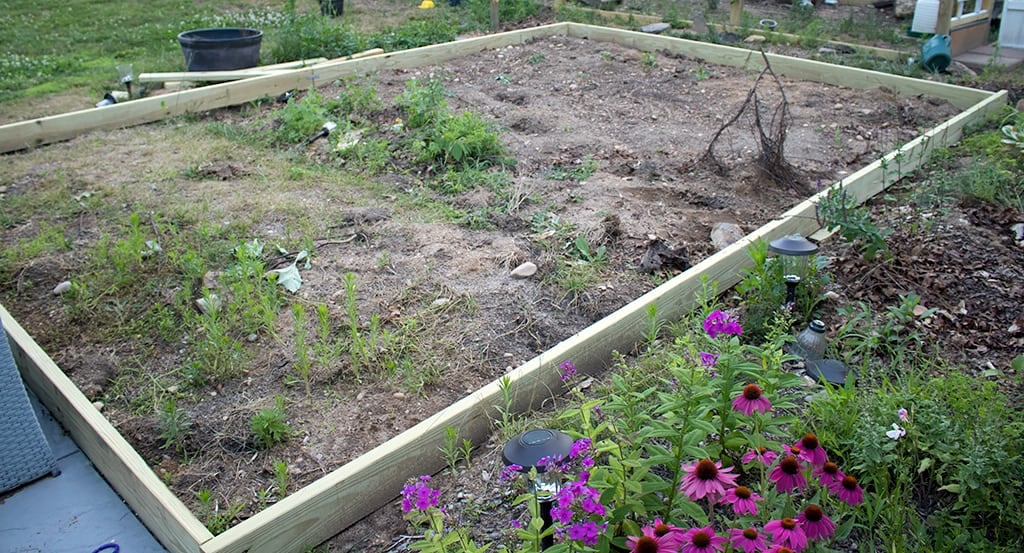
Step 1: Measure and Plan Your Space
Start by measuring your garden area and marking the layout. A rectangular design works well for most backyards and helps maximize planting space.
Think about how you’ll move through the garden. Leave enough room between beds for walking and maintenance.
Step 2: Build the Frame and Raised Beds
Construct the outer frame using pressure-treated wood, then build your raised garden boxes using cedar boards. Cedar is a great choice because it naturally resists rot and holds up well outdoors.
Secure everything with screws and corner braces to ensure stability.
Step 3: Prepare the Ground
Clear the area of grass and debris, then level the ground. This step is important for keeping your gravel evenly distributed and preventing shifting over time.
Step 4: Add Landscape Fabric
Lay down landscape fabric across the entire area, securing it with staples or pins. This helps prevent weeds from growing through the gravel and keeps maintenance low.
Cut out the fabric inside the raised beds so you can fill them with soil.
Step 5: Add the Pea Gravel
Pour and spread the pea gravel evenly across the space. This is the most labor-intensive part of the project, but it makes a huge visual impact.
Pea gravel creates a clean, finished look while also improving drainage and keeping your garden accessible in all weather conditions .
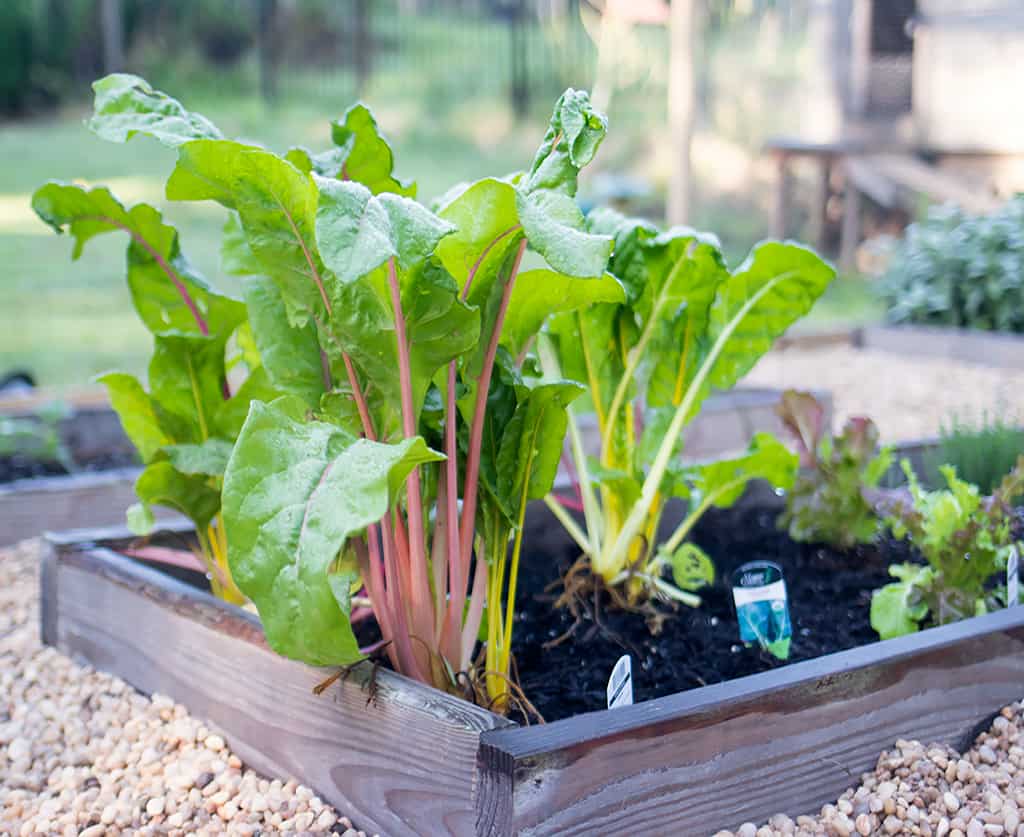
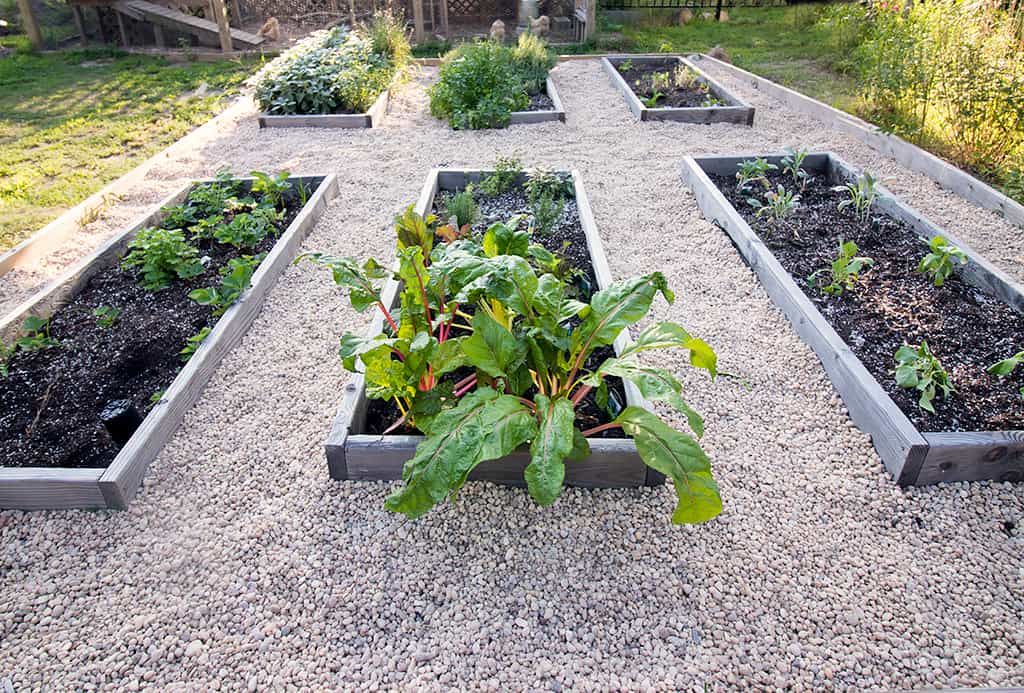
Step 6: Fill and Plant Your Beds
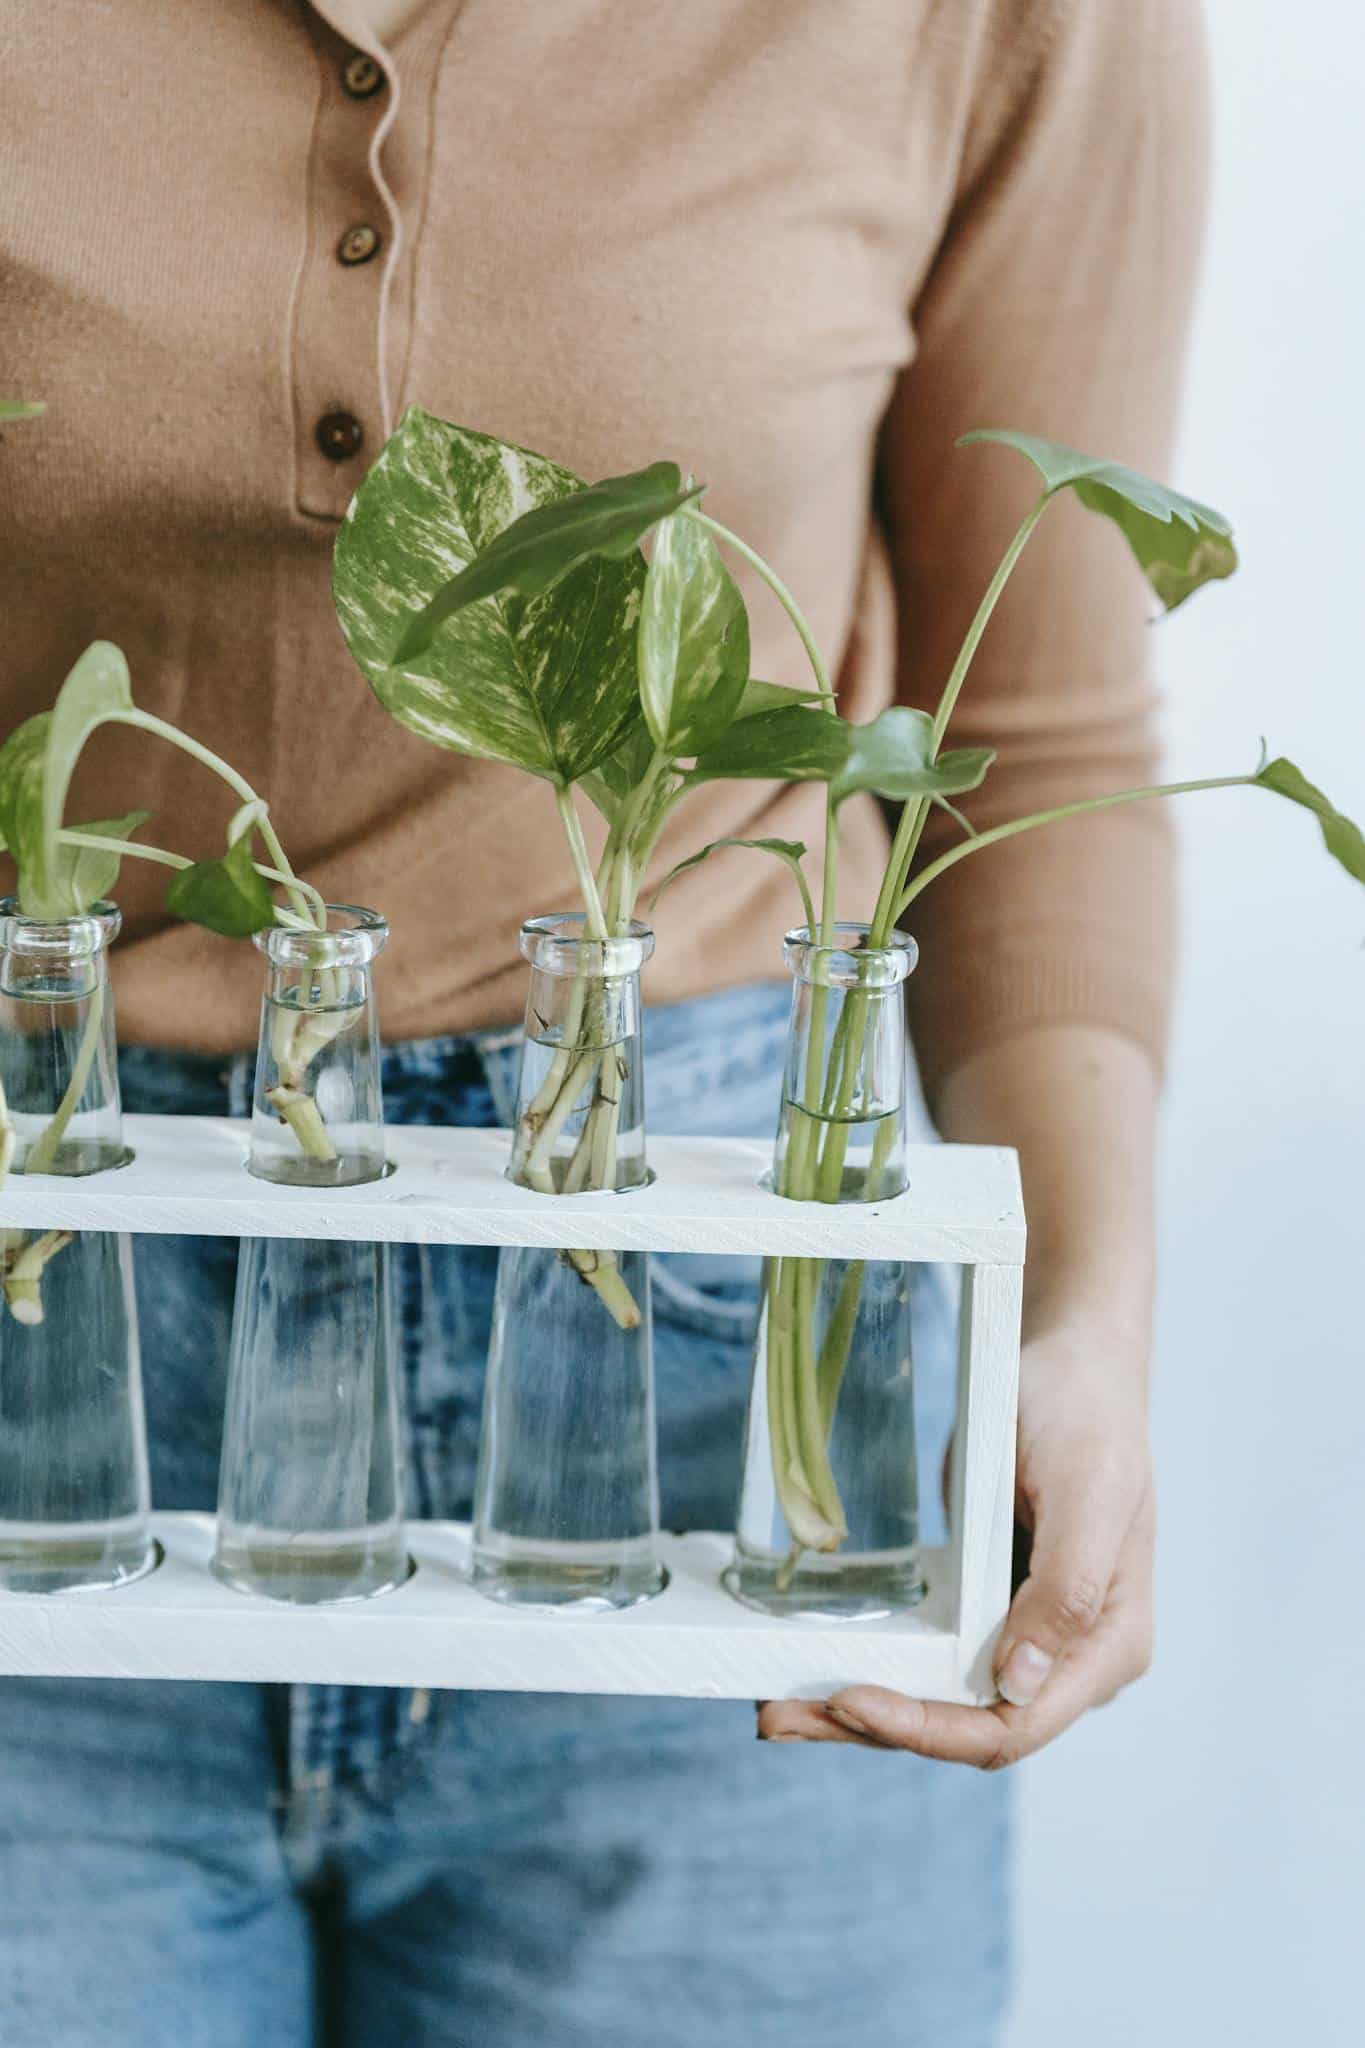
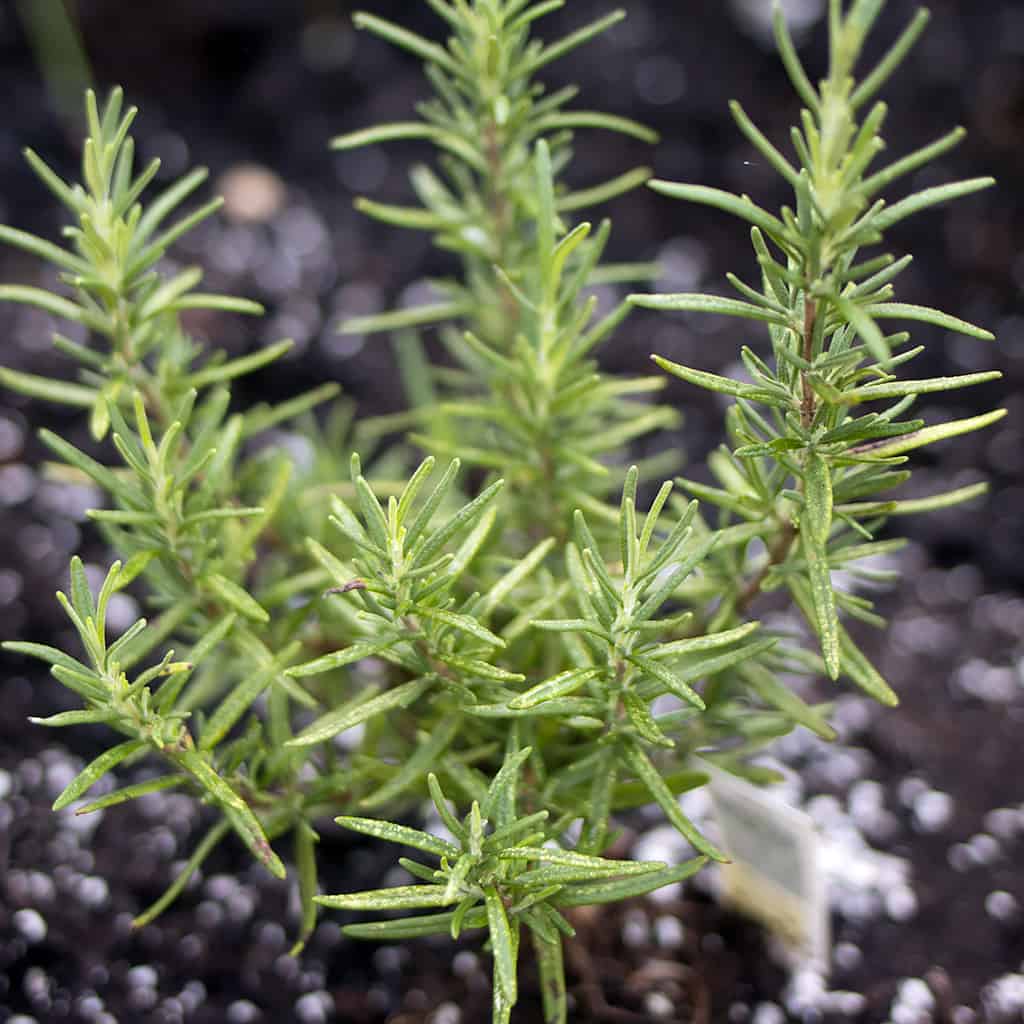
Fill your raised beds with high-quality soil and plant your vegetables, greens, and herbs. Great options for fall include kale, arugula, Swiss chard, and herbs like parsley and thyme.
If you enjoy growing your own food, you might also love projects like How to Protect Strawberry Plants from Birds or expanding into decorative builds like the DIY Raised Garden Bed Cover.
Benefits of Using Pea Gravel in Your Garden
One of the biggest advantages of pea gravel is how it improves drainage. Water flows through the stones instead of pooling, which helps protect plant roots and keeps your garden usable after rain .
It also creates a low-maintenance surface that doesn’t break down like mulch. Unlike wood chips, gravel doesn’t need to be replaced regularly and won’t attract pests.
Visually, pea gravel adds a clean, modern look to your garden. It defines the space and makes the entire setup feel more intentional and professionally designed.
Important Tips Before You Start
While pea gravel is great around raised beds, it’s generally best used as a pathway or surface layer rather than inside the beds themselves. In some cases, adding gravel at the bottom of beds can interfere with proper drainage and root growth if not done carefully .
Make sure to install edging to keep the gravel contained, as it can shift over time. Taking the time to prep your base and install fabric properly will make a big difference in how long your garden lasts.
Looking for more DIY Home Projects?
Frequently Asked Questions
Is pea gravel good for a vegetable garden?
Yes, pea gravel is an excellent choice for areas around raised garden beds. It improves drainage, reduces mud, and creates a clean walking surface. It also helps keep weeds under control when used with landscape fabric.
Should I put pea gravel inside raised garden beds?
In most cases, it’s better to use pea gravel around the beds rather than inside them. Raised beds already provide good drainage, and adding gravel underneath can sometimes interfere with root growth.
How deep should pea gravel be for garden paths?
A depth of about 2 to 3 inches is ideal for most garden paths. This provides enough coverage for stability while still allowing water to drain properly.
How do you keep weeds from growing in pea gravel?
The best way to prevent weeds is to install landscape fabric underneath the gravel. This blocks weeds from growing up through the stones while still allowing water to pass through.
Is pea gravel better than mulch for garden paths?
Pea gravel is lower maintenance than mulch because it doesn’t decompose or need to be replaced. It also provides better drainage and a cleaner look, making it a great long-term option.
How much pea gravel do I need?
The amount depends on the size of your space and the depth you want. On average, you’ll need about 1.5 cubic yards of gravel to cover 100 square feet at a depth of 2 inches.
Can I install this garden in a weekend?
Yes, this is a very manageable weekend project, especially if you have materials delivered ahead of time. The most time-consuming part is spreading the gravel, but the overall build is simple and beginner-friendly.
How do I make the garden look more professional?
To achieve a polished look, keep your layout symmetrical, use consistent materials, and define edges clearly. Clean lines, evenly spread gravel, and well-built beds will instantly elevate the appearance of your garden.
What to Plant in a Raised Vegetable Garden (Beginner-Friendly Ideas)
Once your raised vegetable garden with pea gravel is set up, the next step is deciding what to grow. One of the biggest advantages of raised beds is that they allow you to control your soil quality, making it easier to grow a wide variety of vegetables, herbs, and greens successfully.
If you’re just getting started, it’s best to choose low-maintenance, fast-growing plants that thrive in raised beds. Leafy greens like lettuce, spinach, and kale are excellent beginner options because they grow quickly and can be harvested multiple times throughout the season. Herbs such as basil, parsley, and chives are also easy to grow and add both flavor and beauty to your garden.
Root vegetables like carrots and radishes do especially well in raised beds because the loose, well-draining soil allows them to develop properly. Tomatoes, peppers, and cucumbers are also popular choices, especially if you add simple supports like stakes or trellises.
For fall gardening, consider planting cool-weather crops like arugula, Swiss chard, and broccoli. These plants thrive in cooler temperatures and can extend your growing season well into autumn.
If you’re planning your garden layout, try grouping plants with similar watering and sunlight needs together. This will make maintenance easier and help your garden stay healthy and productive.
You can also rotate your crops each season to keep your soil nutrient-rich and prevent pests. Over time, your raised garden will become more productive as the soil improves and your planting strategy evolves.
For more beginner-friendly projects to complement your garden, you might also enjoy creating a How to Build Tall Outdoor Planters, building a Raised Garden Bed Cover, or adding decorative elements like a Privacy Screen Planter to complete your outdoor space.
This raised vegetable garden with pea gravel DIY is one of the most effective ways to transform your backyard into a functional and beautiful space. It combines the practicality of raised beds with the clean, low-maintenance benefits of gravel, creating a garden you’ll actually enjoy spending time in.
Whether you’re growing vegetables, herbs, or seasonal greens, this setup makes gardening easier, cleaner, and more enjoyable. It’s a simple project with a big impact—and one you’ll appreciate every time you step outside.
✨ I’d love to see what you’re making! ✨
If you’ve tried one of my knitting patterns, crochet projects, DIYs, or recipes, share your finished project on Instagram and tag me so I can see it 💛
There’s nothing better than seeing your creations come to life—from cozy knits to delicious recipes and everything in between. It truly makes my day!
Tag me @ginamicheleny so I can share your work and cheer you on!
Happy making!