Easy DIY Retaining Wall Planter
Easy DIY Retaining Wall Planter- a weekend project with major curb appeal!
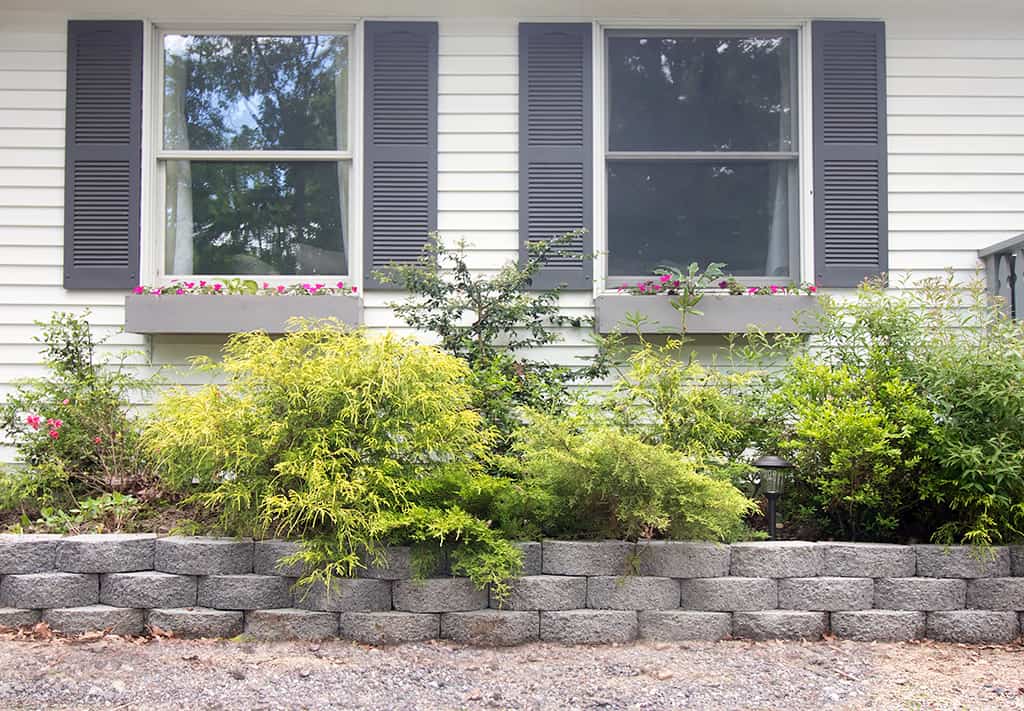
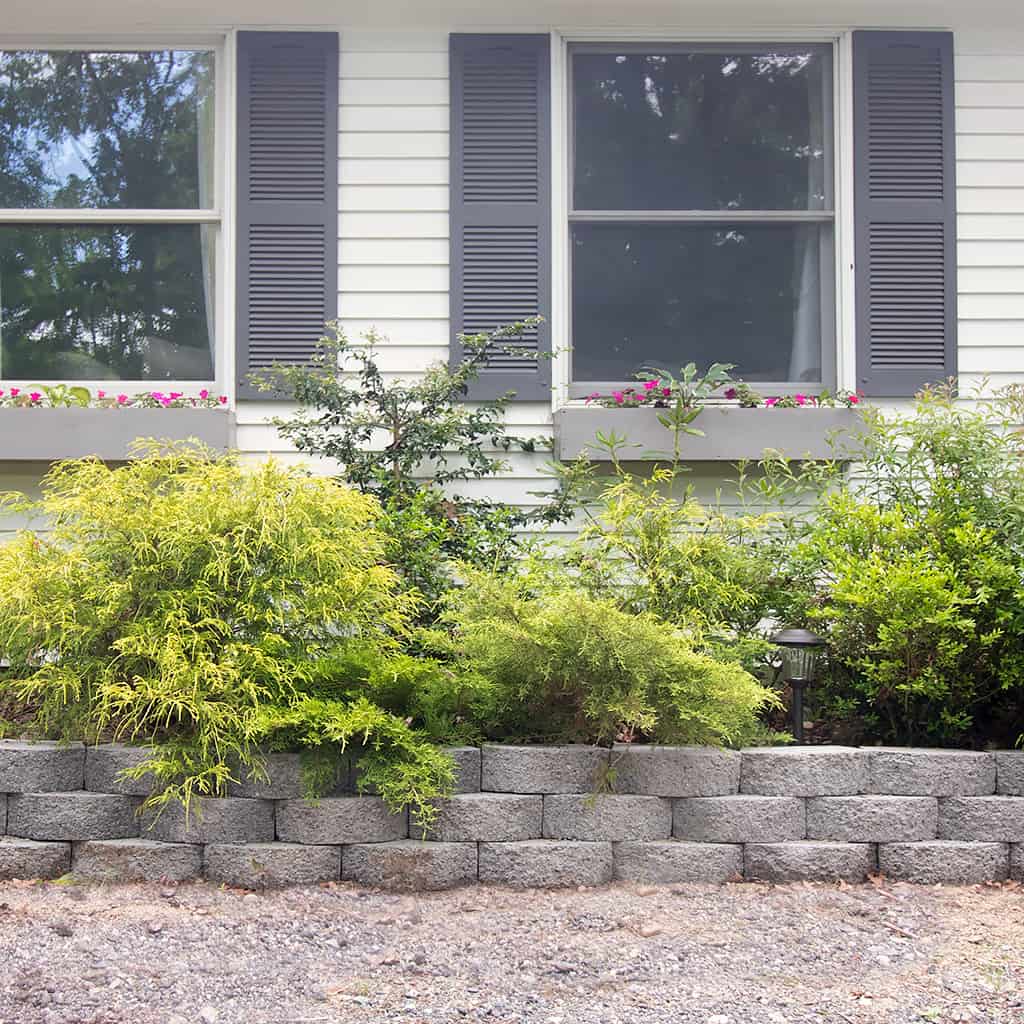
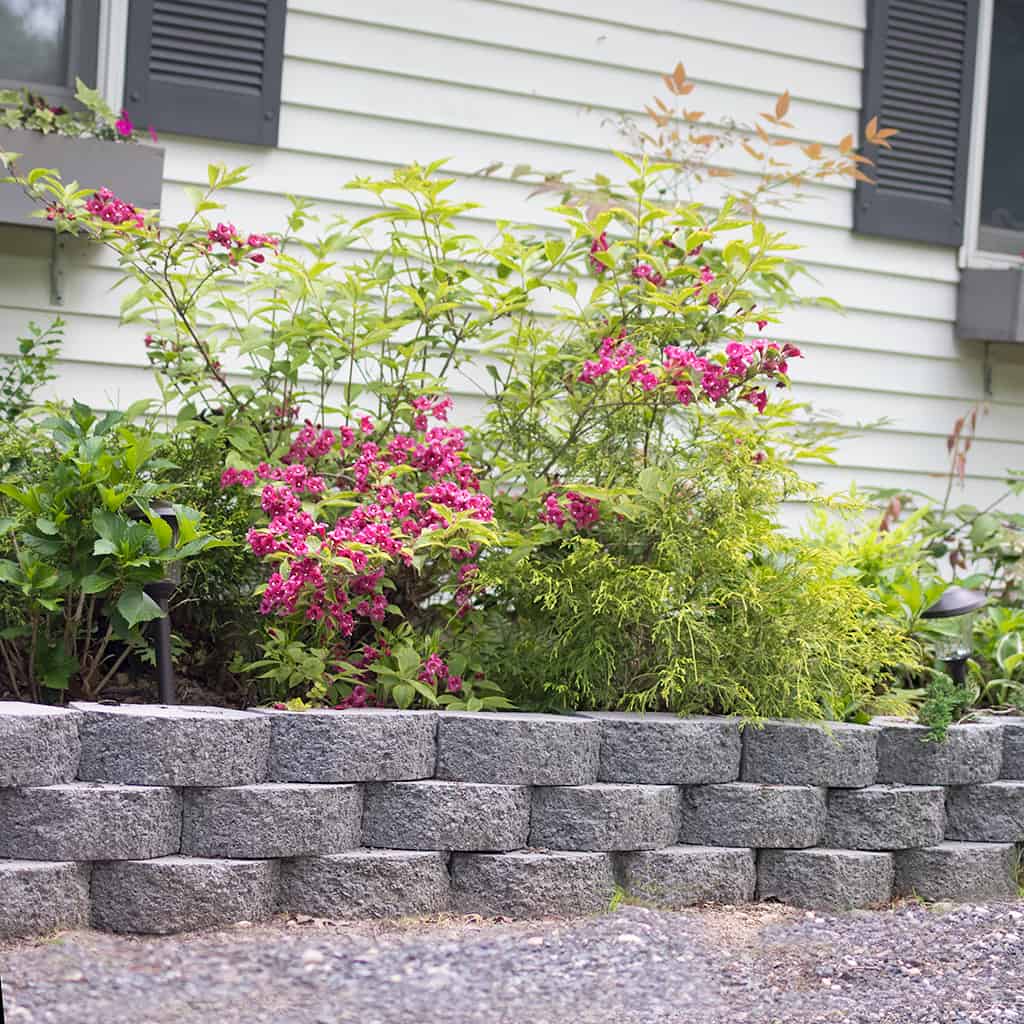
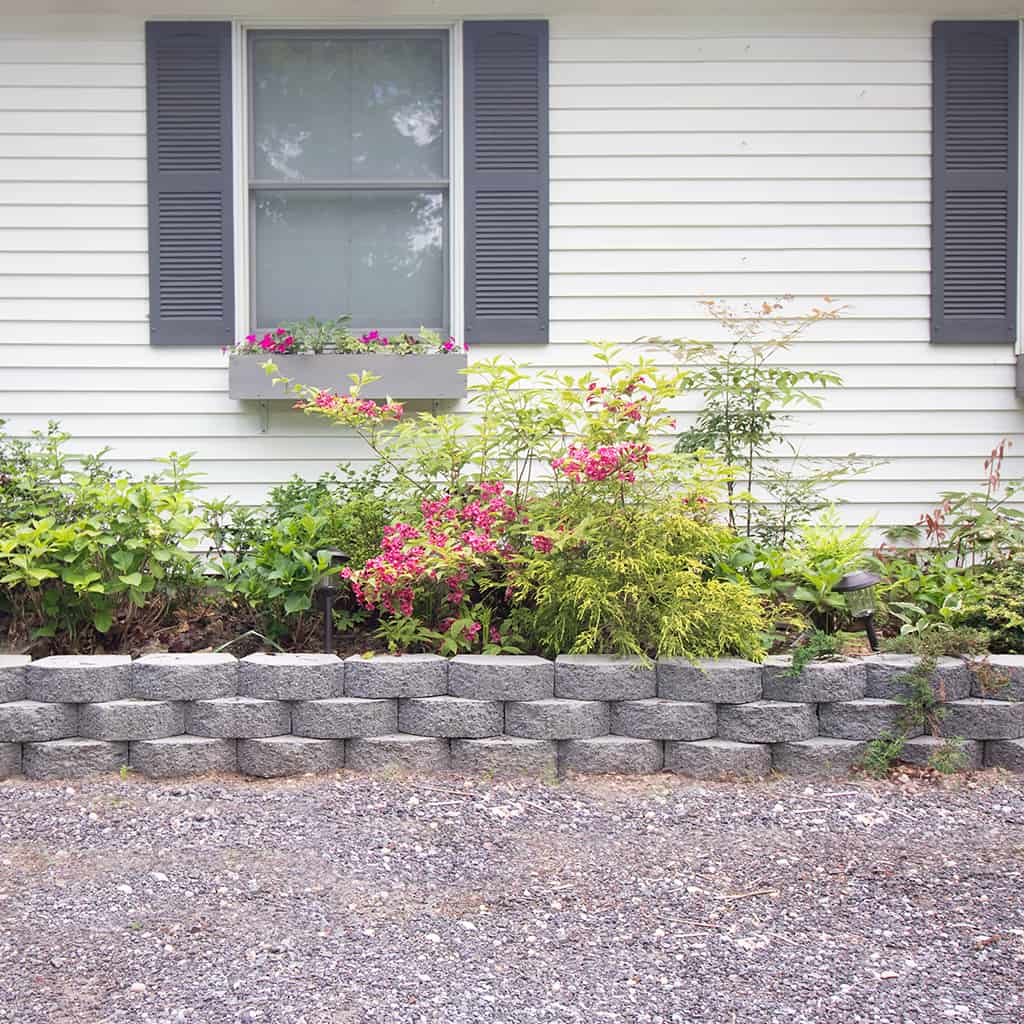
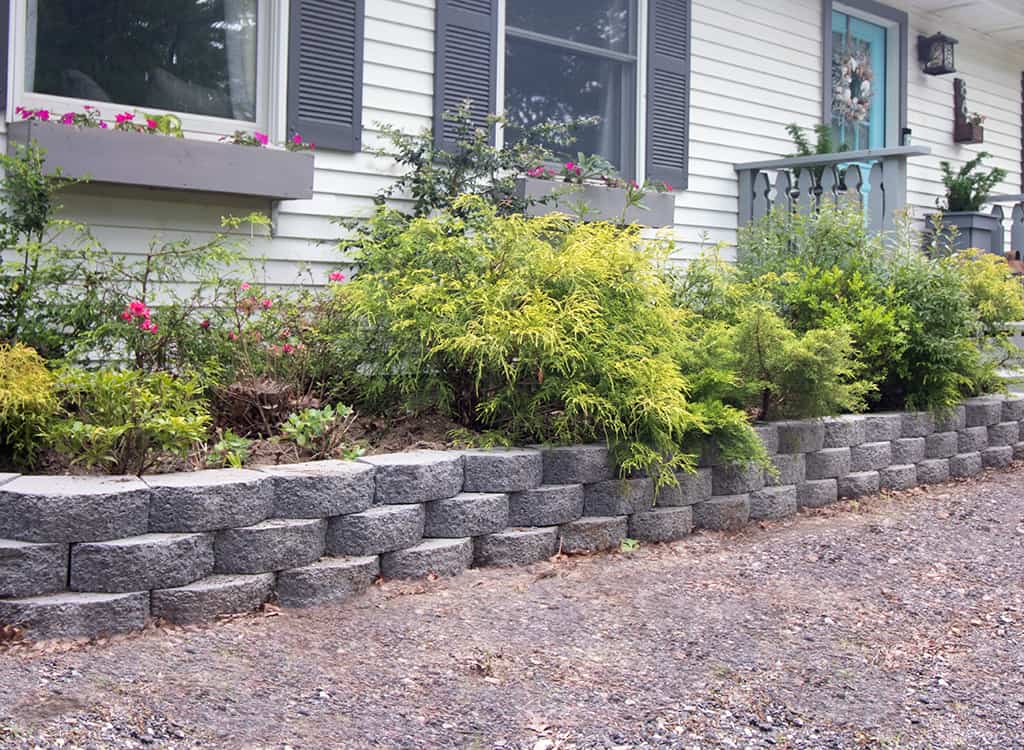
One of my DIY home improvement goals is to upgrade the curb appeal of my house. I wanted to swap out my messy retaining wall planter for one that looked more polished and matched the color scheme of my house.
This is an easy project that makes a major impact!
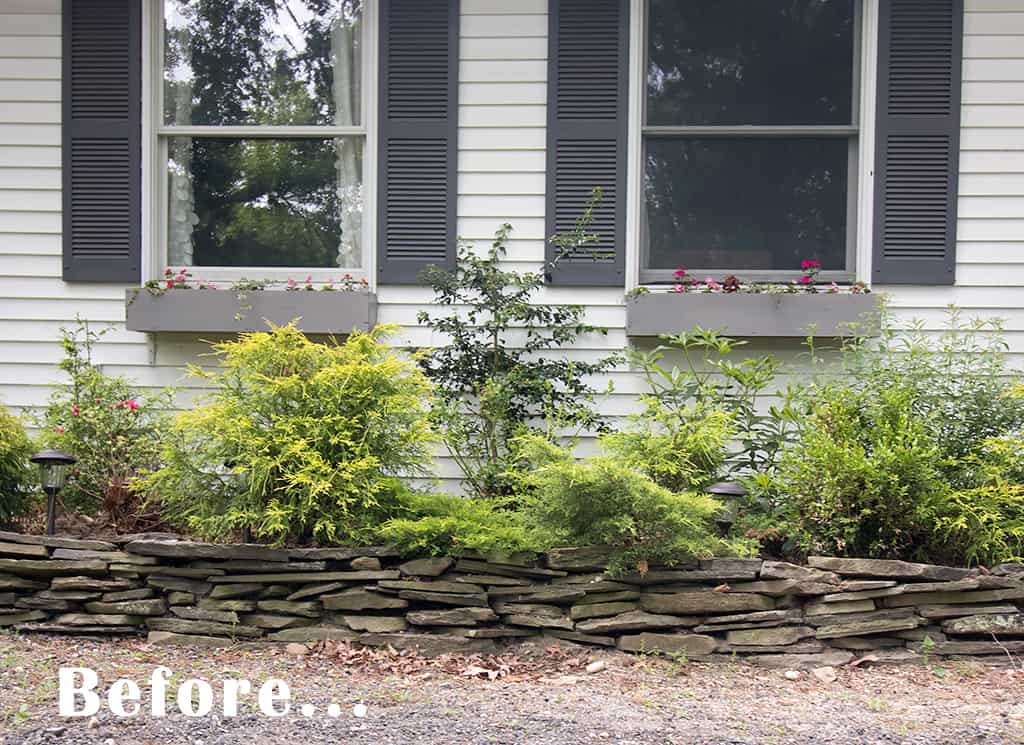
I previously had this slate stone border. It didn’t go with my style and it looked sloppy. It was dry-stacked (meaning no adhesive or mortar), so the stones would shift when the ice/snow thawed in the spring. It did nothing for the curb appeal and I was eager to change it!
I removed the stones and got to work!
Easy DIY Retaining Wall Planter
Supplies needed:
Prep work:
I bought these retaining wall blocks in the gray color.
The first step is to plan and mark where you want the retaining wall to go.
To bury the first row about halfway, dig the trench about 4 inches deep and 12 inches wide (twice the width of the block
With the layout marked, you can begin digging the trench. To bury the first row about halfway, dig the trench about 4 to 6 inches deep and 12 inches wide, or twice the width of the block.
Tamp down the dirt with a hand tamper to make it level.
Fill the trench with about 3 inches of paver base, spread it with a rake, and tamp it down. Now it’s time to install the blocks!
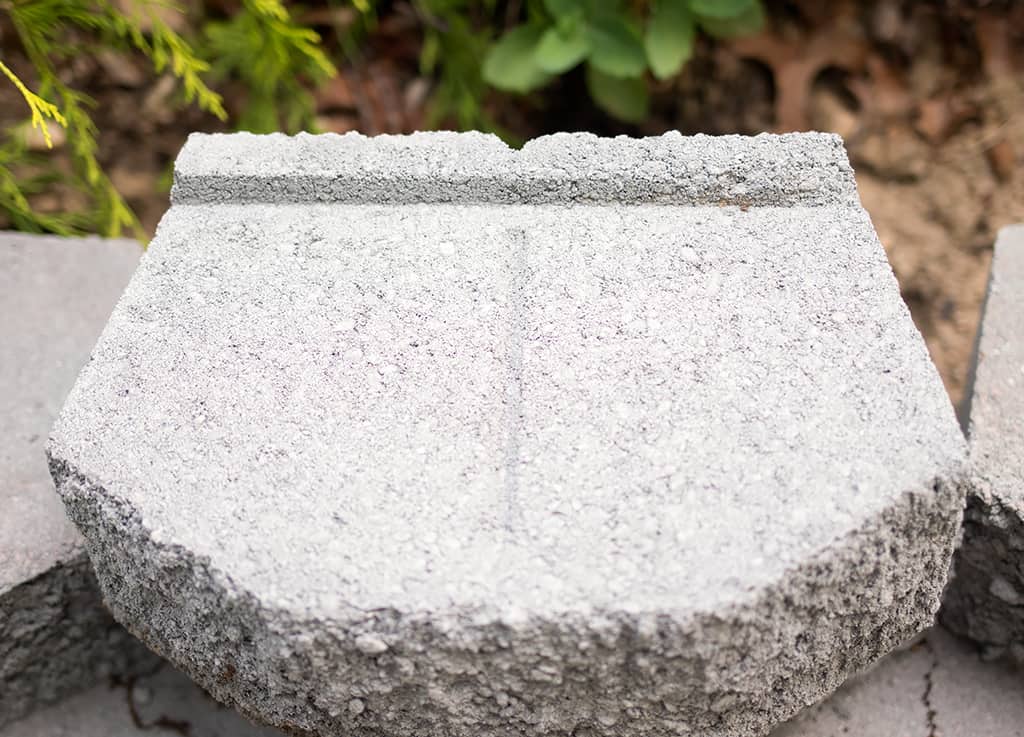
For row one, knock off the flanges (the lip at the back of the block- see above) with a hammer and chisel so the blocks will sit flat.
Begin at the end and set the first block in place. Use a level to make sure it’s even side to side and front to back.
Place the next block down, making sure it’s even with the first. Continue adding blocks to the first row, checking to make sure they’re level. Work until the row is complete.
To start the second row you’ll have to cut a block to stagger the joints. The blocks I used were scored down the middle. A few strikes with the chisel and hammer neatly separated the block in half!
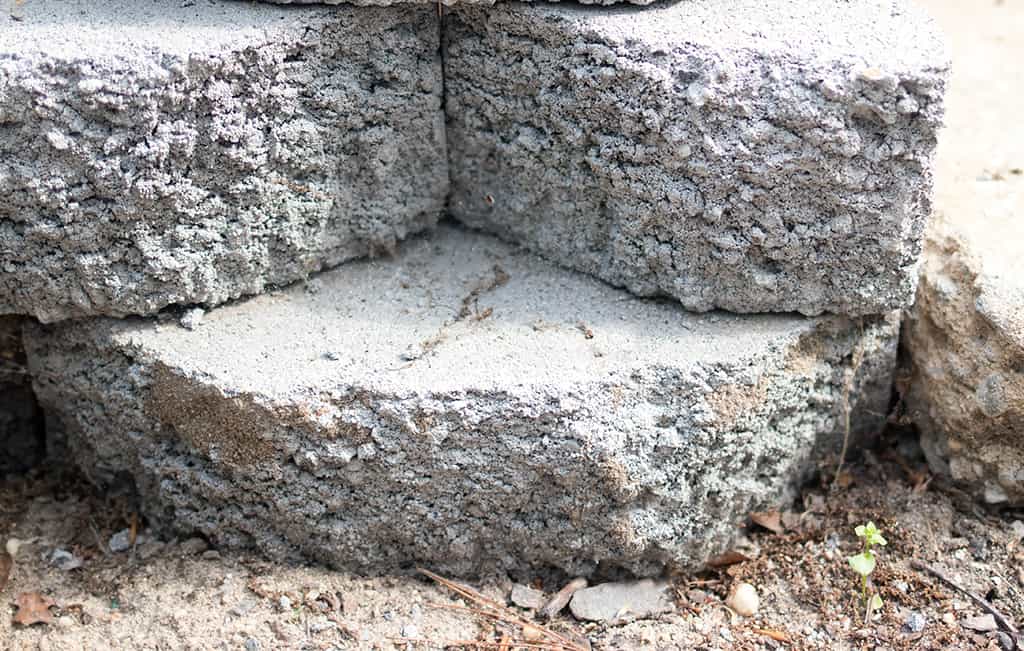
Put the cut block in place, keeping the flange tight against the first row. Check to make sure it is level and continue across row, securing each block in place with concrete adhesive.
I added a third row and secured each block in place using concrete adhesive.
That’s it! A big upgrade that was easy to do!
Looking for more home DIY projects?

