Easy DIY Retaining Wall Planter (Beginner-Friendly & Budget Backyard Upgrade)
Learn how to build an easy DIY retaining wall planter using simple blocks and tools. This beginner-friendly project adds instant curb appeal and creates a beautiful raised garden bed.
If you’re looking for a simple, high-impact outdoor project, this easy DIY retaining wall planter is one of the best upgrades you can make to your yard. It’s affordable, beginner-friendly, and instantly makes your landscaping look more polished and intentional.
Whether you’re dealing with a messy garden edge, a sloped yard, or just want a cleaner look, a retaining wall planter creates structure, improves drainage, and adds serious curb appeal. Even better? You can build it in a weekend.
Retaining walls aren’t just decorative—they help prevent soil erosion and create usable planting space, especially in uneven yards . This makes them one of the most practical DIY landscaping projects you can take on.
Why You’ll Love This DIY Project
This project is perfect if you want something that feels like a big transformation without a complicated build.
A retaining wall planter:
Creates clean, defined garden beds
Keeps soil in place and prevents shifting
Adds height and visual interest
Works beautifully for flowers, herbs, or shrubs
Can double as a subtle seating edge
It’s one of those rare projects that looks expensive—but is surprisingly easy to do yourself.
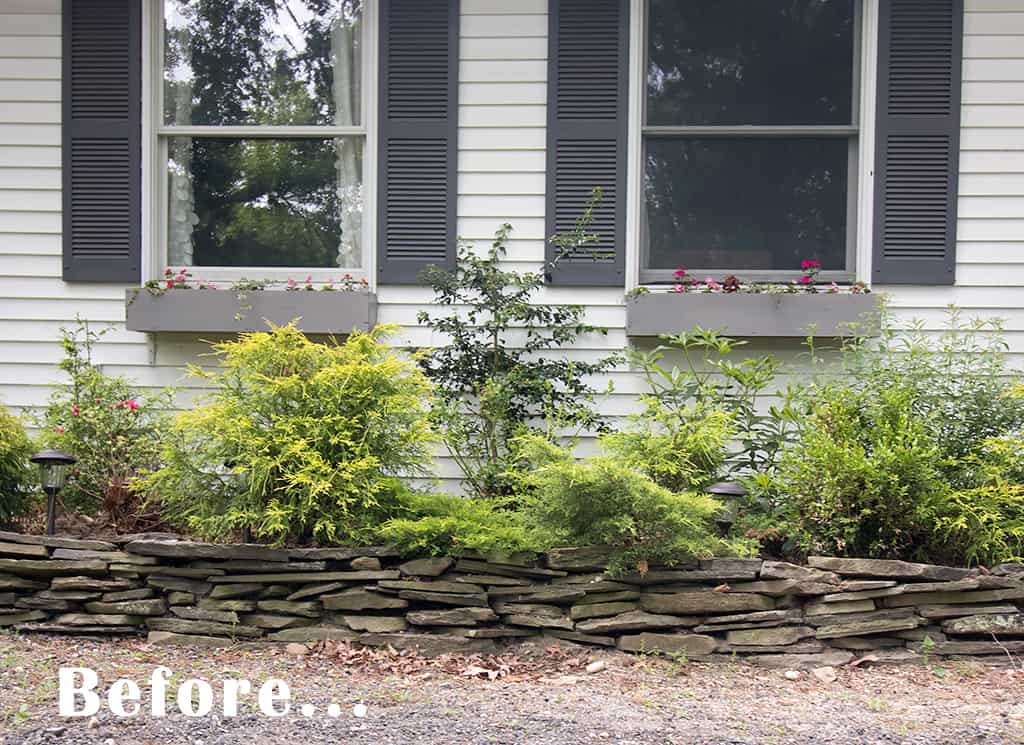
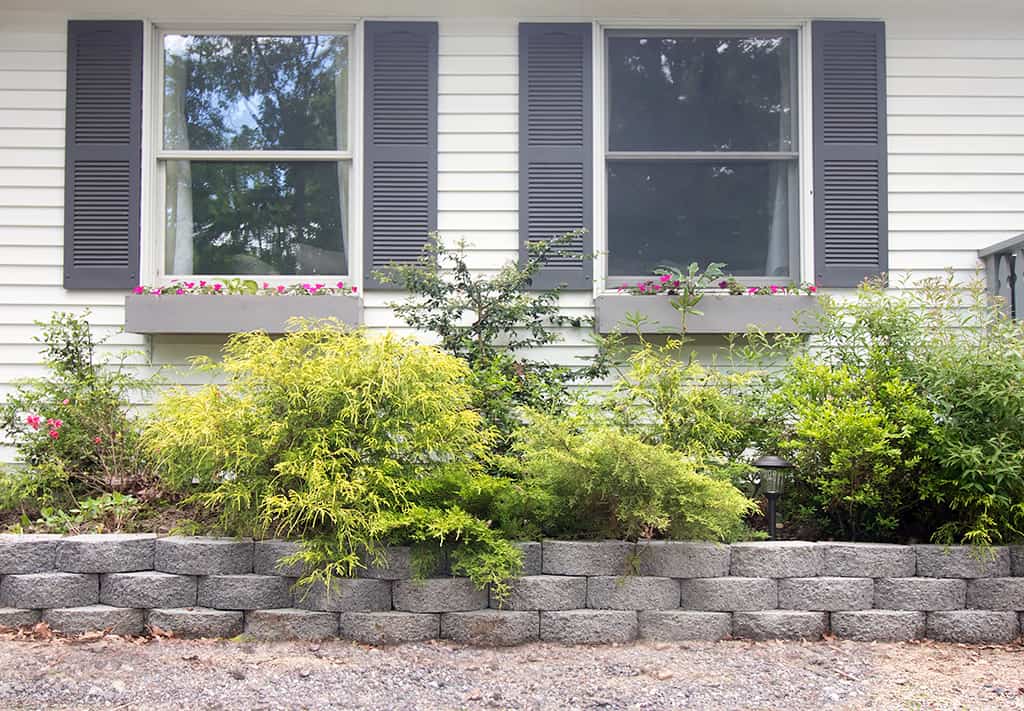
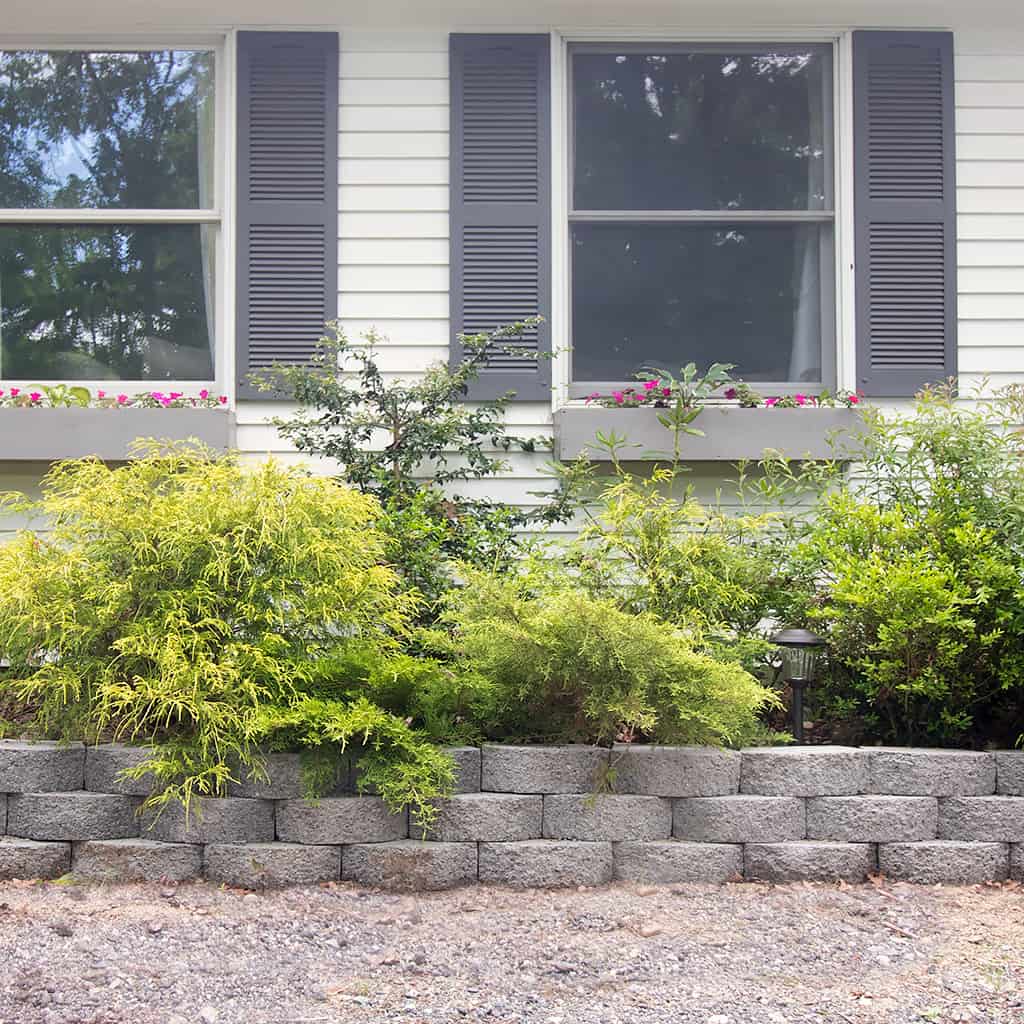
I previously had this slate stone border. It didn’t go with my style and it looked sloppy. It was dry-stacked (meaning no adhesive or mortar), so the stones would shift when the ice/snow thawed in the spring. It did nothing for the curb appeal and I was eager to change it!
I removed the stones and got to work!
Easy DIY Retaining Wall Planter (Beginner-Friendly & Budget Backyard Upgrade)
(As an Amazon associate, I earn from qualifying purchases)
Materials You’ll Need
This is a very approachable project with minimal tools.
Supplies:
- Retaining wall blocks
- Paver base or gravel
- Landscape fabric
- Concrete adhesive
- Topsoil + plants
Tools:
- Shovel
- Level
- Rubber mallet
- Drilling hammer + Masonry chisel
Concrete retaining wall blocks are especially beginner-friendly because they’re designed to interlock and stack easily, which simplifies construction
Step 1: Plan Your Layout
Before you start digging, take a few minutes to map out your design.
Decide:
Length and height of your planter
Shape (straight, curved, or tiered)
What you’ll plant
Mark the outline using spray paint, stakes, or string.
👉 Tip: Keep your wall under 2–3 feet tall for an easy DIY build.
Step 2: Dig and Prep the Base
The most important part of your retaining wall is the base.
Dig a trench:
About 4–6 inches deep
About twice the width of your blocks
Then:
Tamp the soil flat
Add ~3 inches of paver base or gravel
Level and compact it thoroughly
A strong, level base is critical—most of your time should be spent here for the best results.

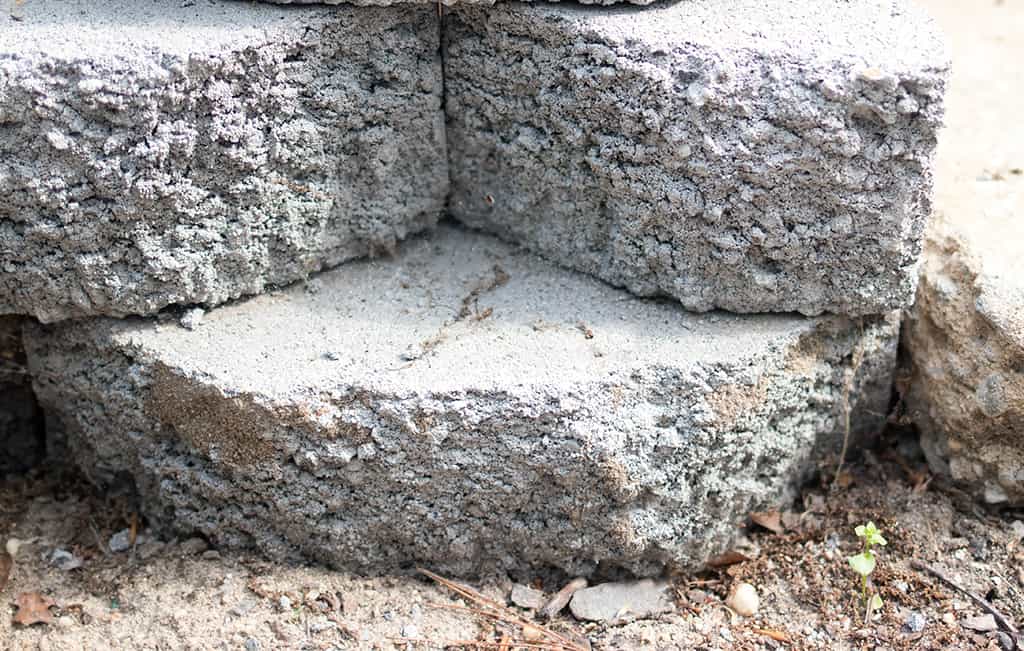
Step 3: Lay the First Row (The Most Important Step)
For row one, knock off the flanges (the lip at the back of the block- see above) with a hammer and chisel so the blocks will sit flat.
Begin at the end and set the first block in place. Use a level to make sure it’s even side to side and front to back.
Place the next block down, making sure it’s even with the first. Continue adding blocks to the first row, checking to make sure they’re level. Work until the row is complete.
Step 4: Build Up the Wall
To start the second row you’ll have to cut a block to stagger the joints. The blocks I used were scored down the middle. A few strikes with the chisel and hammer neatly separated the block in half!
Put the cut block in place, keeping the flange tight against the first row. Check to make sure it is level and continue across row, securing each block in place with concrete adhesive.
I added a third row and secured each block in place using concrete adhesive.
Step 5: Add Drainage (Don’t Skip This)
Drainage is what keeps your wall from failing over time.
Behind the wall:
Add landscape fabric
Fill with gravel
Then add soil on top
Water buildup behind a retaining wall can create pressure and lead to cracking or shifting, so proper drainage is essential
Step 6: Fill Your Planter
Now for the fun part—planting.
Fill your planter with:
High-quality garden soil
Flowers, herbs, or greenery
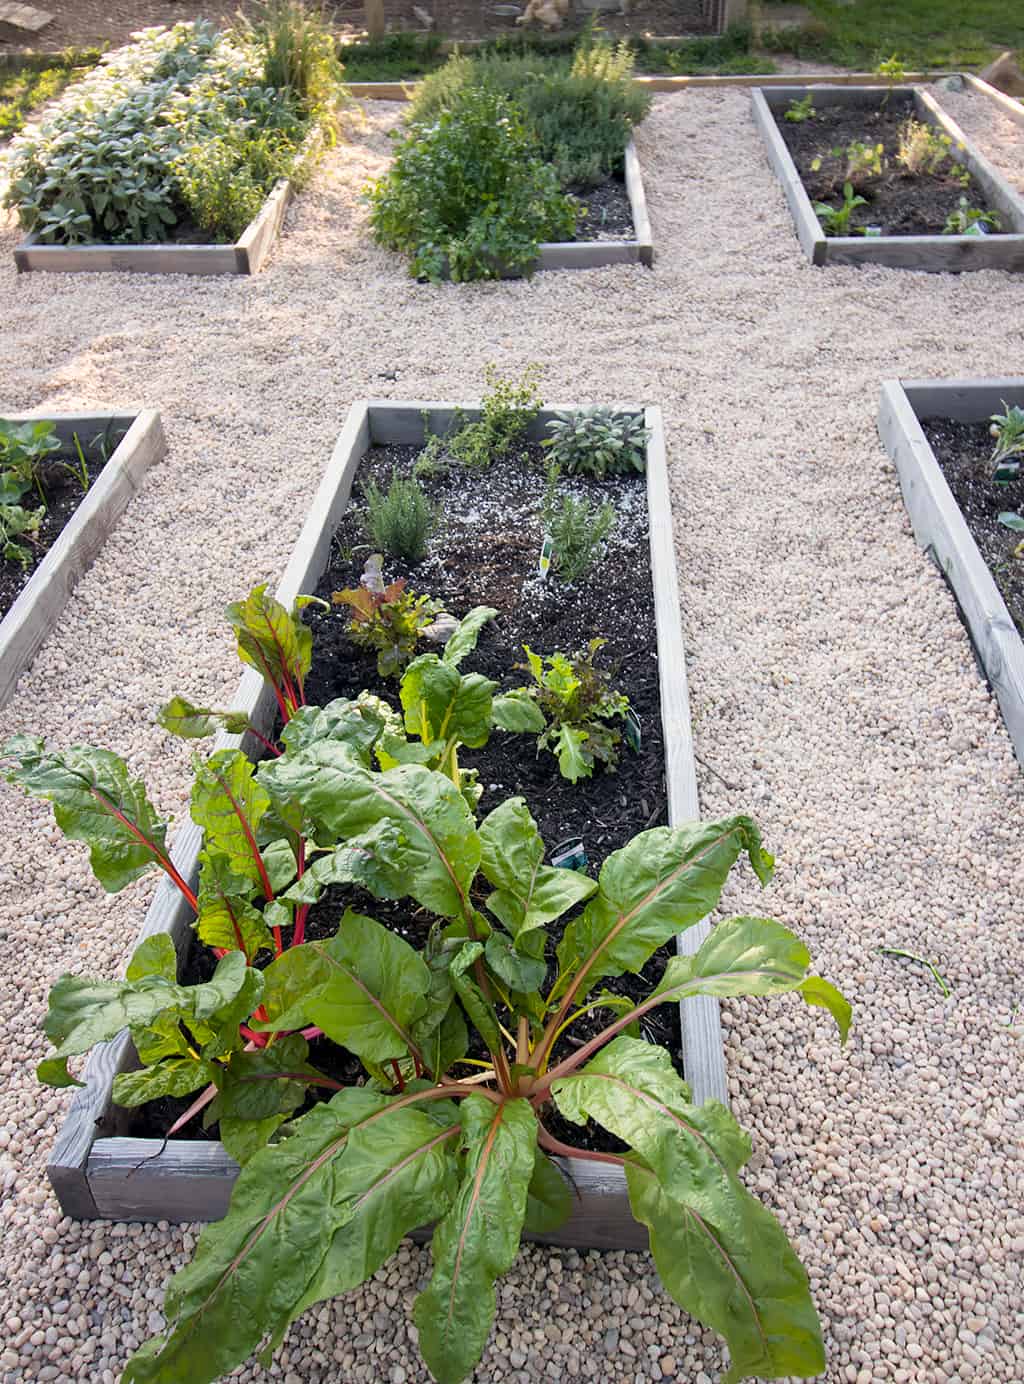
Great options include:
Lavender
Boxwood
Hydrangeas
Herbs like rosemary or thyme
Design Ideas to Elevate Your Planter
Once you’ve built your base structure, you can customize the look.
Try:
Curved walls for a softer feel
Tiered planters for depth
Mixing block colors
Adding solar lights
Creating a built-in seating edge
Retaining walls can be both functional and decorative, helping define outdoor spaces while improving usability .
Common Mistakes to Avoid
Even though this is beginner-friendly, a few mistakes can cause problems later.
Avoid:
Skipping the base prep
Not leveling the first row
Forgetting drainage
Building too tall without support
Using poor-quality soil

How Much Does It Cost?
This project is very budget-friendly.
Typical cost:
$100–$300 depending on size
You can save money by:
Using standard landscape blocks
Keeping the design simple
Repurposing leftover materials
Concrete and block retaining walls are one of the most cost-effective landscaping upgrades you can make .
How Long Does It Take?
Most DIYers can complete this project in:
1–2 days total
Day 1: Dig + base prep
Day 2: Build + plant
More Easy DIY Projects You’ll Love
If you liked this project, you might also enjoy:
👉 Easy Pea Gravel Patio
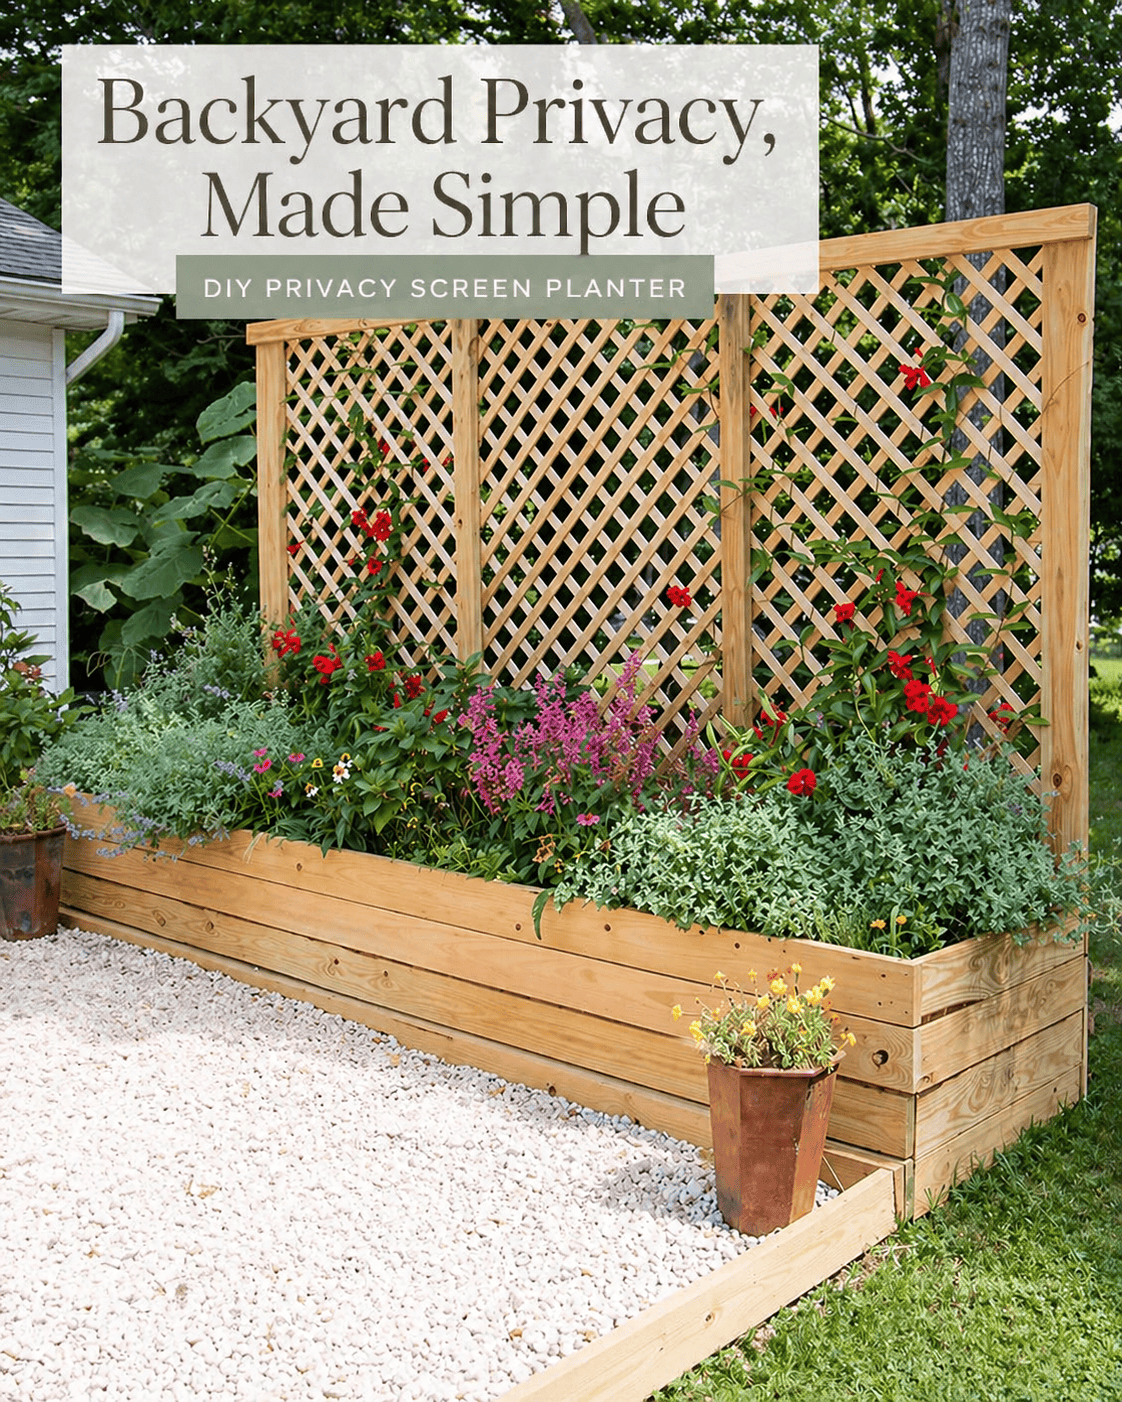
👉 DIY Privacy Screen Planter
👉 DIY Porch Swing
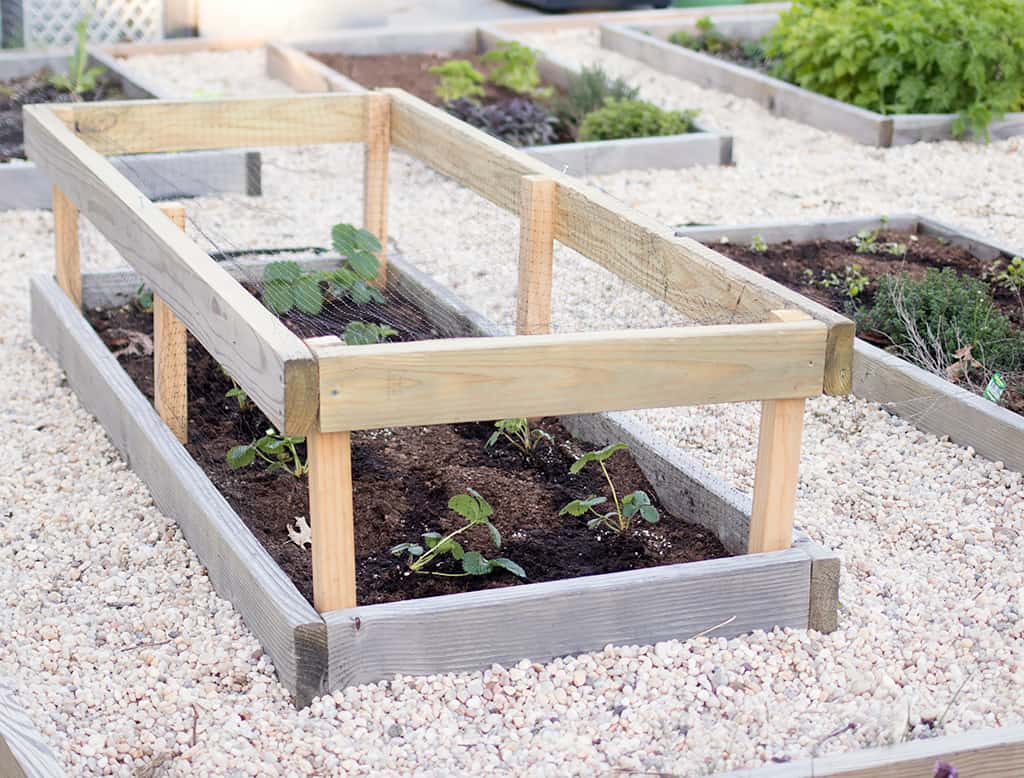
👉 Raised Garden Bed DIY
FAQ about Easy DIY Retaining Wall Planter (Beginner-Friendly & Budget Backyard Upgrade)
Is this DIY retaining wall planter beginner-friendly?
Yes—this is one of the easiest landscaping projects you can try. Because it uses stackable retaining wall blocks and simple tools, it doesn’t require advanced skills. As long as you take your time leveling the base and first row, the rest of the build is very straightforward.
Do I need to use mortar or adhesive?
Most small retaining wall planters can be built without mortar, but using concrete adhesive between rows adds extra stability and helps prevent shifting over time. Many modern retaining wall blocks are designed to interlock, making them even easier to work with.
How tall can I build a retaining wall planter?
For DIY projects, it’s best to keep your wall under 2–3 feet tall. Taller walls require additional reinforcement and may need permits or professional installation depending on your area. Even shorter walls hold significant weight due to soil and water pressure.
What should I put behind the retaining wall?
Proper layering is key:
Landscape fabric
Gravel for drainage
Soil for planting
This setup allows water to drain properly and reduces pressure on the wall, which helps prevent cracks or failure over time.
What plants work best in a retaining wall planter?
Choose plants based on sunlight and climate, but some easy options include:
Perennials like lavender and hostas
Small shrubs like boxwood
Herbs like thyme and rosemary
If your planter is shallow, stick with plants that don’t require deep roots.
Can I build this on a slope?
Yes—retaining wall planters are perfect for sloped yards. They help level the space, prevent erosion, and create usable planting areas. You may need to “step” the wall slightly to follow the slope while keeping each row level.
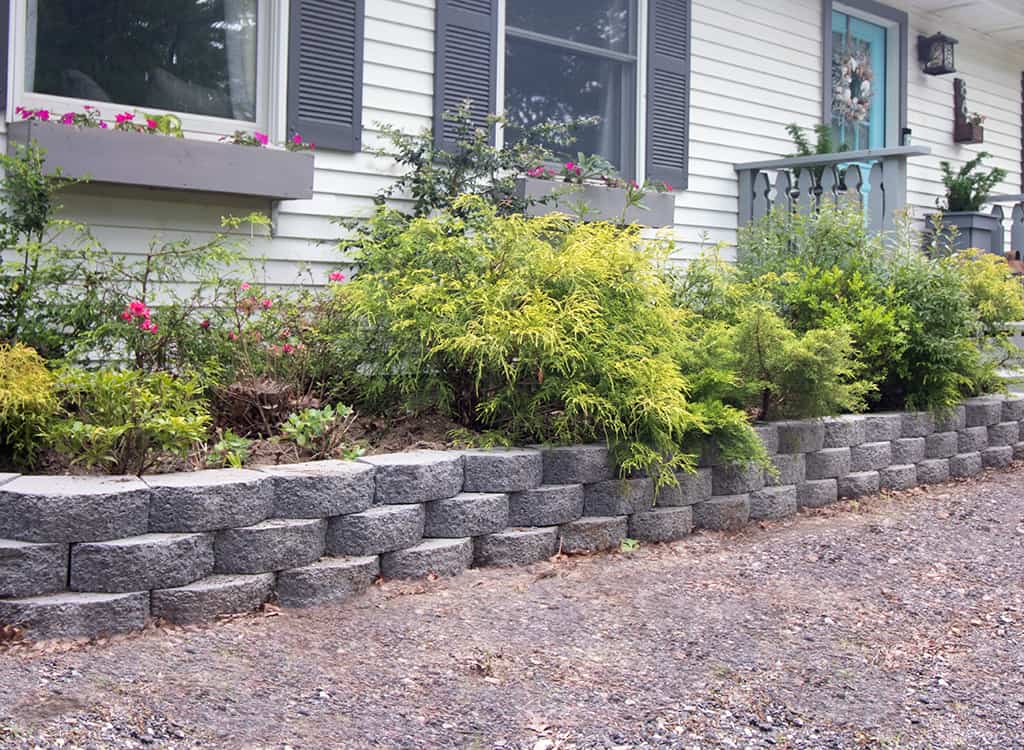
How do I make my planter look more high-end?
To elevate the look:
Choose neutral-toned blocks
Keep lines clean and simple
Add layered plants (tall, medium, low)
Use mulch for a finished look
Even a simple retaining wall can dramatically improve curb appeal when styled thoughtfully.
Looking for more home DIY projects?
Porch Swing DIY
DIY Privacy Screen Planter
DIY Pea Gravel Patio
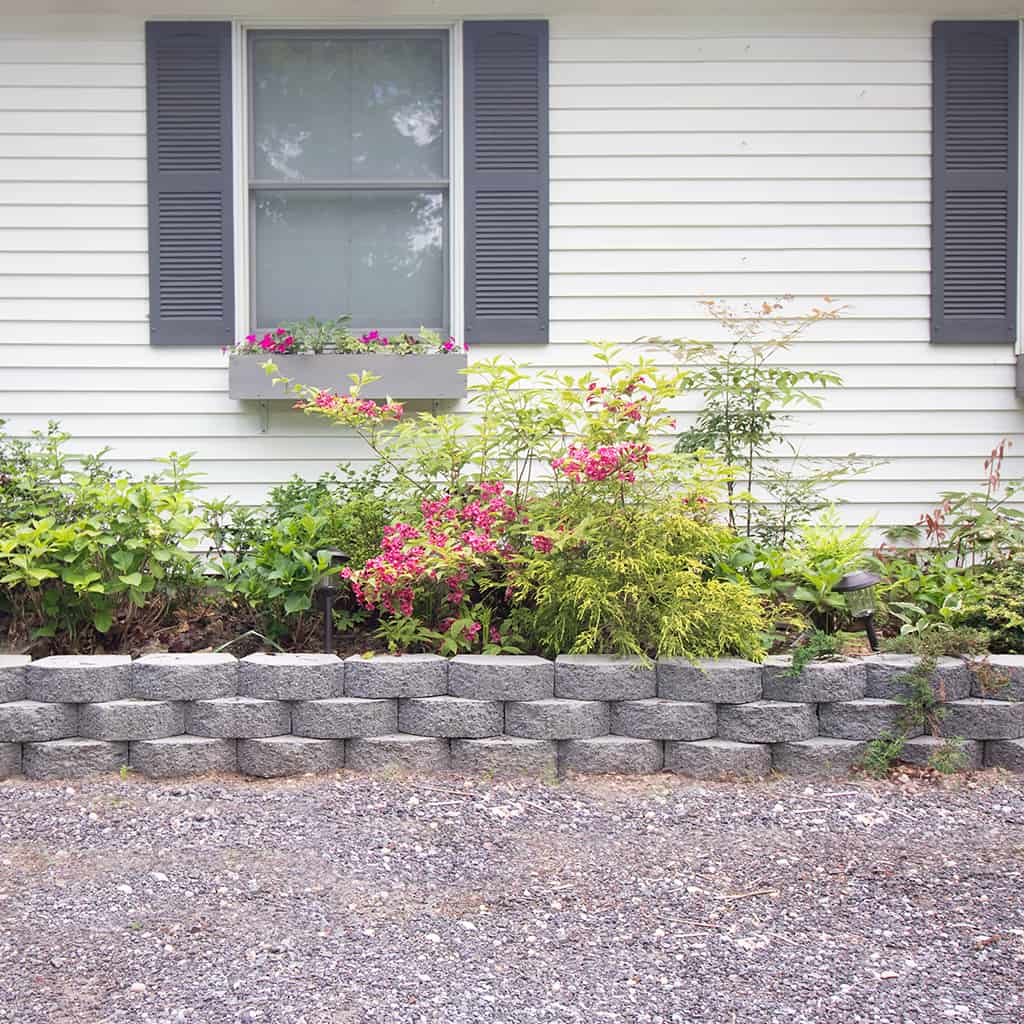
Building an easy DIY retaining wall planter is one of those projects that delivers instant results without requiring a huge investment of time or money. It’s simple enough for beginners, but the finished look feels polished, structured, and professionally designed. Whether you’re upgrading a small corner of your yard or transforming your entire outdoor space, this project creates a foundation you can build on season after season.
What makes this project especially rewarding is how customizable it is. You can keep it minimal with clean lines and greenery, or layer in flowers, herbs, and decorative elements to match your personal style. As your plants grow in, the planter will only get better over time—adding texture, color, and life to your space.
If you’ve been wanting to refresh your yard but didn’t know where to start, this is a perfect first step. It’s practical, beautiful, and achievable in a weekend, which makes it one of the most satisfying DIY landscaping projects you can take on.
✨ I’d love to see what you’re making! ✨
If you’ve tried one of my knitting patterns, crochet projects, DIYs, or recipes, share your finished project on Instagram and tag me so I can see it 💛
There’s nothing better than seeing your creations come to life—from cozy knits to delicious recipes and everything in between. It truly makes my day!
Tag me @ginamicheleny so I can share your work and cheer you on!
Happy making!