How to Build Tall Outdoor Planters
How to Build Tall Outdoor Planters- an inexpensive DIY project that adds major curb appeal!
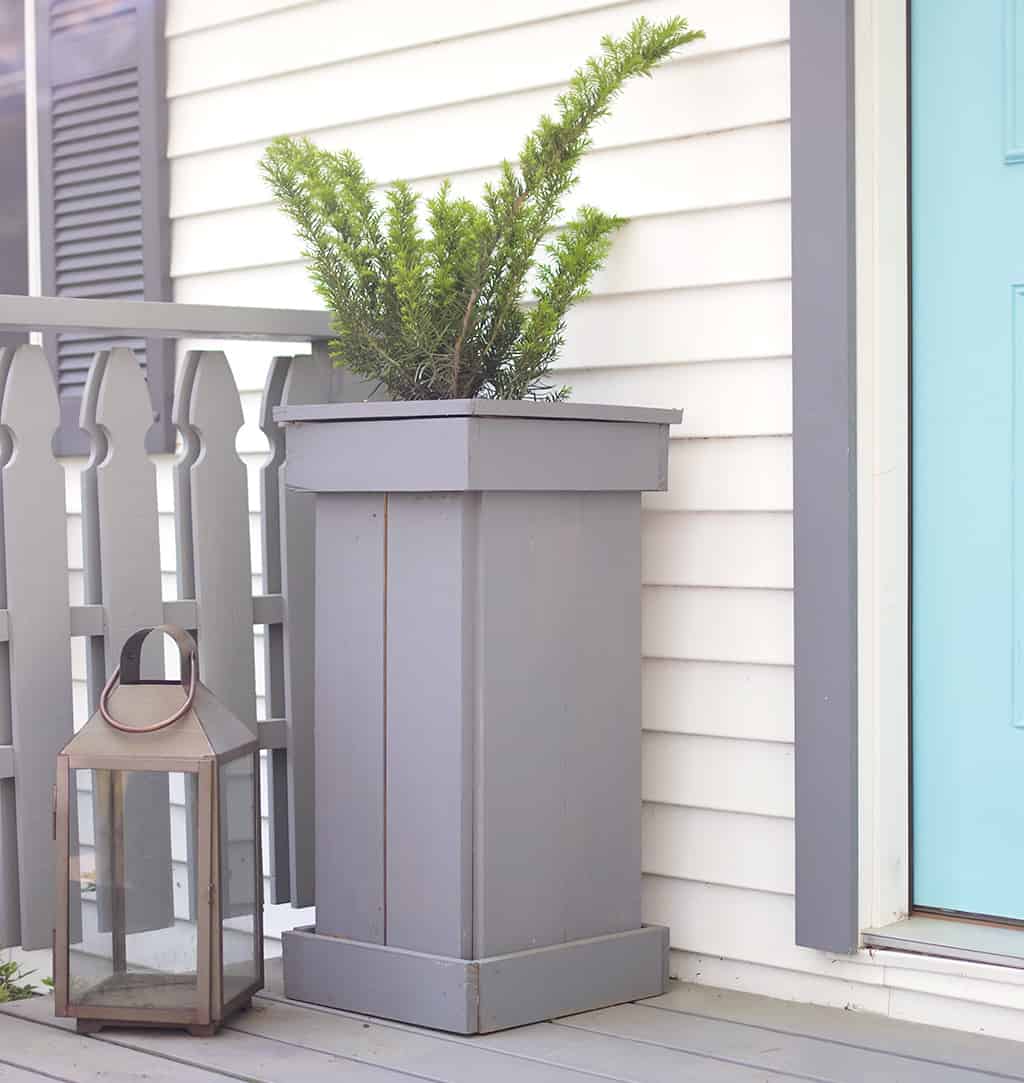
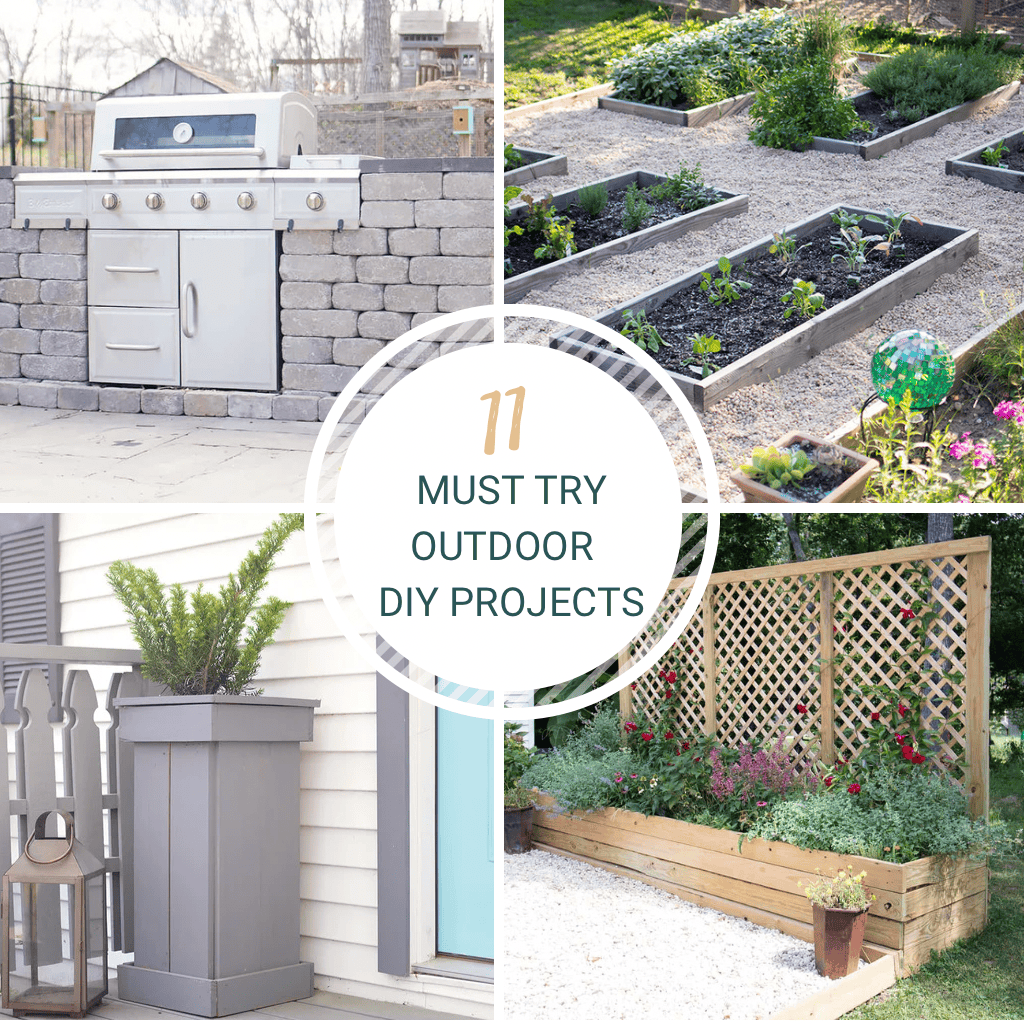
I had been searching for tall planters for my front porch for quite some time. The ones I found were either very expensive or not the style I wanted. Naturally, I decided to go the DIY route!
This planter is inexpensive to make (the wood was approximately $30) and it’s simple enough for beginners. The top of the planter is mitered (45 degree angles), but otherwise all the cuts are straight.
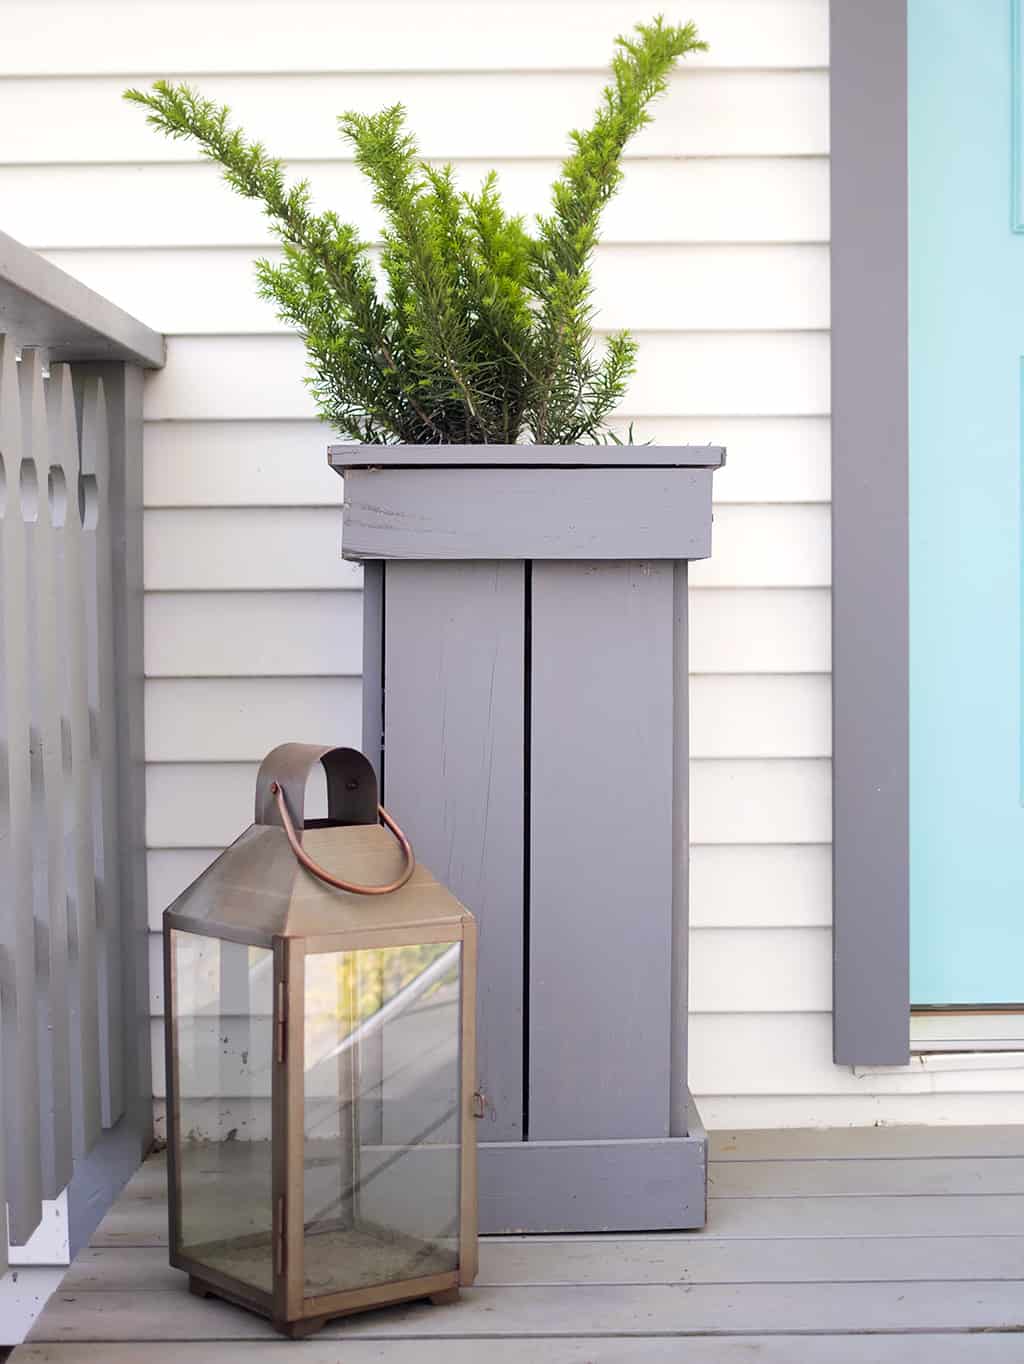
I make a pair of these planters for the front porch and I love the way they turned out! The evergreen Yews add a pop of color and the height of the planters add vertical interest. I also think it would look great with vines hanging over the edge.
These tall wood planters will upgrade any porch, patio, deck or outdoor space!
KEEP IN TOUCH! FOR MORE INSPIRATIONS, PROJECTS, AND FREE KNITTING PATTERNS, SIGN UP FOR OUR WEEKLY NEWSLETTER:
How to Build Tall Outdoor Planters
Finished planters measure approximately 31 inches tall and 15 1/2 inches wide (at the top)
Wood needed (makes one):
I used pine but you can also use cedar.
2 X 4 x 8: 1 total
1 X 6 x 8: 3 total
1 x 4 x 12: 1 total
2 1/2 inch Exterior wood screws
Measuring tape
Finish nails (or use Brad nail gun)
Tools:
Miter Saw (or circular saw)
Drill
Hammer or Brad nailer
Tall Planter Box Instructions
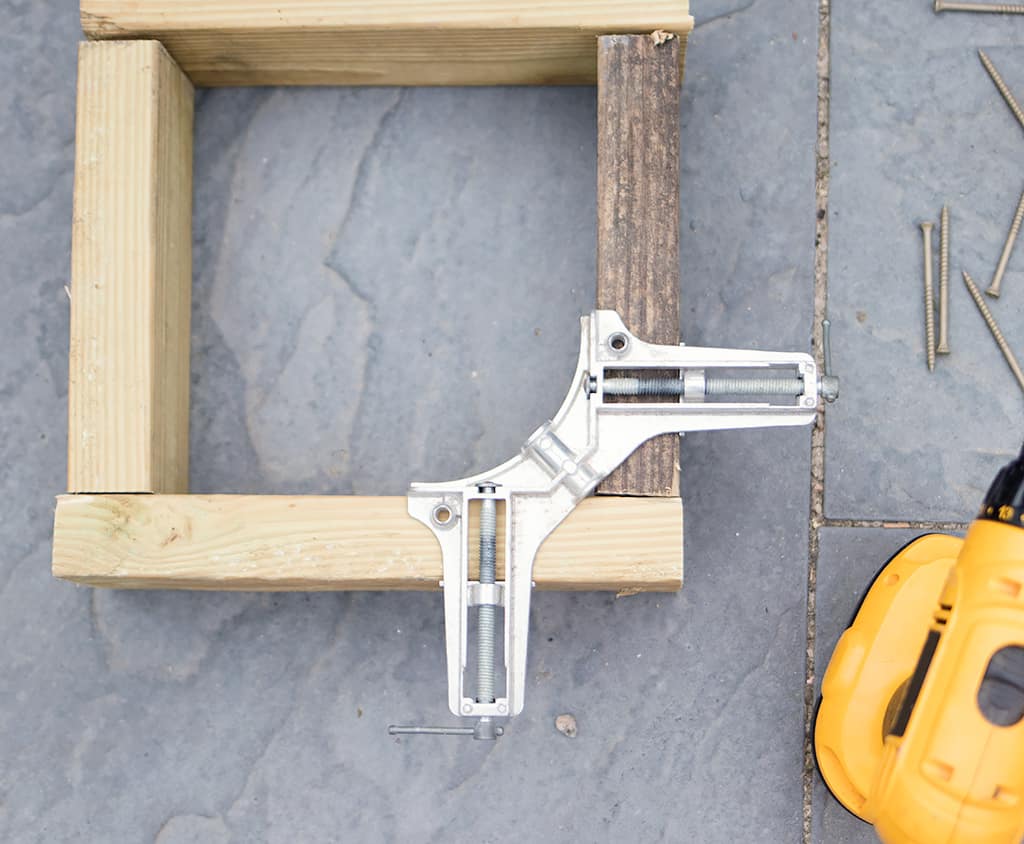
Cut the 2 x 4 into 8 sections measuring 12 inches long each. Attach corner clamps and secure them together at the sides to form a square.
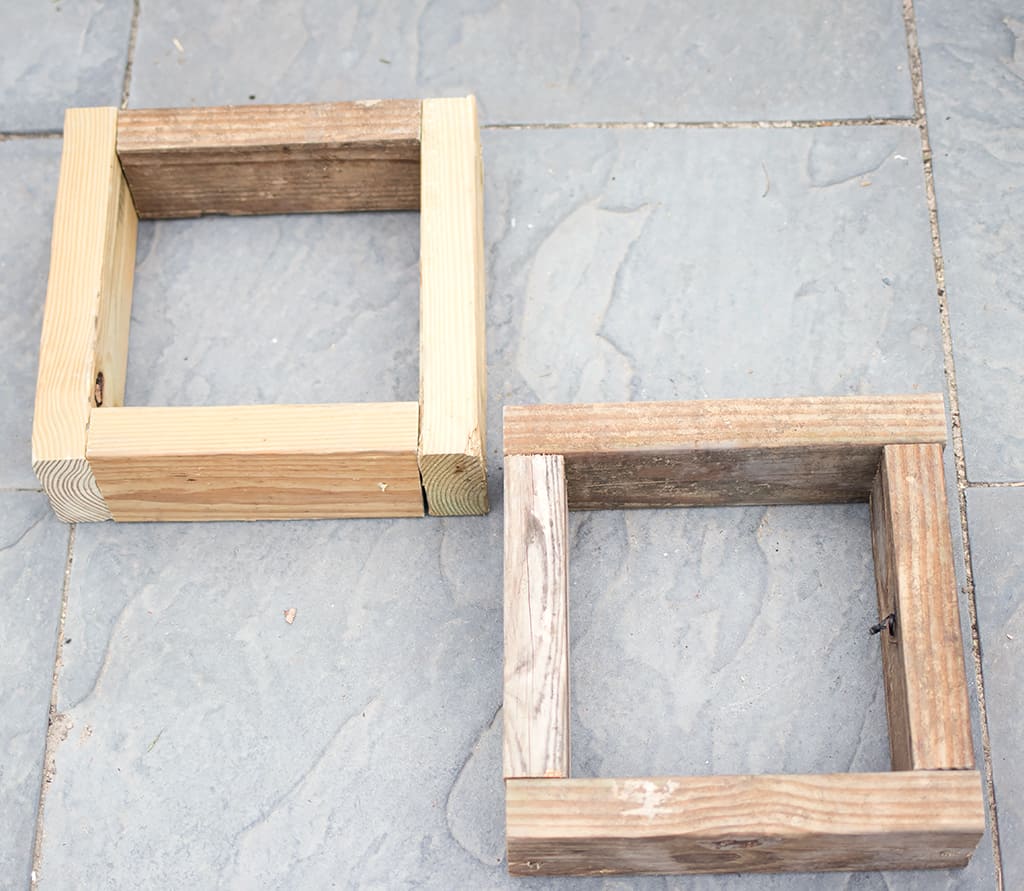
These will make the base and top of the planter.
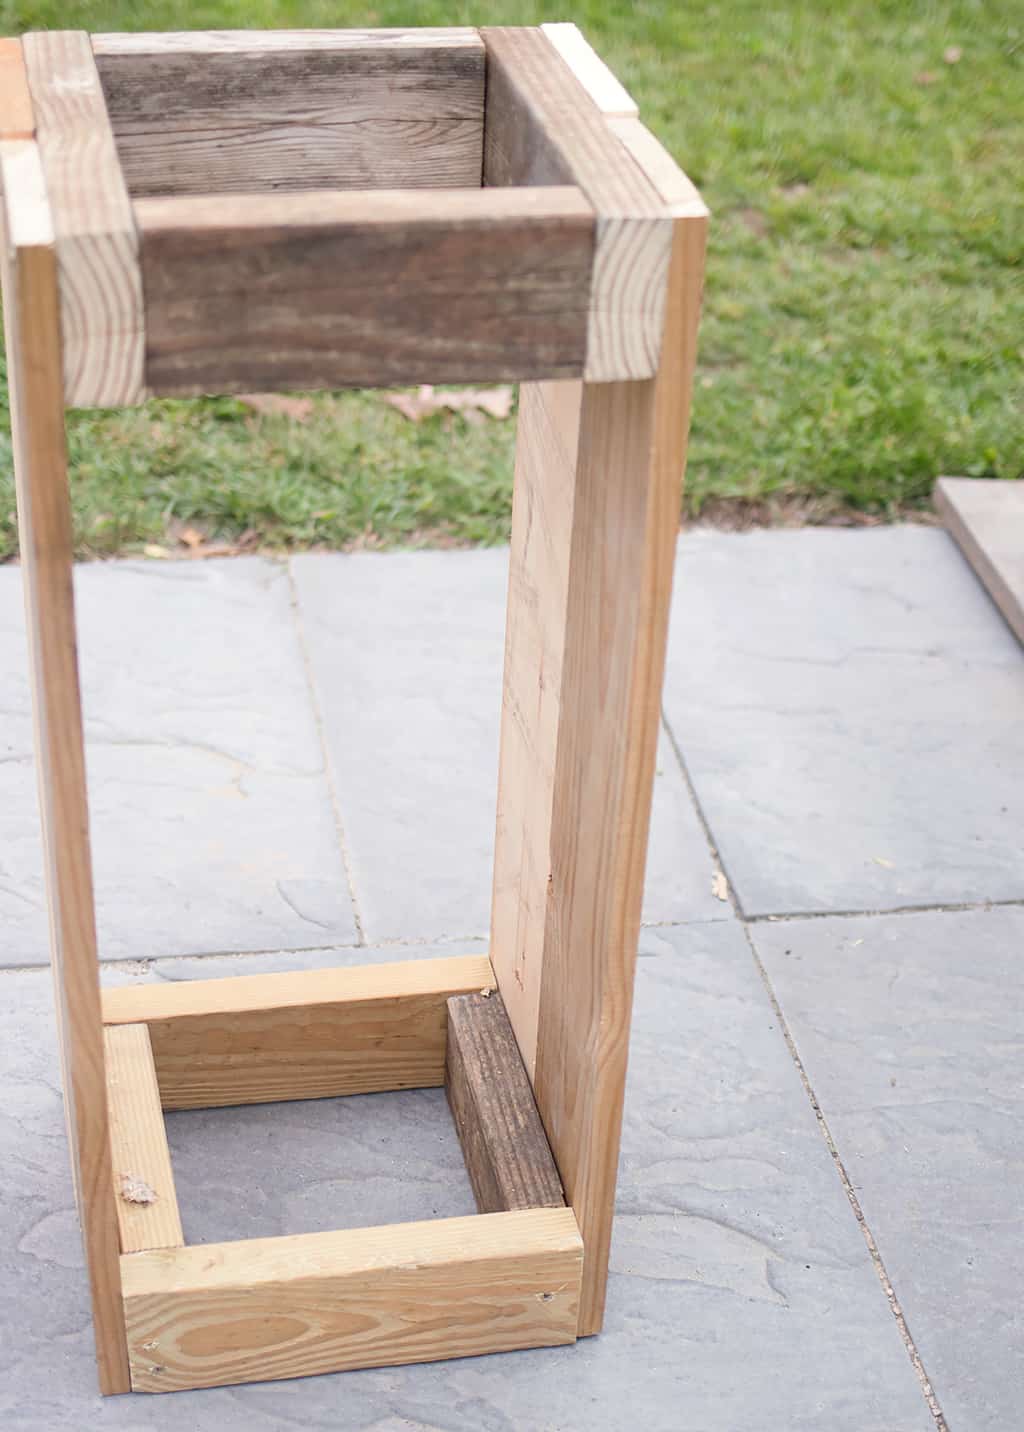
Cut the 1 x 6 into a total of 8, 30 inch boards.
Screw 2 1 x 6 boards to the top and the bottom of the squares on each side.
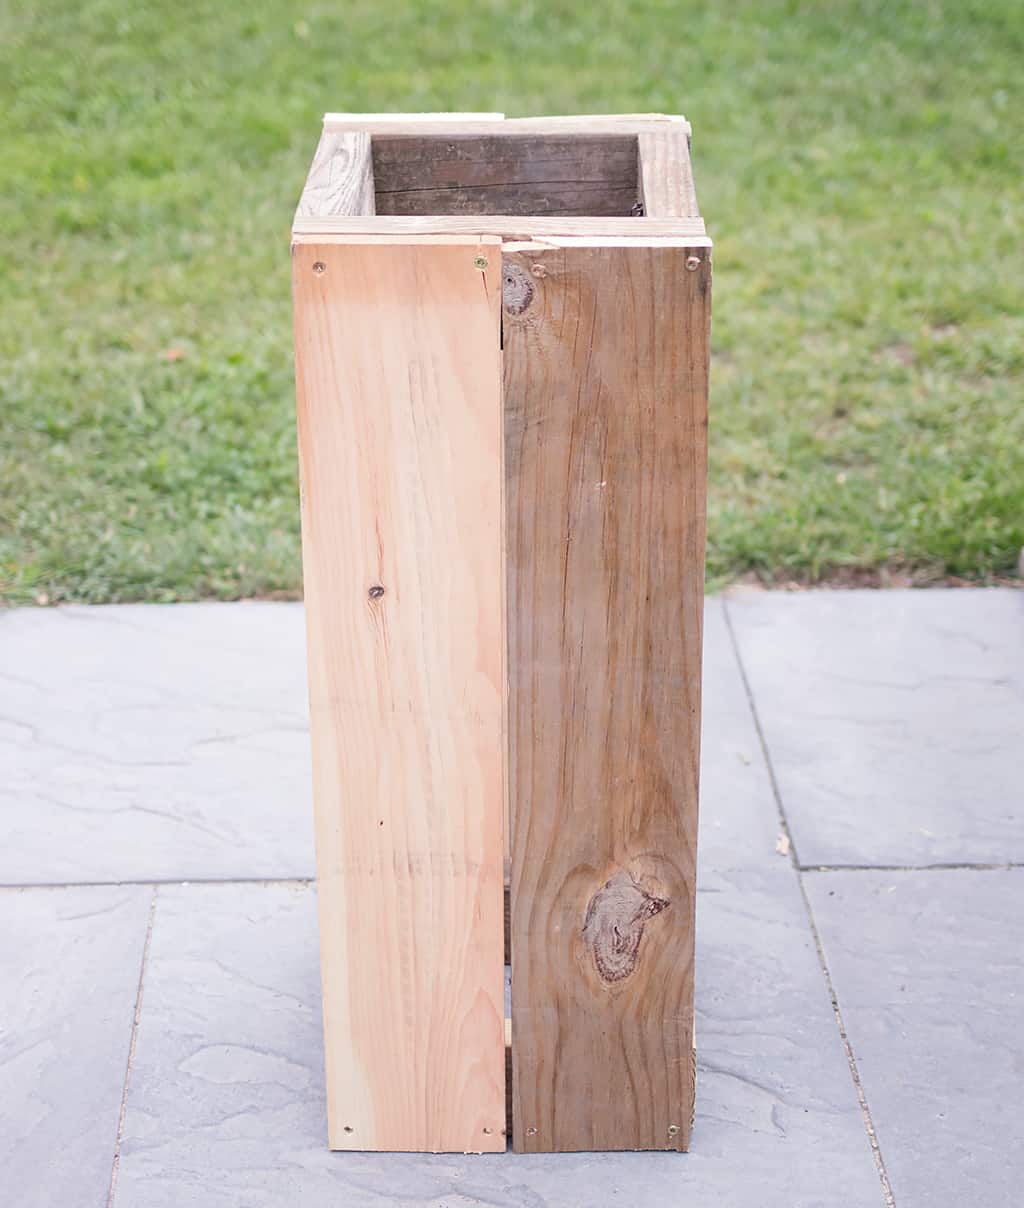
Here is the front view.
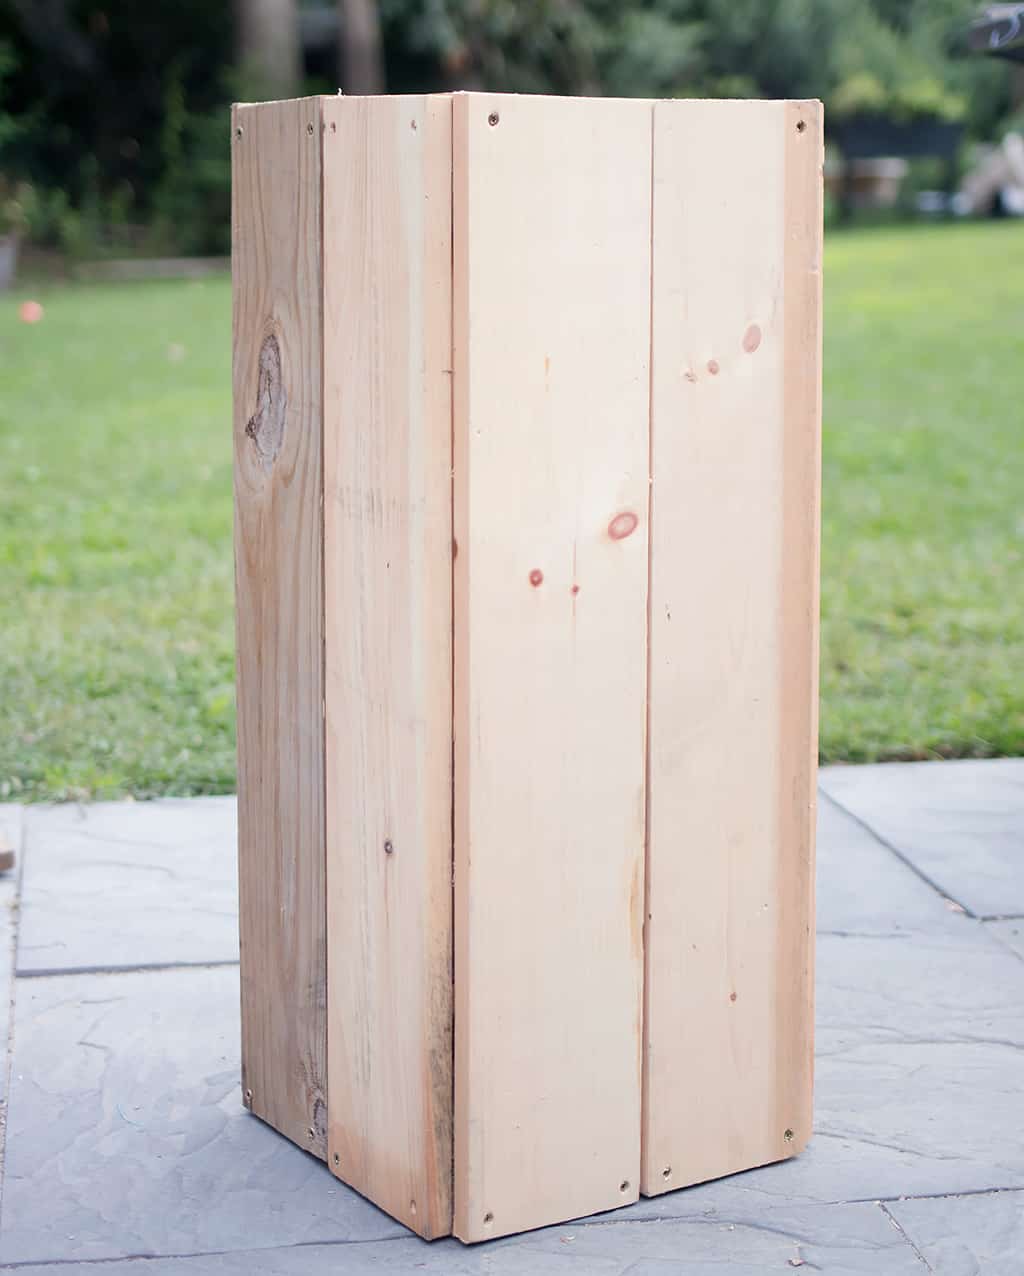
Screw the rest of the boards to the frame.
This is what the planter should look like when you’re finished screwing the 1 x 6 boards on the sides.
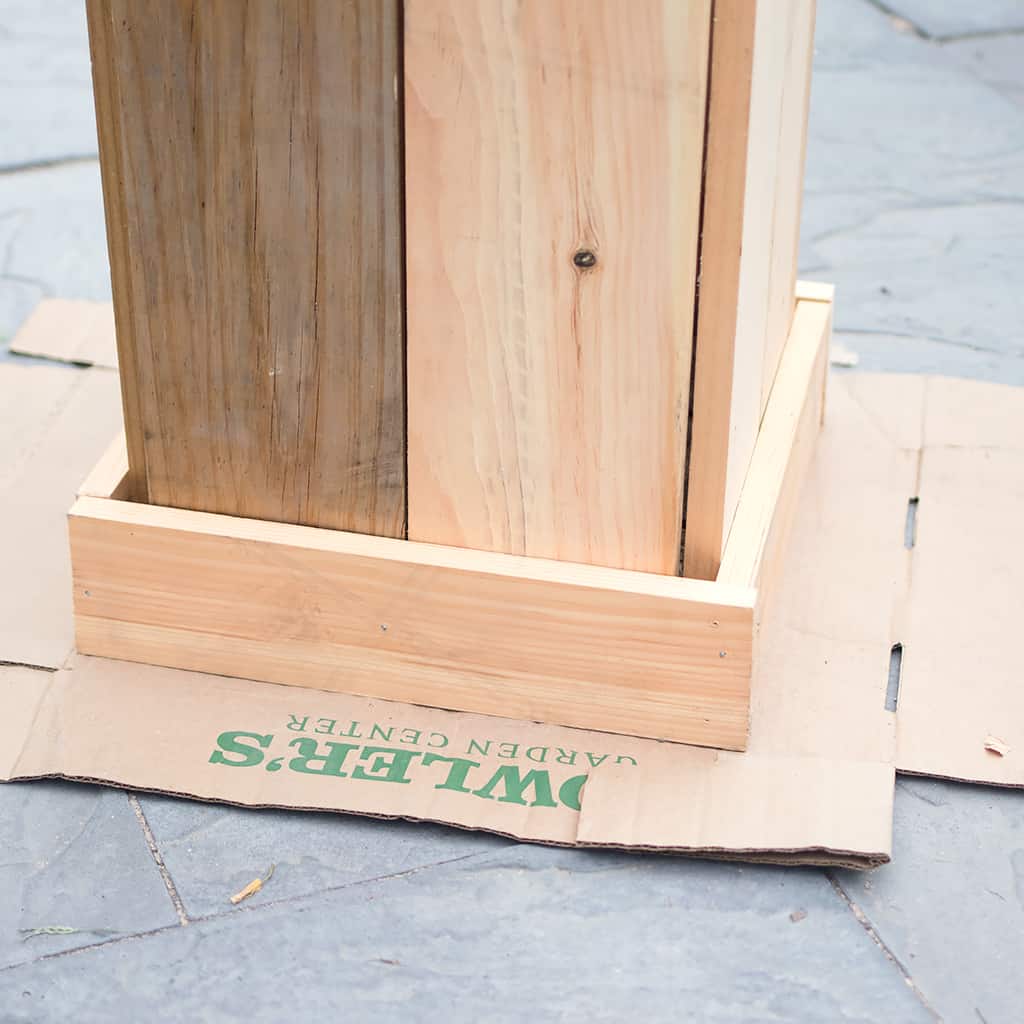
Cut the 1 x 6 into 8 sections that measure 14 1/2 inches (4 total) and 12 1/2 inches (4 total)
Glue and nail the pieces to the bottom of the planter, forming a square using 2, 14 1/2 inch boards and 2, 12 1/2 inch boards.
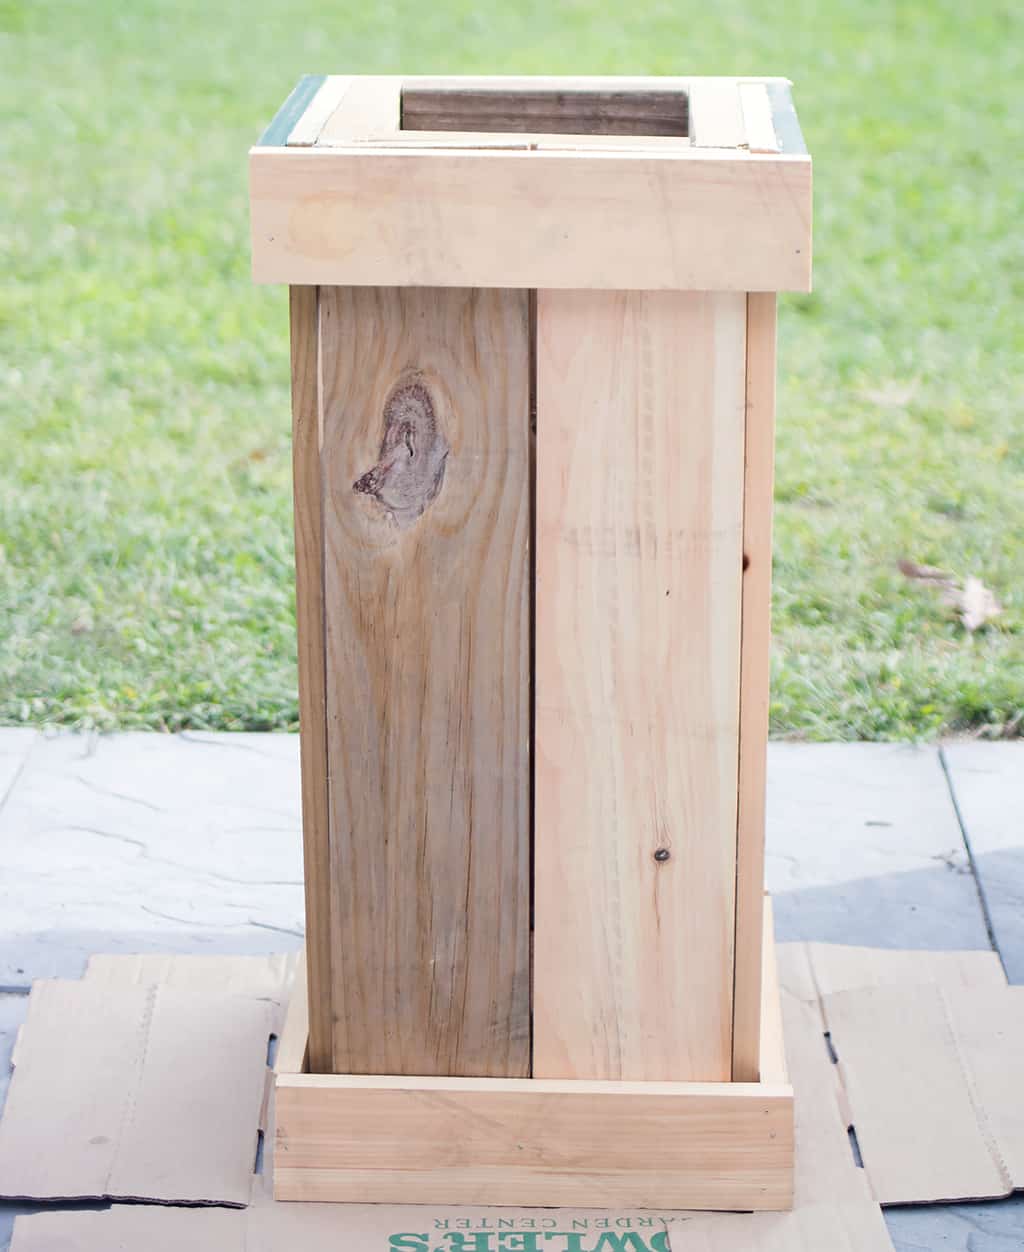
Repeat at the top of the planter.
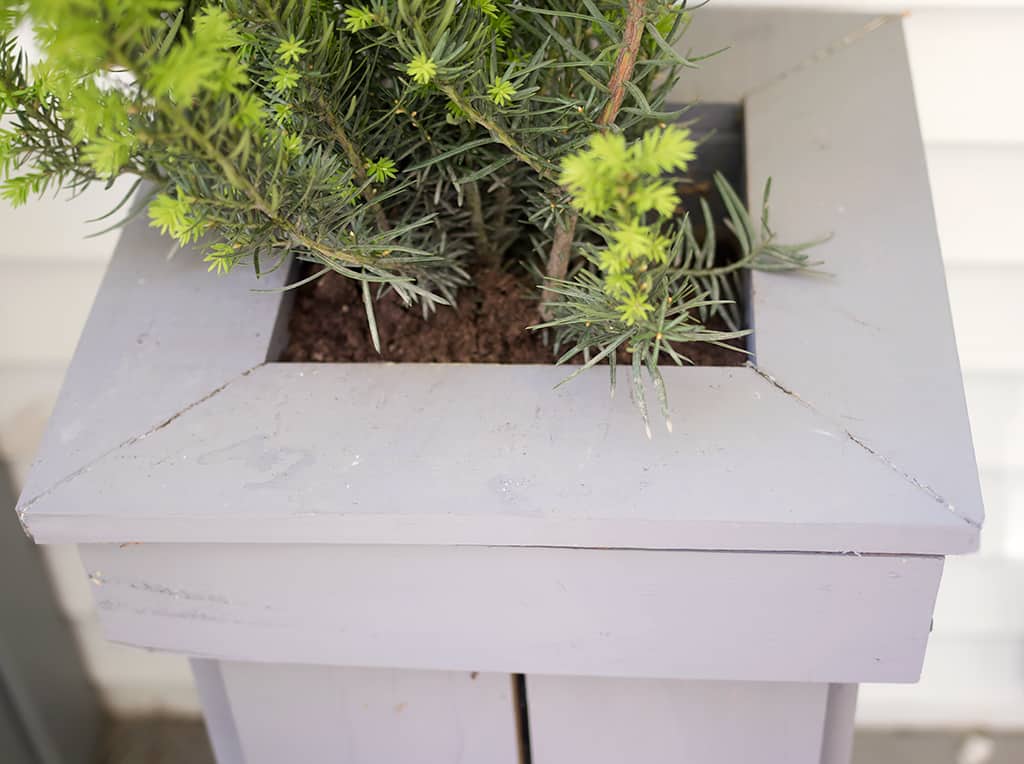
Next, create a mitered frame for the top using 1 x 4s. Glue in place and attach with finish nails.
Sand the planter and fill holes using wood filler.
Finally, prime and paint or stain.
Note- I stapled landscape fabric to the inside of the planter so the soil wouldn’t escape through the small gaps in the boards.
Looking for more DIY Garden Projects like this wood planter?
How to Build a Wood Planter for $20
How to Build a Raised Garden Bed Cover
I love seeing your finished projects! If you enjoyed making this post- How to Build a Wood Doormat or any of my other DIY tutorials, I’d love to see yours on Instagram, just tag me @ginamicheleblog. Happy DIYing!

