How to Make Custom Baseboard Heater Covers
How to Make Custom Baseboard Heater Covers- Upgrade any room by swapping out those metal cover for these easy-to-build wooden ones!
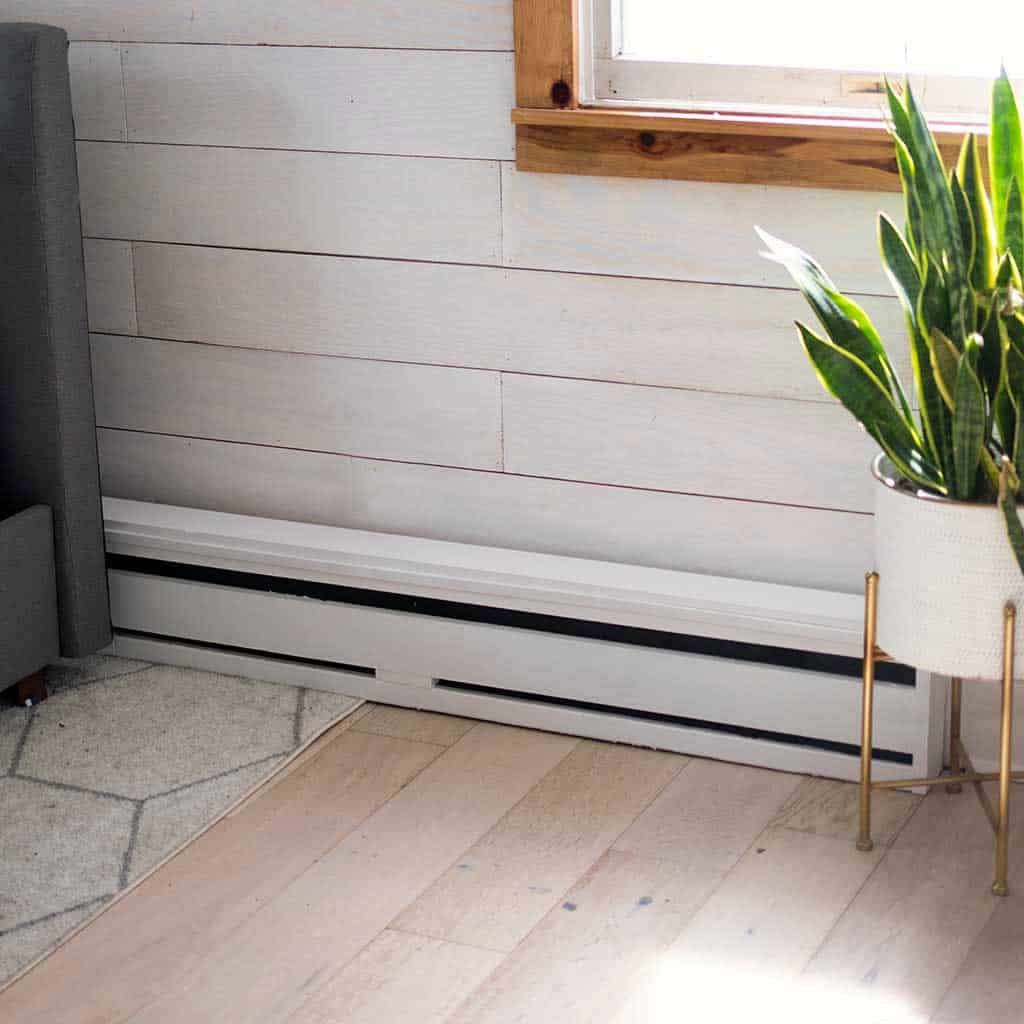
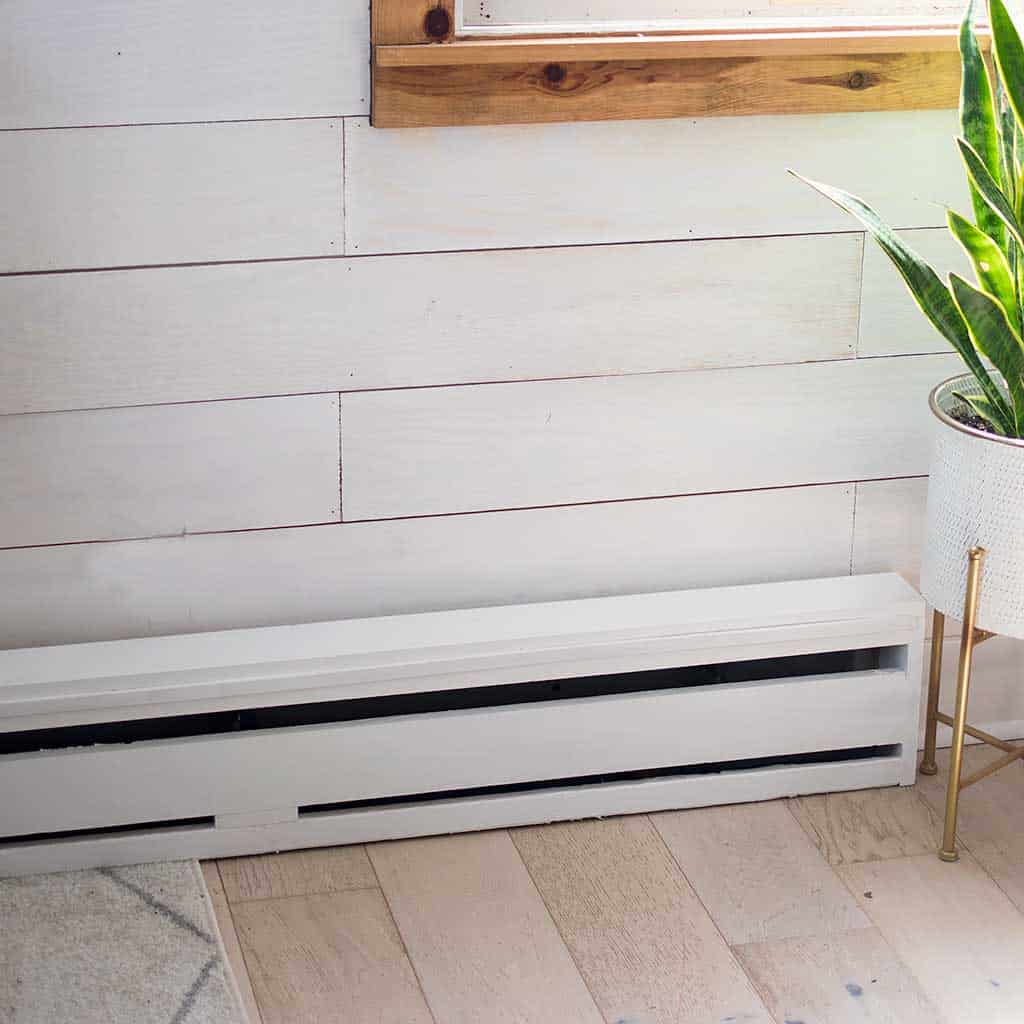
My builder-grade home had dented and rusted baseboard metal covers. I love the look of wood baseboard covers, but having them made is very expensive. Naturally, I decided to make a DIY version! These wood baseboard heater covers instantly upgrade any room.
This easy method shows you how to create wood covers in any size for your home.
KEEP IN TOUCH! FOR MORE INSPIRATION, PROJECTS, AND FREE KNITTING PATTERNS, SIGN UP FOR OUR WEEKLY NEWSLETTER:
How to Make Custom Baseboard Heater Covers
Supplies Needed:
Miter saw (I have this one and I love it) or circular saw
Tape measure
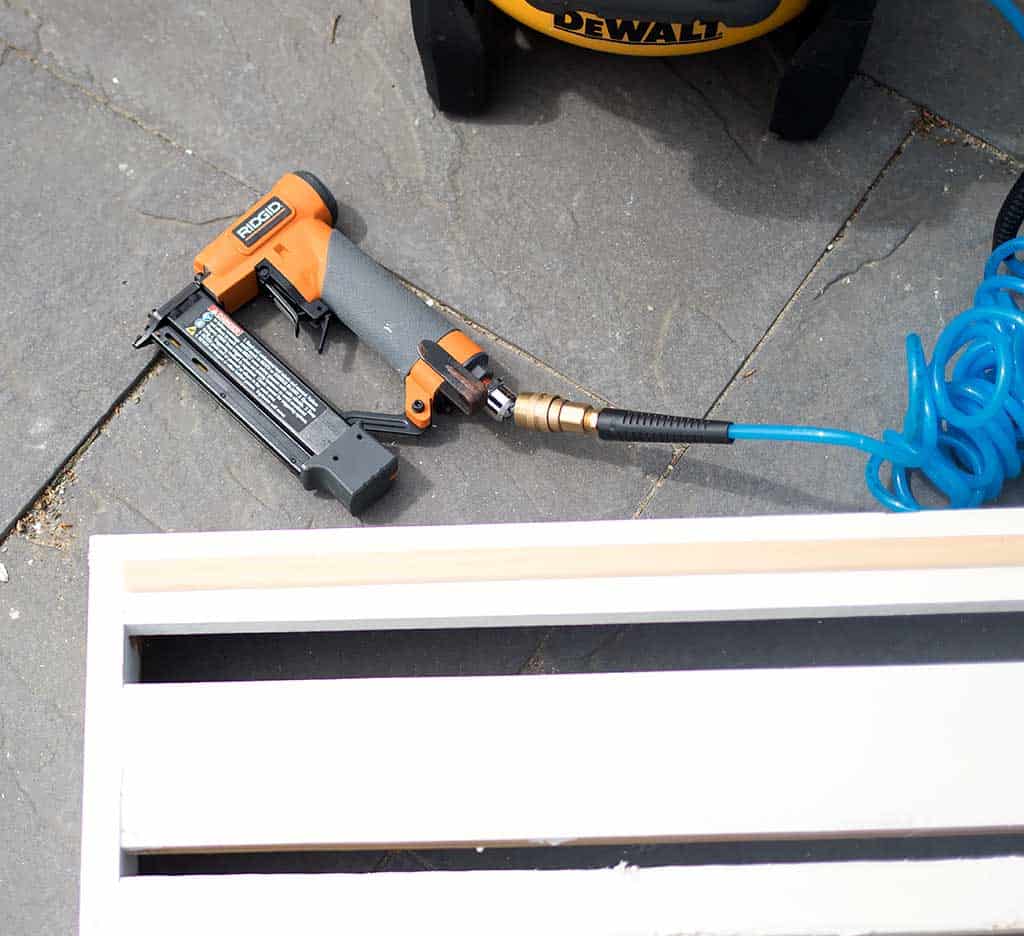
Nail gun
Sandpaper
Wood filler
Paint
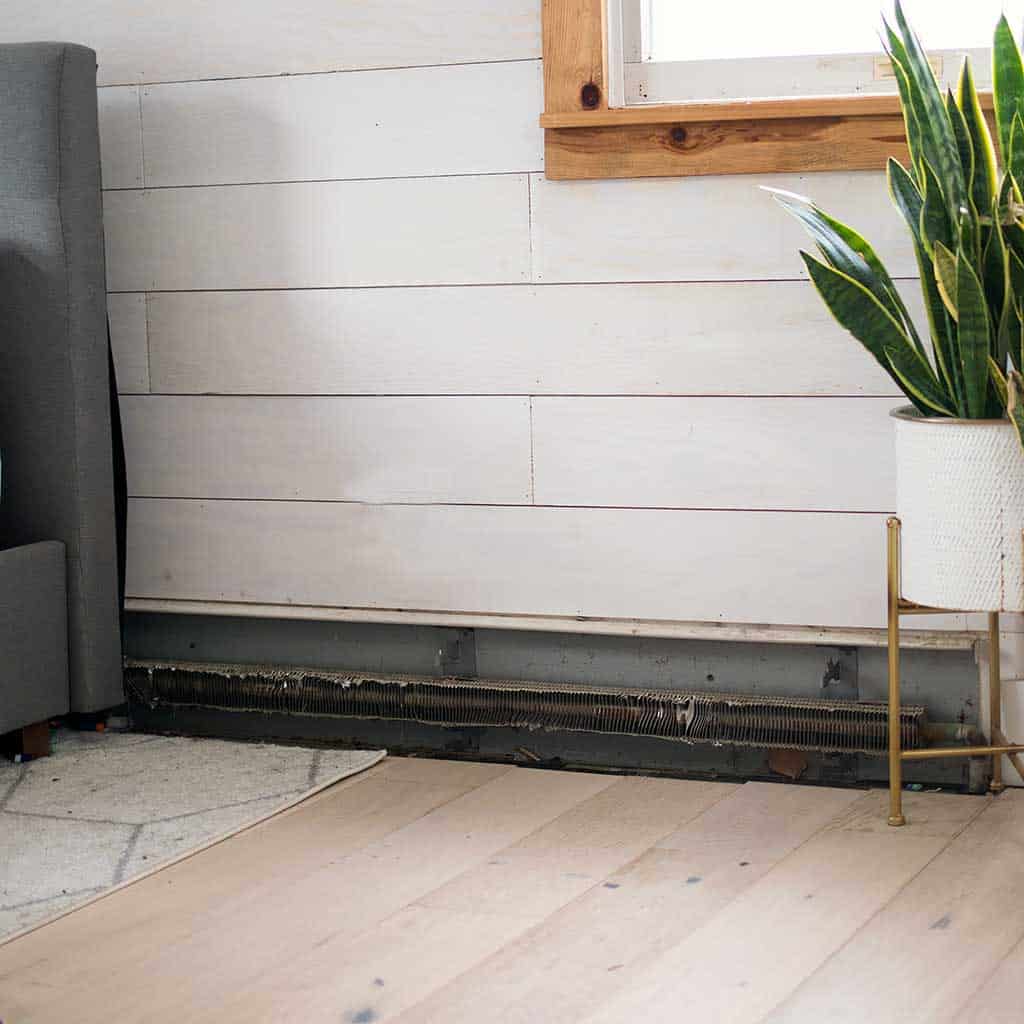
The first step is to remove the old cover and measure the distance from the metal pipes on each side. Add 2 inches to this number. This will be the width of the face of the cover.
Lumber cuts:
1- 1 X 4 x length of your heater (distance from the metal pipes on each side plus 2 inches)
2- 1 X 2 x length of your heater (distance from the metal pipes on each side plus 2 inches)
1- 1/4 trim cut to the length of your heater (distance from the metal pipes on each side plus 2 inches)
Top part of heater
1- 1 X 4 x length of your heater (distance from the metal pipes on each side plus 3 1/2 inches)
Sides of the heater
2- 1 X 4 X 8″

Nail the top board to the sides.

Nail the top, middle and bottom boards to the side. Measure to ensure the middle board is evenly spaced from the top and bottom boards.

Cut a 2 inch piece from a 1×4 board and press it in between the bottom and middle board. This will hold the lower 1×2 in a straight position.
Sand and paint the cover.
Once I finished the cover I realized that I didn’t like the visible seam between front top board and the top of the cover. I cut a piece of 1/4 trim and nailed it to hide the seam. Then, I painted it to match the rest of the cover.
Looking for more easy DIY home projects like these custom covers?
How to Upgrade Your Windows With Craftsman Style Trim
I love seeing your finished projects! If you enjoyed making these Custom Baseboard Heater Covers, or any of my other easy DIY projects, I’d love to see yours on Instagram, just tag me @ginamicheleblog. Happy DIYing!