Sandbox with Roof DIY
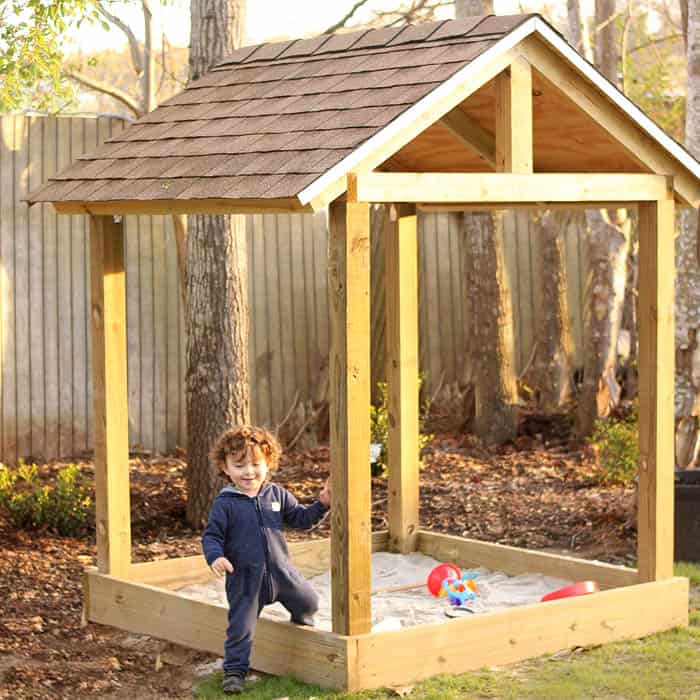
Sandbox with Roof DIY- a weekend DIY project that will entertain kids for hours!
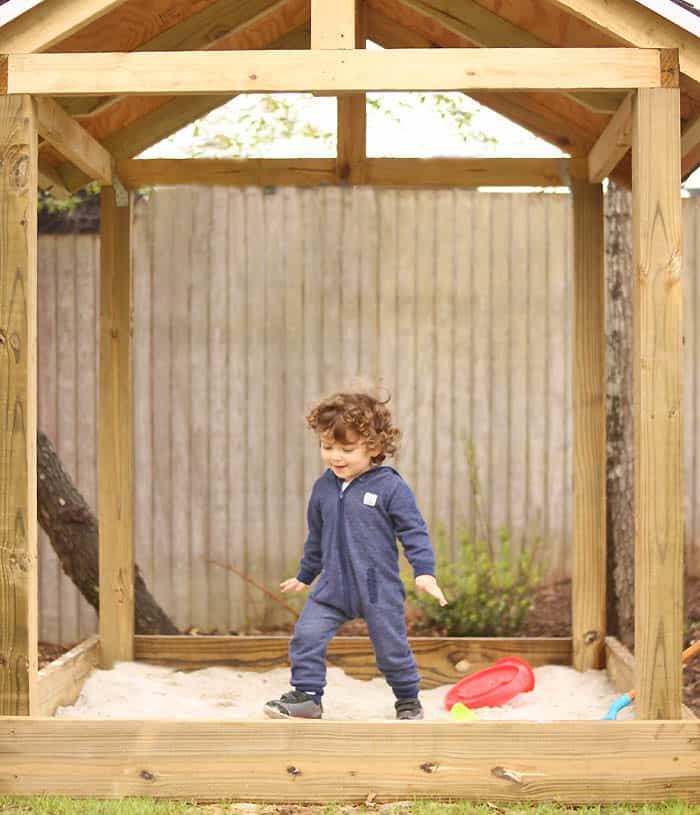
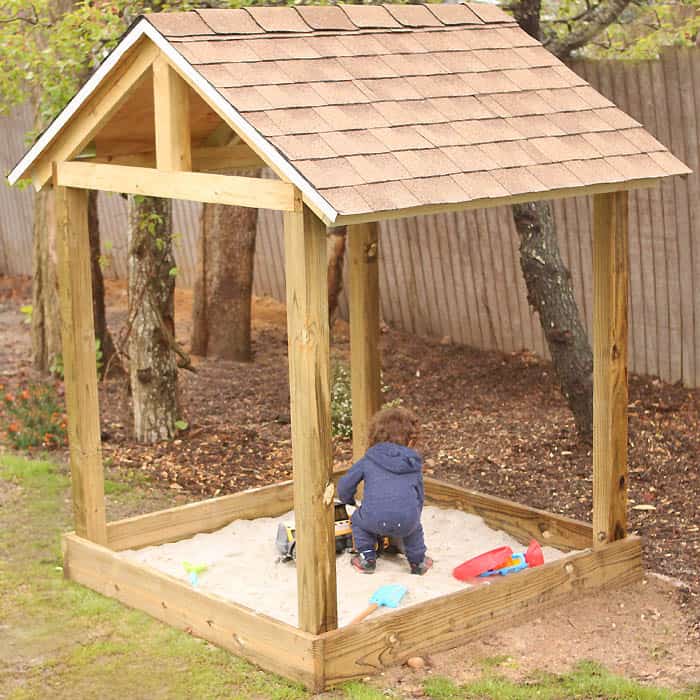
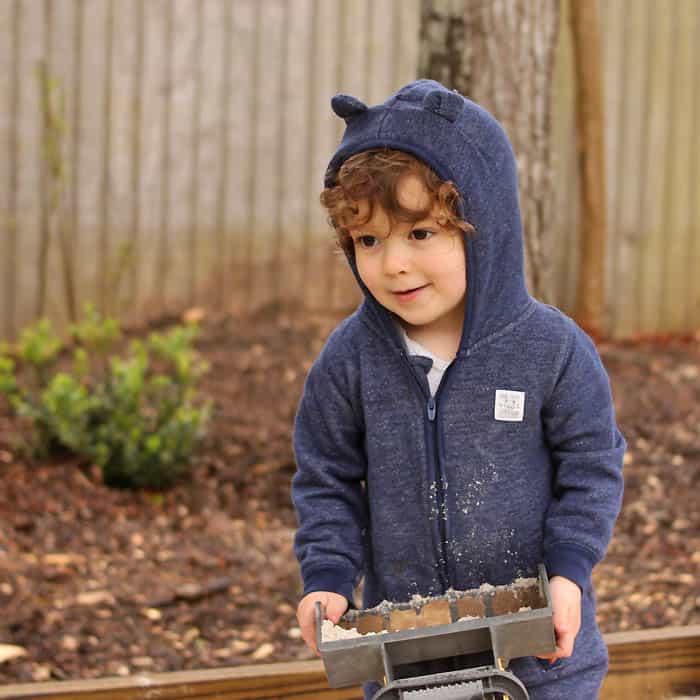
Indigo’s 2nd birthday is coming up in a few weeks (omg, where does the time go????) He loves playing in the sand at the beach so we thought we’d make him a DIY sandbox for his birthday. I’m in the process of landscaping the backyard, so I wanted the sandbox to look nice. I also wanted a roof to provide shade on hot days. This Sandbox with Roof DIY looks so cute in the backyard and Indigo absolutely loves it!
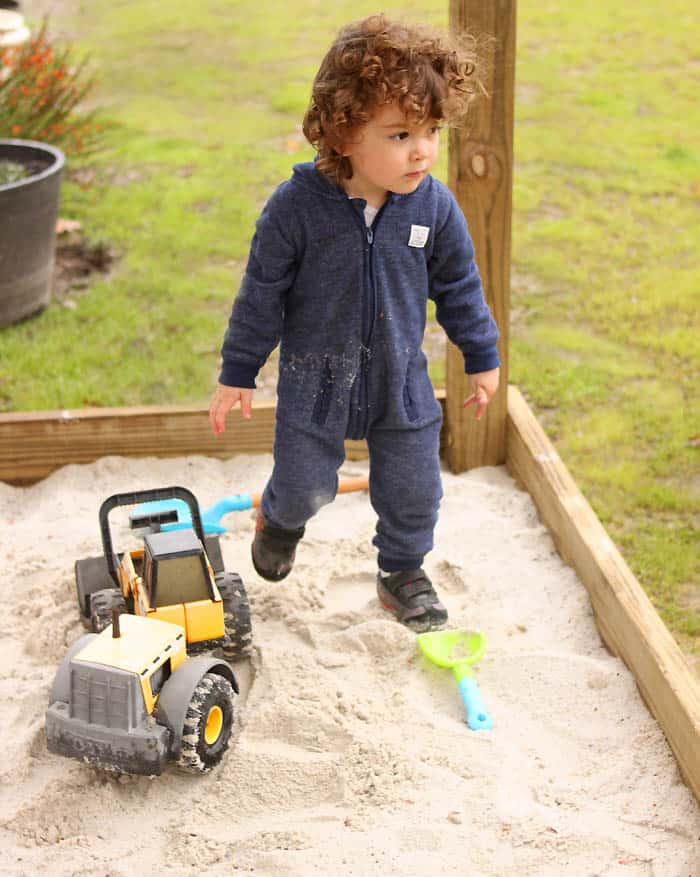
This took a day to build, but it wasn’t really that difficult. It really helps if you have an extra person. Indigo was sooo psyched to play in the finished sandbox. He’s in it all the time now! It keeps him occupied for hours, which frees up some time for me to garden. Win, Win!
KEEP IN TOUCH! FOR MORE INSPIRATION, TUTORIALS, AND FREE KNITTING PATTERNS, SIGN UP FOR OUR WEEKLY NEWSLETTER:
Materials needed for Sandbox with Roof DIY:
(As an Amazon Associate I earn from qualifying purchases)
Lumber:
(I used pressure-treated, but you can also use cedar or pine)
2×8- 2 10 foot
2×4- 2, 12 foot
2×4- 4, 10 foot
4, 6 foot posts
4 inch exterior screws
Tools:
Drill
Miter saw or circular saw
Table saw
Step by Step Instructions
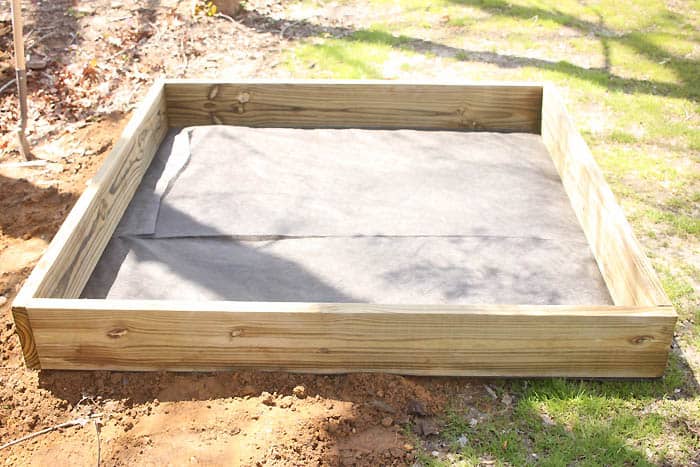
Cut the 2×8 boards into 4 sections measuring 5 feet long. Screw together at the sides. (Optional- staple landscape fabric to the bottom. This sand from seeping out and weeds from coming up)
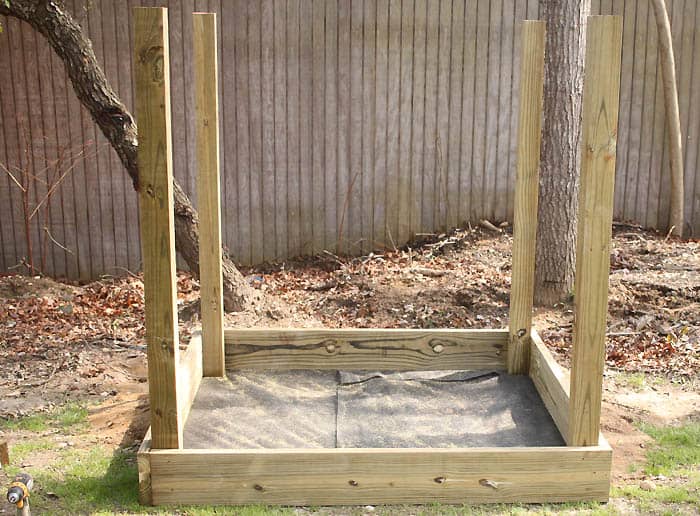
Next step is the framing. Drill the 4 posts in on both sides to anchor the sandbox frame.
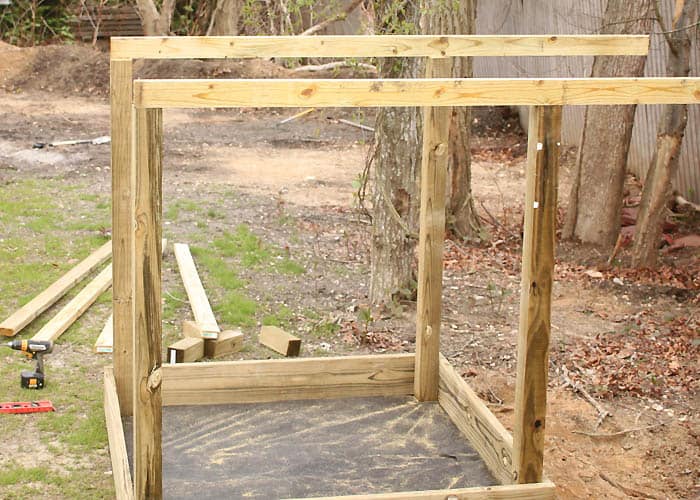
Place the 2×4 on top of the posts to see how much to cut off. Make a mark where it hits the end of the posts and cut off excess. Repeat on the other side.
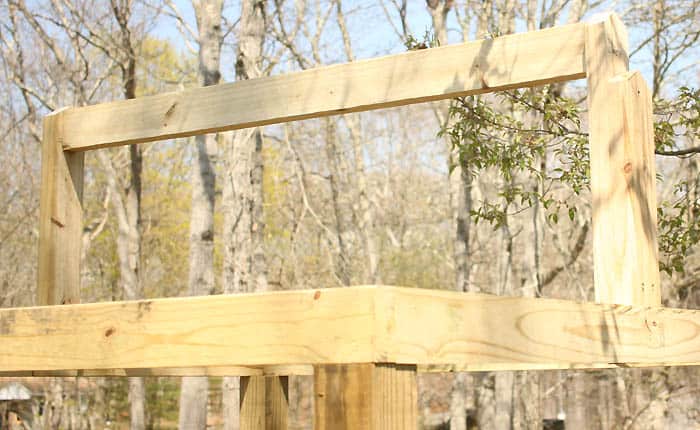
Measure and cut the 2x4s to fit the front and back of the square. Screw together.
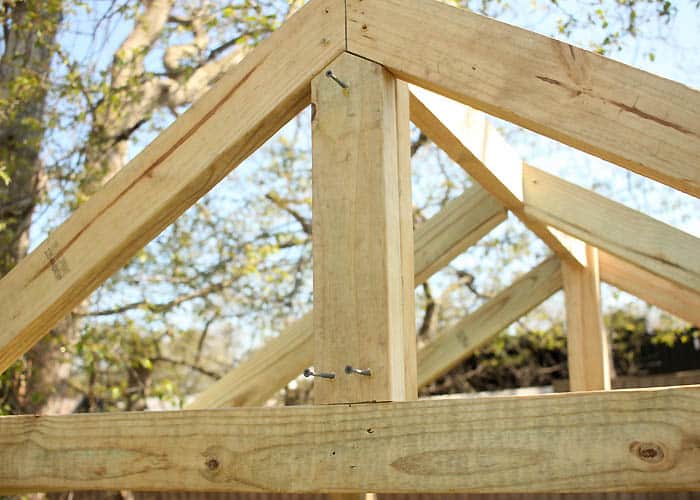
Mark center of front board. Cut a 2×4 to measure 23 1/2 inches. Screw into the board from the back. Repeat on the opposite side. Measure a 2×4 and cut to fit in between. Screw in place.
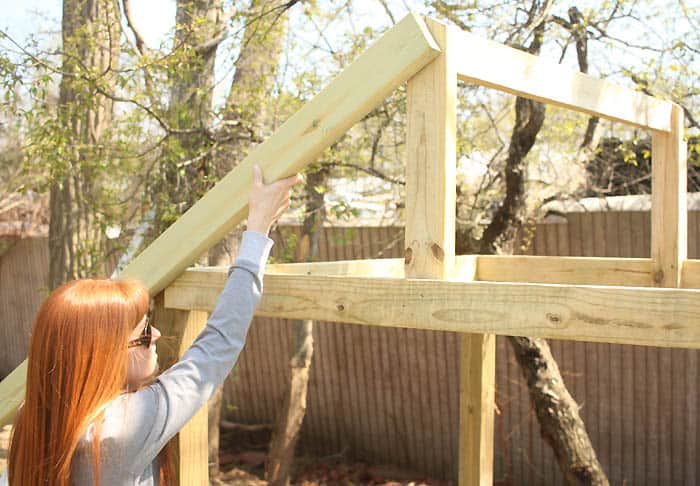
Mark the middle of the 23 1/2 inch 2×4. Cut a 2×4 48 inches long to make the first rafter.
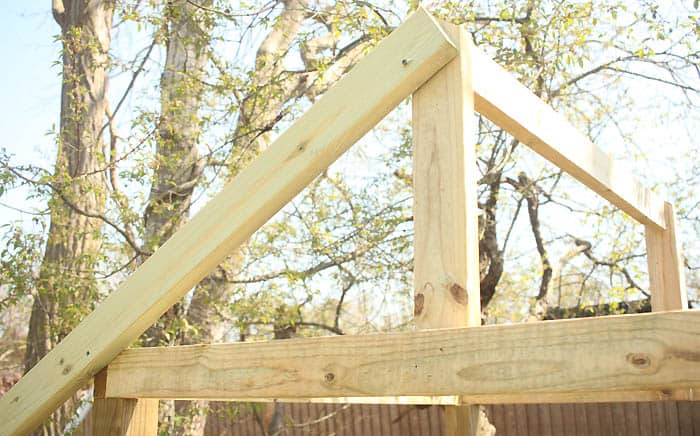
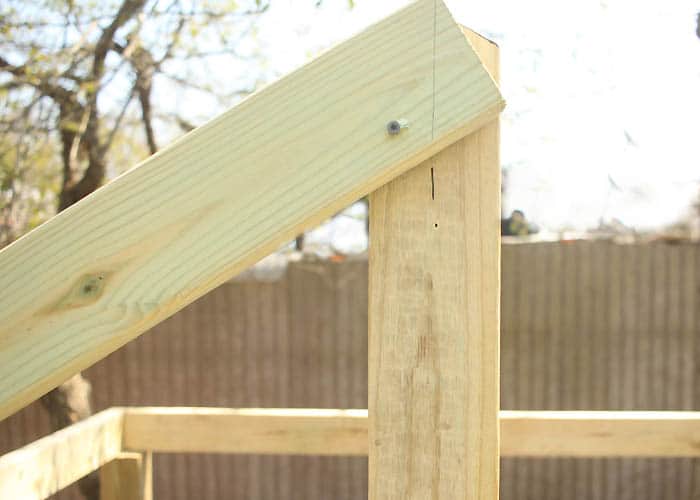
Tack the rafter in place by screwing it at the top and side.
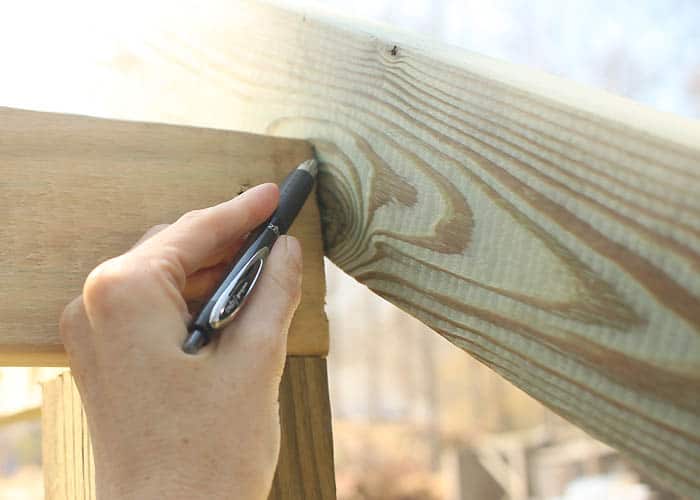
Mark the rafter down the middle.
Mark a line on the inside corner so you know where to cut. Unscrew the tack screws. Cut the rafter (including the mark you made down the middle) and using the first one as a template, cut 5 additional rafters.
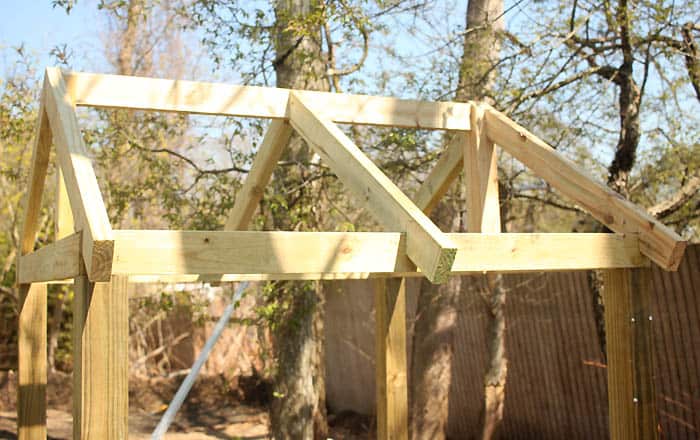
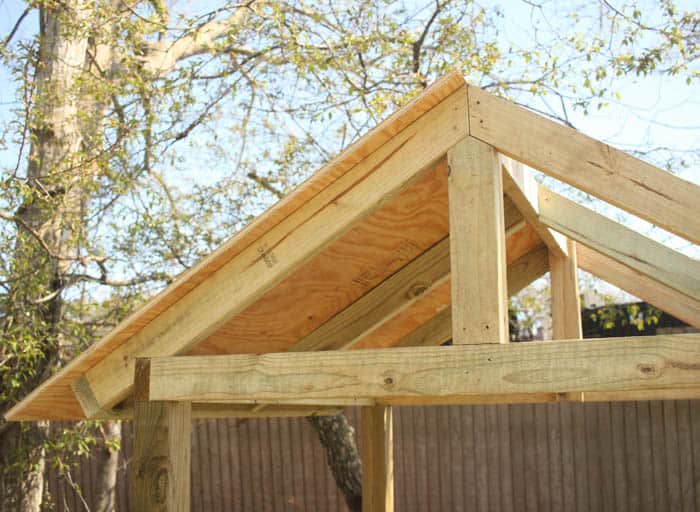
Place the rafters at the front, back and the exact middle of the roof.
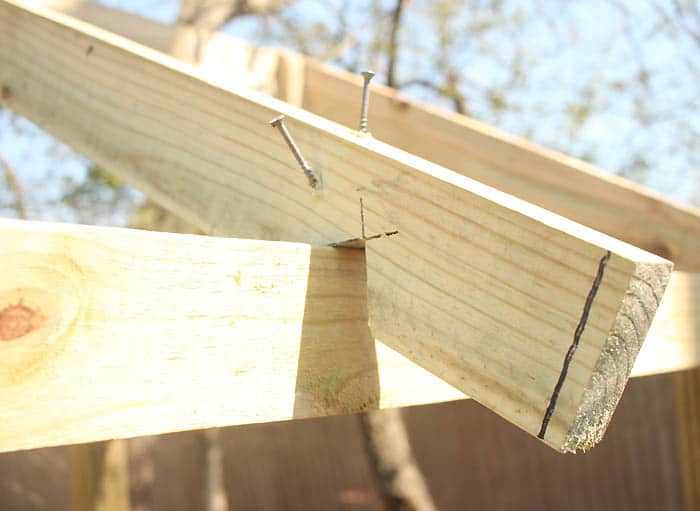
The middle ones will be slightly too long (see how the cut edge isn’t touching the board?) Measure how big the gap is and then cut that amount off the top of the board. Repeat on the other side.
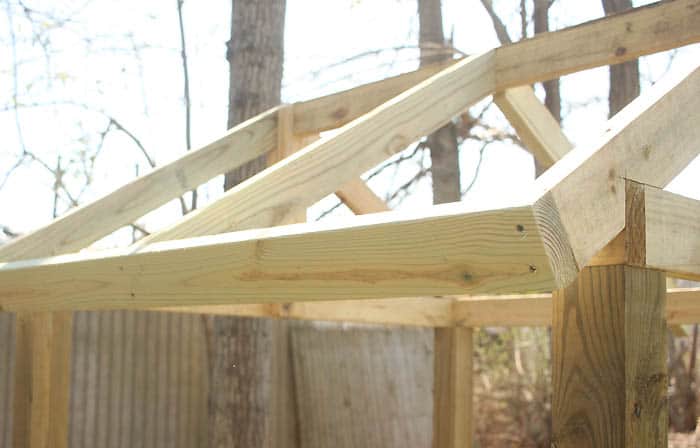
Measure from one end of the rafters to the other. Cut a 2×4 to the measurement and screw it to the bottom of the rafters.
Cut an additional 2×4 to fit inside and screw down. Repeat on the other side.
Cut the plywood to size- we left a 2 inch overhang on both sides. Repeat on the other side.
Check back tomorrow to see how we shingled the roof. It’s the perfect finishing touch and it give the sandbox total cottage vibes =)
Fill with sand and toys and watch your little one be entertained for hours!
Looking for more DIY projects like this backyard sandbox?
Easy DIY Climbing Wall for a Treehouse
DIY Outdoor Chalkboard- Weatherproof and Durable!
How to Shingle a Playhouse or Shed Roof
I love seeing your finished projects! If you enjoyed making this DIY sandbox project, or any of my other DIY projects featured on the blog, I’d love to see yours on Instagram, just tag me @ginamicheleblog. Happy building!

