How to Paint Cheap Plastic Pumpkins to Look Like Terracotta (Easy Fall DIY)
Learn how to paint cheap plastic pumpkins to look like terracotta with this easy, budget-friendly technique for stylish fall and Halloween décor.
How to Paint Cheap Plastic Pumpkins to Look Like Terracotta
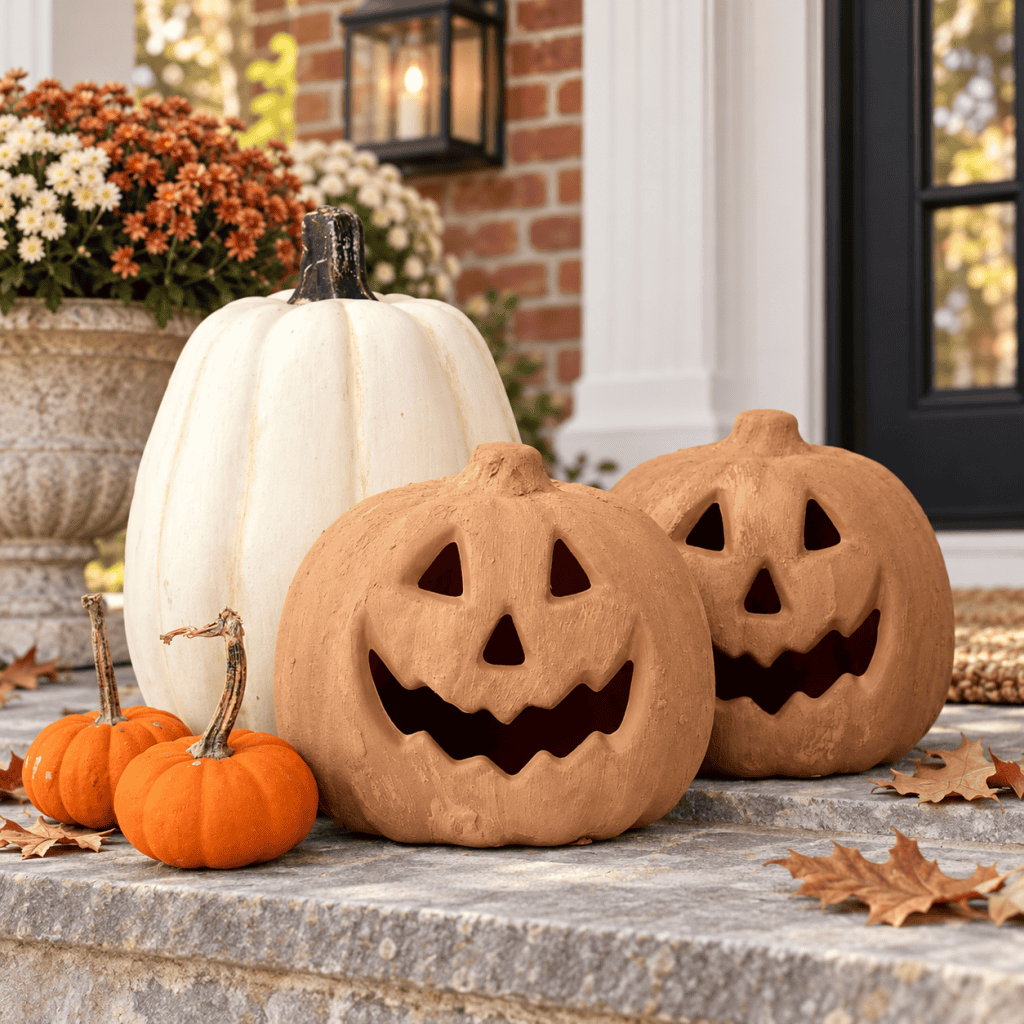
If you love the warm, earthy appearance of terracotta but not the price of high-end seasonal decorations, this easy pumpkin makeover is the perfect solution. In this tutorial, I’ll show you how to paint cheap plastic pumpkins to look like terracotta using a few inexpensive supplies and a simple layered-paint technique.
This project is a great way to update the shiny plastic pumpkins and jack-o’-lanterns commonly found at dollar stores, thrift stores and craft stores. Instead of buying new fall décor, you can give inexpensive or outdated pumpkins a soft, textured finish that looks handcrafted and much more expensive.
The completed pumpkins have a warm, neutral appearance that works for both fall and Halloween. Display them indoors on a mantel or console table, or use them to create a stylish arrangement on a covered porch.
An Easy and Affordable Fall Pumpkin Makeover
Glossy plastic pumpkins can look inexpensive, but layers of matte paint and added texture completely transform their appearance. The slightly uneven finish mimics the natural variations found in handmade terracotta pottery. You don’t need advanced painting skills or specialty tools—the imperfections are part of what makes this finish look authentic.
This faux terracotta painting technique is:
Beginner-friendly and easy to customize
An affordable alternative to expensive seasonal décor
Ideal for plastic pumpkins and jack-o’-lanterns
A great way to reuse decorations you already own
Suitable for both fall and Halloween displays
Easy to recreate in different clay-inspired colors
Perfect for decorating a covered porch, mantel or entryway
Choose a classic burnt-orange terracotta shade for a traditional look, or try pale clay, warm beige or earthy brown for a softer neutral finish. You can also paint several pumpkins in slightly different shades to create a collected, layered arrangement.
Pottery Barn-Inspired Fall Décor on a Budget
These faux terracotta pumpkins have the organic texture and warm coloring often seen in high-end seasonal collections, but they cost very little to make. The matte finish tones down the original plastic surface, while the subtle texture helps the pumpkins resemble aged pottery or handmade clay decorations.
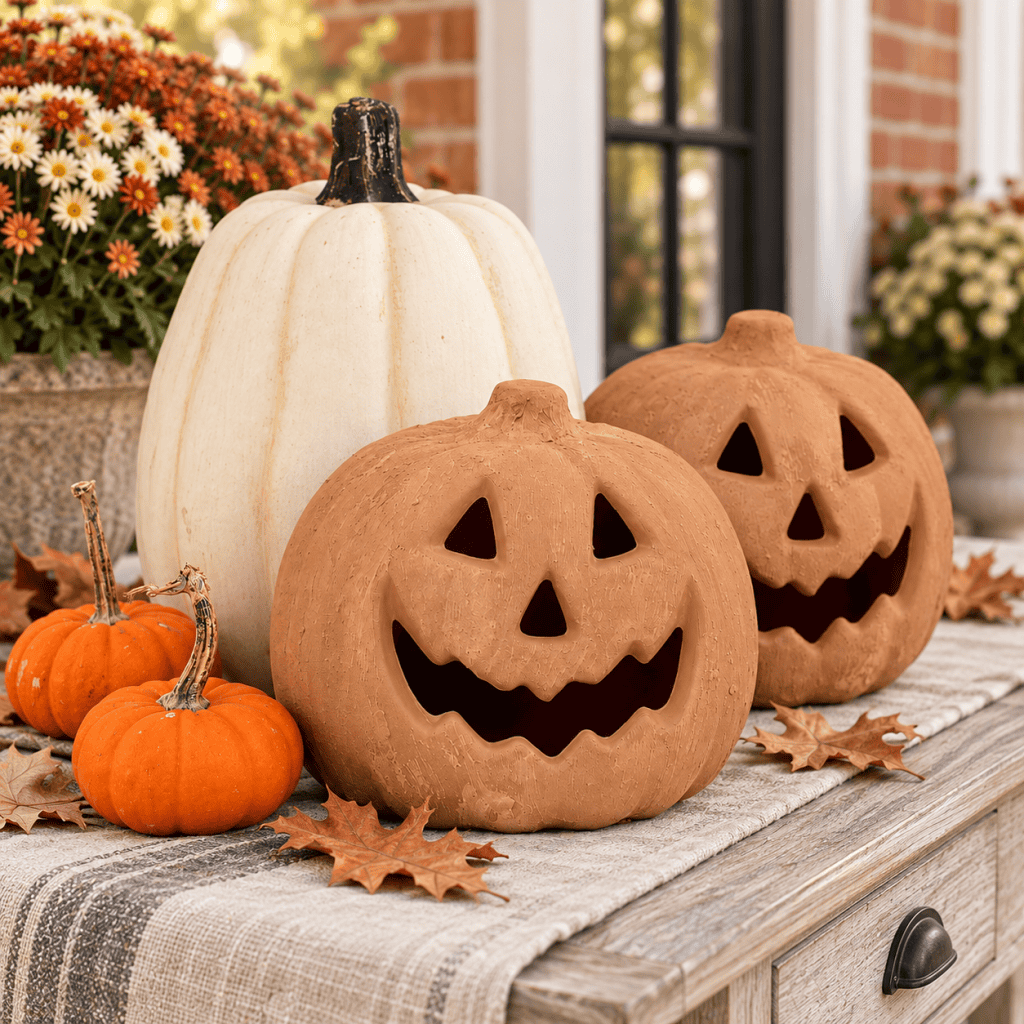
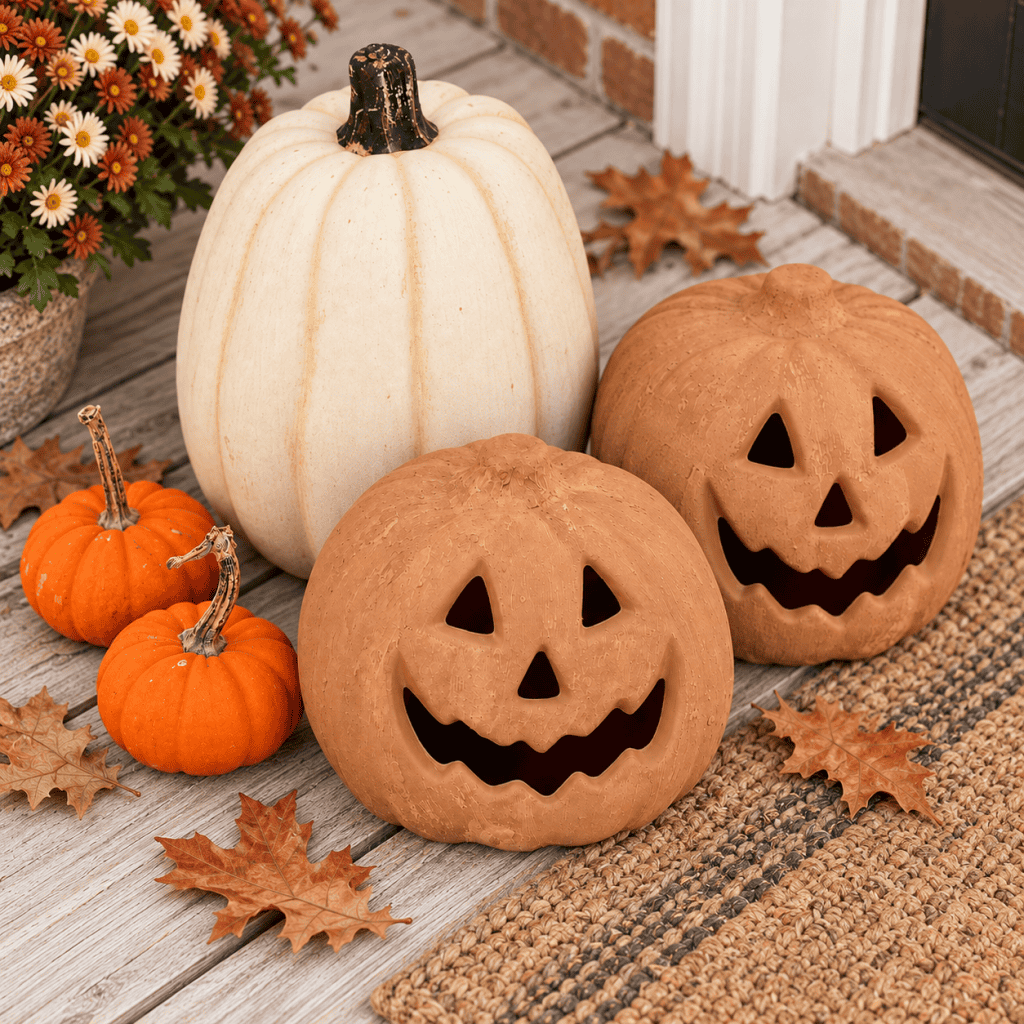
Once the paint is dry, style your pumpkins with creamy white pumpkins, dried oak leaves, neutral textiles and muted autumn flowers. Terracotta jack-o’-lanterns look festive enough for Halloween without feeling overly bright or cartoonish, making them easy to incorporate into more polished fall décor.
The painting process is forgiving because visible brushstrokes, color variations and small imperfections make the finish more convincing. Each pumpkin will look slightly different, just like a handmade piece of pottery. When properly stored after the season, these inexpensive painted pumpkins can become timeless decorations that you bring out year after year.
Looking for free knitting patterns? Browse this full collection of easy knitting patterns you can start today:
50 Free Knitting Patterns You’ll Actually Want to Make (Beginner-Friendly)
31 Free Hat Knitting Patterns for Everyone (Women, Men, Kids & Babies)
Fall Knitting Hub: Cozy Autumn Knitting Patterns for Beginners
Easy Scarf Knitting Patterns Hub: Cozy Beginner-Friendly Scarves You’ll Love to Make
Straight Needle Knitting Hub: Easy Flat Knitting Patterns for Beginners
Kids Knitting Pattern Hub: Easy & Fun Knitting Patterns for Babies, Toddlers & Kids
Adding baking soda to paint can have several effects on the paint and the finished painted surface, depending on how it’s used and the specific project. Here are some common effects of adding baking soda to paint:
- Texture and Thickness: Baking soda can be used to increase the texture and thickness of paint. When mixed into the paint, it creates a gritty or grainy texture. This effect is often used for artistic purposes, such as creating textured or faux finishes on walls or surfaces. It can add depth and interest to paintings or decorative projects.
- Matte Finish: Baking soda is a common ingredient in homemade chalk paint recipes. When added to regular latex or acrylic paint, it can give the painted surface a matte, chalky finish. This finish is popular for furniture restoration and DIY projects, especially when a vintage or shabby chic look is desired.
- Distressing: Baking soda can be used in conjunction with paint to distress furniture or other surfaces. By applying a layer of paint mixed with baking soda and then sanding it when dry, you can create a weathered, distressed appearance. The baking soda can help the paint to sand away more easily in certain areas, revealing the underlying surface.
- Drying Time: The addition of baking soda to paint may alter its drying time. Thicker paint with baking soda may take longer to dry compared to regular paint. This extended drying time can be advantageous for certain painting techniques, allowing more time for blending or creating specific effects.
- Adhesion: In general, when used in moderation, baking soda should not significantly affect the adhesion of the paint to surfaces. However, excessive amounts of baking soda can weaken the paint’s adhesion, potentially leading to peeling or flaking. It’s crucial to follow recommended proportions and guidelines when adding baking soda to paint to ensure proper adhesion.
- Color Alteration: Depending on the type of paint and the amount of baking soda added, there may be a slight alteration in the color or opacity of the paint. This effect can be used creatively to achieve unique color variations or tonal changes in your painting or decorating project.
How to Paint Cheap Plastic Pumpkins to Look Like Terracotta (Easy Fall DIY)
(As an Amazon Associate, I earn from qualifying purchases.)
Supplies needed:
Inexpensive plastic pumpkins
Neutral colored acrylic paint
Baking soda
Paintbrush
Directions:

This terracotta paint technique will work on almost any plastic or foam pumpkin, making it an easy way to update inexpensive fall decorations you already own. You can use it on smooth plastic pumpkins, hollow jack-o’-lanterns, lightweight foam pumpkins, decorative gourds or older seasonal pieces with colors and finishes that no longer match your decorating style.

Apply a few coats of paint to the pumpkin, making sure to cover the original color completely. Use a paintbrush to spread the paint evenly over the surface, working into the grooves and around the stem. Allow each coat to dry completely before applying the next one. Depending on the original color of the pumpkin and the coverage of your paint, you may need two or three coats to achieve a nice, even finish.

Mix 2 teaspoons of baking soda into your acrylic paint, stirring well until everything is combined. The baking soda will give the paint a thick, textured finish that mimics the look of real terracotta. If the mixture becomes too thick to brush on easily, simply add a little more acrylic paint until you reach a workable consistency. Using a paintbrush, apply the baking soda paint evenly over the entire pumpkin, making sure to get into all the grooves. Allow the paint to dry completely. I only needed one coat to achieve the textured terracotta look I wanted, but you can always apply a second coat for more coverage and texture.
More Easy Halloween DIY Projects
Looking for more easy Halloween DIY projects to decorate your home for fall? If you enjoyed transforming inexpensive plastic pumpkins into beautiful terracotta-inspired decor, you’ll love these other budget-friendly Halloween crafts! There’s no need to spend a fortune on seasonal decorations when you can create your own using simple supplies and a little creativity.
From cozy ghost decorations to vintage-inspired Halloween accents, these DIY projects are perfect for adding a handmade touch to your home. Many can be completed in an afternoon and reused year after year!
Easy DIY Printed Halloween Candles (5-Minute Halloween Decor)
How to Sew Fabric Pumpkins (Fast & Easy DIY Fall Decor!)
Easy Macrame Ghost DIY – Cute & Spooky Halloween Wall Decor
Easy No-Sew Ghost Costume DIY (Quick Last-Minute Halloween Costume)
Beanie Baby Costume DIY – Easy No-Sew Halloween Costume
DIY Pottery Barn-Inspired Gus the Ghost Pillow: Easy Tutorial with Minimal Sewing
Easy Metallic Leaf Wreath DIY for a Cozy Fall Front Door
Easy DIY Spider Costume for Any Size (Turn a Hoodie Into a Spider!)
How to Layer Iron-On Vinyl with Cricut (Easy 2-Color T-Shirt Tutorial)
DIY Jack Skellington Pillow Pottery Barn Dupe
Whether you prefer neutral Halloween decor, rustic fall decorations, or something a little spooky, these easy DIY Halloween crafts are a fun way to decorate on a budget. Mix and match your handmade projects to create a cozy, collected look that feels festive without being overdone.
More Halloween Knitting and Crochet Patterns
Love decorating your home with handmade Halloween projects? Once you’ve finished painting your terracotta pumpkins, why not add a few cozy knitted and crocheted decorations to your fall decor? These free Halloween knitting and crochet patterns are a fun way to create unique seasonal decorations using yarn you may already have in your stash.
From adorable plush ghosts and pumpkins to spooky spiders and Halloween cats, there’s something for every skill level. Many of these projects are beginner-friendly, quick to make, and perfect for displaying on mantels, shelves, or entryway tables.
Easy Large Jack O’ Lantern Crochet Pattern (Plush Halloween Pumpkin)
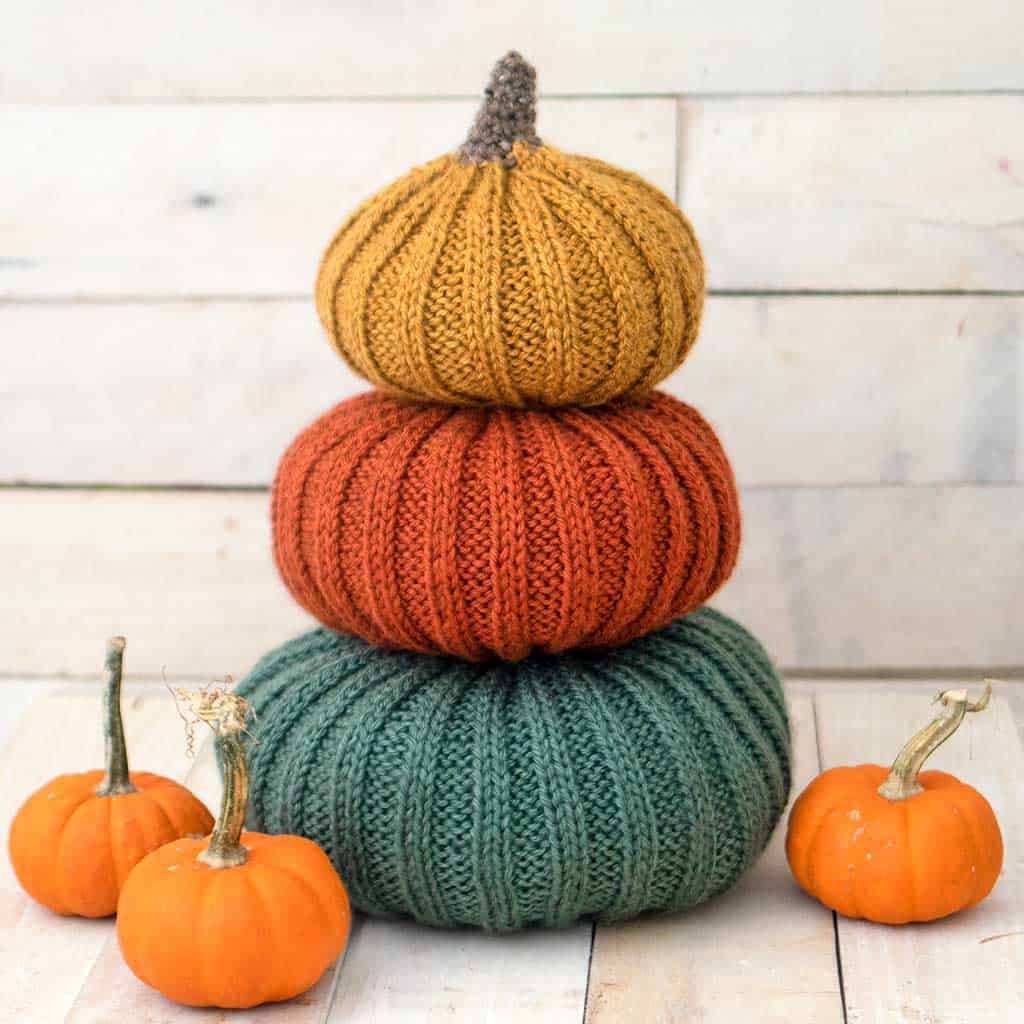
Easy Gourd Knitting Pattern (Beginner-Friendly & Knit Flat on Straight Needles)
Peek-a-Boo Cat Pillow Crochet Pattern (Easy Halloween Décor)
Easy Kids Pumpkin Hat Knitting Pattern (Knit in the Round) – Sizes 1–7 Years
Easy Giant Plush Ghost Crochet Pattern (Beginner-Friendly Halloween Décor)
Easy Halloween Spiders Crochet Pattern (Beginner-Friendly Spooky Décor)
Flat Knit Striped Pumpkins Knitting Pattern (Easy Fall Decor on Straight Needles)
Easy Plush Halloween Cat Crochet Pattern (Cute & Beginner-Friendly)
Pumpkin Granny Square Throw Crochet Pattern (Cozy Fall Blanket)
Frequently Asked Questions About Painting Plastic Pumpkins to Look Like Terracotta
Can you paint cheap plastic pumpkins?
Absolutely! Inexpensive plastic pumpkins from the dollar store or craft store are perfect for this DIY project. Acrylic paint adheres well to clean plastic, and adding baking soda creates a beautiful textured finish that resembles real terracotta.
Why add baking soda to acrylic paint?
Baking soda thickens the paint and creates a slightly gritty, matte texture. This helps give smooth plastic pumpkins the appearance of aged terracotta or handmade pottery. It’s an inexpensive way to achieve a high-end look without specialty paints.
How many coats of paint do I need?
Start by applying enough coats of regular acrylic paint to cover the pumpkin’s original color, allowing each coat to dry. Next, apply the baking soda paint mixture. I only needed one textured coat, but you can add another for more coverage.
Can I use this technique on foam pumpkins?
Yes! This painting technique works on both plastic and foam pumpkins. Just use a soft paintbrush and avoid pressing too hard when painting delicate foam surfaces.
Can painted terracotta pumpkins be displayed outside?
These pumpkins are best suited for indoor decorating or a covered porch. If you plan to display them outdoors, use a compatible matte, weather-resistant sealer to help protect the finish from moisture.
Transforming cheap plastic pumpkins into beautiful terracotta-inspired decorations is one of my favorite budget-friendly fall DIY projects. With just acrylic paint, baking soda, and a little time, you can create rustic pumpkins that look much more expensive than they actually are!
Display your finished pumpkins on a mantel, entryway table, or covered porch for a cozy, neutral fall look. I love mixing different sizes and shapes to create a collected, Pottery Barn-inspired display that works from early fall right through Thanksgiving.
✨ I’d love to see what you’re making! ✨
If you’ve tried one of my knitting patterns, crochet projects, DIYs, or recipes, share your finished project on Instagram and tag me so I can see it 💛
There’s nothing better than seeing your creations come to life—from cozy knits to delicious recipes and everything in between. It truly makes my day!
Tag me @ginamicheleny so I can share your work and cheer you on!
Happy making!