How to Sew Fabric Pumpkins (Fast & Easy DIY Fall Decor!)
Learn how to sew fabric pumpkins with this fast and easy DIY tutorial! Make adorable stuffed pumpkins using fabric scraps for cozy, budget-friendly fall decor.
How to Sew Fabric Pumpkins (Fast & Easy DIY Fall Decor!)
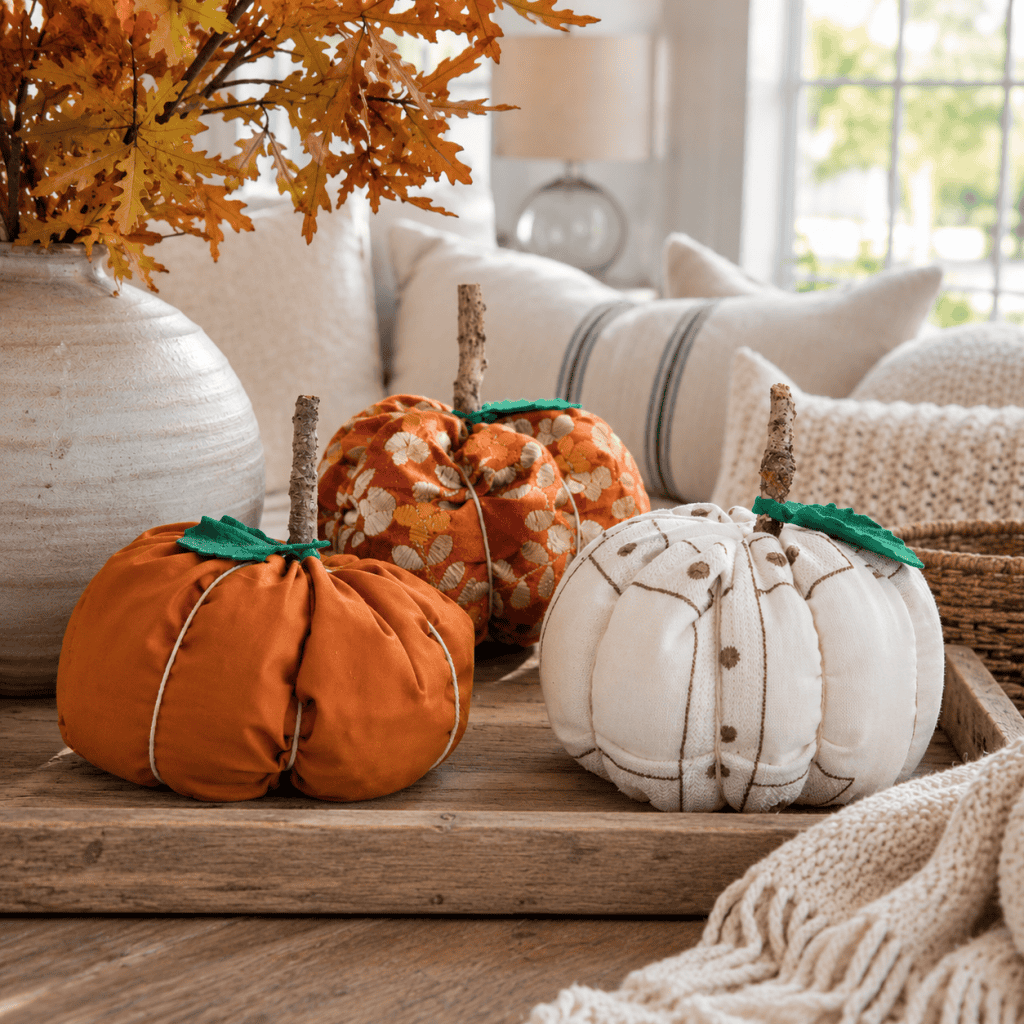
Looking for a fun and easy way to decorate your home for fall? These DIY fabric pumpkins are the perfect project! They’re quick to make, inexpensive, and a great way to use up leftover fabric scraps. Whether you prefer cozy farmhouse decor, neutral autumn colors, or traditional orange pumpkins, you can customize these adorable stuffed pumpkins to match your style.
One of my favorite things about making fabric pumpkins is how versatile they are. They look beautiful arranged on a mantel, displayed in a decorative bowl, or grouped together as a centerpiece for your fall table. Best of all, you don’t need advanced sewing skills to make them!
Easy DIY Fabric Pumpkins for Beginners
If you’re new to sewing, this easy fabric pumpkin tutorial is a great place to start. The pumpkins are made using simple sewing techniques, and there’s no complicated pattern or tricky shaping involved. With just a few basic supplies and a little bit of time, you can create your own collection of handmade fall decorations.
Why you’ll love this easy sewing project:
Quick and easy: A fun project you can finish in a short amount of time.
Beginner-friendly: Perfect for anyone learning how to sew.
Budget-friendly: Use leftover fabric or inexpensive fabric remnants.
Customizable: Make pumpkins in different sizes, colors, and patterns.
Reusable: Enjoy your handmade pumpkins year after year.
These fabric pumpkins are also a wonderful project for using seasonal fabrics like plaid, gingham, linen, and cotton. Mix different textures and prints to create a cozy, collected look that’s perfect for autumn.
Handmade Fabric Pumpkins for Cozy Fall Decorating
There’s something special about decorating for fall with handmade pieces. These sewn fabric pumpkins add warmth and texture to any space, and they’re an easy alternative to buying new seasonal decorations every year. I especially love using soft neutrals, warm browns, muted oranges, and cream-colored fabrics for a cozy, understated autumn look.
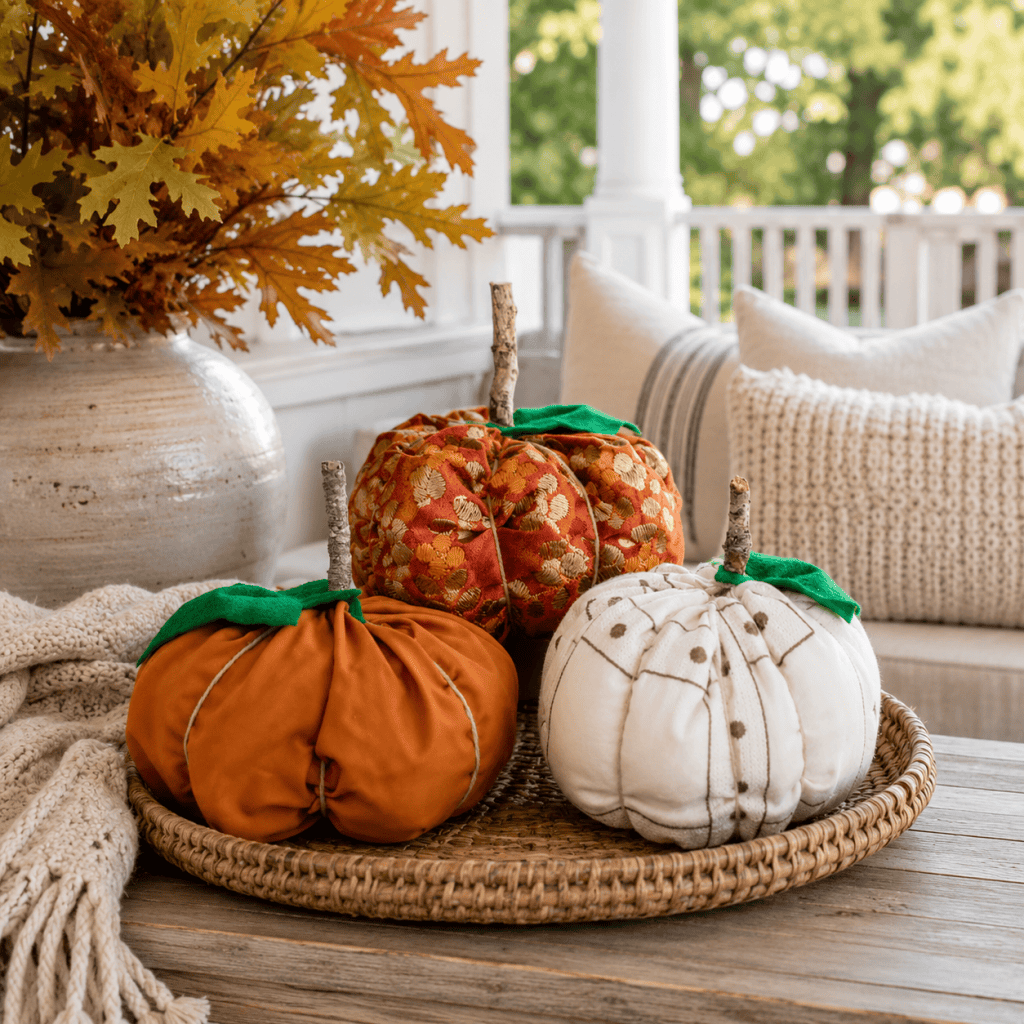
Try making several pumpkins in different sizes and arranging them together on a dining table, entryway console, or covered porch. You can also tuck smaller pumpkins into shelves, baskets, or tiered trays for a little seasonal charm.
Whether you’re decorating for Halloween, Thanksgiving, or simply celebrating the fall season, these easy DIY fabric pumpkins are a fun sewing project you’ll want to make again and again. Grab your favorite fabric and let’s get started!
Looking for free knitting patterns? Browse this full collection of easy knitting patterns you can start today:
50 Free Knitting Patterns You’ll Actually Want to Make (Beginner-Friendly)
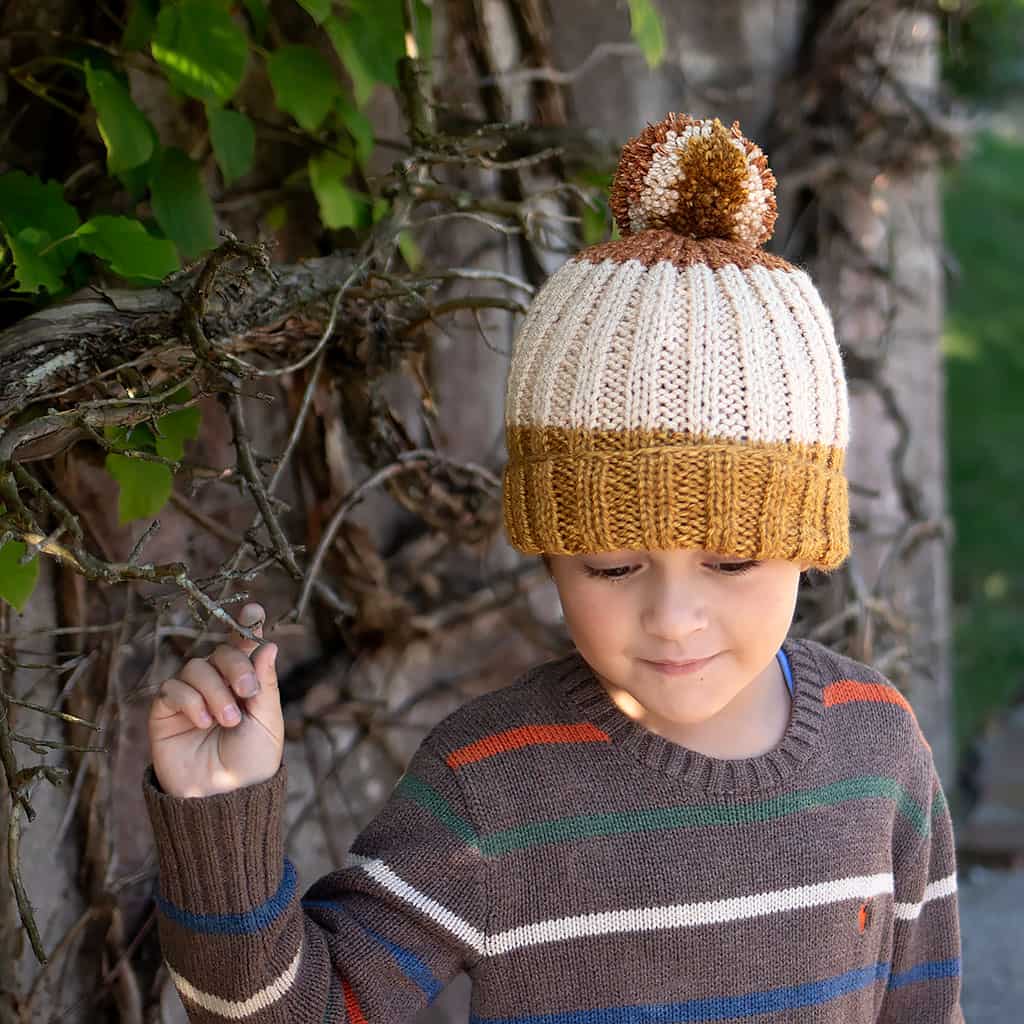
31 Free Hat Knitting Patterns for Everyone (Women, Men, Kids & Babies)
Fall Knitting Hub: Cozy Autumn Knitting Patterns for Beginners
Easy Scarf Knitting Patterns Hub: Cozy Beginner-Friendly Scarves You’ll Love to Make
Straight Needle Knitting Hub: Easy Flat Knitting Patterns for Beginners
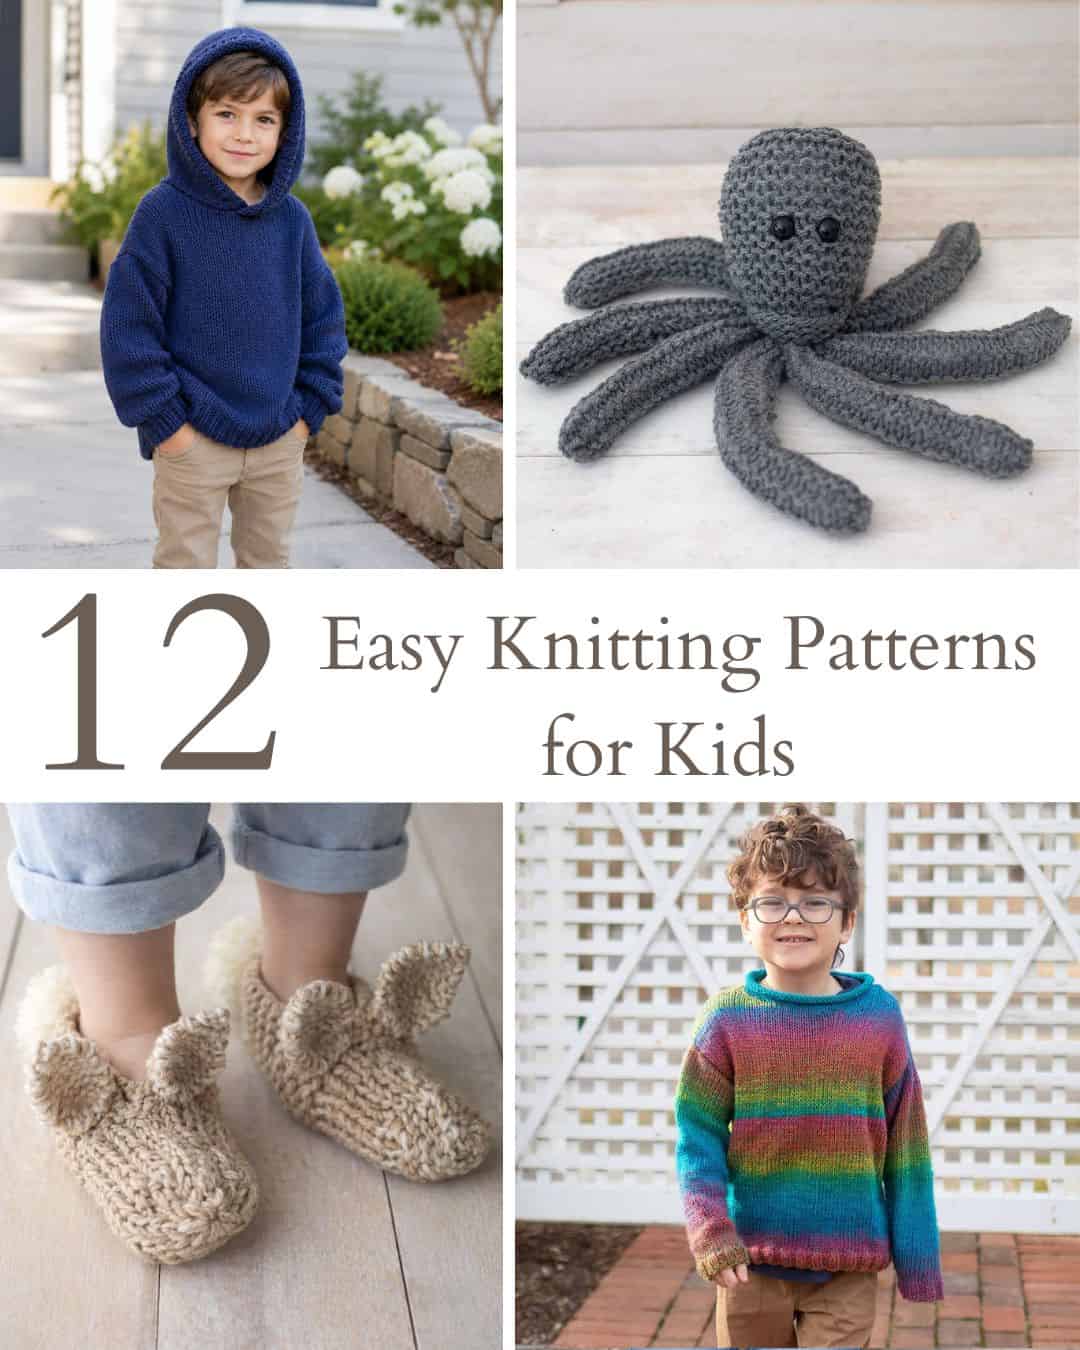
Kids Knitting Pattern Hub: Easy & Fun Knitting Patterns for Babies, Toddlers & Kids
How to Sew Fabric Pumpkins (Fast & Easy DIY Fall Decor!)
(As an Amazon associate, I earn from qualifying purchases)
Supplies needed:
Fabric
Fiber fill
Yarn or twine
Felt (for leaves)
How to Sew Fabric Pumpkins

These fabric pumpkins can be made in any size, so you can create a mix of small, medium, and large pumpkins for your fall decorations. To get the right proportions, cut a rectangle of fabric that measures roughly twice as wide as it is tall. For example, if your fabric is 12 inches tall, you’ll want it to be approximately 24 inches wide.
Once you’ve cut your fabric to the desired size, fold it in half with the right sides facing together, lining up the shorter edges. Sew along the side seam using a straight stitch, leaving the top and bottom open. You should now have a fabric tube that will form the body of your pumpkin.
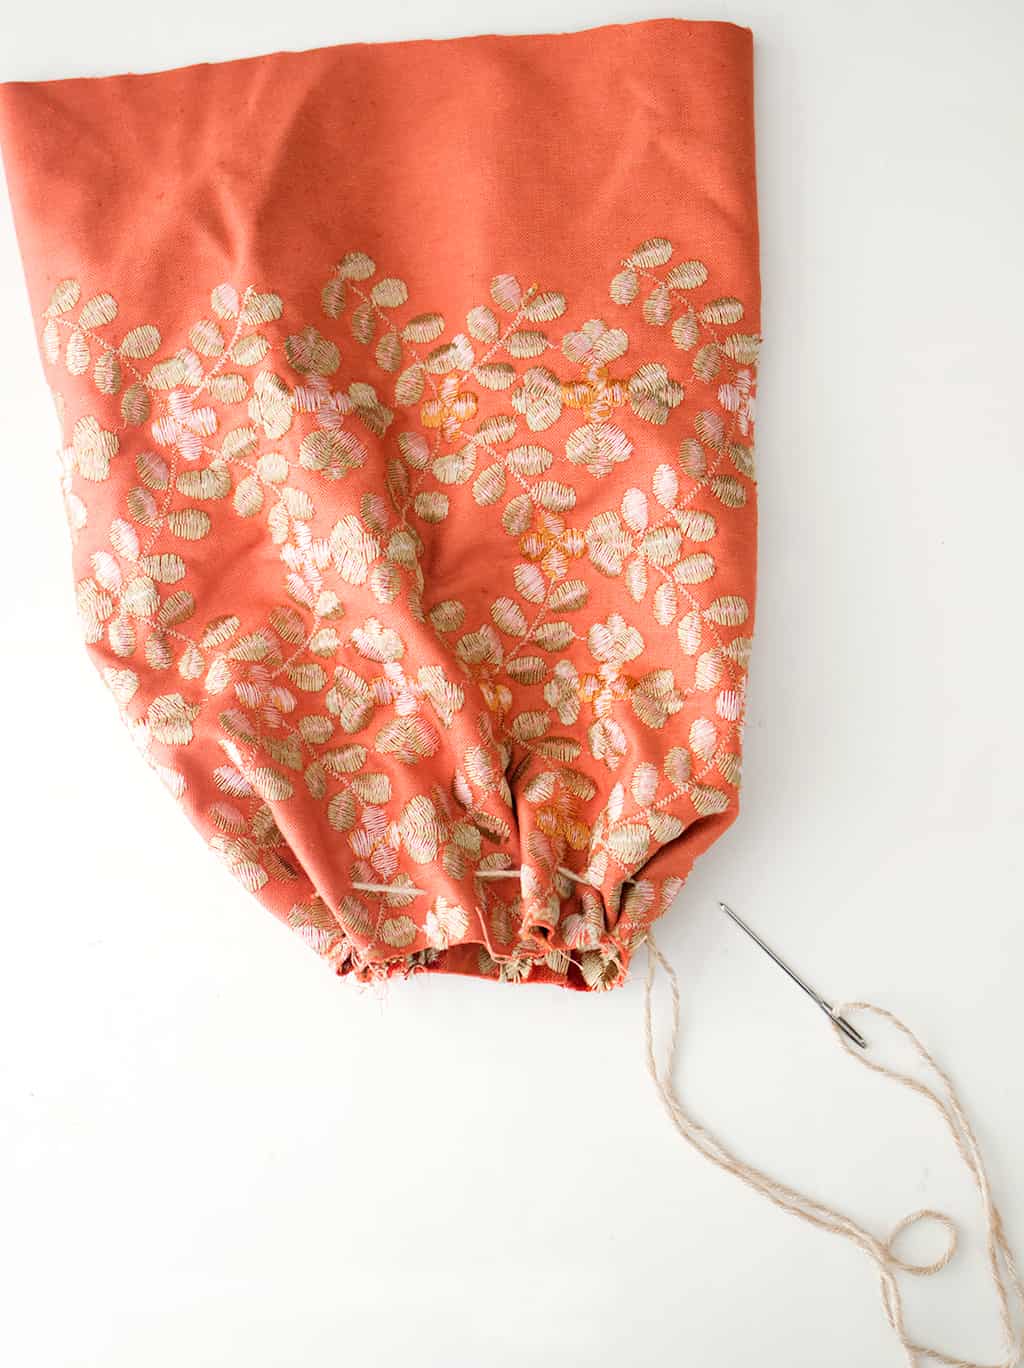
To gather the ends of your fabric pumpkin, you can use either a sewing machine or a needle and thread, depending on the type of fabric you’re working with.
For heavier fabrics, like the upholstery fabric I’m using in this tutorial, a large-eye needle and sturdy thread work best. You can also use yarn, as shown in the picture above. The thicker thread makes it easier to pull the fabric together without breaking.
For lighter fabrics, like the orange silk pumpkin pictured above, a long basting stitch made with a sewing machine is the easiest option. Be sure to leave long thread tails so you can pull them to gather the fabric.
Once you’ve stitched around the opening, gently pull the thread to gather the fabric tightly toward the center. Continue pulling until the opening is completely closed, then tie a secure knot to hold everything in place.

This is what the bottom of your fabric pumpkin should look like once the fabric has been gathered and secured. The stitches will pull the fabric together in the center, creating a tightly gathered opening. Don’t worry if it looks a little messy—this will be the underside of the pumpkin, so the stitching won’t be visible when it’s displayed.

Fill your fabric pumpkin with polyester fiberfill, adding small amounts at a time and spreading the stuffing evenly to create a nice, rounded shape. You want the pumpkin to feel full and plump, but avoid overstuffing it, as this can make it difficult to close the opening.
Be sure to leave a few inches of empty fabric at the top so you have enough room to gather the edges and stitch the opening closed. Once you’re happy with the shape of your pumpkin, you’re ready for the next step!
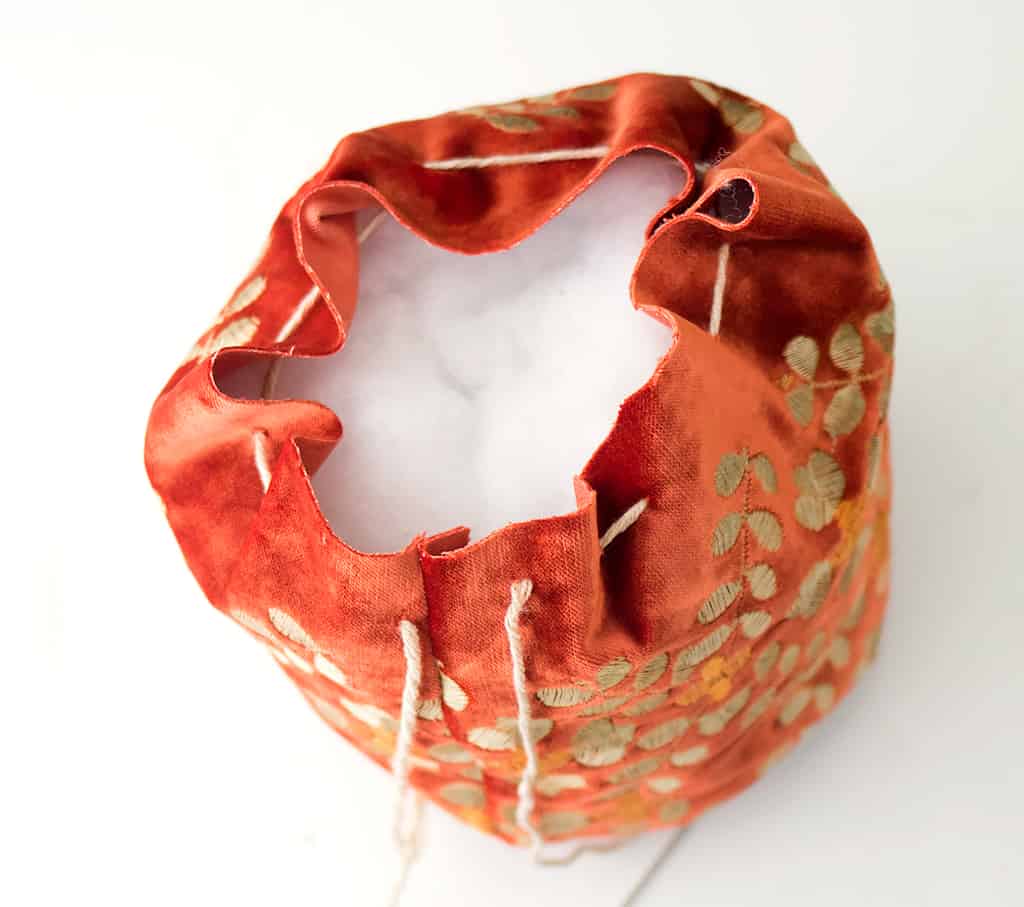
Using a needle and sturdy thread, sew a running stitch around the top opening of your fabric pumpkin, just as you did with the bottom. Once you’ve stitched all the way around, gently pull the thread to gather the fabric together and close the opening.
Make sure the stuffing stays tucked inside as you pull the fabric closed. Once the opening is tightly gathered, secure the thread with a few stitches and tie a firm knot to keep everything in place.

Once the top opening is gathered tightly, tie a secure knot to hold the fabric in place. You can add a few extra stitches if needed to make sure the opening stays closed. Trim any excess thread, and your stuffed fabric pumpkin is ready for the finishing touches!

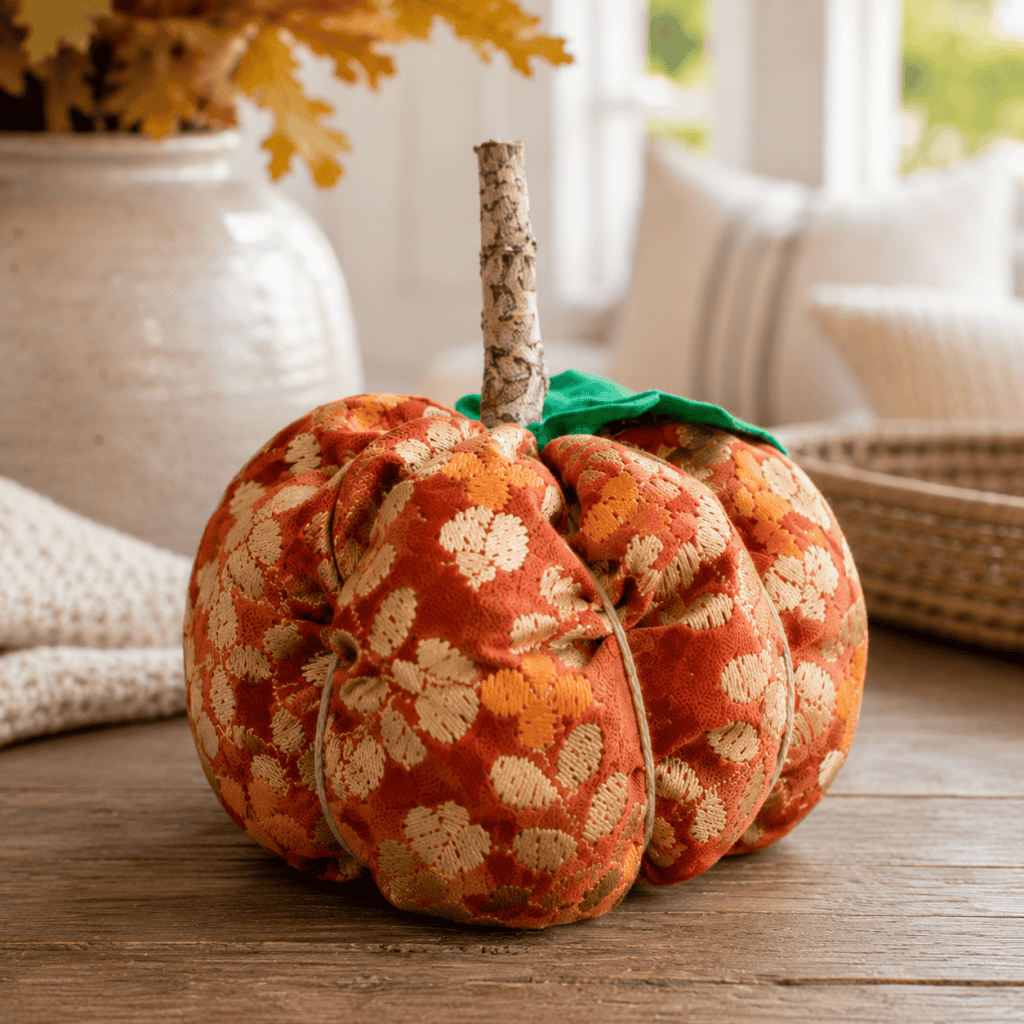
Cut a long length of yarn or twine and fold it in half. Wrap it around the pumpkin, crossing the strands over the top and bottom to create the classic pumpkin ridges. Pull the yarn or twine snugly so it gently presses into the stuffed fabric, giving your pumpkin its rounded, segmented shape.
Continue wrapping and crisscrossing the strands around the pumpkin, spacing them evenly to create natural-looking sections. Adjust the tension as needed to make the ridges more defined, then tie a secure knot to hold everything in place.

For the pumpkin stem, I used a small stick I found outside. I love using natural materials for fall crafts because they give each pumpkin a rustic, handmade look. Choose a short stick that’s proportionate to the size of your pumpkin.
Add a small amount of hot glue to the bottom of the stick and press it firmly into the center of the pumpkin’s top opening. Hold it in place for a few moments while the glue begins to set. Then, use the loose ends of the yarn or twine to wrap around the base of the stick and tie a secure knot. This helps keep the stem in place while adding a charming, rustic finishing touch to your DIY fabric pumpkin.
More Easy DIY Halloween Crafts to Try
Looking for more fun and easy Halloween crafts? If you enjoyed making these DIY fabric pumpkins, you’ll love these other handmade Halloween decorations! From spooky accents to cozy fall decor, these beginner-friendly projects are a great way to decorate your home without spending a lot of money.
Check out these easy DIY Halloween projects:
Easy DIY Printed Halloween Candles (5-Minute Halloween Decor)
Easy Macrame Ghost DIY – Cute & Spooky Halloween Wall Decor
Easy No-Sew Ghost Costume DIY (Quick Last-Minute Halloween Costume)
Beanie Baby Costume DIY – Easy No-Sew Halloween Costume
DIY Pottery Barn-Inspired Gus the Ghost Pillow: Easy Tutorial with Minimal Sewing
Easy Metallic Leaf Wreath DIY for a Cozy Fall Front Door
How to Layer Iron-On Vinyl with Cricut (Easy 2-Color T-Shirt Tutorial)
DIY Jack Skellington Pillow Pottery Barn Dupe
Easy DIY Spider Costume for Any Size (Turn a Hoodie Into a Spider!)
More Halloween Knitting and Crochet Patterns
If you enjoyed making this Easy DIY Spider Costume, why not add a few more handmade projects to your Halloween celebrations? I have plenty of Halloween knitting and crochet patterns that are perfect for creating cute costumes, spooky decorations, and festive accessories for the season.
From adorable knitted pumpkin hats and cozy Halloween accessories to crochet ghosts, black cats, spiders, and plush pumpkins, there are lots of fun projects to choose from. Many of these free Halloween knitting and crochet patterns are beginner-friendly and use simple stitches, making them great for a relaxing weekend of crafting.
Whether you’re looking for handmade Halloween decorations, cute projects for kids, or something festive to give as a gift, these patterns are a fun way to use your yarn stash and celebrate the spooky season.
Try these Halloween knitting and crochet patterns next:
Easy Large Jack O’ Lantern Crochet Pattern (Plush Halloween Pumpkin)
Easy Gourd Knitting Pattern (Beginner-Friendly & Knit Flat on Straight Needles)
15 Easy Knit and Crochet Halloween Patterns for Kids
Peek-a-Boo Cat Pillow Crochet Pattern (Easy Halloween Décor)
Easy Giant Plush Ghost Crochet Pattern (Beginner-Friendly Halloween Décor)
Easy Halloween Spiders Crochet Pattern (Beginner-Friendly Spooky Décor)
Flat Knit Striped Pumpkins Knitting Pattern (Easy Fall Decor on Straight Needles)
Easy Plush Halloween Cat Crochet Pattern (Cute & Beginner-Friendly)
Pumpkin Granny Square Throw Crochet Pattern (Cozy Fall Blanket)
Frequently Asked Questions About DIY Fabric Pumpkins
What is the best fabric for making fabric pumpkins?
You can use almost any type of fabric to make these easy DIY fabric pumpkins! Cotton, linen, velvet, upholstery fabric, and even old sweaters work well. Heavier fabrics create a more structured pumpkin, while lightweight fabrics give them a softer appearance. I love mixing different textures and patterns for a cozy fall look.
Can I make fabric pumpkins without a sewing machine?
Yes! These fabric pumpkins can easily be made by hand using a needle and thread. A simple running stitch is all you need to sew the side seam and gather the top and bottom openings. A sewing machine can speed up the process, but it’s not necessary.
How much fabric do I need to make a pumpkin?
The amount of fabric depends on how large you want your pumpkin to be. As a general rule, cut a rectangle that’s approximately twice as wide as it is tall. You can make several small pumpkins from leftover fabric scraps or use larger pieces for statement decorations.
What can I use instead of fiberfill?
If you don’t have polyester fiberfill, you can stuff your pumpkins with leftover fabric scraps, old pillow stuffing, or even plastic grocery bags. Just make sure the stuffing is evenly distributed to create a rounded shape.
How do you make fabric pumpkins look realistic?
To give your fabric pumpkins a more realistic appearance, wrap yarn or twine around them to create defined ridges. Adding a natural stick for the stem gives them a rustic, organic look.
These easy DIY fabric pumpkins are one of those simple fall sewing projects that you’ll want to make year after year! They’re inexpensive, beginner-friendly, and completely customizable to match your autumn decorating style.
I especially love how they look grouped together in different sizes and fabrics. Whether you display them on a mantel, dining table, or entryway shelf, these handmade pumpkins add a cozy touch to your home.
I hope you enjoyed learning how to sew fabric pumpkins! They’re a fun way to use up fabric scraps and create beautiful fall decorations you can enjoy all season long.
✨ I’d love to see what you’re making! ✨
If you’ve tried one of my knitting patterns, crochet projects, DIYs, or recipes, share your finished project on Instagram and tag me so I can see it 💛
There’s nothing better than seeing your creations come to life—from cozy knits to delicious recipes and everything in between. It truly makes my day!
Tag me @ginamicheleny so I can share your work and cheer you on!
Happy making!