Easy DIY Wainscoting
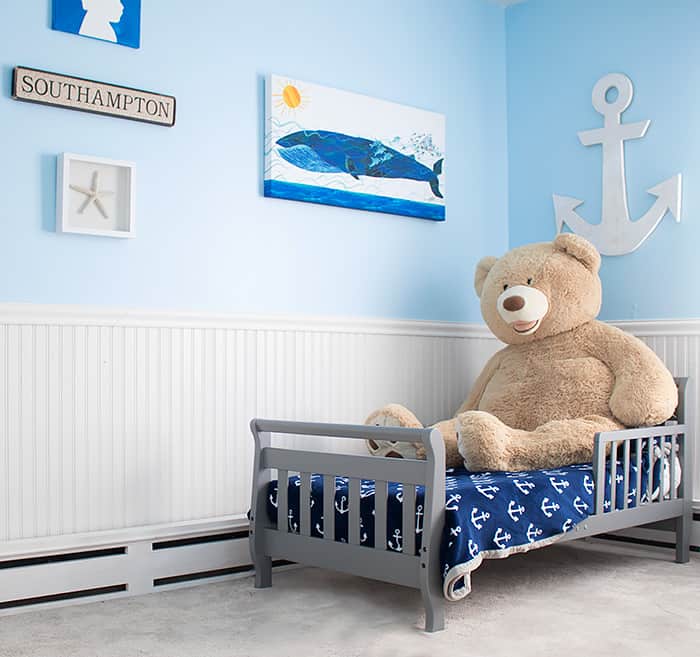
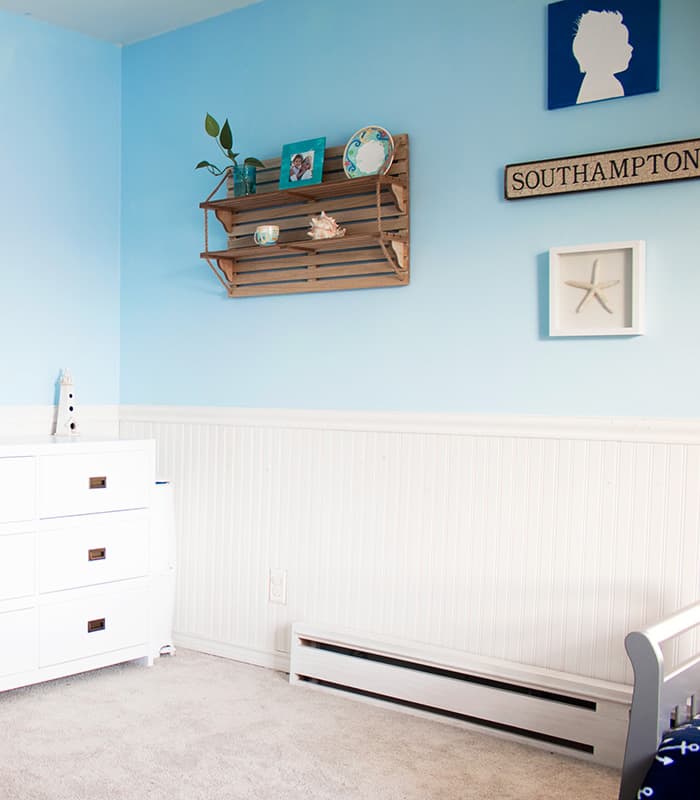
I recently redecorated Indigo’s bedroom to make it look less like a nursery and more like a “big boy” room. I went with a coastal theme (full reveal coming soon!) and this Easy DIY Wainscoting was the perfect finishing touch!
I never put up Wainscoting before. I saw surprised at how easily this Wainscot Plank Paneling and Moulding Trim Pack fit together. The set was lightweight so it was easy to work with. This project went relatively quickly and I was able to finish the whole room (minus painting the wainscoting) in under a day.

Before you begin, make sure the baseboard trim and outlet covers have been removed.
Want more easy Home Decor DIYs?
Supplies needed for Easy DIY Wainscoting
Nail gun or hammer and finish nails
Jigsaw or hand saw
Level
Nail hole filler

Cut the base mouldings at 45 degree angles for the corners. Don’t forget to do the opposite 45 degree angle for the second moulding.

Using the stud finder, find and mark the studs. Nail the base moulding into the studs, and use the level to make sure it’s straight.

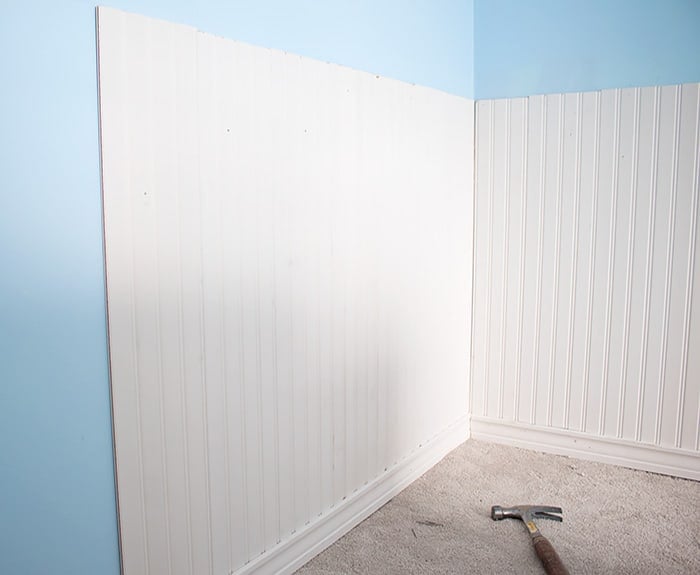
Start in the corner and insert the first piece of paneling. Use the level vertically to make sure it is straight. The case and chair rail moulding both have grooves that hold the paneling in place. Nail the paneling into the studs.

The paneling is tongue-and-groove, so each piece just slides into the other one. Nail each new panel in at the studs.
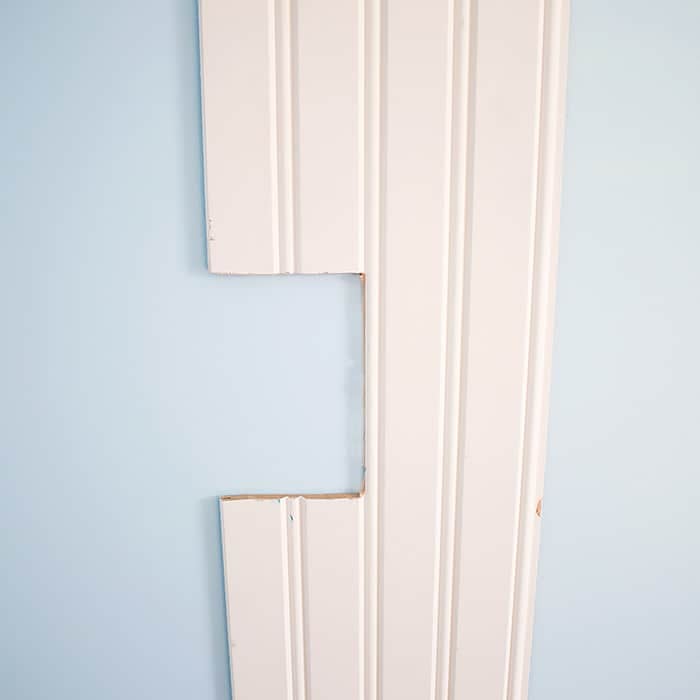
Cutting around the outlets is the trickiest part. Measure the location of the outlet and mark it on the panel. Use the outlet cover trace on the panel. Cut using a jigsaw or hand saw.
When you are finished adding the paneling. Nail on the chair rail moulding and use the level to make sure it is straight. Caulk any gaps.

Countersinking the nails heads and filling them makes them invisible when painted. Press the nail set against the nail head and hit with a hammer until the head becomes recessed.
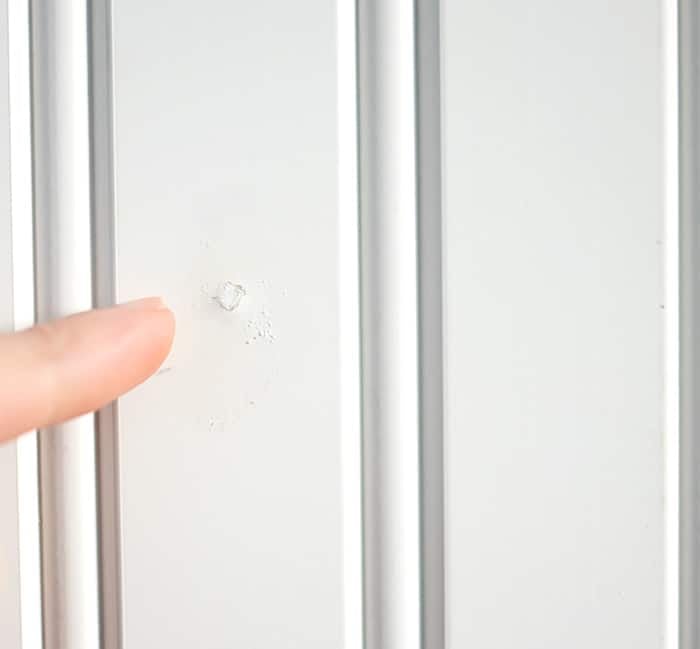
Fill the nail holes. Wipe away any excess from the sides with a damp sponge. Once the filler has dried, paint the wainscoting.