How to Build a Beginner Bird House
How to Build a Beginner Bird House- attract songbirds to your yard by building this beginner-friendly, easy DIY birdhouse.
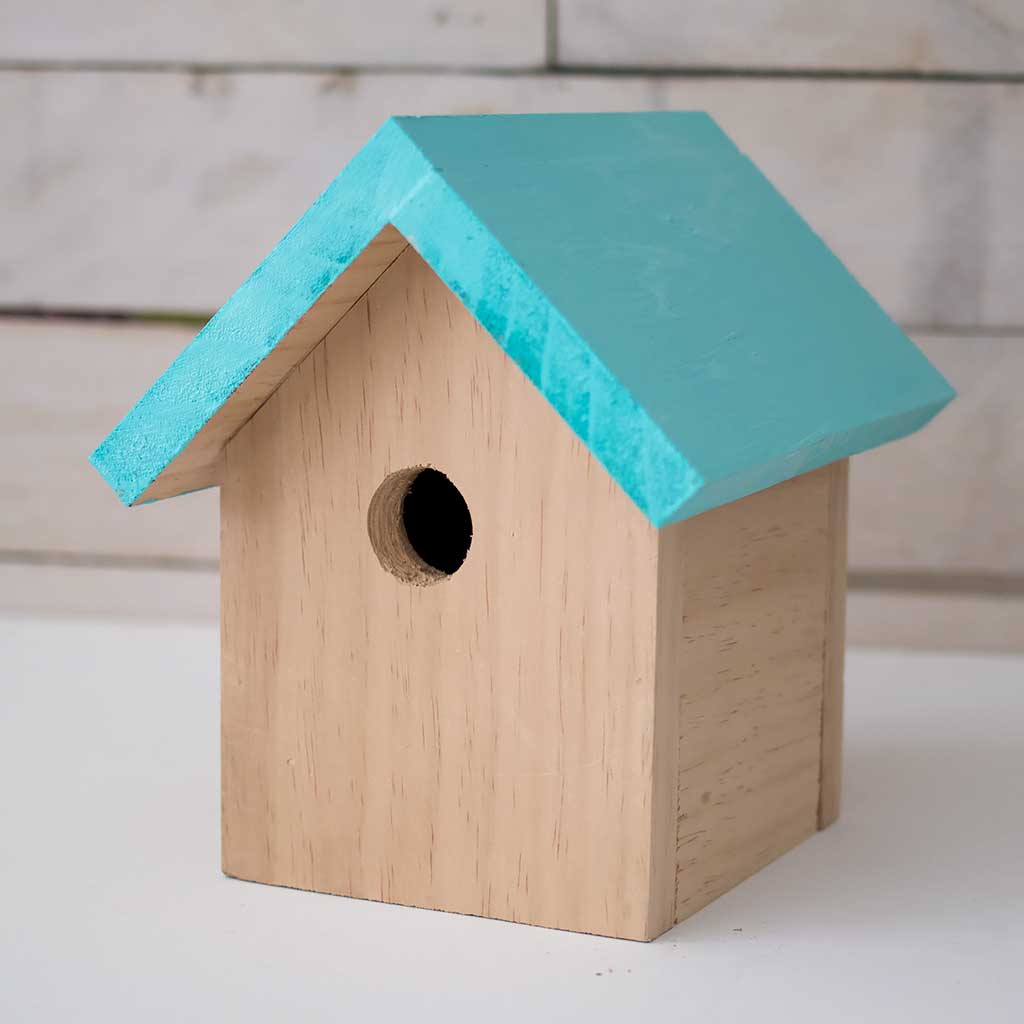
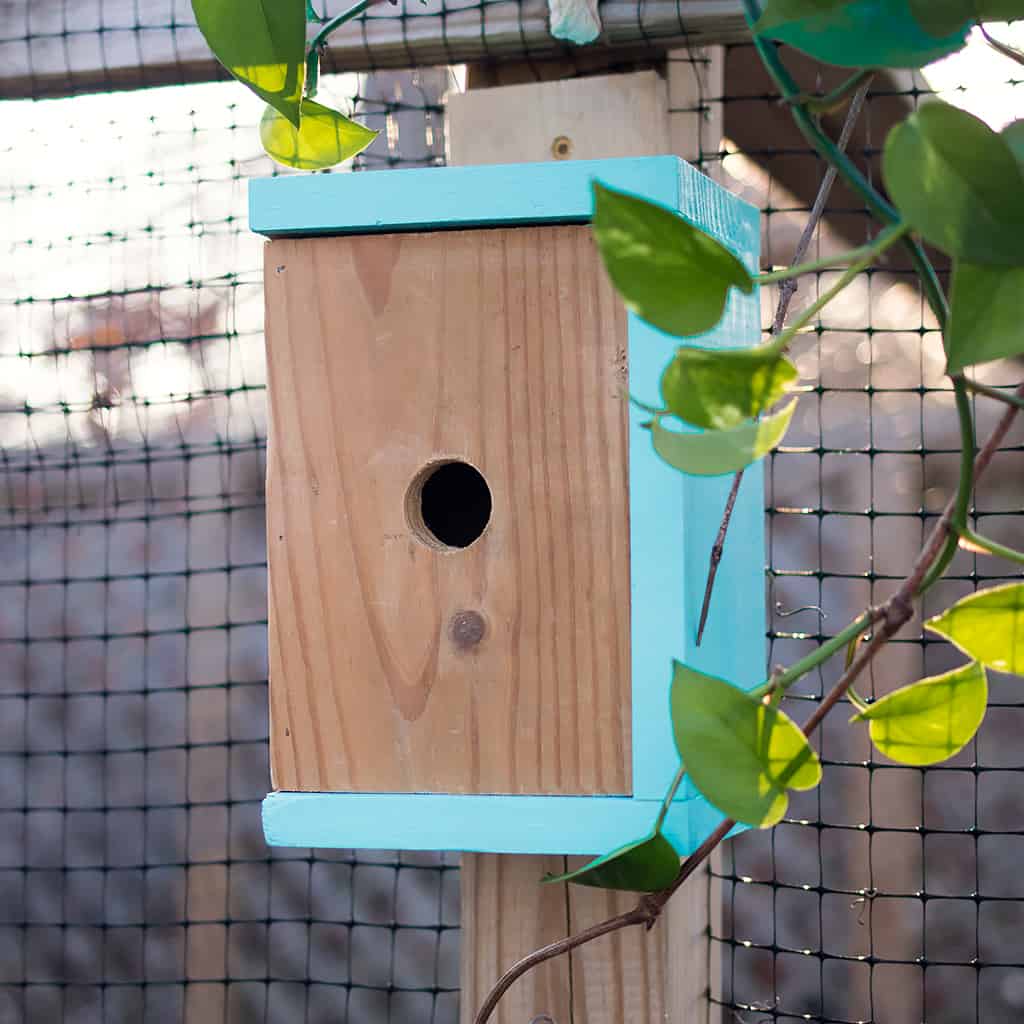
Your feathered friends are sure to love this nesting box! Last spring I built 3 of these Easy Modern Birdhouses and the birds took to them right away. I decided to add a few more houses this year. I went with a classic design this time. This is a fun, woodworking project that can be made in less than an hour using only one board.
This beginner bird house is a simple and easy-to-build birdhouse designed for those who are new to woodworking or birdhouse building. It has a straightforward design and uses basic tools and materials that are easily accessible and affordable.
Some key features of this beginner bird house include:
- Simple design: This beginner bird house has a simple and functional design that is easy to build and assemble. It has one chamber, a slanted roof, and an entrance hole that is the right size for the birds you want to attract.
- Affordable materials: This beginner bird house is made from readily available and affordable materials, such as wood (pine board), screws, and nails. The materials can be found at your local hardware store and do not require any special tools or equipment.
- Easy-to-follow instructions: This beginner bird house comes with clear and easy-to-follow instructions that are designed for those with little to no experience in woodworking. The instructions include detailed photos and step-by-step instructions that make it easy to build the bird house from start to finish.
- Fun and educational: Building a bird house can be a fun and educational experience for both adults and kids. It can teach you basic woodworking skills, and you will learn about the different types of birds and how to attract them to your birdhouse.
Overall, a beginner bird house is a great starting point for those who are interested in woodworking or birdhouse building and want to create a functional and attractive bird house that will attract birds to your front or backyard.
KEEP IN TOUCH! FOR MORE INSPIRATIONS, TUTORIALS, AND FREE KNITTING PATTERNS, SIGN UP FOR OUR WEEKLY NEWSLETTER:
How to Build a Beginner Bird House
(As an Amazon Associate I earn from qualifying purchases)
Supplies needed for this tutorial:
1 X 6 X 8 pine board (or cedar)
Miter saw (I have this one and I love it)
Pencil
Corner clamps (optional, but very helpful)
Nail gun (or wood glue and a hammer and finish nails)
Pencil
Drill with spade drill bit (the hole size needed for your bird will determine what size spade bit you need) Birds like nuthatches and titmice will need a smaller hole than woodpeckers, robins or bluebirds.
Lumber cuts
Cut two 1 x 6 x 8-inch boards (front and back)
cut two sides 1 x 6x 4¾ inch (sides)
Cut one 1 x 6 x 4 1/2 inches (bottom)
Next, cut one 1 x 6 x 8 1/2 inch (right side of the roof)
Cut one 1×4 ¾ x 8 1/2 inch for (left side of the roof)
Birdhouse Plans
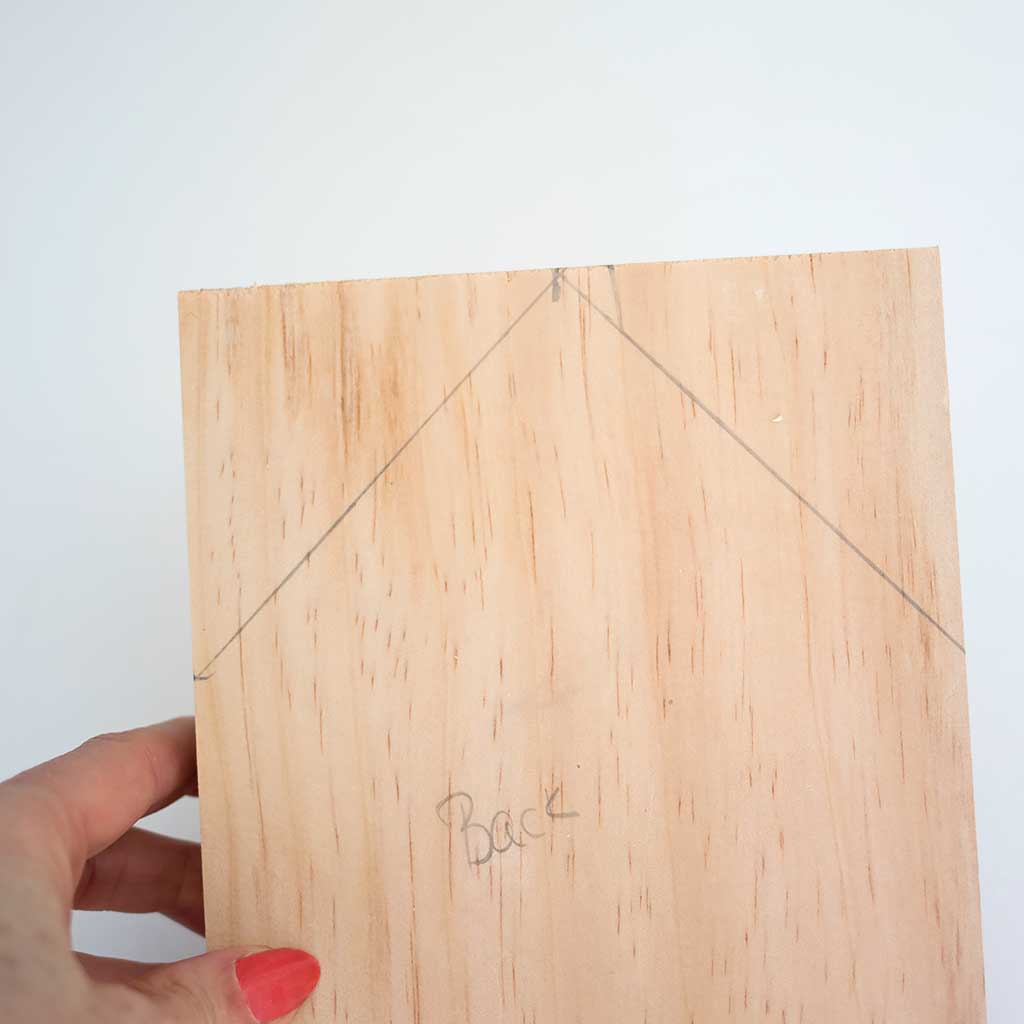
Using the measuring tape, find the top center on the front board. Make a mark. Cut from the center mark at 45 degrees on both sides to form a peak. I used the miter saw to cut a 45 degree angle.
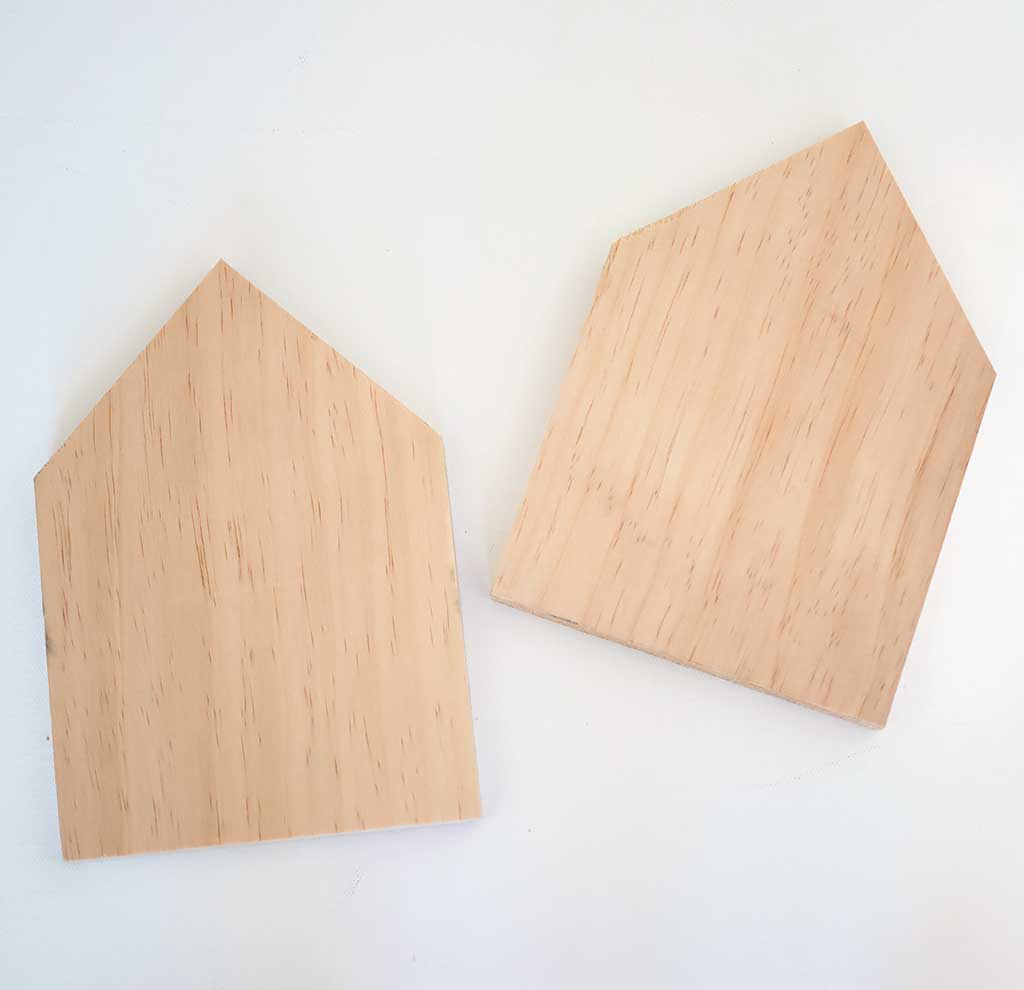
Trace the peak from the front board onto the back board and cut it out.
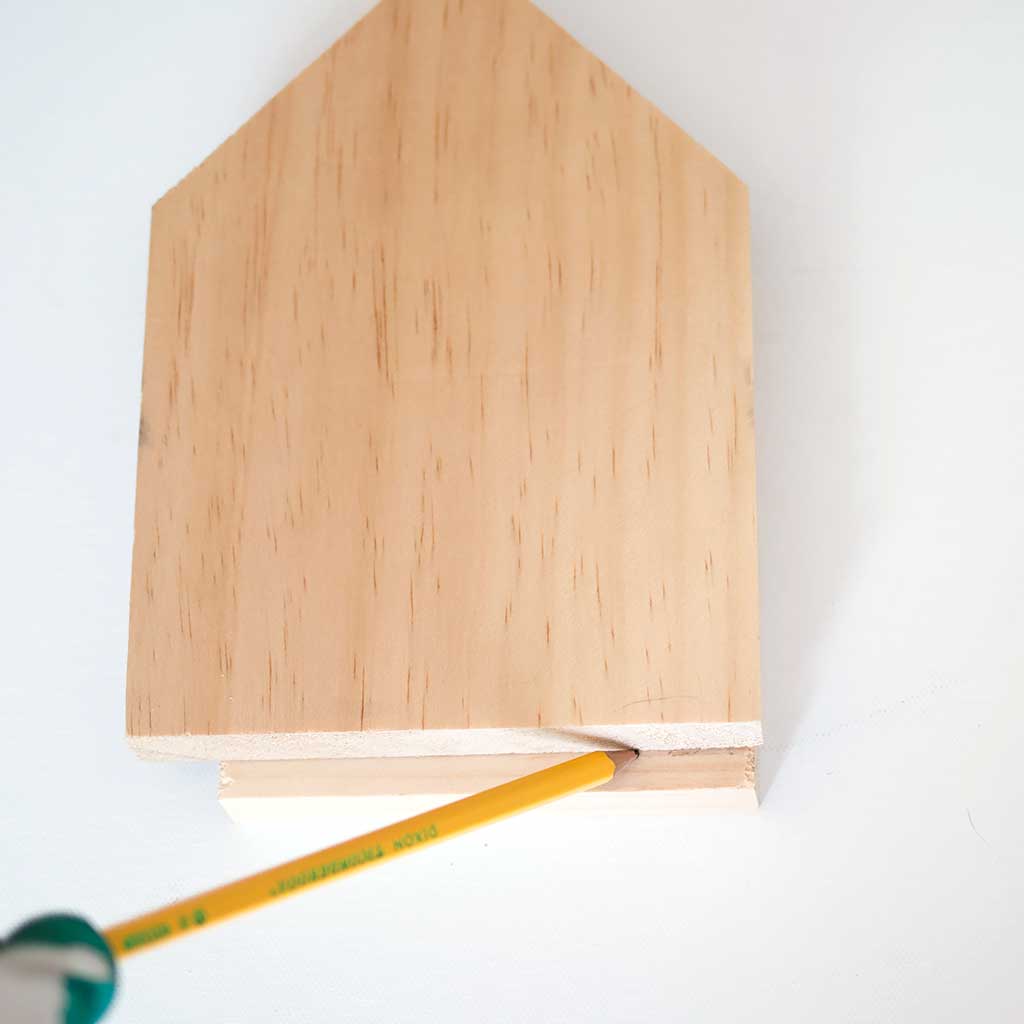
After cutting the peaks, the sides will need to be trimmed. Measure the wall height of the front piece against the side. Cut the sides to the correct height.
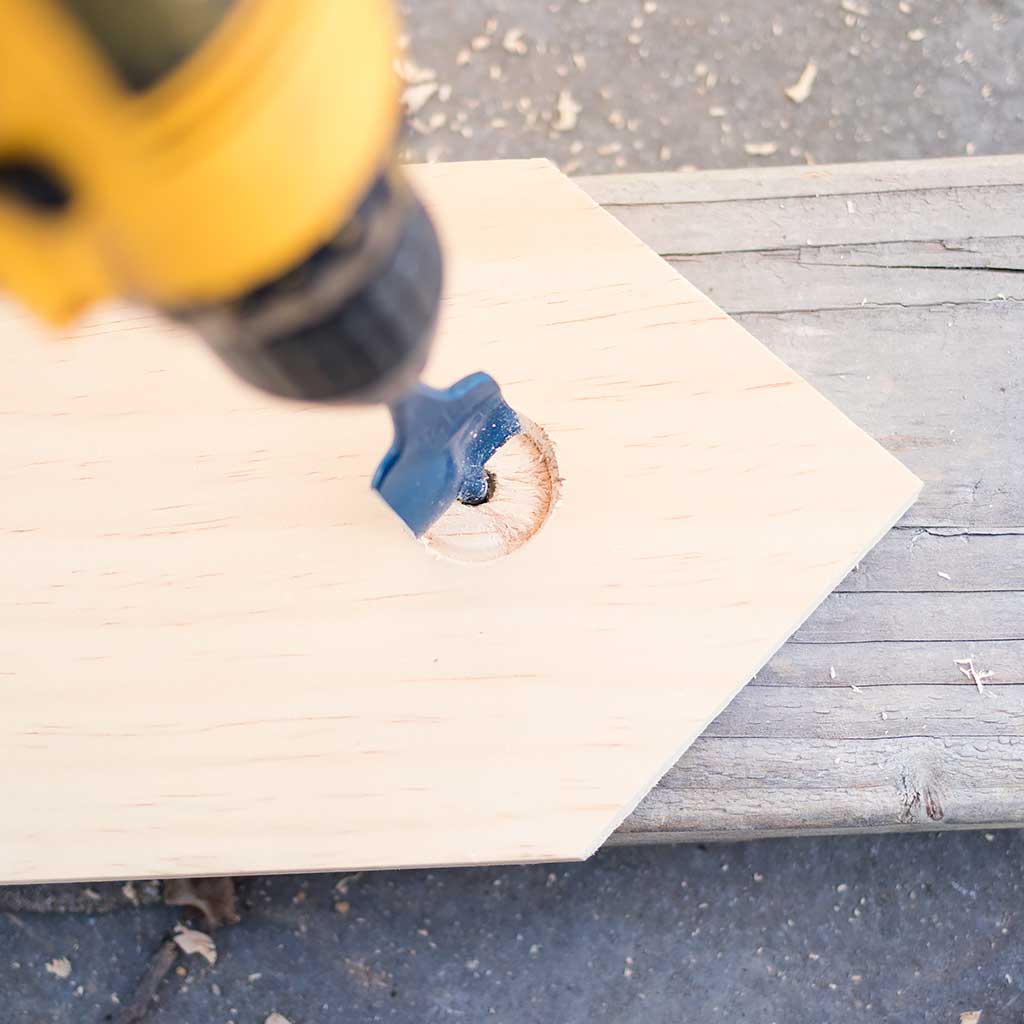
Drill the entrance hole on the front of the board using the spade drill bit.
The entrance hole on the birdhouse will determine what birds it will attract. Wrens and Chickadees are both prevalent in my area. Both birds require a 1.25″ opening. This helpful chart will show you what size opening common birds (Bluebirds, Robins, Nuthatches, Woodpeckers, etc) require.
Many birdhouses have perches and they seem like a cute feature. However, after doing some research I found that they’re not recommended. Most cavity-nesting birds can cling to the outside of the box without aid, especially if it’s natural wood. Perches actually help other birds or predators who may harass the nesters.

Clamp the side walls to the front and attach with either a nail gun or glue and a hammer and nails.
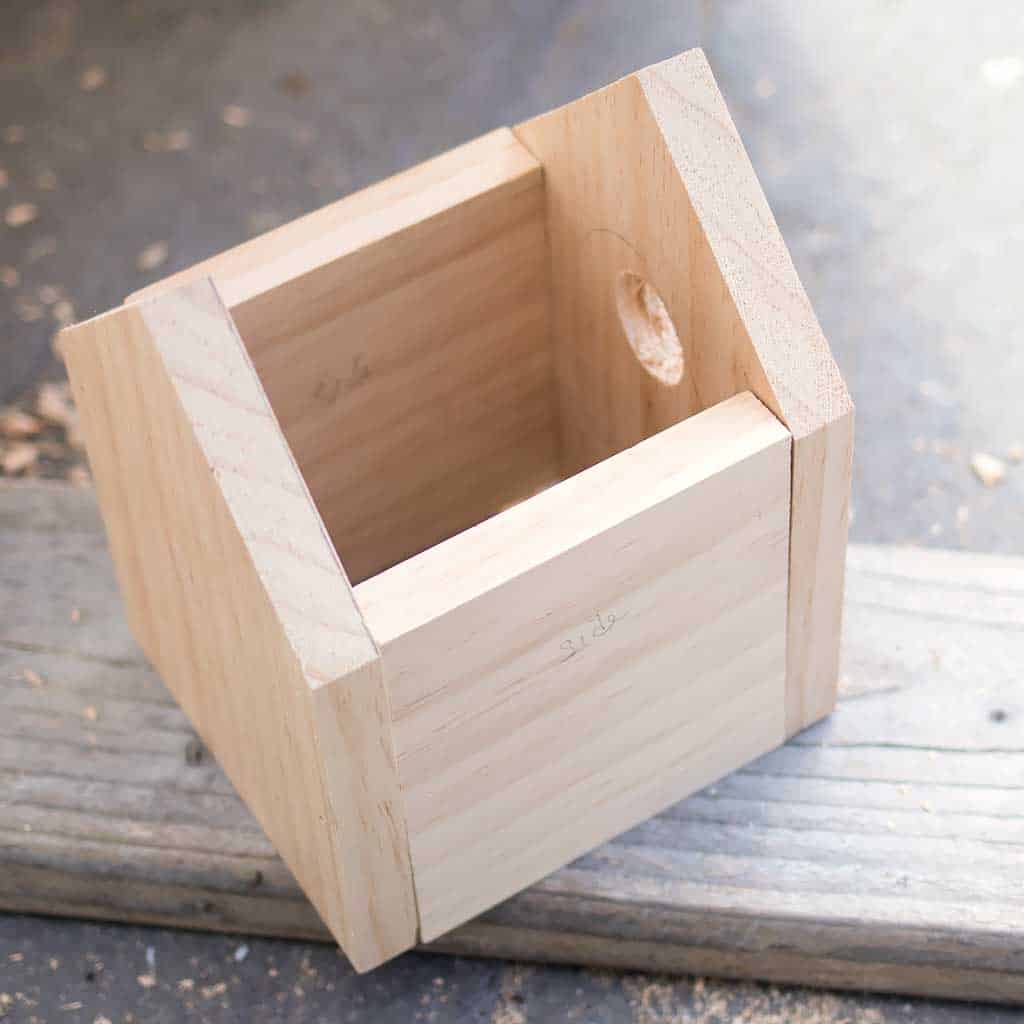
Attach the back of the birdhouse and the bottom piece.
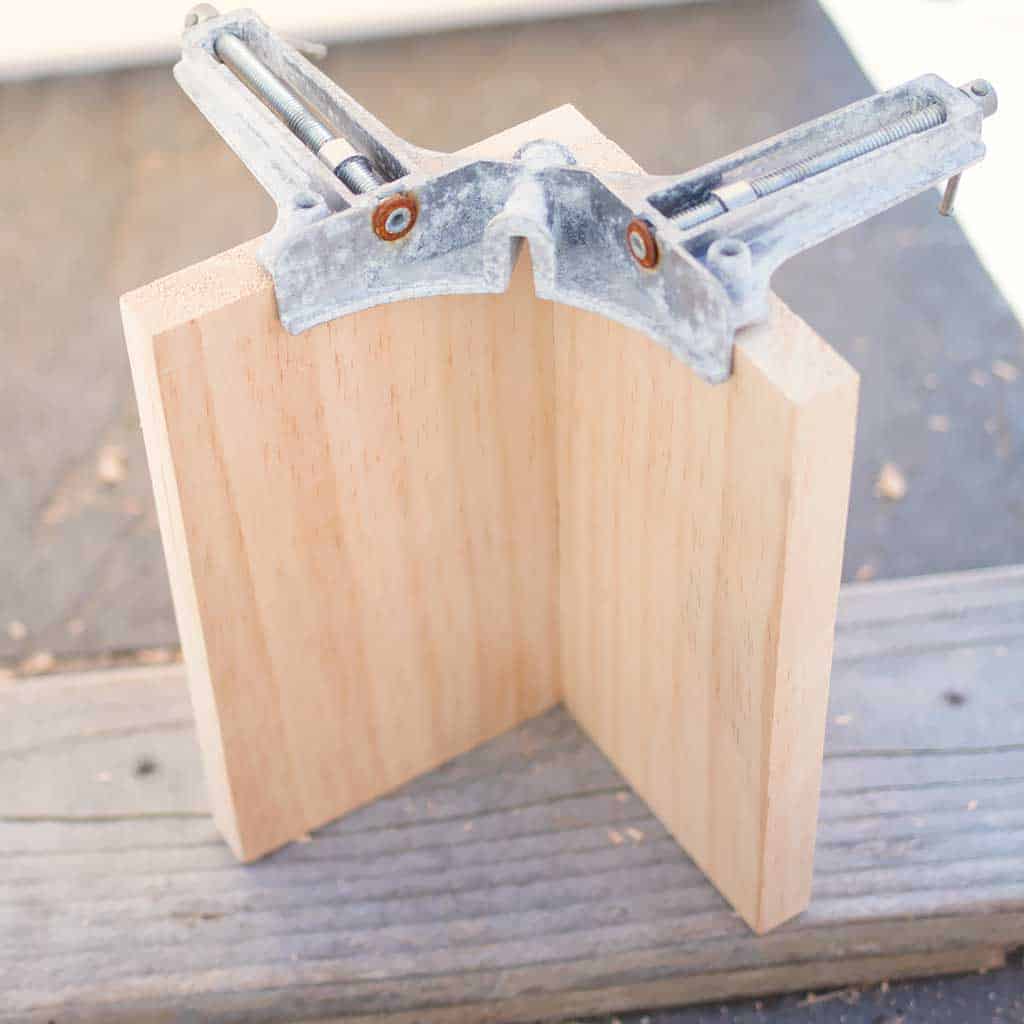
Nail the roof pieces together at the edge.

Nail the roof onto the bird house. Fill the holes with wood filler. I opted to paint the roof with exterior paint, but you can leave the house as-is.
Looking for more easy Outdoor DIY Projects like this DIY Birdhouse Plans?
How to Build an Easy Stone Grill Surround
Outdoor Chalkboard DIY- Weatherproof and Durable!
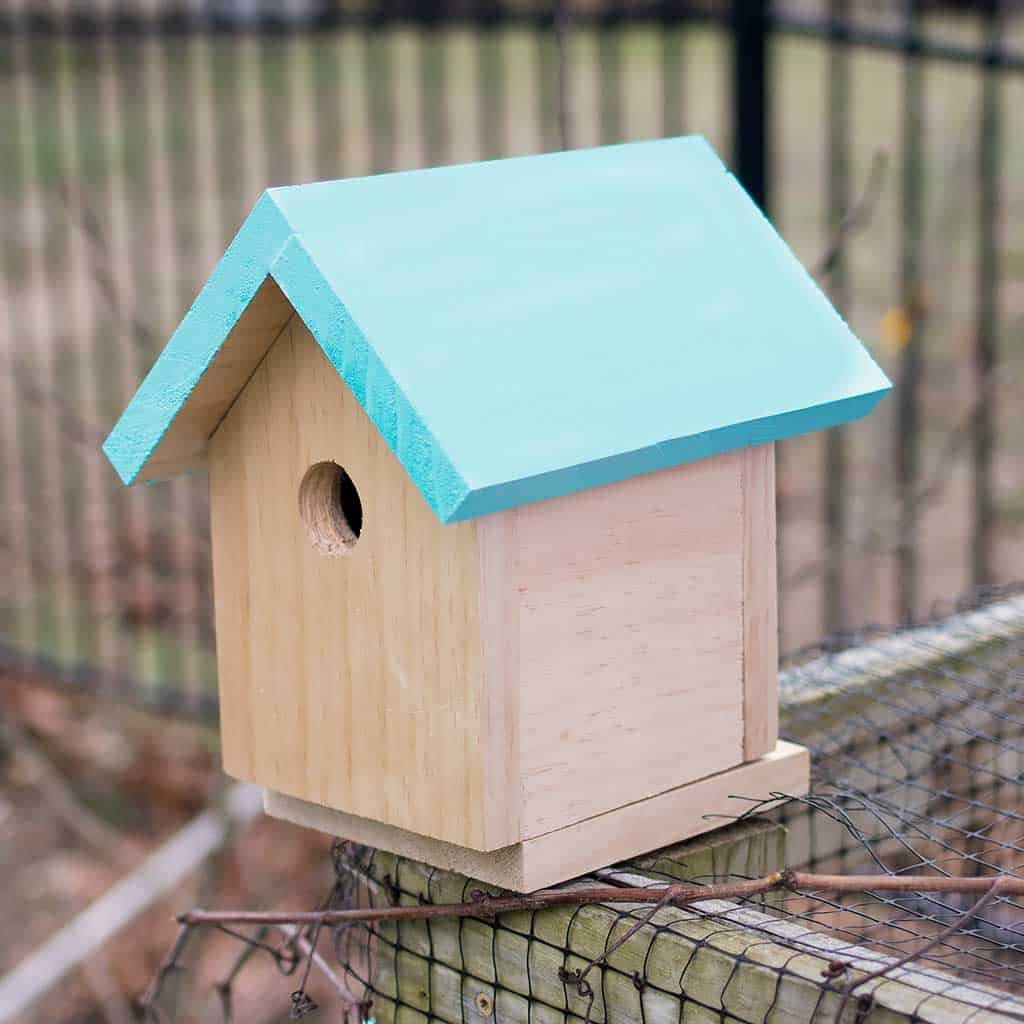
I mounted the birdhouse to a piece of wood and then attached it to a ledge on the fence around my chicken coop. You could also hand a hook (eye hooks) from the back to mount or attach it to a pole.
I love seeing your finished projects! If you enjoyed making this easy DIY birdhouse, or any of my other DIY projects, I’d love to see yours on Instagram, just tag me @ginamicheleblog. Happy DIYing!

