How to Make Custom Flower Pots with Cricut
How to Make Custom Flower Pots with Cricut- personalize your flower pots with this easy and fun technique. Video tutorial included!

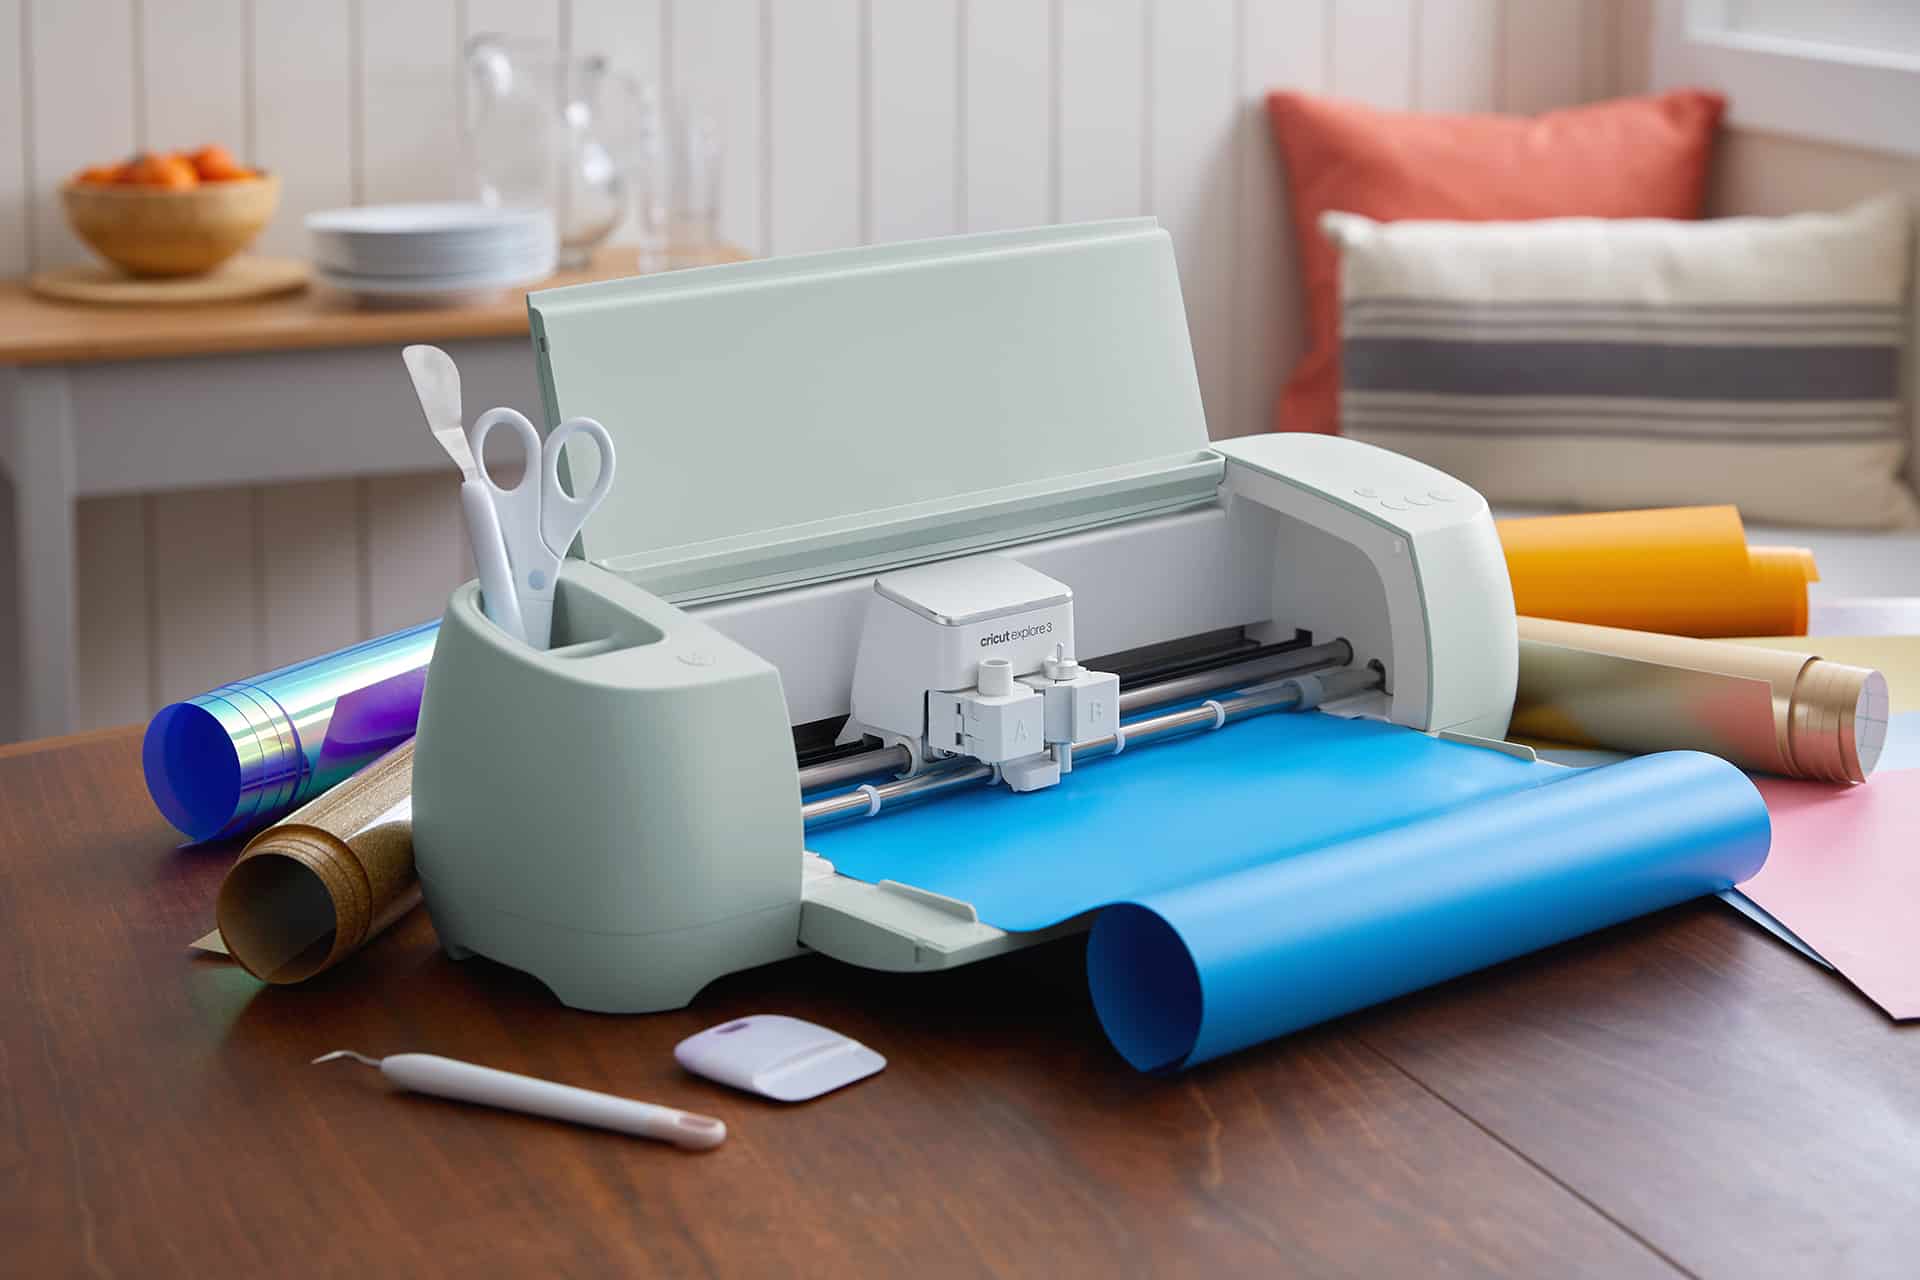
I received a Cricut for Christmas and it has fast become my favorite crafting tool! I’m in awe of how many different materials this little machine can cut. So far, one of my favorite materials to work with is the premium vinyl. It can be used for everything from mugs to outdoor signs!
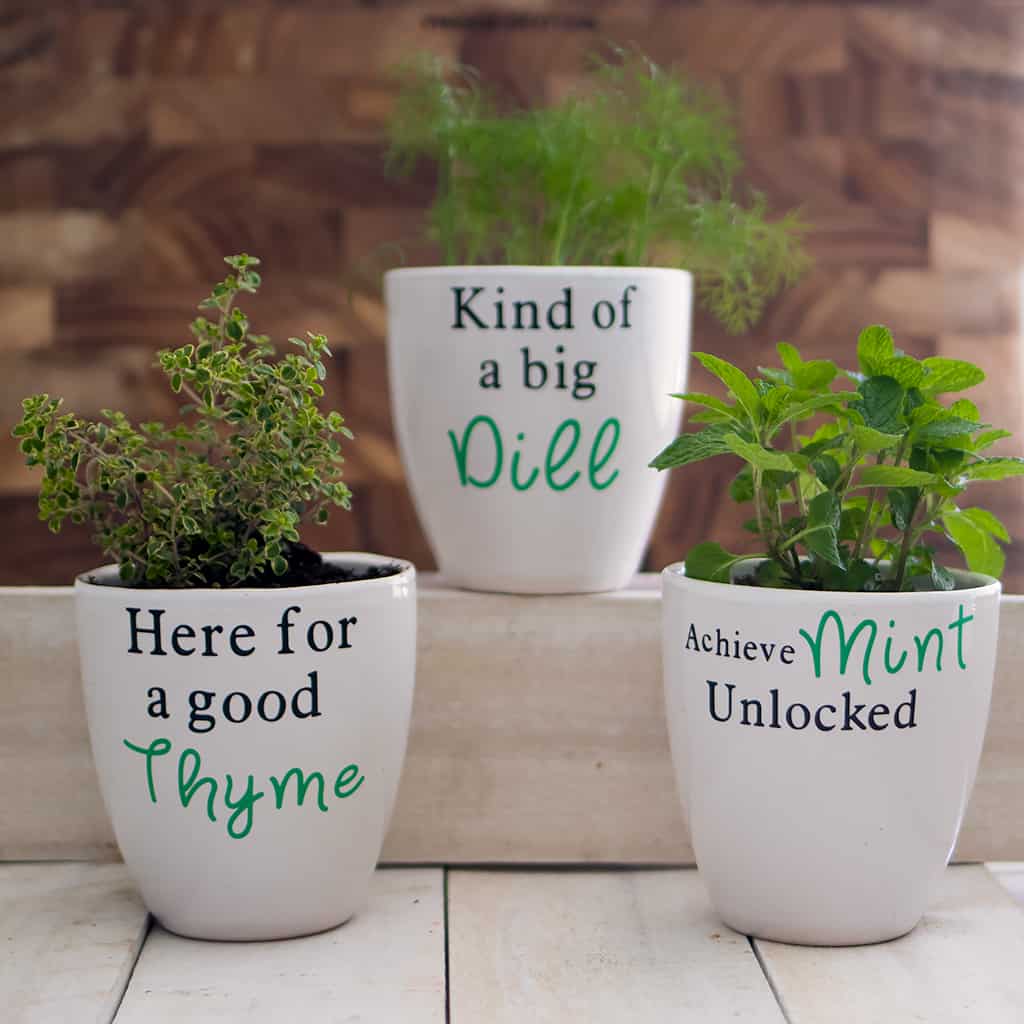
Since the weather warmed up, I’m in total gardening mode. I decided to give some plain, white flower pots an upgrade! I chose puns for my herb plants, but you can use this tutorial to customize with any text or image that you’d like!
I’ve included both a video tutorial and written step-by-step instructions below.
How to Make Custom Flower Pots with Cricut
Supplies needed:
Plain flower pots
- Take a cloth and apply the Isopropyl Alcohol to the outside of the pot to clean dust and fingerprints.
- Open Cricut Design Space and create your design. The vinyl will need to lay flat on the flower pot, so a smaller design is better than a larger one. Measure the area on your pot and resize the text (or image) so it fits in the space.
- Press the vinyl on the cutting mat and change the dial on the Cricut to “vinyl”. Feed the mat and begin cutting. Once the image is cut, remove the mat and peel off the vinyl. The best way to do this is to put the mat face down and peel it away from the vinyl (as opposed to pulling the vinyl off the mat). This prevents the vinyl from getting damaged.
- “Weed” the image by removing the cut sections of vinyl that you don’t need.
- Cut a piece of transfer tape that’s the size of your image. Peel the backing off and stick it on top of your vinyl. Use the scraper tool to burnish (rub) the top of the tape. This will remove any air bubbles or wrinkles.
- Peel the backing from the vinyl and affix the image to the flower pot. Burnish it a bit more and then remove the transfer tape. Make sure the text/image lays flat and there are no wrinkles.
- Peel away the transfer tape and the text/image will appear on the flower pot.
Looking for more Cricut tutorials?