Cricut Iron on T shirt Tutorial Without Heat Press
Cricut Iron on T shirt Tutorial Without Heat Press- create your own custom t-shirts with this easy-to-follow tutorial.
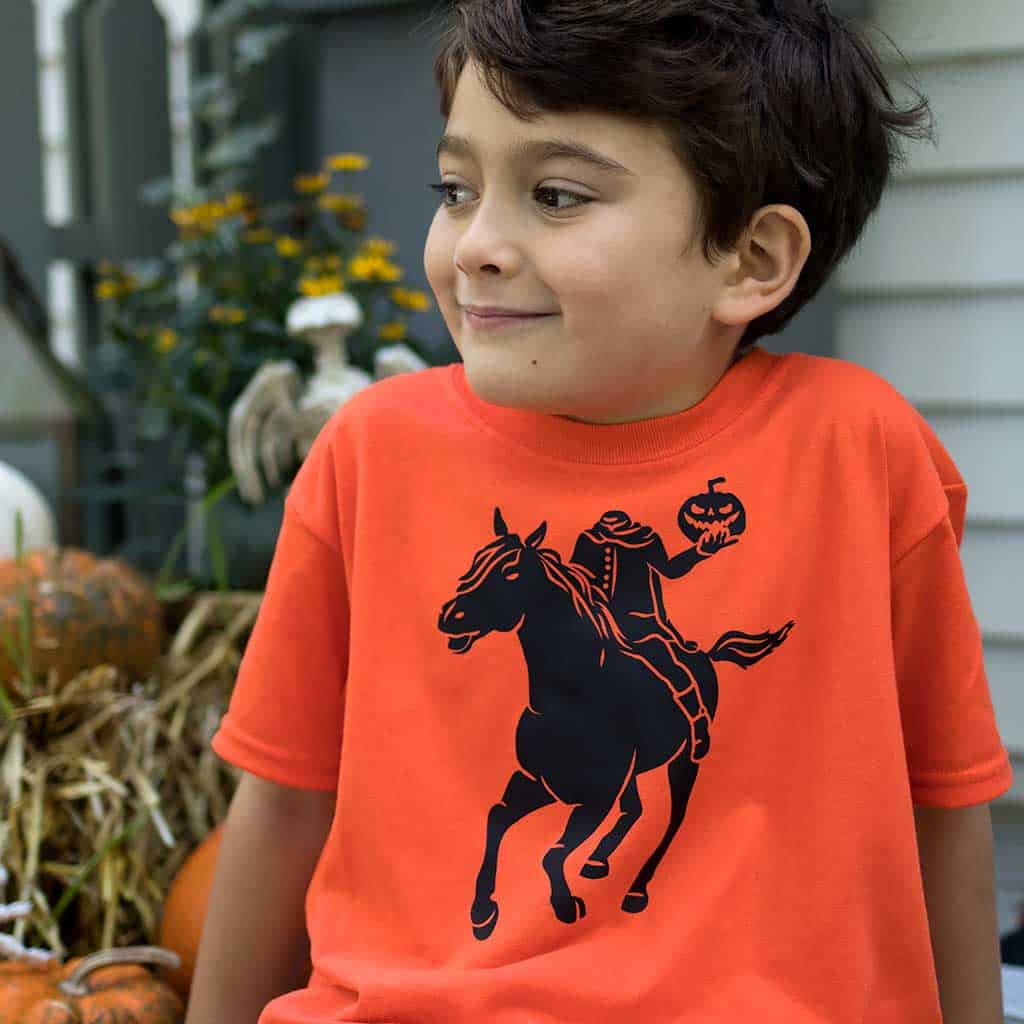
We’re headed to Sleepy Hollow this October for a weekend trip, so I figured some headless horseman t-shirts for the boys were in order!
Cricut sells heat press machines for t-shirts, but they’re expensive. Today, I’m going to show you how to create custom t-shirts using an iron to transfer. I’ve included both a video tutorial and written step-by-step instructions. This is a fun and easy project and the finished t-shirts make great gifts!
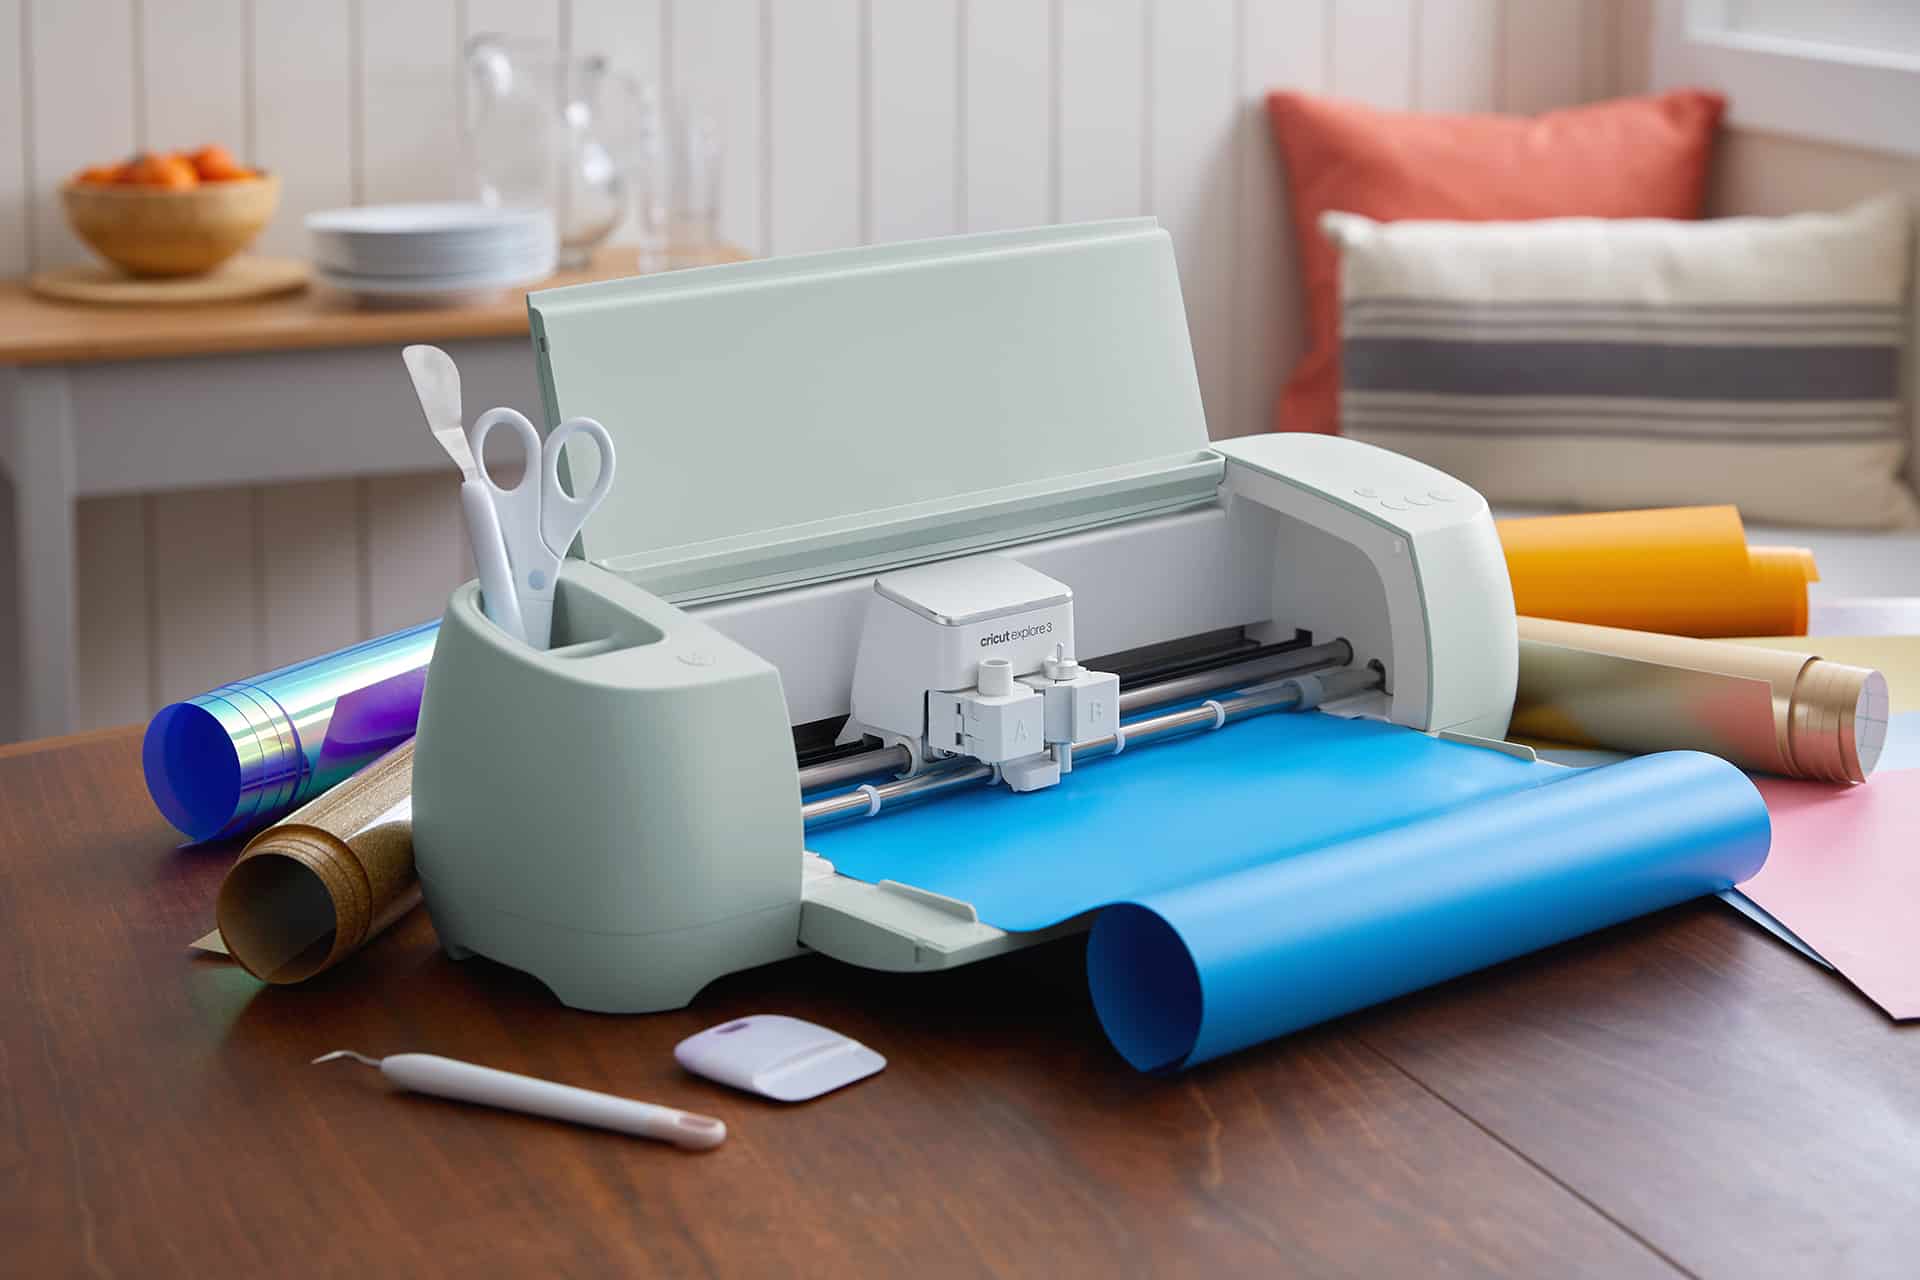
New to Cricut? Thinking of buying one? This guide will tell you everything you need to know: Beginner’s Guide to the Cricut Explore Air 2.
For more inspirations, projects, and free knitting patterns, sign up for our weekly newsletter:
Cricut Iron on T shirt Tutorial Without Heat Press
Supplies needed:
T shirt (these were the kid’s t-shirts I used)
Iron
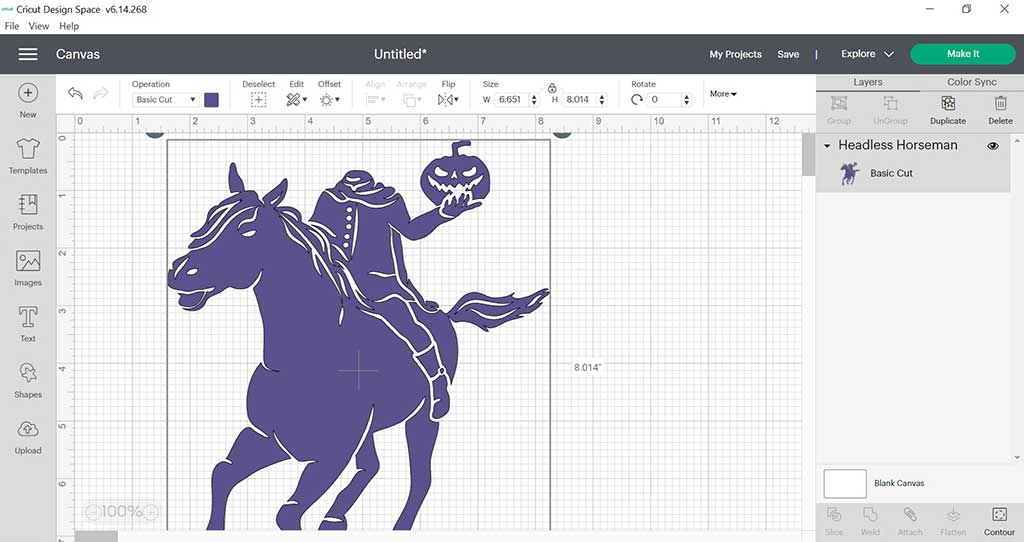
Open Cricut Design Space and choose your image. I kept it simple and choose a one-layer design. Measure the area on your t-shirt and resize the image so it fits in the space.

This next step is very important. When you apply the vinyl, the image will be reversed (for example, if you have any text it will be backward). Before cutting the vinyl, make sure you toggle the “Mirror” option below the mat (see above screenshot). This will flip the image for you.
Press the vinyl on the cutting mat and change the dial on the Cricut to “custom”. Select the Everyone Iron On option for the materials list. Place the vinyl shiny side down on the mat. Feed the mat and begin cutting. Once the image is cut, remove the mat and peel off the vinyl. The best way to do this is to put the mat face down and peel it away from the vinyl (as opposed to pulling the vinyl off the mat). This prevents the vinyl from getting damaged.
“Weed” the image by removing the excess vinyl that will not appear on the t-shirt.
Iron out any wrinkles on the t-shirt. Center the vinyl on the t-shirt. Set the iron to a medium/high heat and begin to iron. You can layer a piece of parchment paper on top, but I didn’t find this necessary. Keep moving the iron around the image. Iron for approximately 30 seconds. Let the t-shirt cool and slowly peel back the clear layer. If the image is not adhering to the shirt, iron again.

Looking for more Cricut Projects?
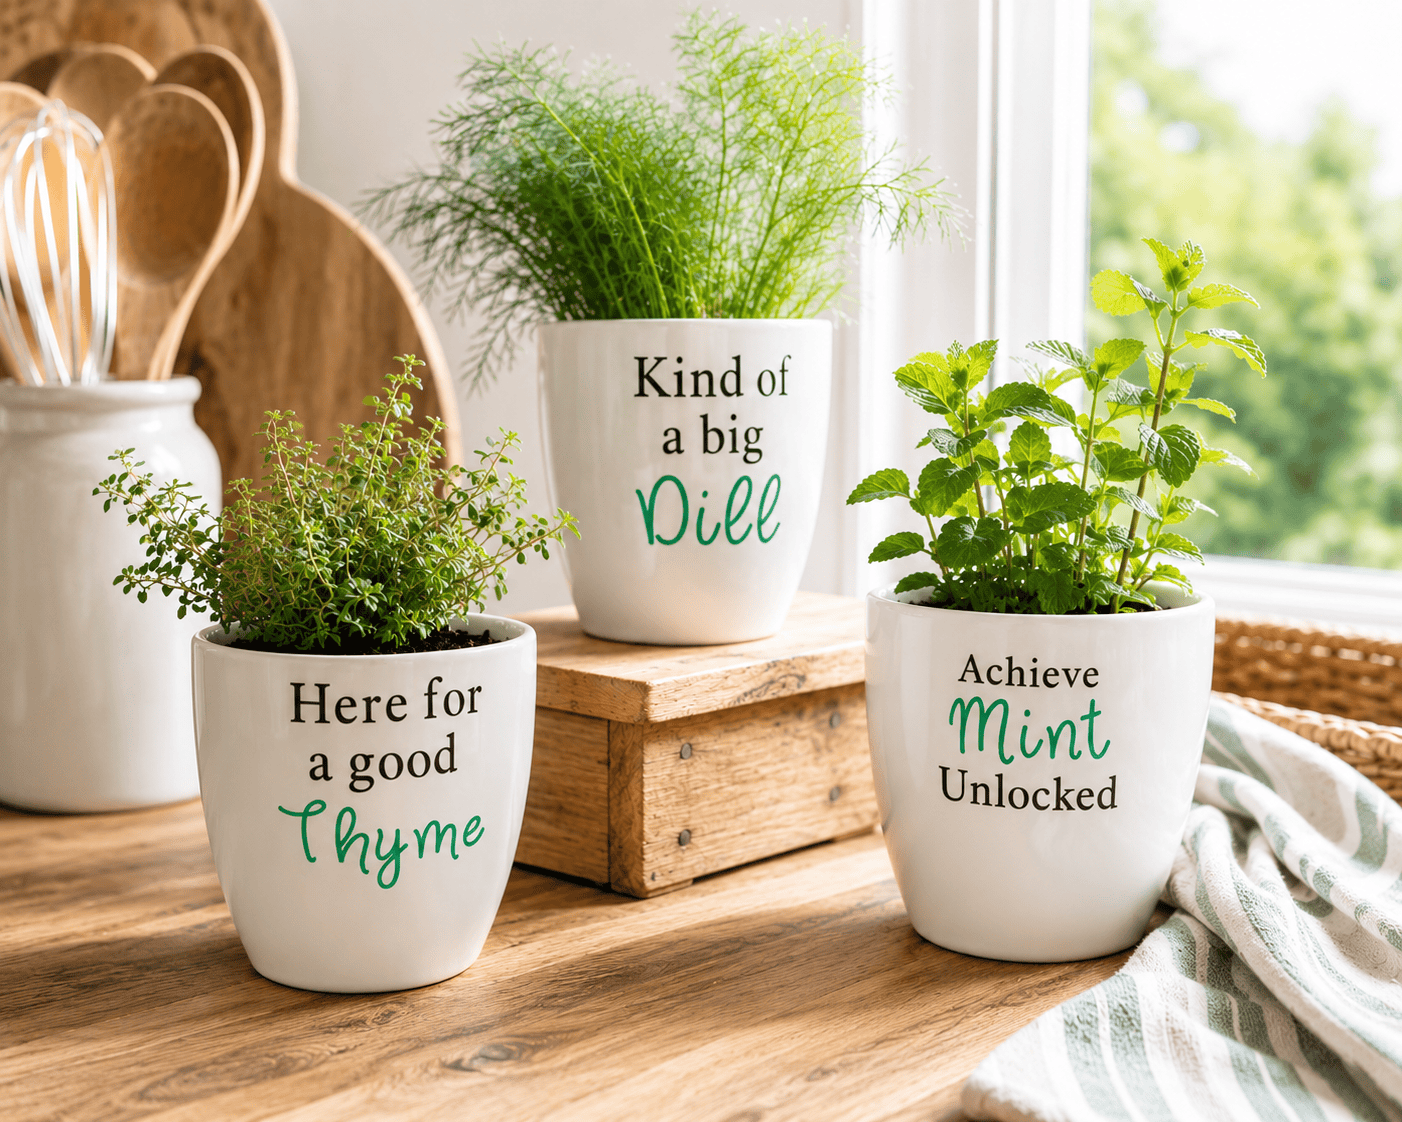
How to make Custom Flower Pots with Cricut
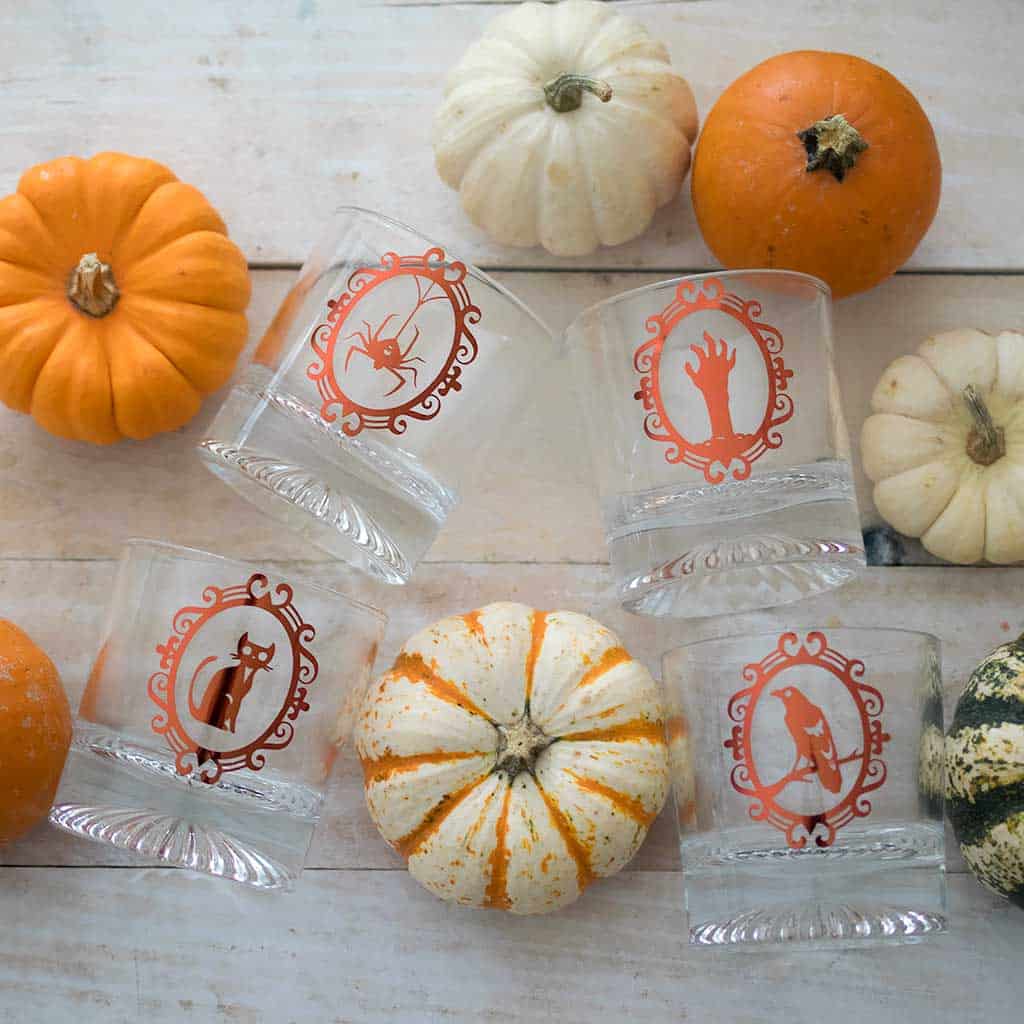
How to Etch Glass With Armour Etch and Cricut

Looking for more Fall Craft Projects, like this Cricut Iron on T shirt?
How to Make a Stenciled Doormat Without a Cricut Machine
How to Sew Fabric Pumpkins- Fast & Easy!
Scrap Yarn Pumpkin Knitting Pattern
How to Make a No-Sew Ghost Halloween Costume
I love seeing your finished projects! If you enjoyed making this Cricut Iron on T shirt Tutorial Without Heat Press, I’d love to see yours on Instagram, just tag me @ginamicheleblog. Happy crafting!