Straight Needle Pumpkin Knitting Pattern- Video Tutorial
Easy straight needle pumpkin knitting pattern with video tutorial. Knit cozy fall pumpkins flat on straight needles using this beginner-friendly pattern.
If you’re looking for an easy fall knitting project, this Straight Needle Pumpkin Knitting Pattern is the perfect place to start. These soft knitted pumpkins are cozy, decorative, and surprisingly simple to make. Best of all, the pumpkin is knit flat on straight needles, which makes it a great project for beginners who prefer not to knit in the round.
Knitted pumpkins are a favorite autumn decoration because they add warmth and texture to seasonal displays. Whether you place them on a mantel, bookshelf, or dining table, they instantly create a cozy fall atmosphere.
This pattern is also ideal for beginner knitters because it uses simple stitches and straightforward construction. After knitting a flat rectangle, the pumpkin is gathered, stuffed, and shaped to create the classic pumpkin look.
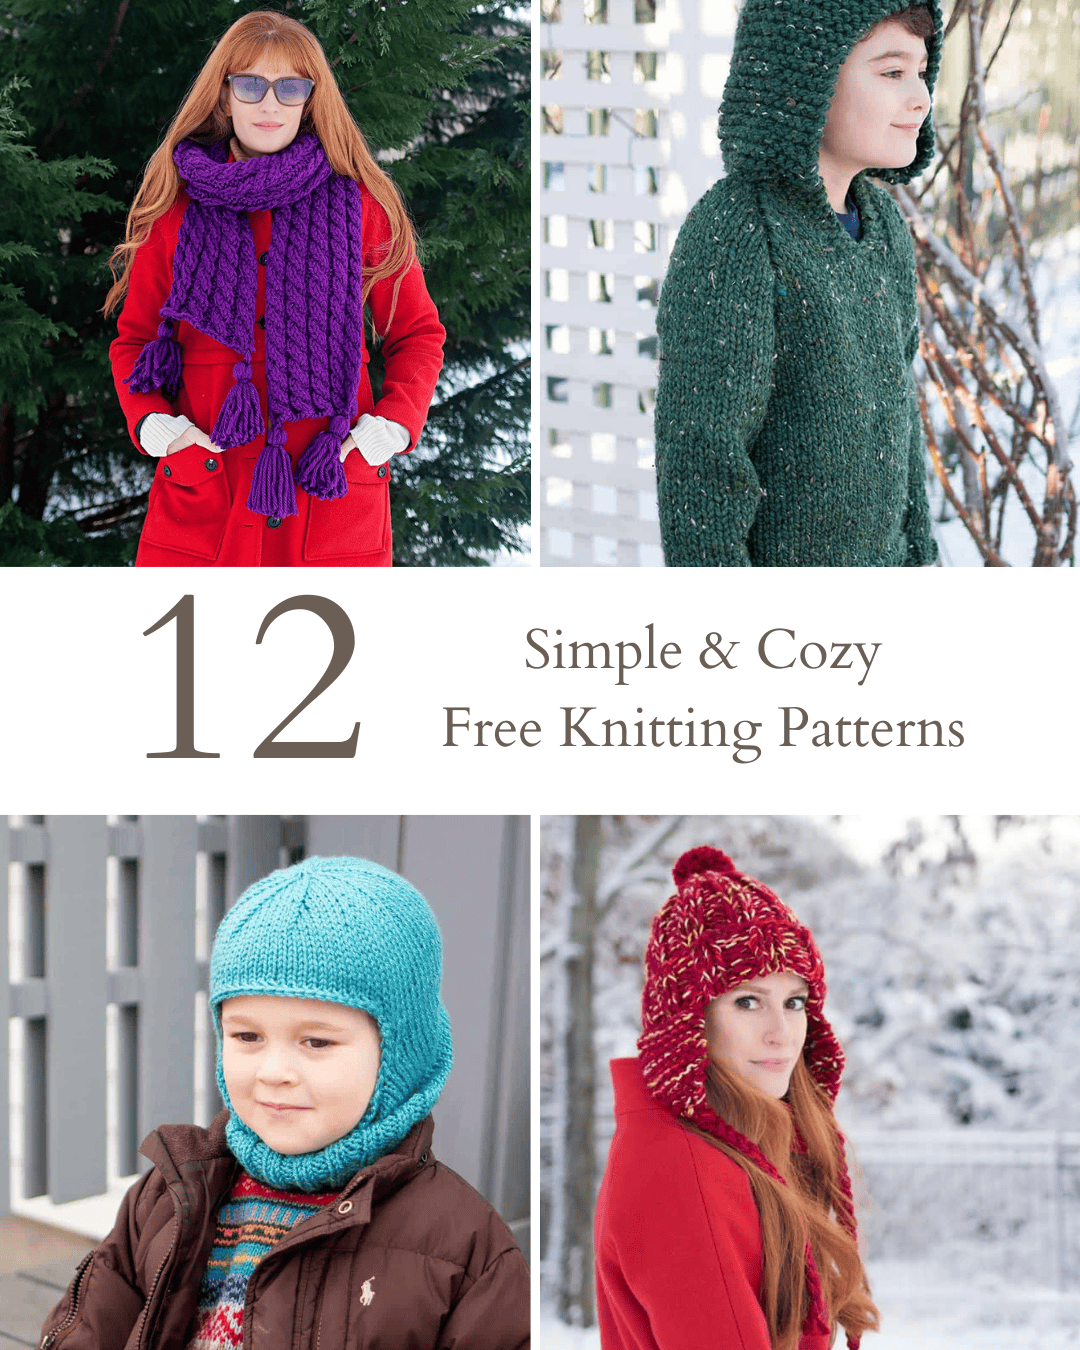
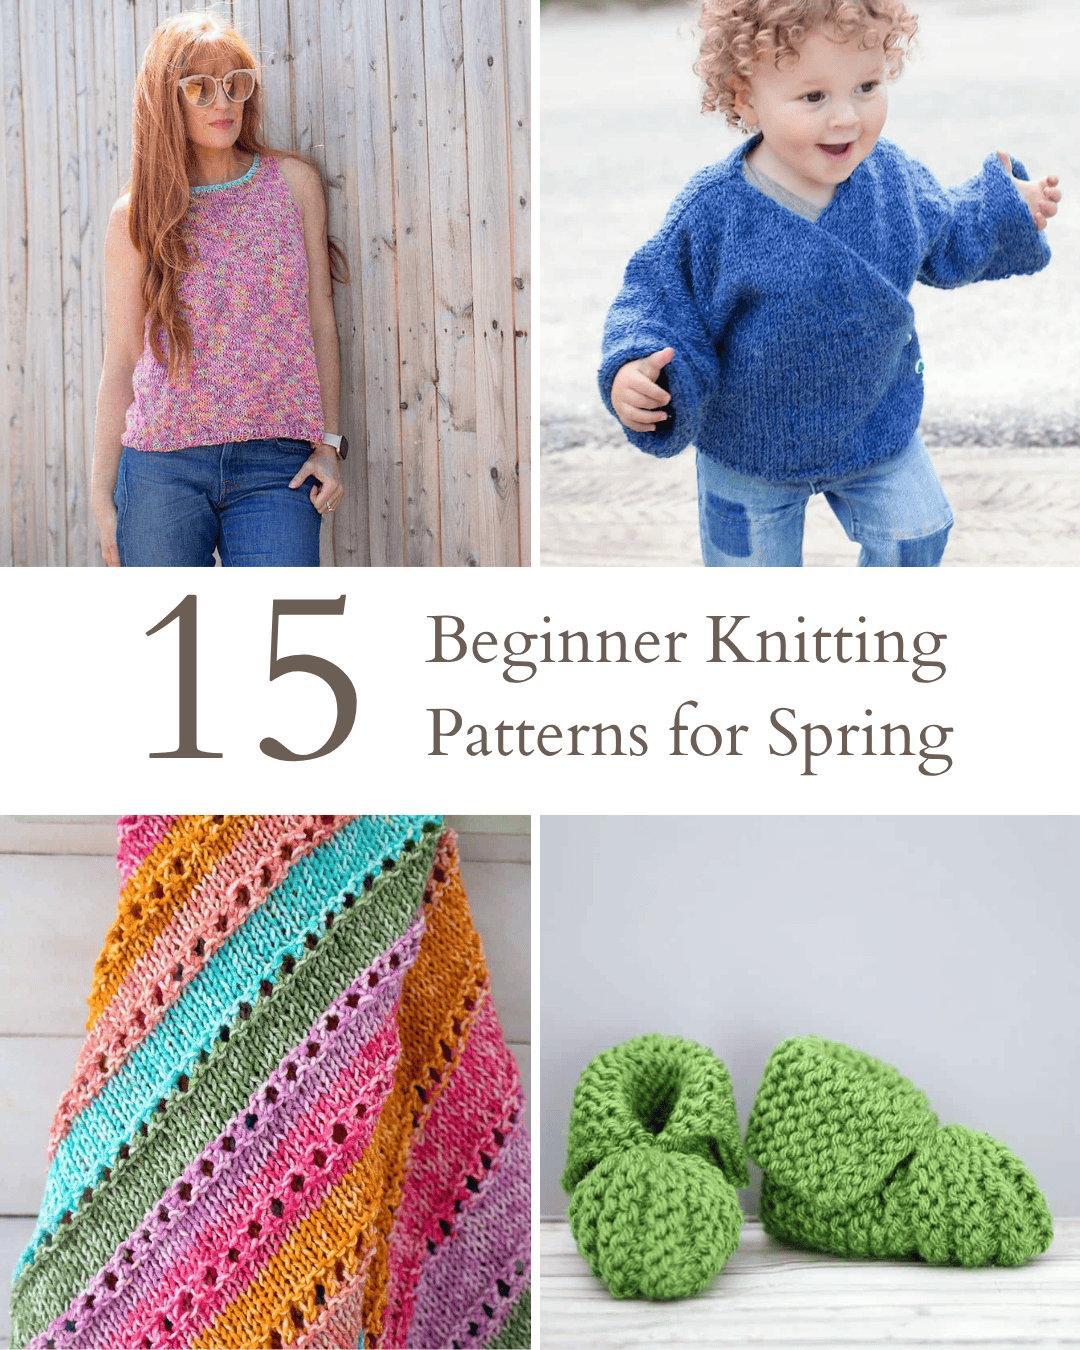
If you enjoy beginner-friendly knitting projects like this one, be sure to explore my 50 Easy Knitting Patterns for Beginners where you’ll find hats, scarves, toys, baby projects, and cozy accessories perfect for building your knitting skills.
Why Knit Pumpkins?
Handmade pumpkins are one of the most popular fall knitting projects. They’re quick to knit, beginner friendly, and look beautiful when displayed around the home.
Here are a few reasons knitters love making knitted pumpkins:
• They knit up quickly
• Great for beginner knitters
• Perfect for fall decorating
• Wonderful handmade gifts
• Great way to use leftover yarn
You can also knit pumpkins in different yarn colors and textures to create a whole collection of cozy autumn decor.
If you enjoy knitting seasonal decorations, you might also like the Pumpkin Topiary Knitting Pattern or the Easy Jumbo Pumpkins Knitting Patterns for holiday decorating.
Looking for More Knitting Patterns?
If you enjoyed this pattern, be sure to explore my full Knitting Pattern Directory, where you’ll find dozens of cozy projects including baby knitting patterns, hat knitting patterns, beginner knitting projects, toy knitting patterns, and knitted accessories.
Buy the Printable Pumpkin Pattern
If you prefer knitting from a clean, printable version of the pattern, you can also purchase the ad-free PDF of the Straight Needle Pumpkin Knitting Pattern.
The printable version includes:
• Easy-to-read formatting
• Step-by-step instructions
• Printer-friendly layout
• Instant download access
👉 Purchase the printable pumpkin knitting pattern
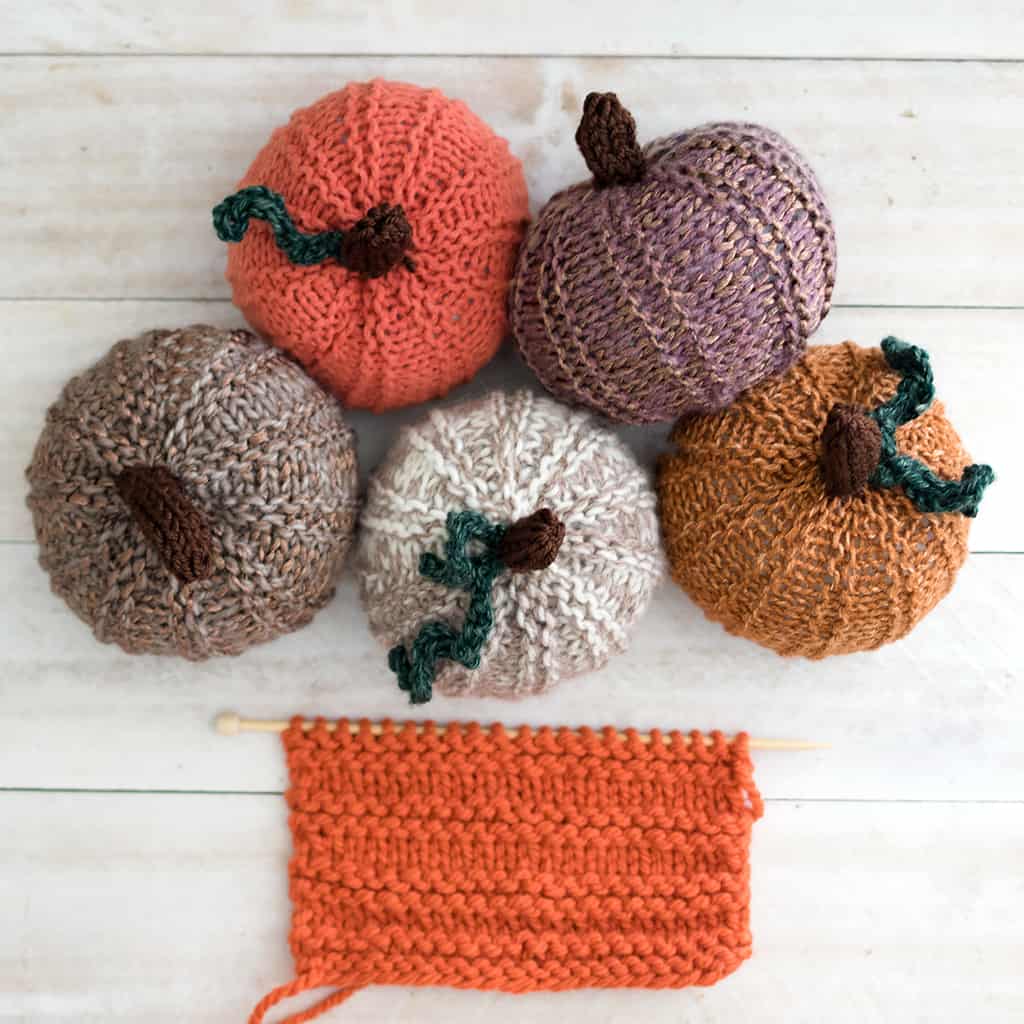
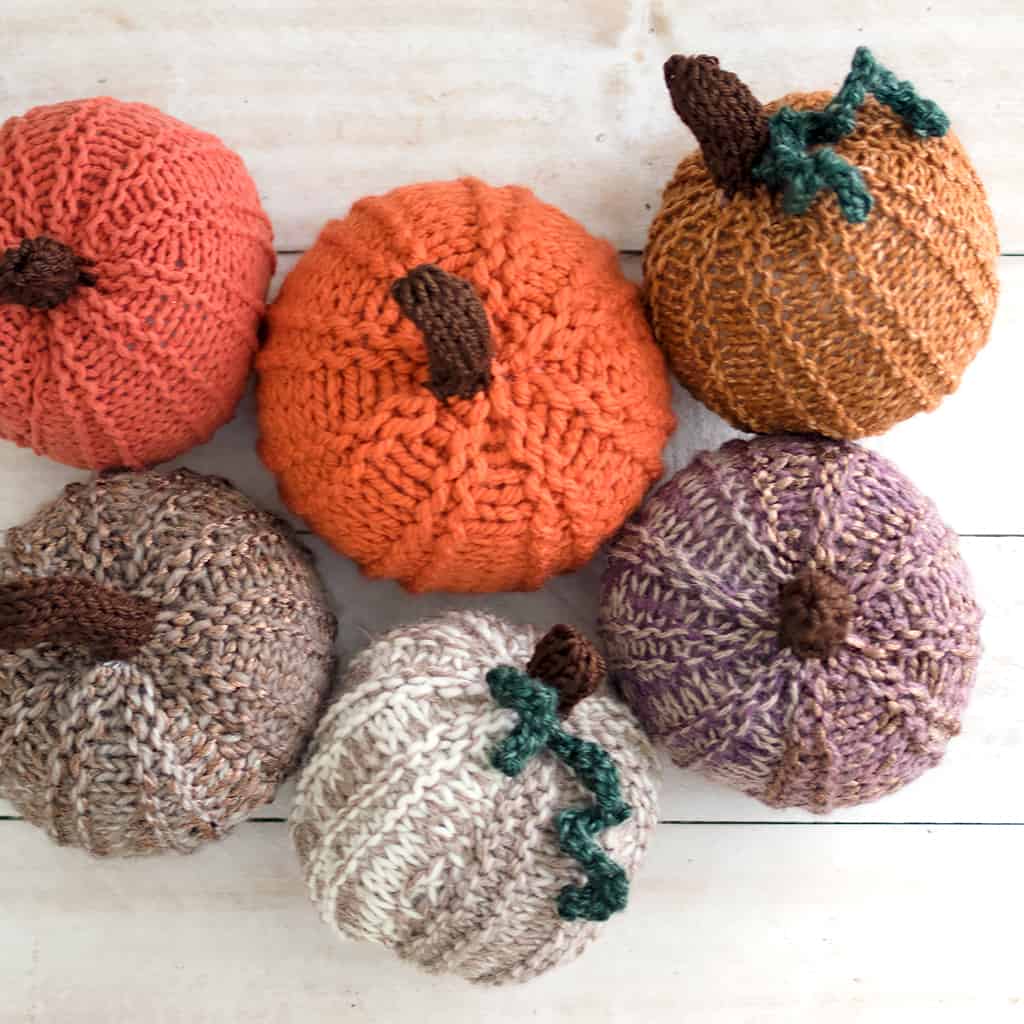
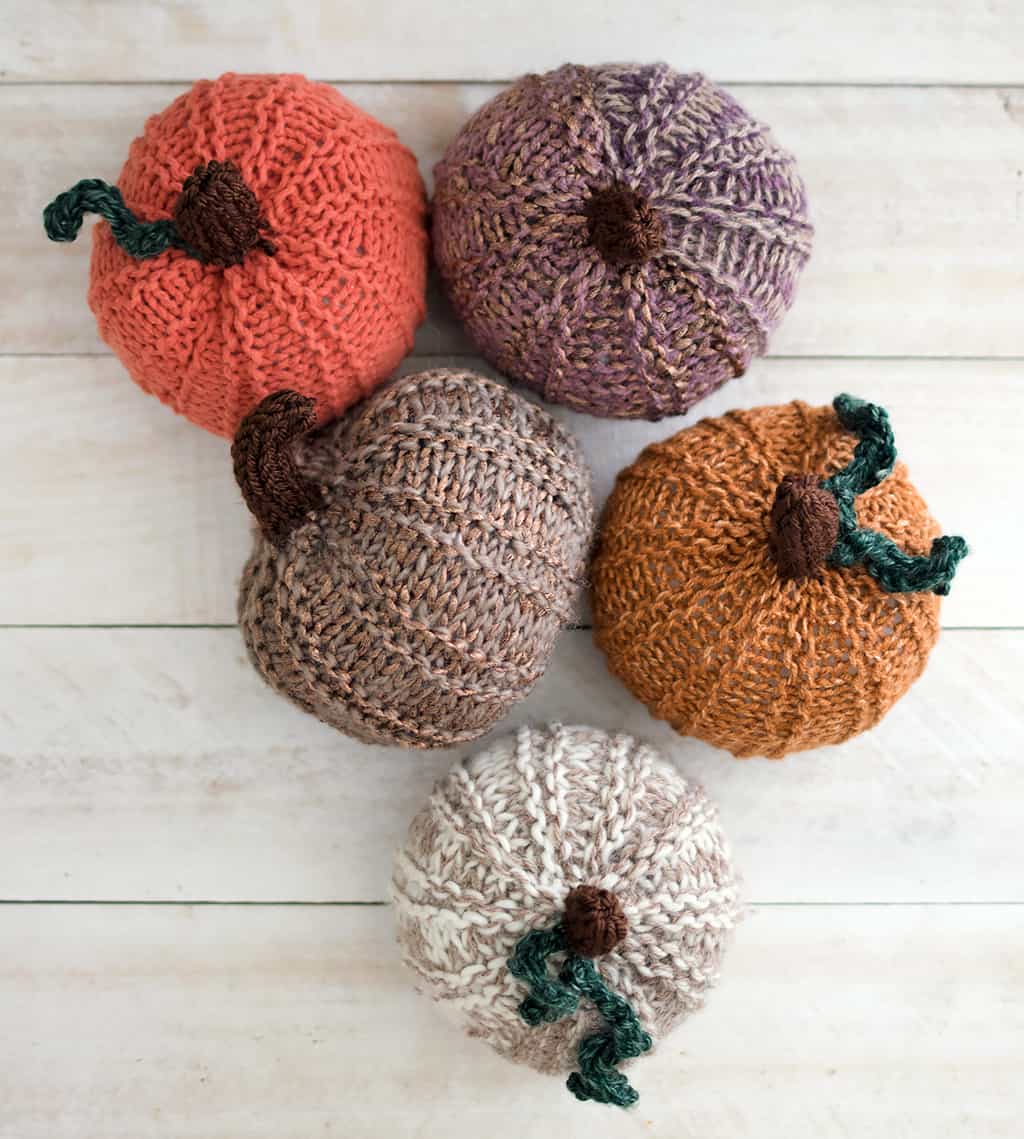
For this tutorial, I included both photo step-by-step instructions and a video tutorial. These pumpkins are easy and fun to make. They’re also a great scrap-busting project! I tried this pattern out using a few different weights of yarn. The pumpkins can either be knit using weight #5 yarn or you can double up and using weight #2 and #4 together. The doubled-up yarn creates a pretty, tweed effect (you can see this on the purple and copper pumpkin above).
For this tutorial, I included both photo step-by-step instructions and a video tutorial. These pumpkins are easy and fun to make. They’re also a great scrap-busting project! I tried this pattern out using a few different weights of yarn. The pumpkins can either be knit using weight #5 yarn or you can double up and using weight #2 and #4 together. The doubled-up yarn creates a pretty, tweed effect (you can see this on the purple and copper pumpkin above).
Straight Needle Pumpkin Knitting Pattern
✨ Ad-Free Printable Pattern Available! ✨
The ad-free, printable PDF of this pattern is now available for purchase at Shop Gina Michele—perfect for easy, distraction-free stitching.
Looking for more projects? Browse the Knitting Pattern Directory to explore all my knitting patterns in one place.
(As an Amazon Associate, I earn from qualifying purchases.)
Yarn: You can use a few different weight yarn for these pumpkins. I used weight #5 and I also used weight #2 and #4 (worked together at the same time)
Needles: Size US 9 Single point
Gauge: not important for this pattern
Pattern instructions:
Cast on 20 sts
Row 1: Knit across.
Row 2: Knit across
Row 3: Knit across.
Row 4: Knit across.
Row 5: Purl across.
Repeat these 5 rows until the piece measures approximately 9 inches long, ending after a Purl row. Bind off.
For the stem:
Cast on 10 sts using the brown yarn. Work in Stockinette stitch until the piece measures 2 inches. Break the yarn and thread the end of the yarn through the stitches using a needle. Pull to gather. Fold the piece over and sew the side seam. Sew the stem onto the top of the pumpkin.
For the vine (optional)
Using crochet hook I and #3 weight yarn, chain 20. Crochet in every 2nd or 3rd stitch on the second row. This quickly shortens the row and creates a swirl, mimicking a vine.
How to Assemble the Pumpkins
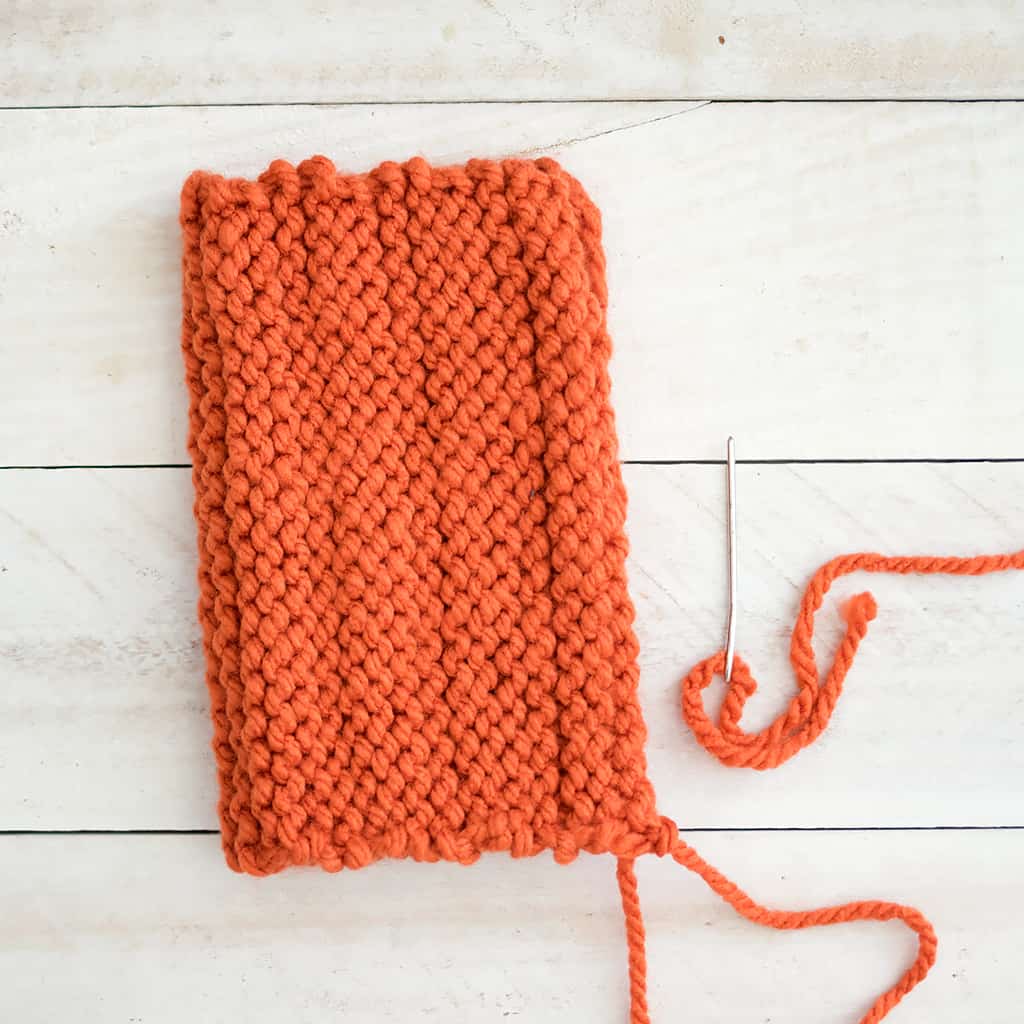
Once you are finished knitting, the piece will be a rectangle. Fold the piece over and sew the side seam.
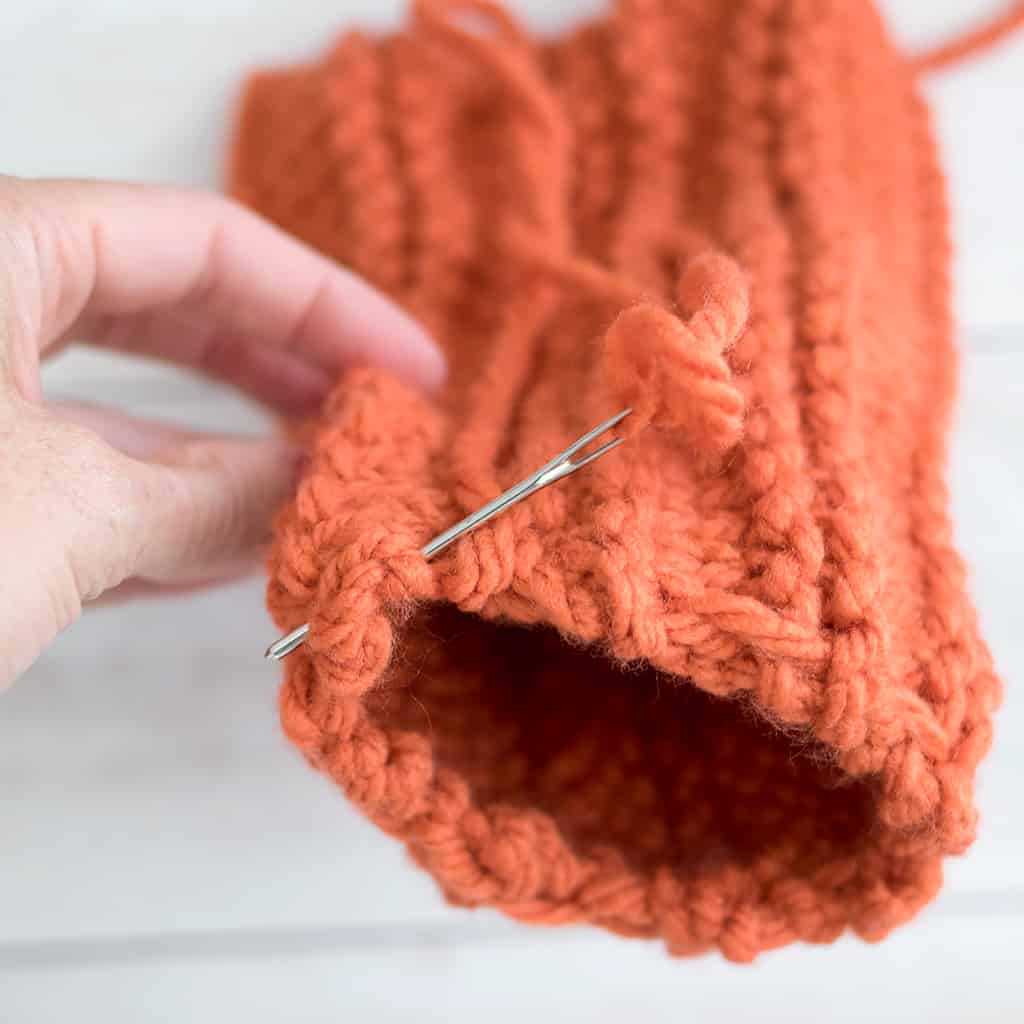
Turn the pumpkin inside out. Run a loose stitch around the bottom of the pumpkin, weaving in and out. Pull to close the hole.

Stuff the pumpkin and run a stitch around the top. Pull to gather and close the opening.
Make and attach the stem and add vine if you desire (see video above)
Video Tutorial
If you’re a visual learner, this pattern also includes a step-by-step video tutorial to guide you through the entire process.
The video shows how to:
• Knit the pumpkin shape
• Gather the ends
• Stuff and shape the pumpkin
• Add the finishing details
Video tutorials can be incredibly helpful for beginners who are learning new techniques.
Prefer a Printable Pumpkin Pattern?
If you prefer knitting from a clean, printable version of the pattern, you can also purchase the ad-free PDF of the Straight Needle Pumpkin Knitting Pattern.
The printable version includes:
• Easy-to-read formatting
• Step-by-step instructions
• Printer-friendly layout
• Instant download access
👉 Purchase the printable pumpkin knitting pattern
Tips for Knitting Perfect Pumpkins
Here are a few helpful tips for making your knitted pumpkins look even better.
Use textured yarn
Chunky or tweedy yarn gives pumpkins a beautiful rustic look.
Experiment with colors
Try traditional orange, creamy white, soft sage green, or mustard yellow.
Shape the pumpkin
Wrap yarn around the pumpkin after stuffing to create the classic pumpkin segments.
Add natural stems
Small twigs or cinnamon sticks make great stems.
Decorating with Knitted Pumpkins
Once you start knitting pumpkins, you may find yourself making many of them for fall decorating.
Here are a few ways to display them:
• Mantel displays
• Fall table centerpieces
• Tiered trays
• Bookshelves
• Entryway decor
Mixing different pumpkin sizes, yarn textures, and colors creates a beautiful handmade fall display.
Looking for more Fall Knitting Patterns?
Leftover Yarn Scarf Knitting Pattern
Baby Pumpkin Hat Knitting Pattern
Easiest Large Pumpkin Knitting Pattern
Kids Black Cat Hat Knitting Pattern
More Beginner Knitting Projects
If you enjoyed this Straight Needle Pumpkin Knitting Pattern, here are a few other beginner-friendly projects you may love:
Beginner Flat Knit Hat Knitting Pattern
Easy Slippers Knitting Pattern
One Square Bunny
Easiest Baby Booties Ever Knitting Pattern
Garter Stitch Tank
Easy Foldover Slippers
Beginner Baby Cardigan Knitting Pattern
Kid’s Easy Poncho Knitting Pattern
Flat Knit Booties Free Knitting Pattern
Easiest Kid’s Flat Knit Garter Stitch Hat
Snow Day Slippers Knitting Pattern
You can also browse the full collection of projects in my Knitting Pattern Directory where you’ll find dozens of easy knitting patterns.
Make a Whole Collection of Knitted Pumpkins
One of the most fun parts of this Straight Needle Pumpkin Knitting Pattern is how easy it is to customize. Once you’ve made your first pumpkin, it’s hard to stop! Many knitters enjoy creating an entire collection of pumpkins in different sizes, yarn textures, and fall colors.
Try experimenting with yarns like chunky wool, tweed yarn, or soft cotton blends. Each yarn will give your pumpkin a slightly different look and texture. Classic orange pumpkins are always beautiful, but other autumn colors like cream, sage green, mustard yellow, and dusty rose can create a gorgeous fall display.
You can also make pumpkins in multiple sizes by adjusting the width of your knitted rectangle or using thicker yarn and larger needles. Mixing different pumpkin sizes together creates a more natural and layered look when decorating your home.
Handmade pumpkins are perfect for decorating mantels, coffee tables, entryway consoles, and fall centerpieces. They also make wonderful handmade gifts for friends and family who love cozy seasonal decor.
If you enjoy knitting fall decorations, you might also like the Easiest Large Pumpkin Knitting Pattern or festive holiday projects like the Christmas Chain Garland Knitting Pattern and Flat Knit Mini Christmas Sweaters.
For knitters who prefer knitting from a clean printable format, you can also purchase the ad-free PDF of this Straight Needle Pumpkin Knitting Pattern, perfect for saving and knitting again each autumn season.
This Straight Needle Pumpkin Knitting Pattern is a fun and relaxing fall knitting project that’s perfect for beginners. Because it’s knit flat and assembled afterward, it’s an approachable project even if you’re new to knitting.
These pumpkins knit up quickly and look beautiful when displayed throughout your home during the autumn season.
If you enjoy knitting seasonal decor, be sure to explore my 50 Easy Knitting Patterns for Beginners for more cozy knitting inspiration.
And if you’d like a printer-friendly version, don’t forget you can also purchase the ad-free PDF of this pumpkin knitting pattern to save and knit again every fall.
I love seeing your finished projects! If you enjoyed making this Straight Needle Pumpkin Knitting Pattern- Video Tutorial, I’d love to see yours on Instagram, just tag me @ginamicheleny. Happy Halloween knitting!