How to Sew Baby Blocks with Tags
How to Sew Baby Blocks with Tags- beginner-friendly and ideal for scrap-busting!
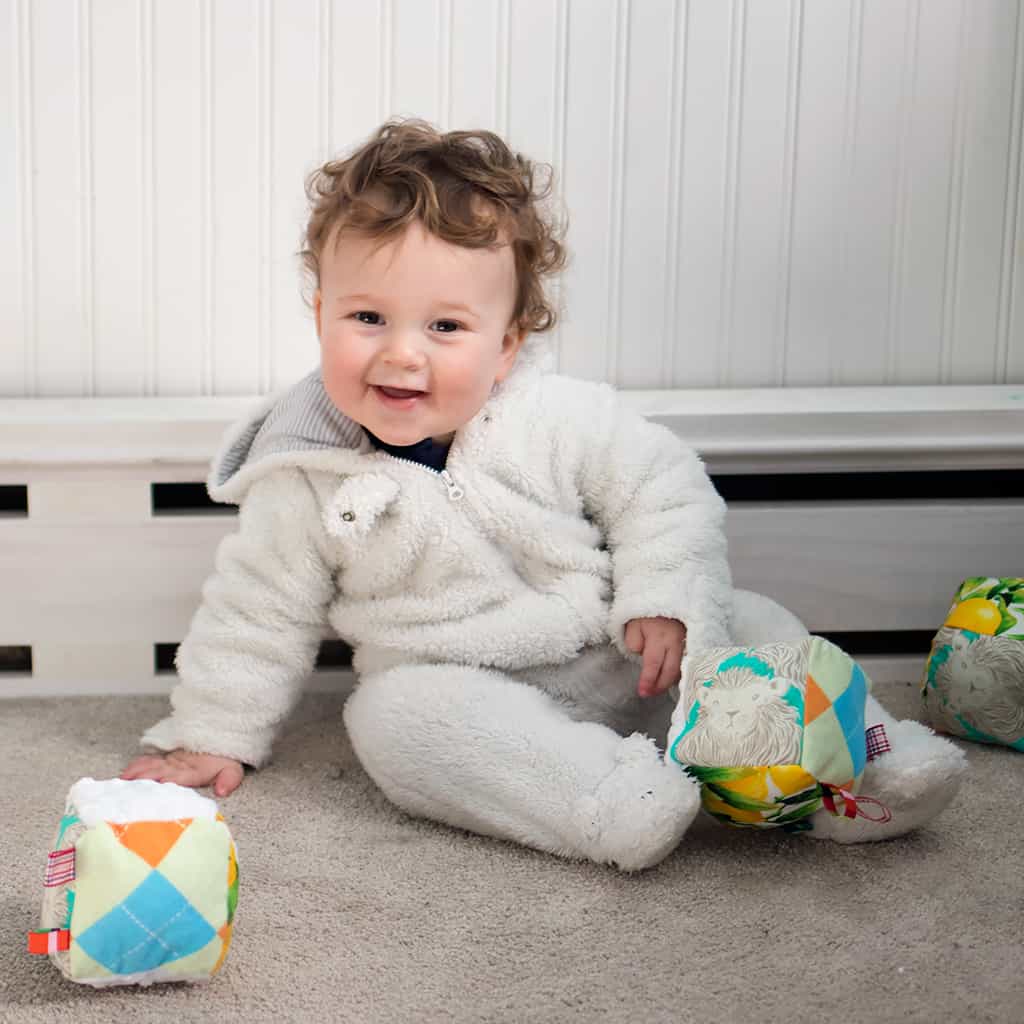
Anyone who sews knows that you end up with quite the collection of scrap fabric! January is always the time of year when I go on an organizational kick and vow to do something with my scrap collection. Judging by the popularity of my past scrap-busting posts, I’d say you guys are in the same boat! In the coming weeks, I’m going to feature some easy and creative tutorials that make use of scrap fabric.
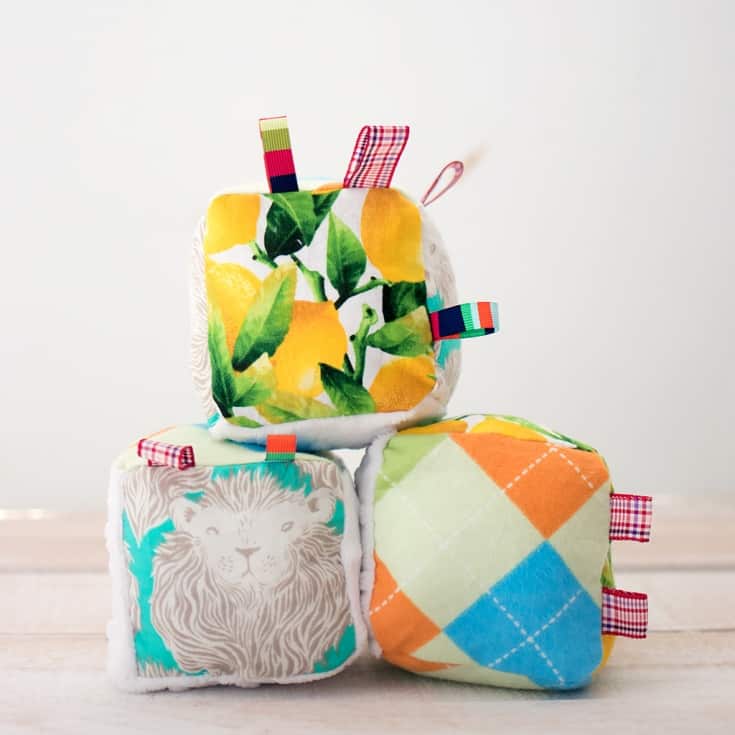
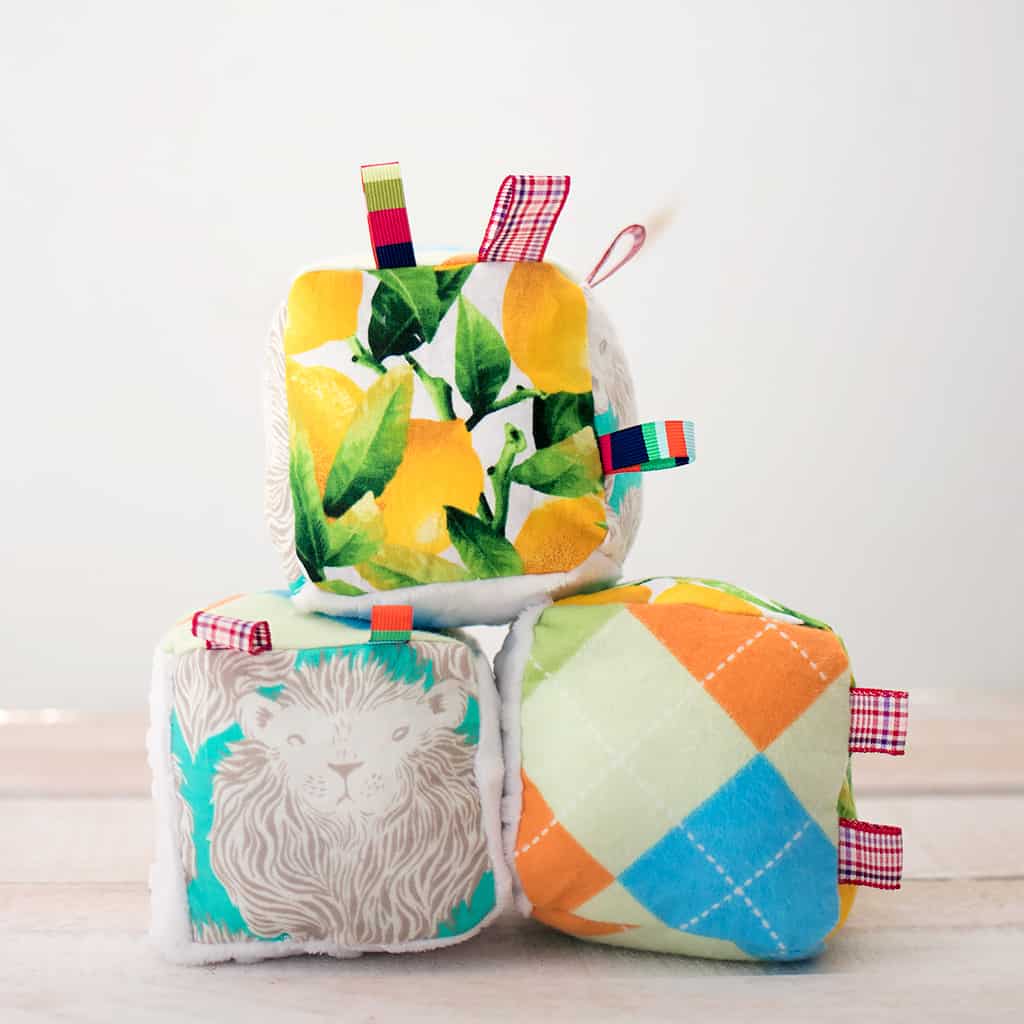
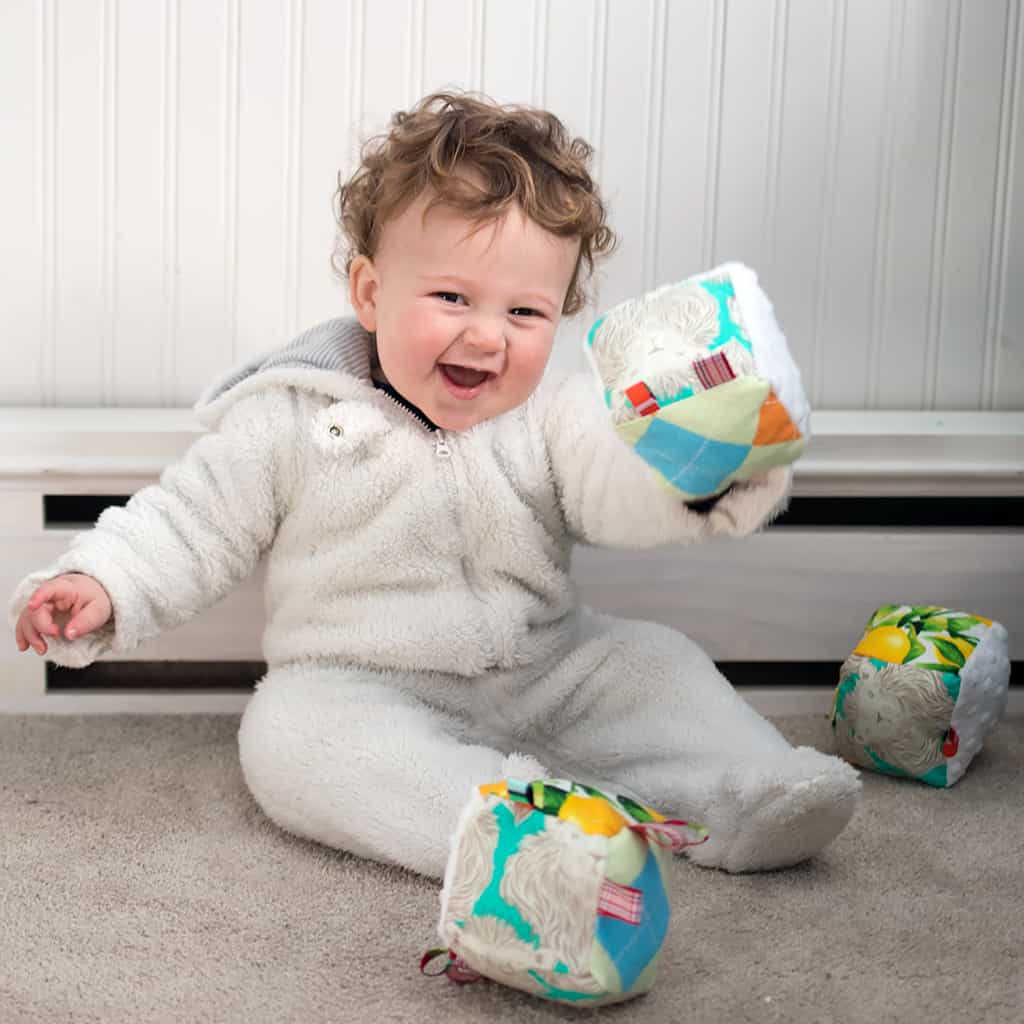
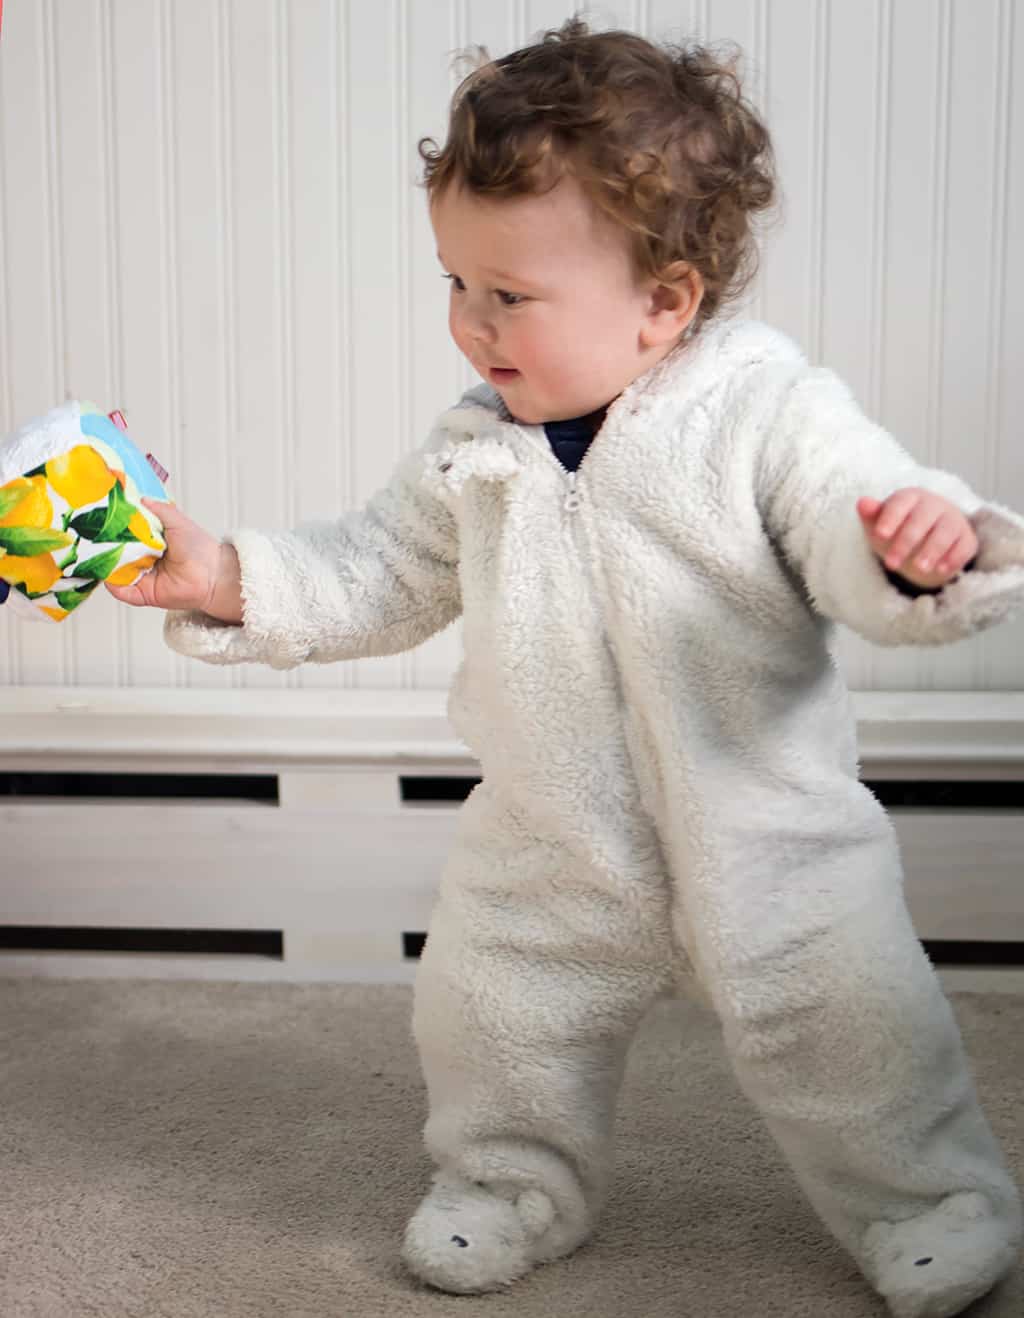
These fabric baby blocks are easy and fun to make, and your little one will love them! The ribbon tags will keep babies busy and the plush shape is great for squeezing.
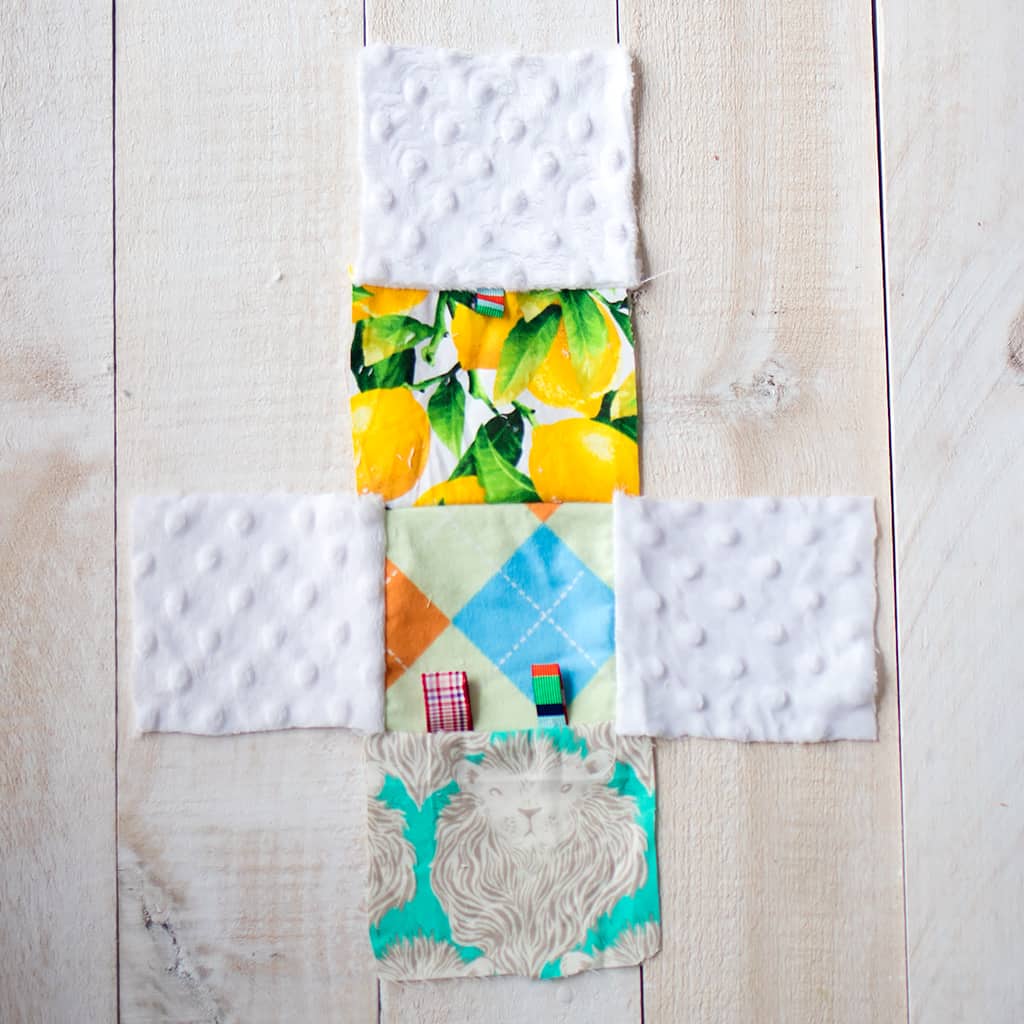
Each block is made using 6 fabric squares the measure 4×4 inches. The squares are sewn together in a lowercase “t” formation. The squares are then sewn at the sides to form a cube, leaving a 1 inch opening on the last seam so the cube can be turned right side out. The next step is to stuff and then finally, the seam is sewn closed.
How to Sew Baby Blocks with Tags
Materials
- Materials needed:
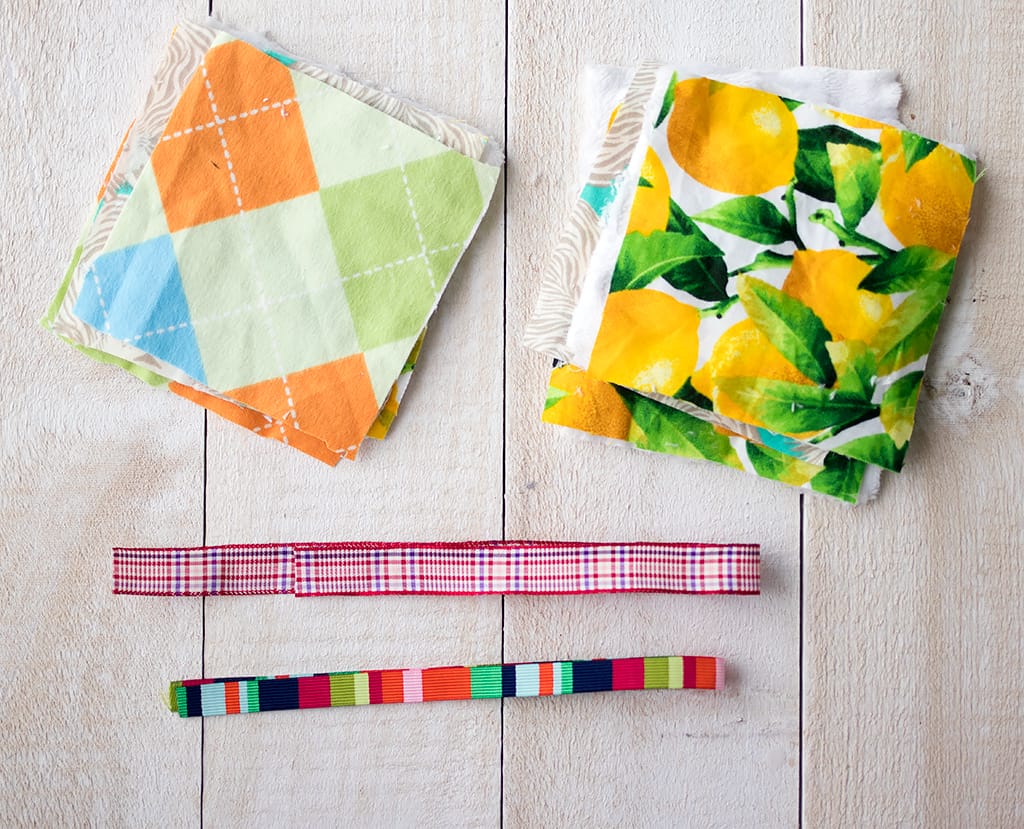
- Scraps of quilting cotton, flannel, and/or minky (cut into 4x4 inch squares. You'll need 6 squares for each block)
- Woven ribbon
- Poly fill
Instructions
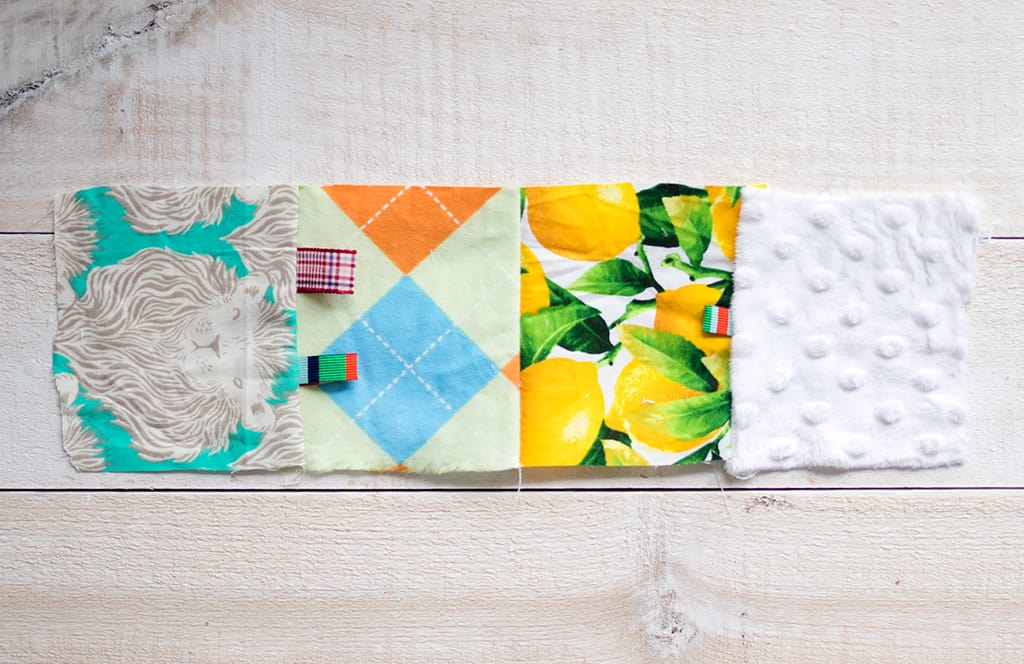
- Sew 4 of the squares together at the sides for form a row.
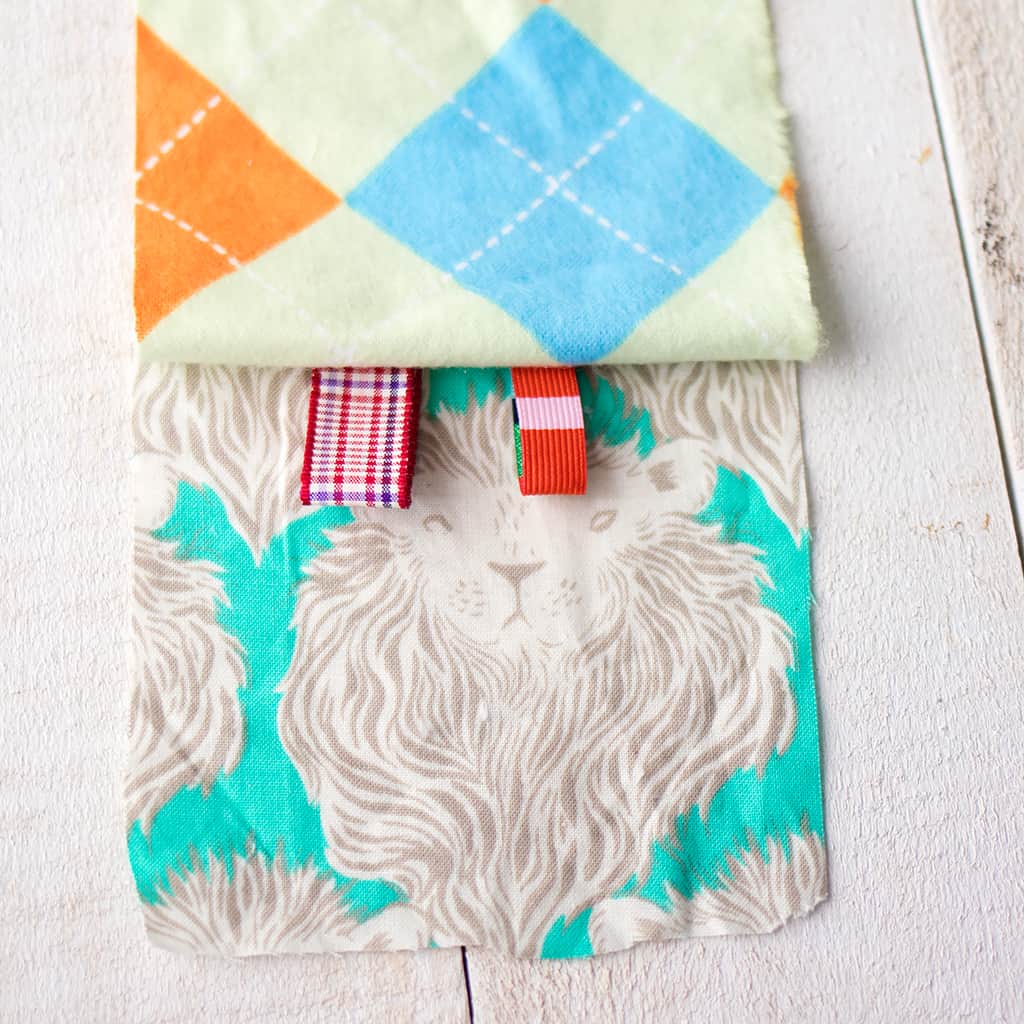
- To make the tags- Cut the ribbon into 3 inch long sections. Fold over and sandwich between the squares.
- Sew 2 more squares to the sides of the second square (you may have to trim them to fit).
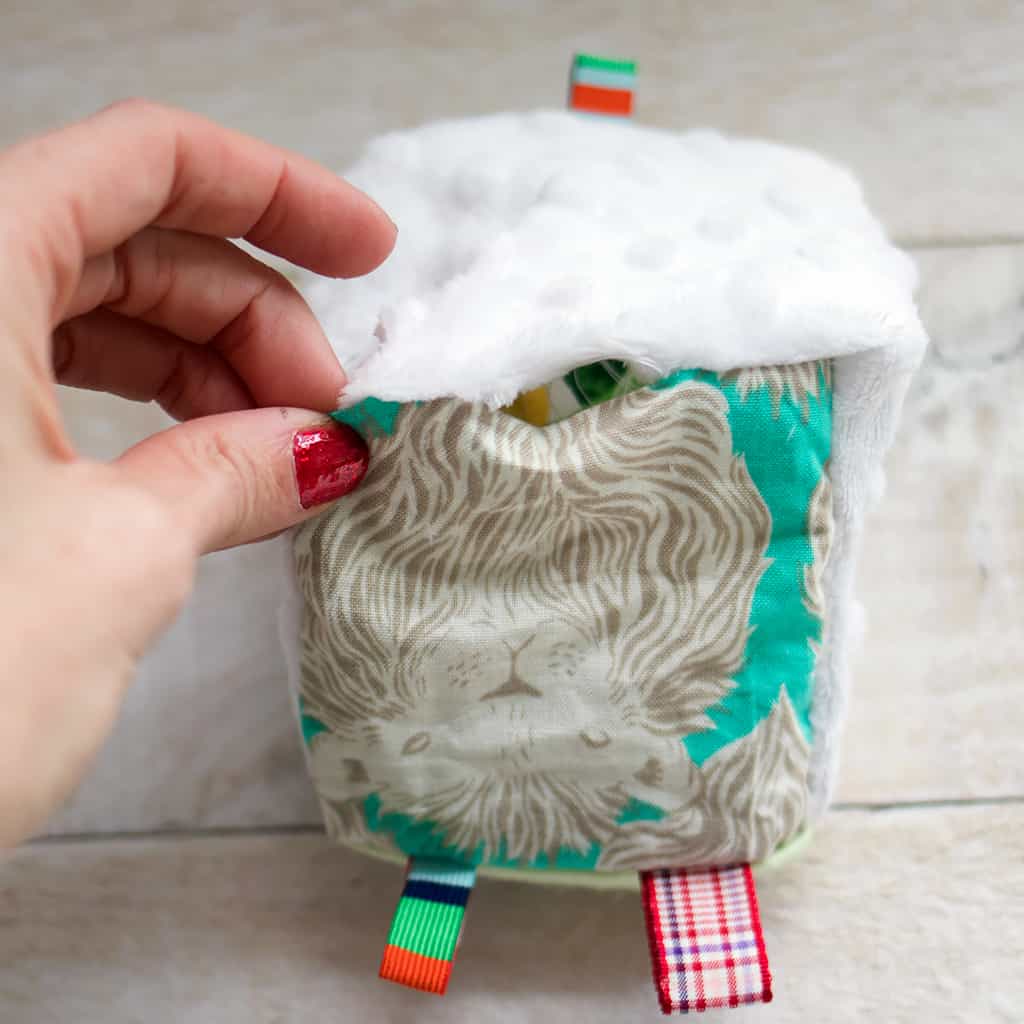
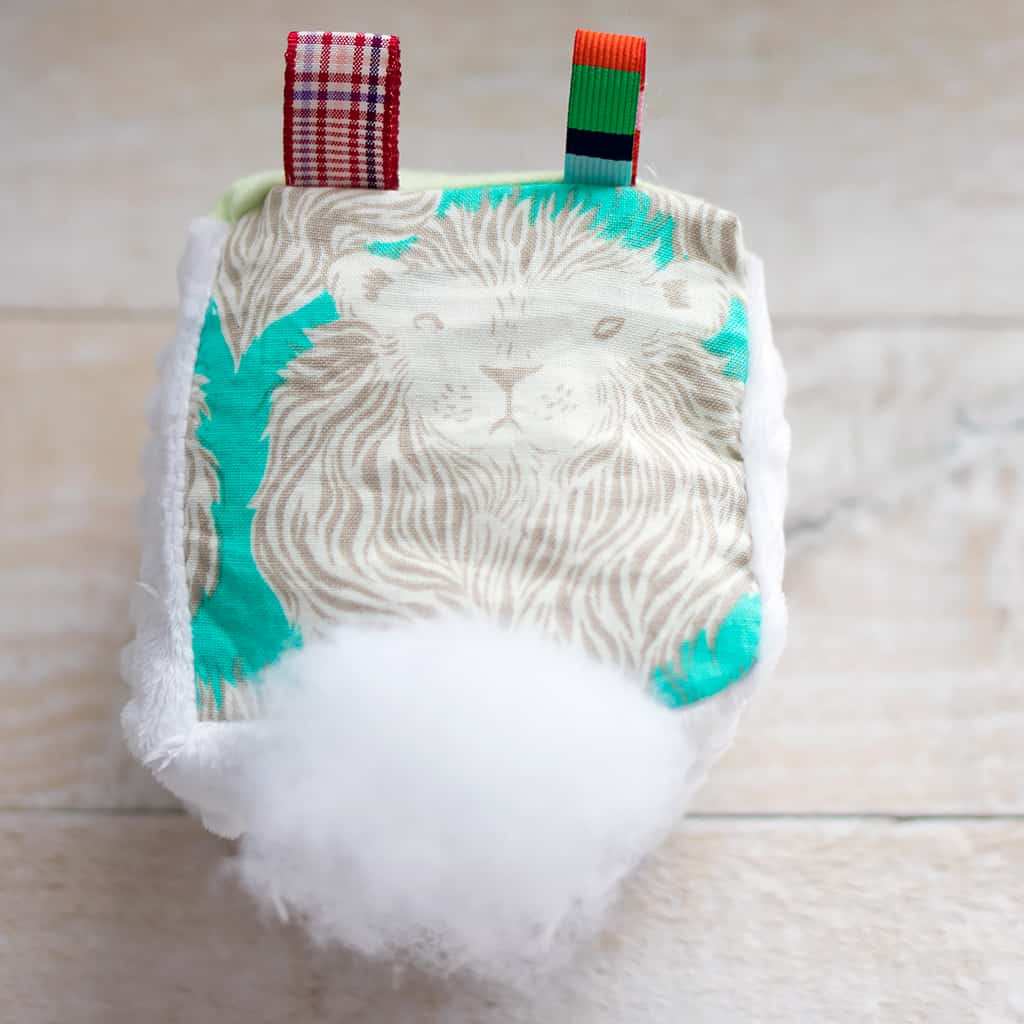
- Sew the sides of the block together. If forms a cube shape quickly, so you can easily see what sides to sew together. Sew all the sides together and leave a 1 inch opening on the last side. Turn the block right side out.
- Stuff the block and sew the seam closed.
How to Sew Baby Blocks with Tags
Materials needed:
Scraps of quilting cotton, flannel, and/or minky (cut into 4×4 inch squares. You’ll need 6 squares for each block)
Woven ribbon
Poly fill
Sew 4 of the squares together at the sides for form a row.
To make the tags- Cut the ribbon into 3 inch long sections. Fold over and sandwich between the squares.
Sew 2 more squares to the sides of the second square (you may have to trim them to fit).
Sew the sides of the block together. If forms a cube shape quickly, so you can easily see what sides to sew together. Sew all the sides together and leave a 1 inch opening on the last side.
Turn the block right side out.
Stuff the block and sew the seam closed.
Looking for more sewing tutorials?
How to Sew Baby Pants Without a Pattern


This is a great idea for finishing up yarns as well! A block with a mixture of fabric and knitted/crocheted panels would probably be a textural hit.