
How to Sew Baby Blocks with Tags
How to sew baby blocks with tags. Easy DIY sensory toy tutorial for beginners using soft fabric and ribbon tags—perfect for baby gifts and nurseries.
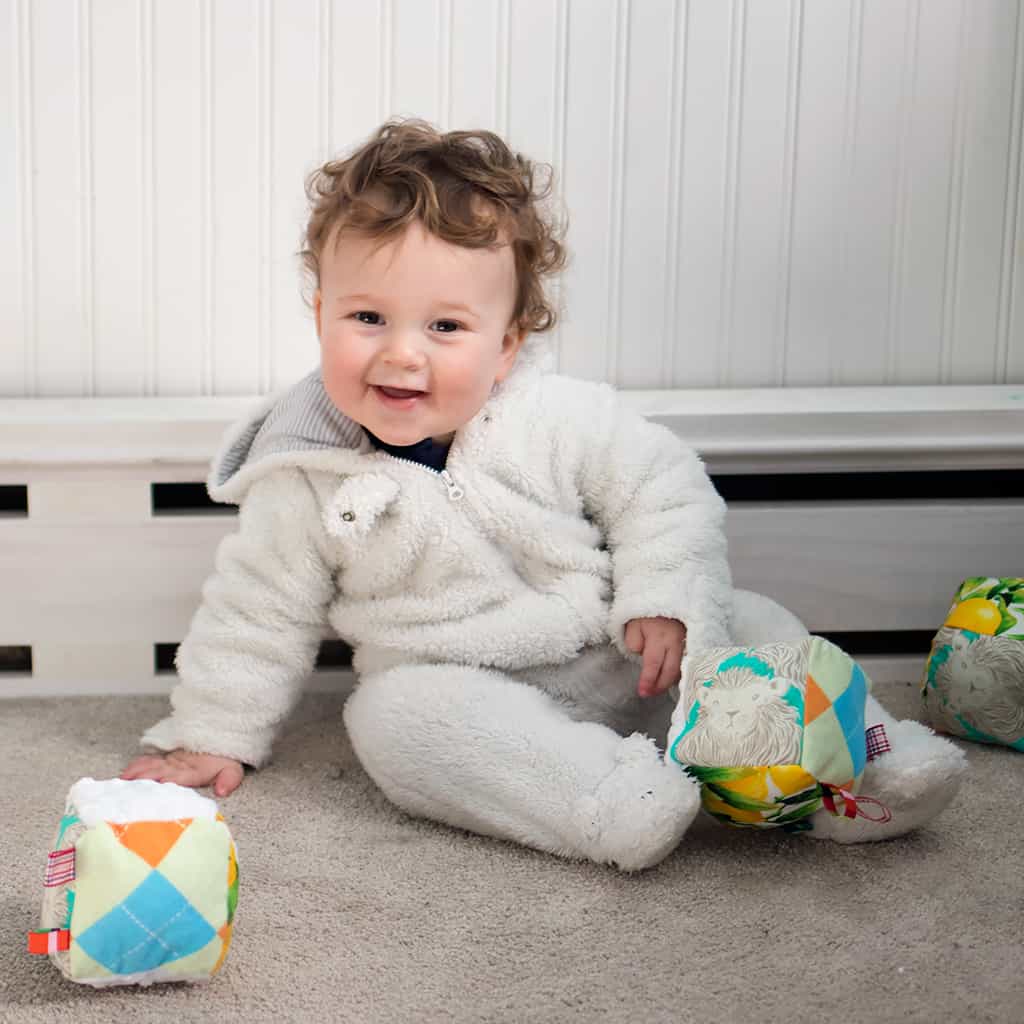
If you’re looking for a simple, meaningful sewing project for babies, these DIY baby blocks with tags are the perfect combination of soft, sensory play and handmade charm. Designed to be safe, engaging, and easy to make, these soft fabric blocks are a favorite for babies and a go-to project for beginner sewists.
Whether you’re creating a baby shower gift, stocking your handmade shop, or just making something special for your own little one, this how to sew baby blocks with tags tutorial walks you through everything you need to know. These soft blocks are lightweight, colorful, and filled with textures that babies love to explore.
If you enjoy easy, beginner-friendly DIY dewing projects like this, be sure to explore more here:
👉 Sewing Projects and Tutorials
Why Baby Blocks with Tags Are So Popular
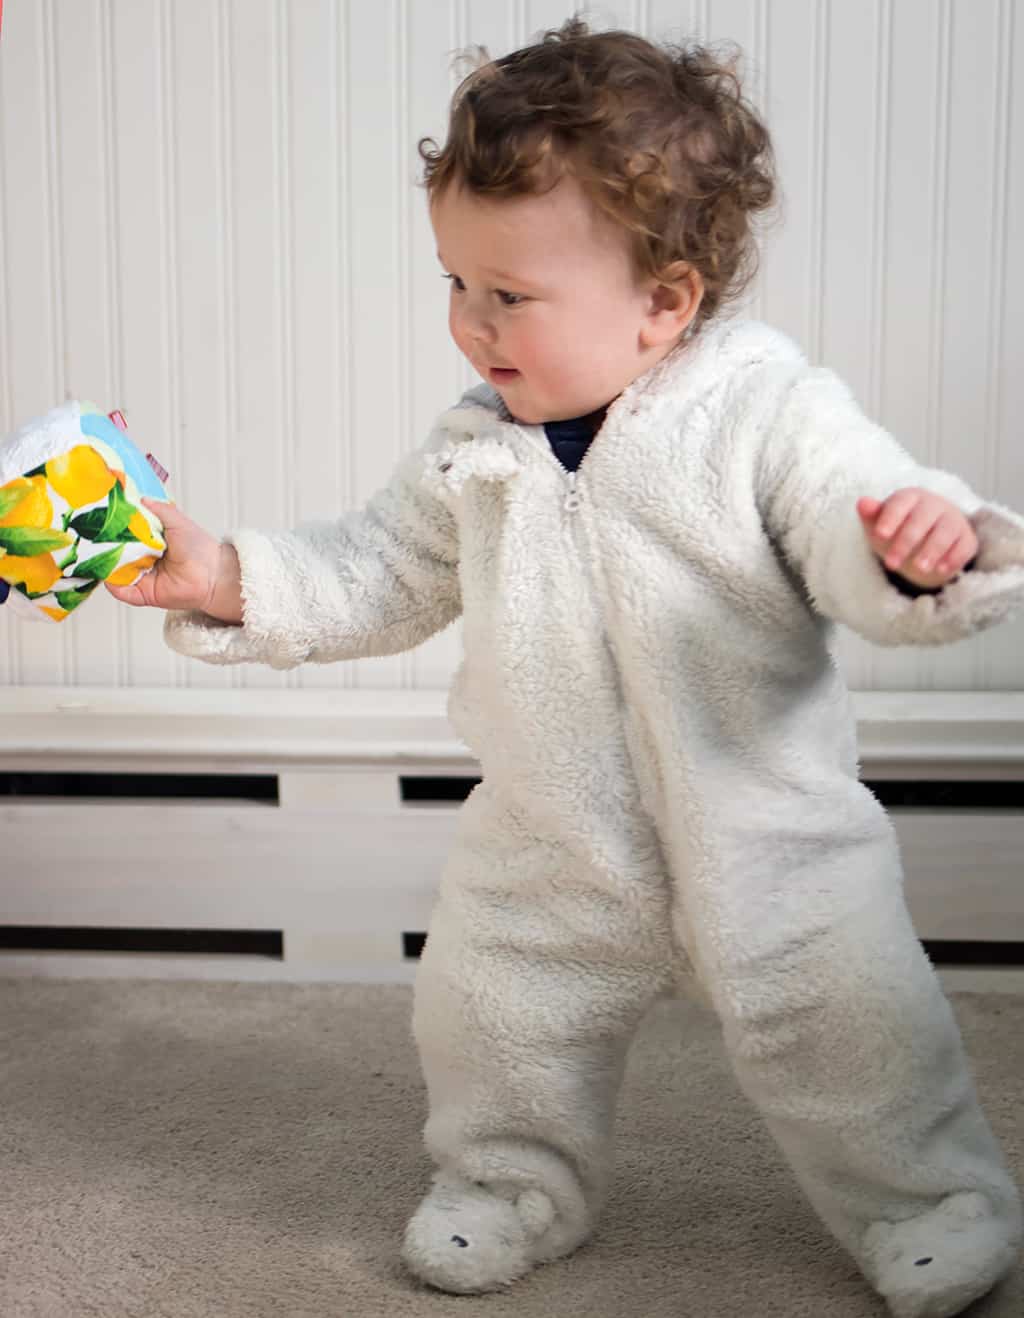
Baby blocks with ribbon tags—often called sensory blocks—are designed to engage a baby’s senses through touch, movement, and color. The soft fabric makes them safe for little hands, while the tags add an extra layer of sensory play that babies naturally gravitate toward.
These types of toys are especially popular because they’re simple, safe, and developmentally beneficial. Babies love grabbing, pulling, and chewing on the tags, which helps support fine motor skills and sensory exploration.
Handmade versions feel even more special because you can customize the colors, textures, and fabrics to suit your style or match a nursery theme. They’re also a thoughtful alternative to store-bought toys and make meaningful keepsakes.
If you love making handmade baby items, you might also enjoy
👉 Basic Garter Stitch Baby Booties
How to Sew Baby Pants Without a Pattern
for a cozy knit project to pair with your sewn gifts.
A Perfect Beginner Sewing Project
This easy baby blocks sewing tutorial is ideal for beginners because it uses simple shapes and straightforward construction. Each block is made from fabric squares sewn together, turned right side out, and stuffed to create a soft cube.
The addition of ribbon tags is simple but makes a big impact. You’ll sew small folded ribbons into the seams, giving the finished block texture and visual interest.
If you’re new to sewing, this project is a great way to practice:
- Straight seams
- Turning fabric
- Basic construction
- Working with small pieces
It’s a low-pressure project that still results in something beautiful and functional.
If you enjoy beginner sewing projects, you may also like
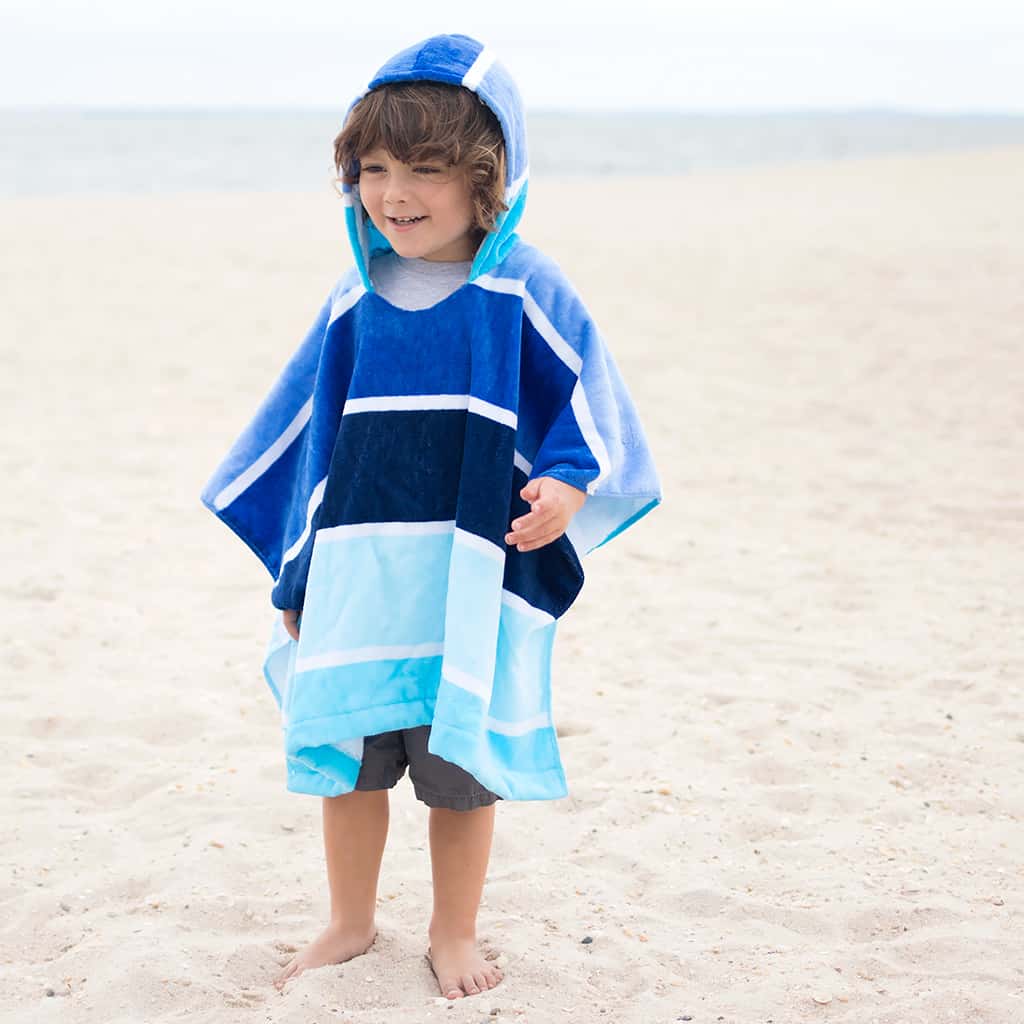
👉 How to Sew a Kid’s Beach Towel Poncho
which is another easy and practical DIY.
How to Sew Baby Blocks with Tags
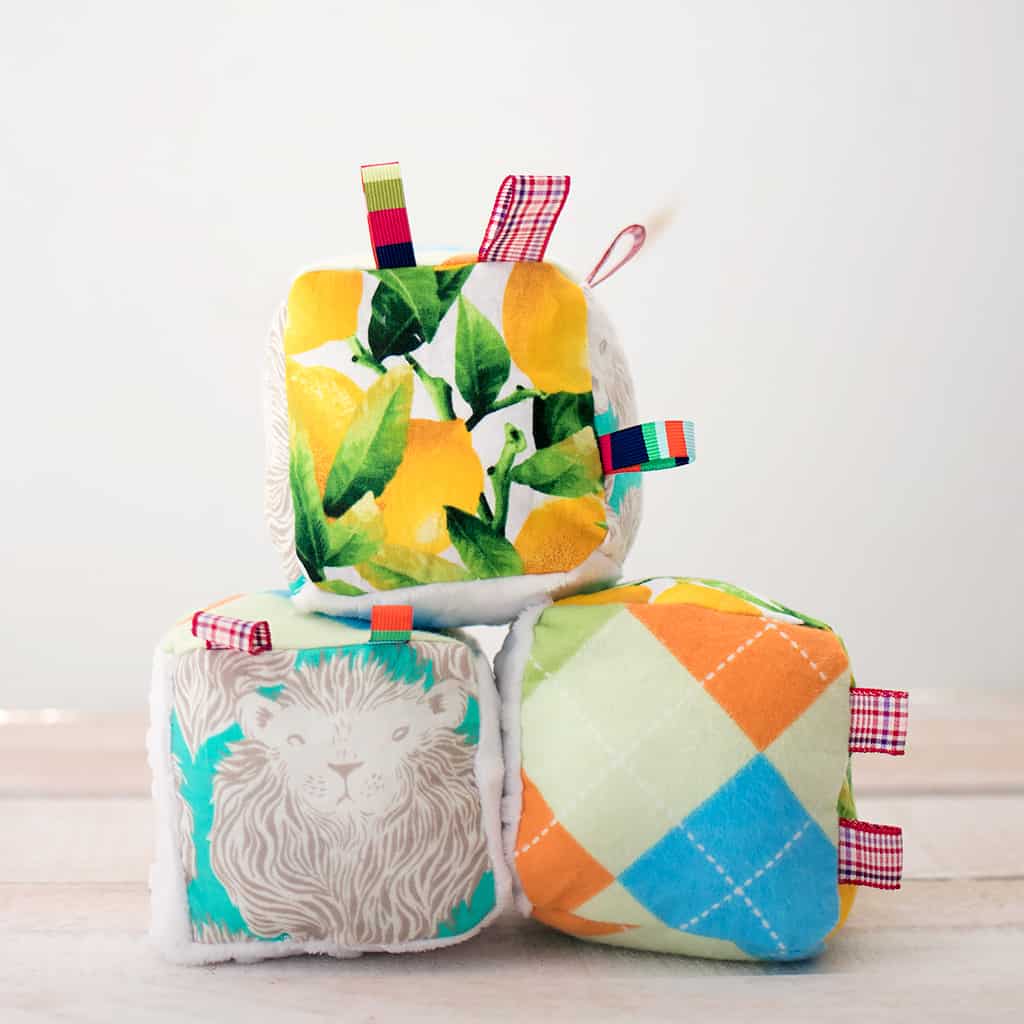
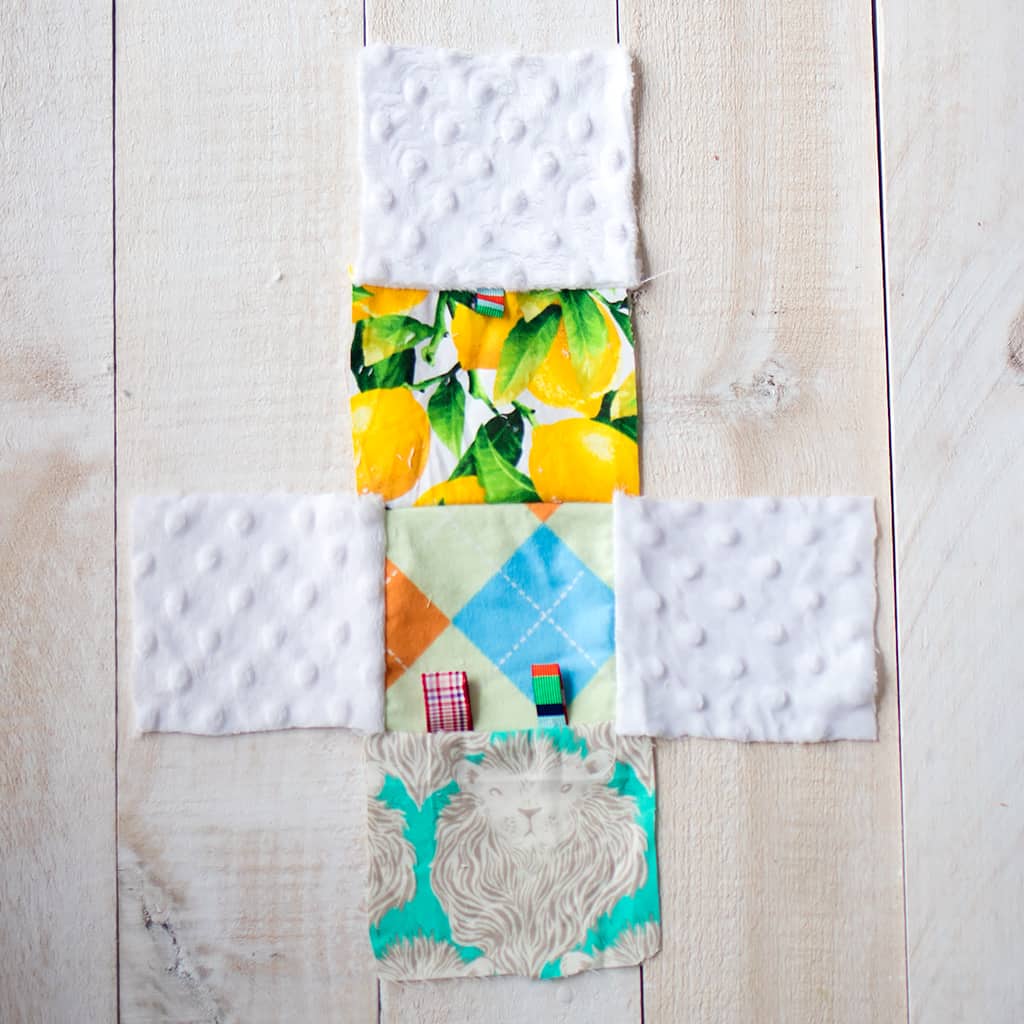
Each block is made using 6 fabric squares the measure 4×4 inches. The squares are sewn together in a lowercase “t” formation. The squares are then sewn at the sides to form a cube, leaving a 1 inch opening on the last seam so the cube can be turned right side out. The next step is to stuff and then finally, the seam is sewn closed.
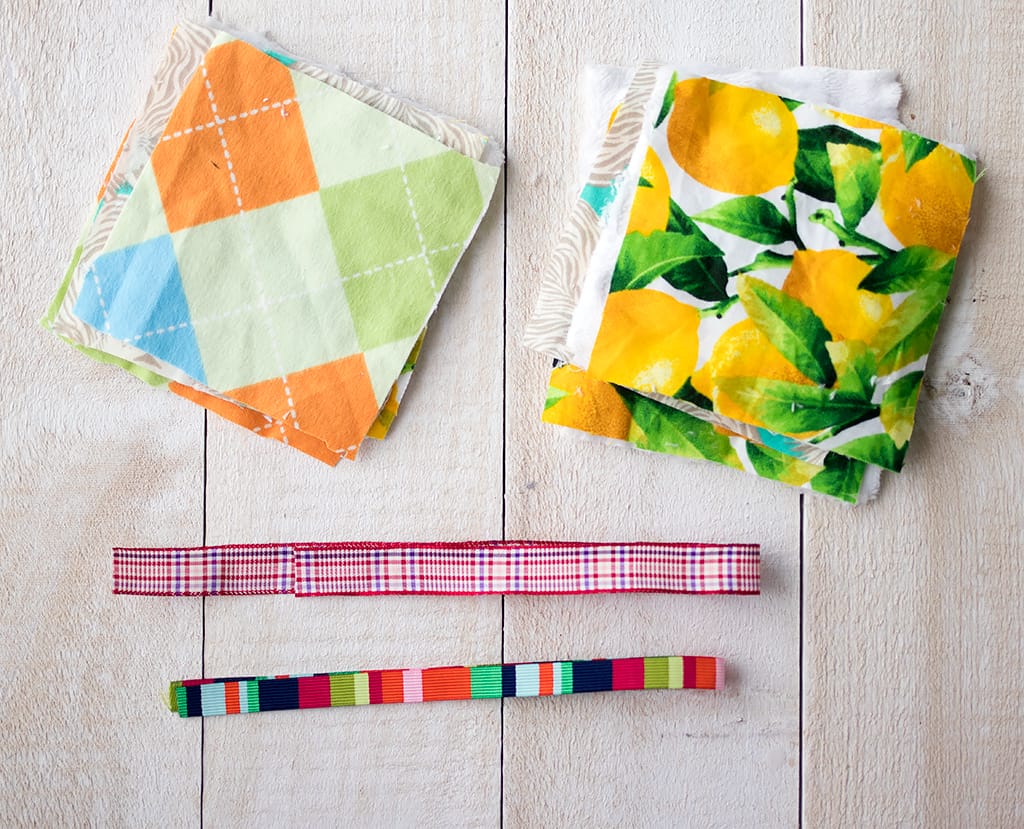
Materials needed:
Scraps of quilting cotton, flannel, and/or minky (cut into 4×4 inch squares. You’ll need 6 squares for each block)
Woven ribbon
Poly fill
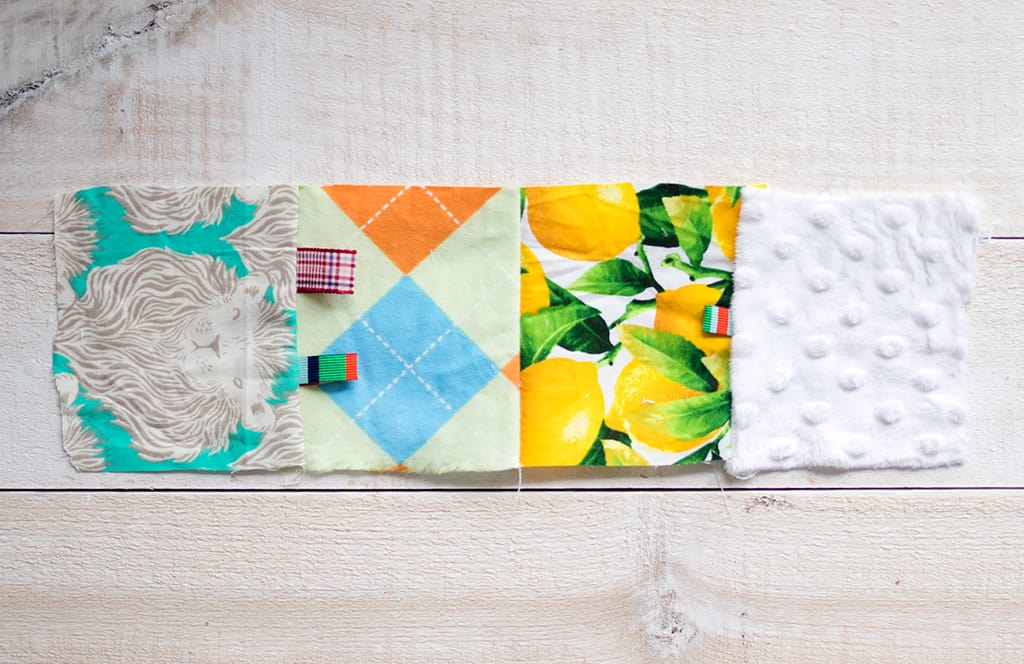
Sew 4 of the squares together at the sides for form a row.
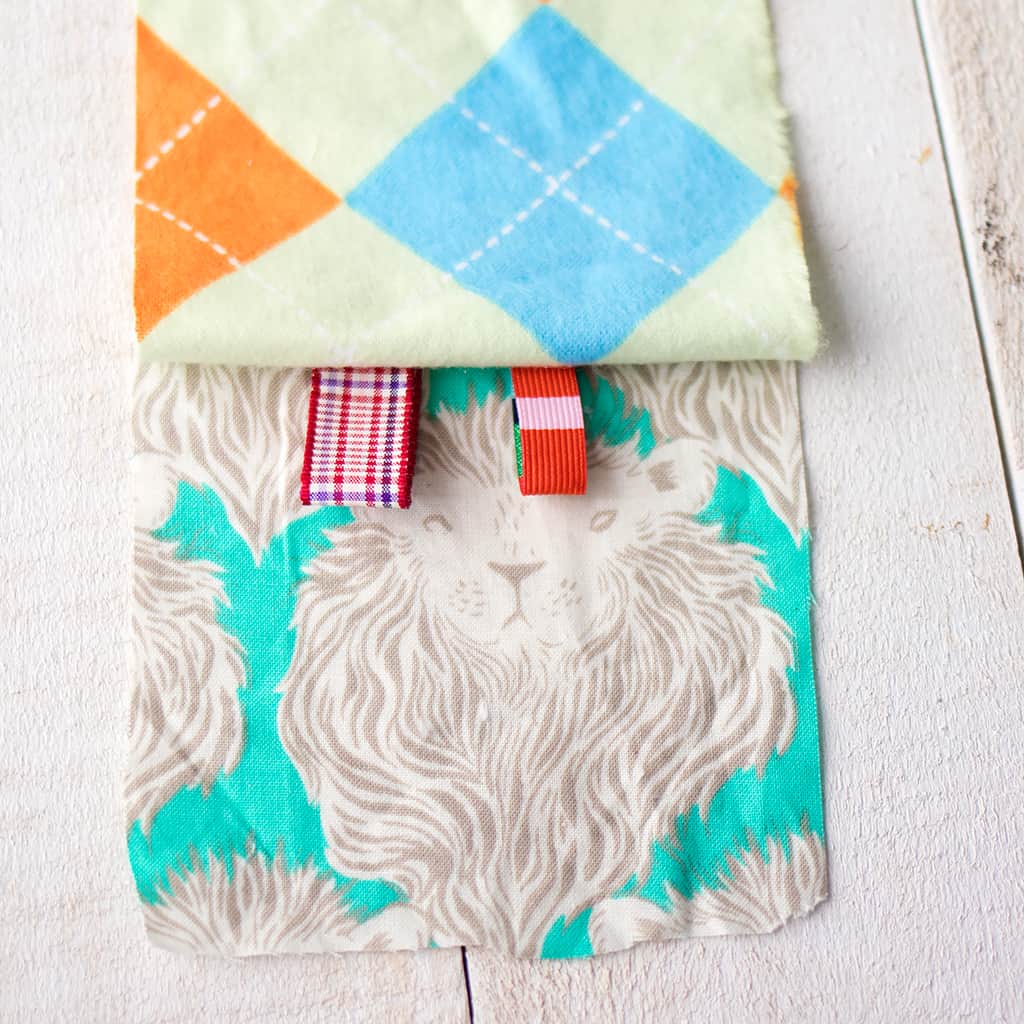
To make the tags- Cut the ribbon into 3 inch long sections. Fold over and sandwich between the squares.
Sew 2 more squares to the sides of the second square (you may have to trim them to fit).
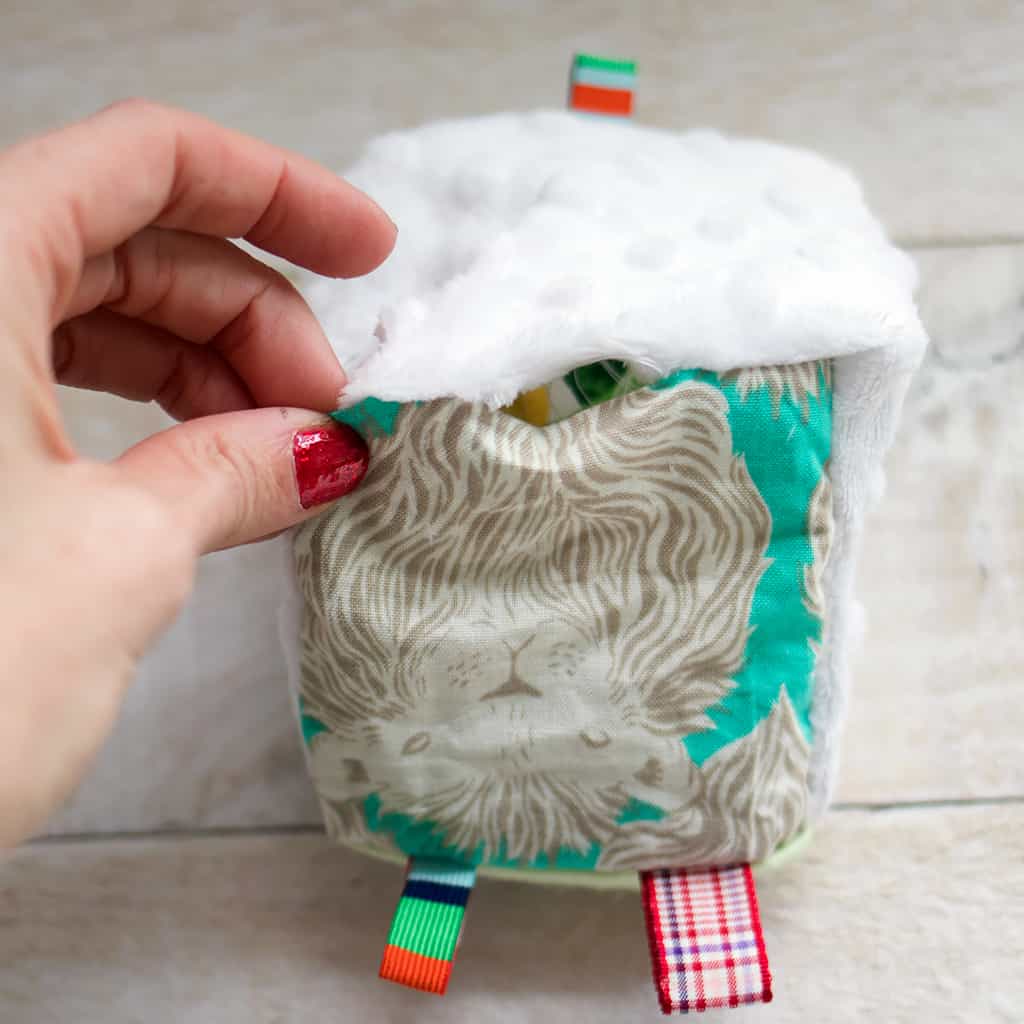
Sew the sides of the block together. If forms a cube shape quickly, so you can easily see what sides to sew together. Sew all the sides together and leave a 1 inch opening on the last side.
Turn the block right side out.
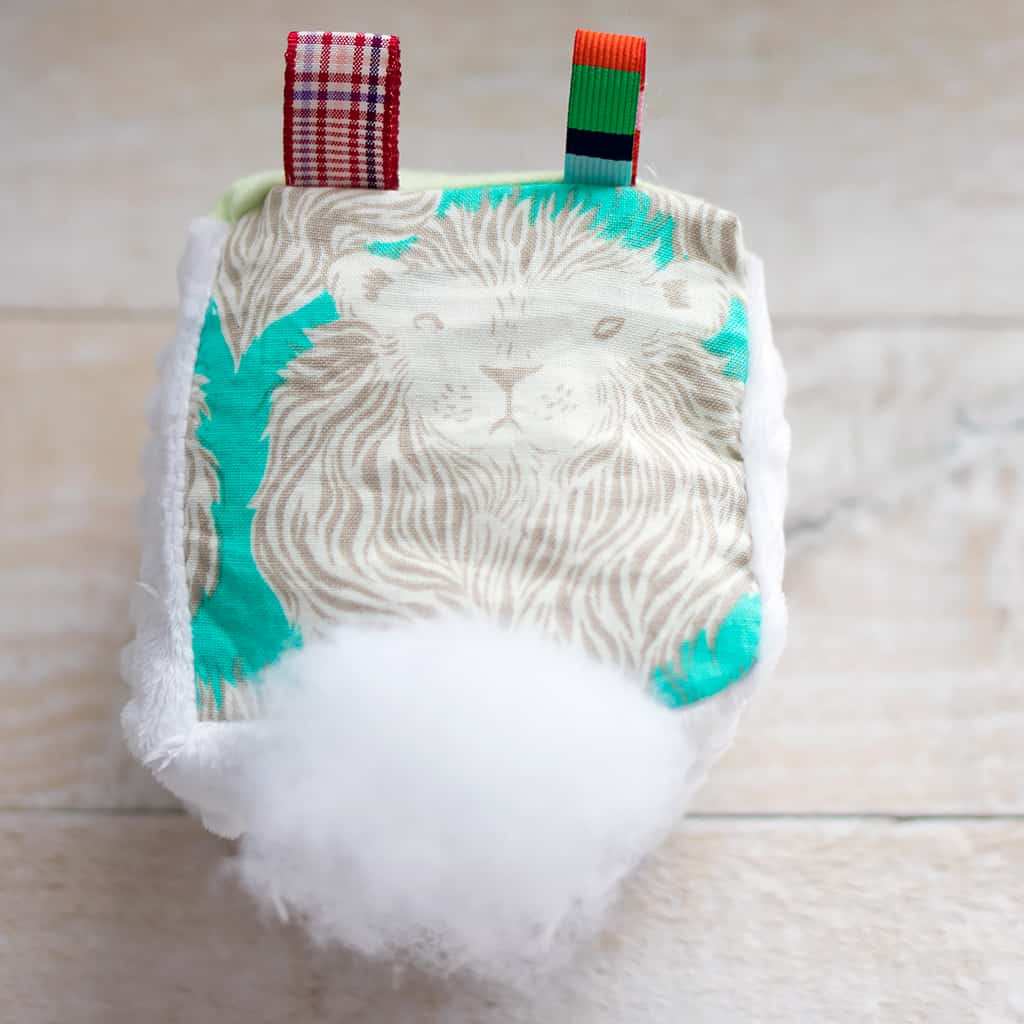
Stuff the block and sew the seam closed. Clip loose threads.
Choosing Fabrics and Colors
One of the most fun parts of this project is selecting fabrics. You can mix and match prints, solids, and textures to create visually interesting blocks that babies will love.
High-contrast colors are especially engaging for younger babies, while softer tones work beautifully for nursery decor. You can also coordinate fabrics with a specific theme, such as animals, florals, or seasonal prints.
If you enjoy creative, customizable projects like this, you might also love exploring
👉 Free Knitting Patterns
for more handmade inspiration.
Adding Sensory Details
The ribbon tags are what make these blocks truly special. Babies are naturally drawn to small loops and textures, so adding a variety of ribbons enhances the sensory experience.
You can use satin ribbon, grosgrain, or even textured trims to create variety. Mixing different widths and colors adds visual interest and makes each block unique.
Some people also like to add crinkly material or bells inside the blocks for extra sensory elements. These small additions can make the toy even more engaging.

Easy Construction for Quick Results
One of the best things about this how to sew baby blocks with tags tutorial is how quickly the blocks come together. Once you’ve cut your fabric squares and prepared your ribbons, the sewing process is simple and repetitive.
This makes it easy to create multiple blocks in one sitting. You can make a full set for a gift or keep a few on hand for future occasions.
Because the blocks are small, they’re also a great scrap fabric project. You can use leftover pieces from other sewing projects, making this both practical and sustainable.
A Thoughtful Handmade Gift
These DIY baby blocks with tags make an incredibly thoughtful gift. They’re soft, safe, and handmade with care, which makes them stand out from store-bought options.
They’re perfect for:
Baby showers
First birthdays
Newborn gifts
You can even pair them with handmade knits like
👉 Easy Cuffed Baby Booties Free Knitting Pattern
or a sweater from
👉 30 Baby Knitting Patterns for Beginners
to create a complete gift set.
Looking for more sewing tutorials?
How to Sew Baby Pants Without a Pattern
Great for Selling and Craft Fairs
If you sell handmade items, these baby blocks are a great addition to your shop. They’re quick to make, use minimal materials, and are always in demand.
Because they’re lightweight and easy to package, they’re also perfect for craft fairs and online shops. Offering them in sets or themed collections can help increase their appeal.
Customize Your Baby Blocks
One of the best parts of this project is how customizable it is. You can adjust the size, colors, and details to create something completely unique.
Try:
Matching nursery themes
Seasonal fabrics
Personalized color palettes
You can even add embroidery or appliqué for an extra special touch.
A Relaxing and Creative Project
Sewing these baby blocks is not only practical but also relaxing. The repetitive steps make it a great project to work on while unwinding.
It’s also a great way to use your creativity, experiment with fabrics, and create something meaningful.
Explore More Easy DIY Projects
If you enjoyed this tutorial, be sure to explore more beginner-friendly DIYs and patterns here:
👉 Sewing Projects and Tutorials
You’ll find everything from sewing projects to knitting patterns and seasonal crafts.
Frequently Asked Questions
Are baby blocks with tags safe for newborns?
Yes, as long as you use baby-safe materials and securely sew all pieces. Avoid small parts that could come loose.
What type of fabric is best?
Soft cotton fabric is ideal because it’s breathable, washable, and gentle on sensitive skin.
Can I add noise inside the blocks?
Yes, you can add crinkle material or small bells, but make sure everything is securely enclosed.
How long does this project take?
Most blocks can be completed in under an hour, making this a quick and satisfying project.
Can I sell these handmade blocks?
Yes, these are great for selling at craft fairs or in handmade shops.
This how to sew baby blocks with tags tutorial is a simple, creative, and rewarding project that’s perfect for beginners and experienced sewists alike. These soft, sensory toys are fun to make and even more fun to give.
Whether you’re making a gift, stocking your shop, or just creating something special, these baby blocks are a project you’ll want to make again and again.
👉 Explore more projects here: Sewing Patterns and Tutorials
One of the best things about these DIY baby blocks with tags is how easily they can be adapted as your baby grows. While they start as simple sensory toys for grasping and exploring textures, they can later become part of imaginative play, stacking games, or even early learning activities. You can create sets in coordinating colors, add numbers or letters to each side, or use themed fabrics to introduce animals, shapes, or seasonal designs.
These blocks are also a wonderful way to use up fabric scraps from other sewing projects, making them both budget-friendly and sustainable. If you’ve been working on other handmade items like
👉 How to Sew a Kid’s Beach Towel Poncho
or knitting projects like
👉 Basic Garter Stitch Baby Booties
this is a great complementary project that ties everything together.
Because they’re quick to make and easy to customize, many makers find themselves creating multiple sets at once—for gifts, for their shop, or just to have on hand for upcoming baby showers and special occasions.
I love seeing your finished projects! If you enjoyed making this post- How to Sew Baby Blocks with Tags, or any of my other sewing patterns, I’d love to see yours on Instagram, just tag me @ginamicheleny. Happy sewing!

This is a great idea for finishing up yarns as well! A block with a mixture of fabric and knitted/crocheted panels would probably be a textural hit.