Nursery Closet Makeover
Nursery Closet Makeover- see how I transformed this bland space with a weekend DIY!
I’m so excited about this project! I’m still working on the rest of River’s nursey (reveal coming soon), but I’m glad I have one part completely finished. This Nursery Closet Makeover only took a weekend and supplies were around $100 (excluding flooring).
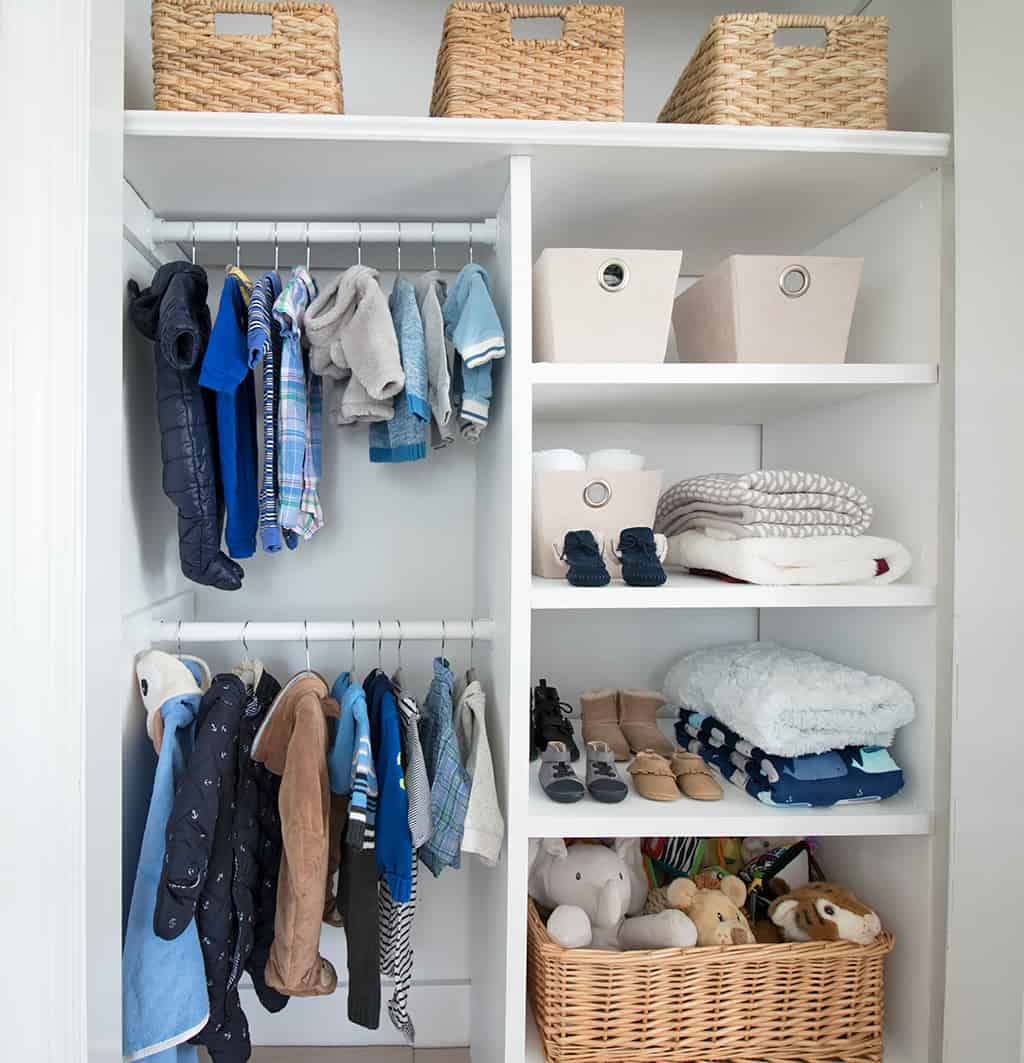
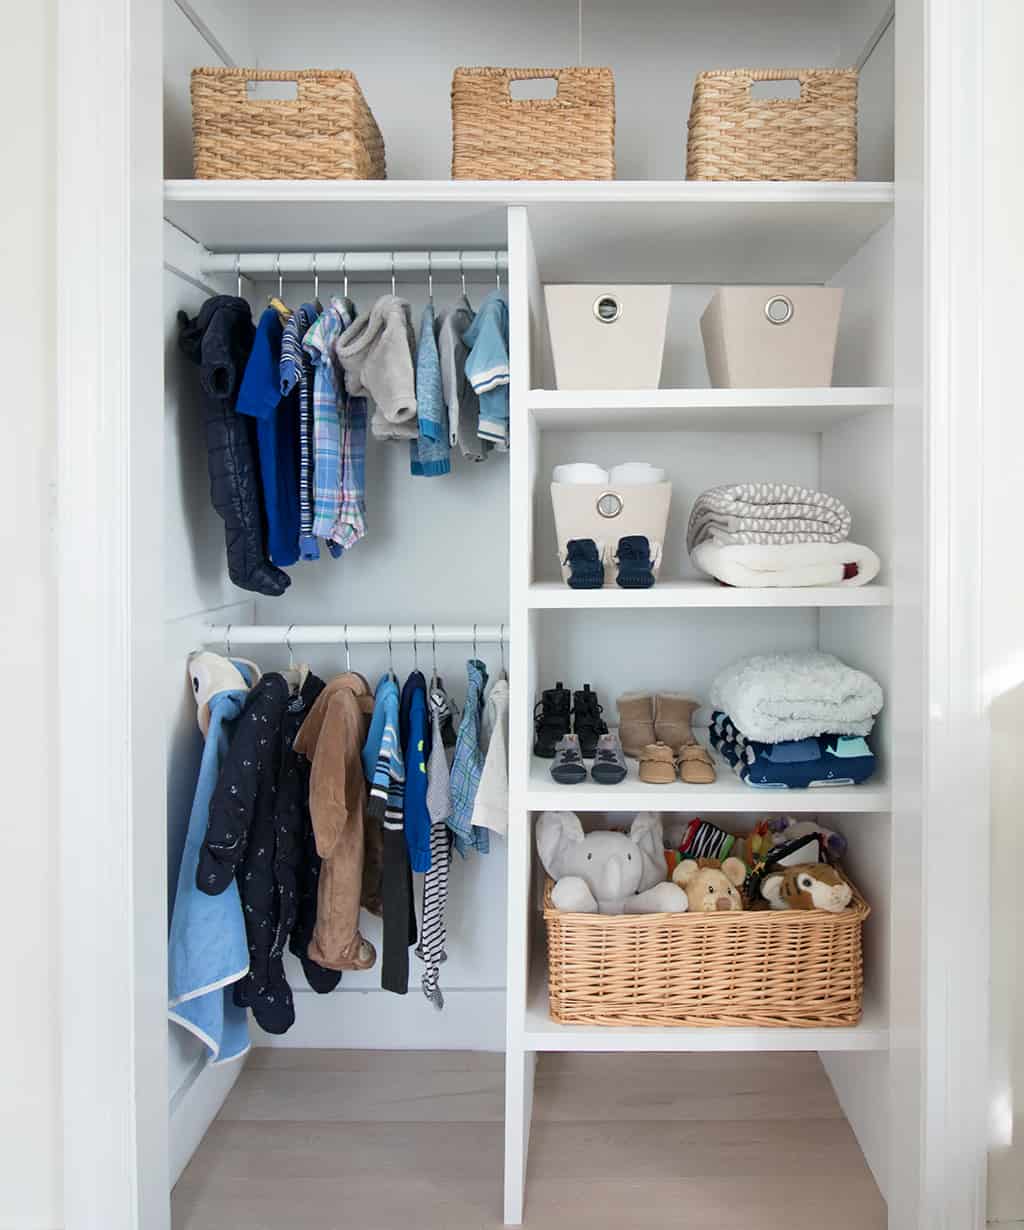
My goal was to create a space that could hold a lot of clothing/accessories and one that could also grow with River. The deep shelving can easily hold larger clothing/shoes and the clothing rods can be moved to hold larger items.
Supplies used:

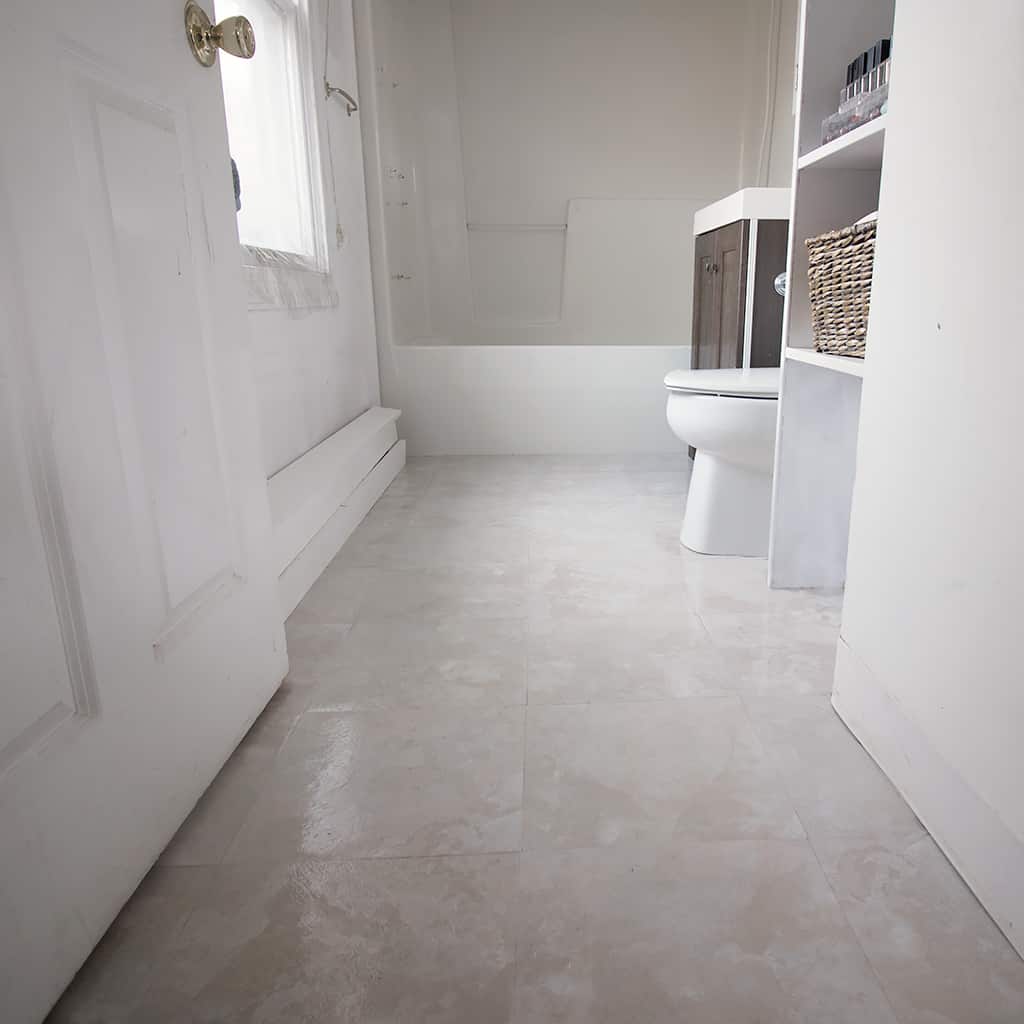
Here’s the “before” pic- yikes! This closet had some inexpensive wire shelving that I promptly removed after moving in…and never replaced. I built a wood shelf for the top which is the only thing that remained after the makeover. The first thing I did was paint the closet a bright white. Bright white paint is my favorite way to make a huge change on a small budget!
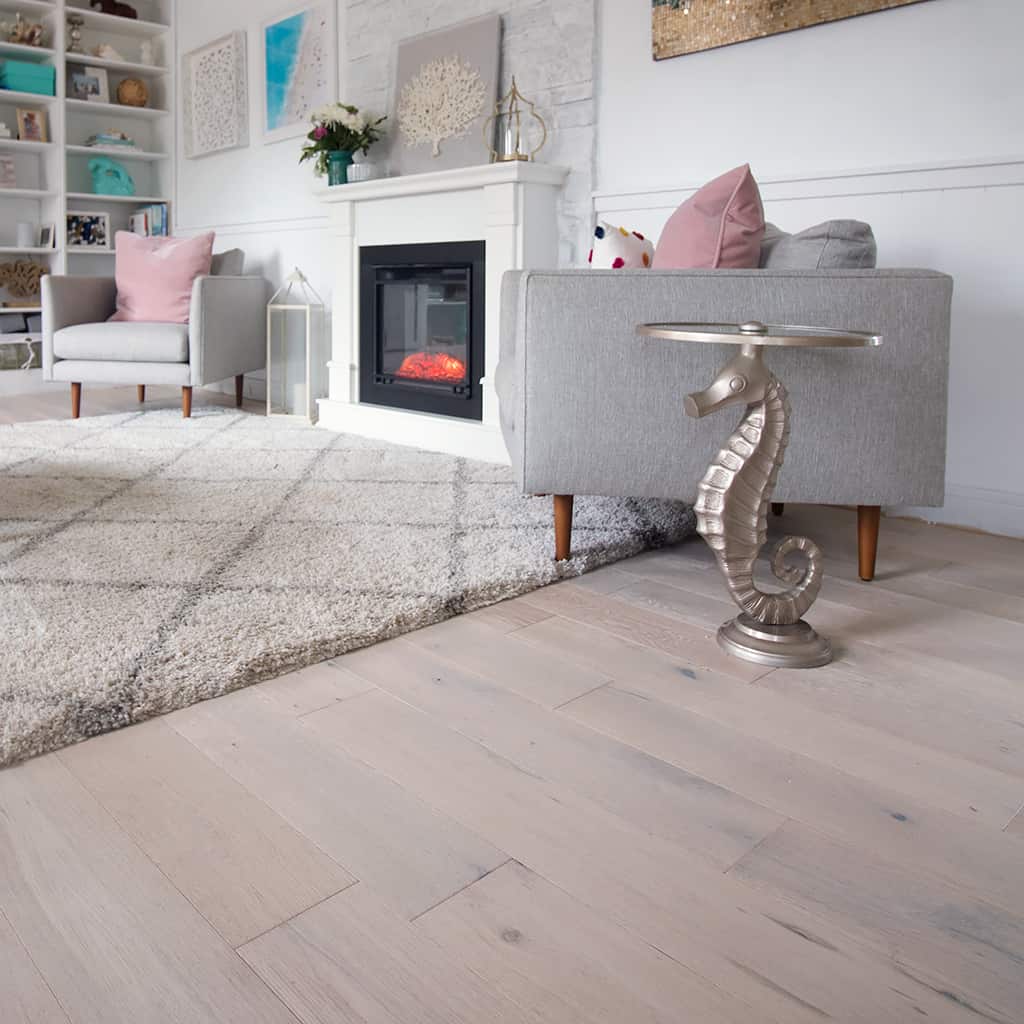
The next step was to replace the dated Pergo floor with whitewashed planks. I’m going to cover the floor installation in a later post- I love this flooring and it was easy to install!
I built the shelving using 3/4 furniture birch- these clamps are really helpful when screwing shelves together. After I was finished attaching the shelves, I nailed on the trim, caulked it and filled the holes. Next was a few coats of bright white paint. Finally, I cut the vinyl wrapped closet rod in 2 pieces and hung it.
I styled the closet with some baskets I already had and I picked up a few fabric baskets for smaller things like socks. I love how it holds everything and still looks neat!