How to Sew a Scrunchie
How to Sew a Scrunchie- the hottest hair trend of the season is so easy to DIY!
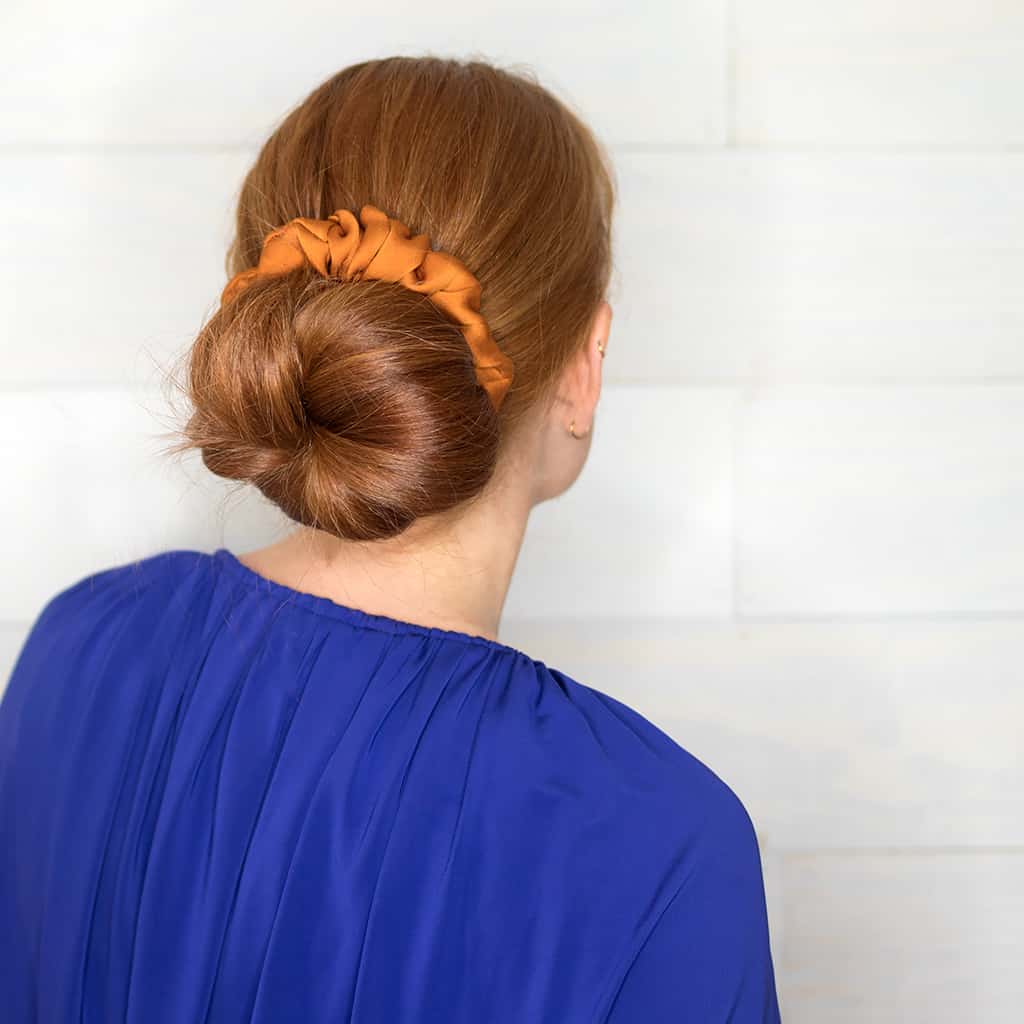
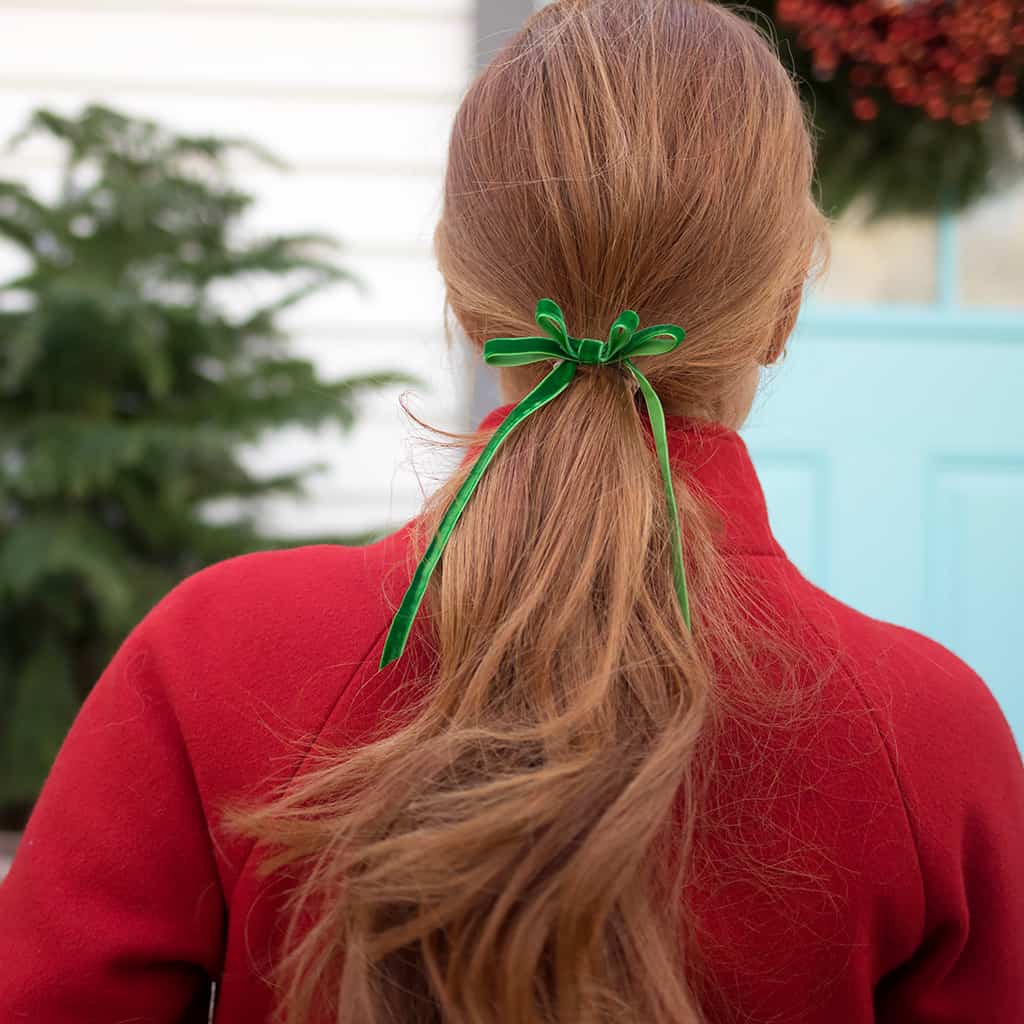
 Love them or hate them, the scrunchie is back! What makes the scrunchie feel fresh this time around is the way the hair is styled. Gone are the teased ponytails of the late 80s. The new way to wear a scrunchie is with hair loosely pulled back in a low pony or bun.
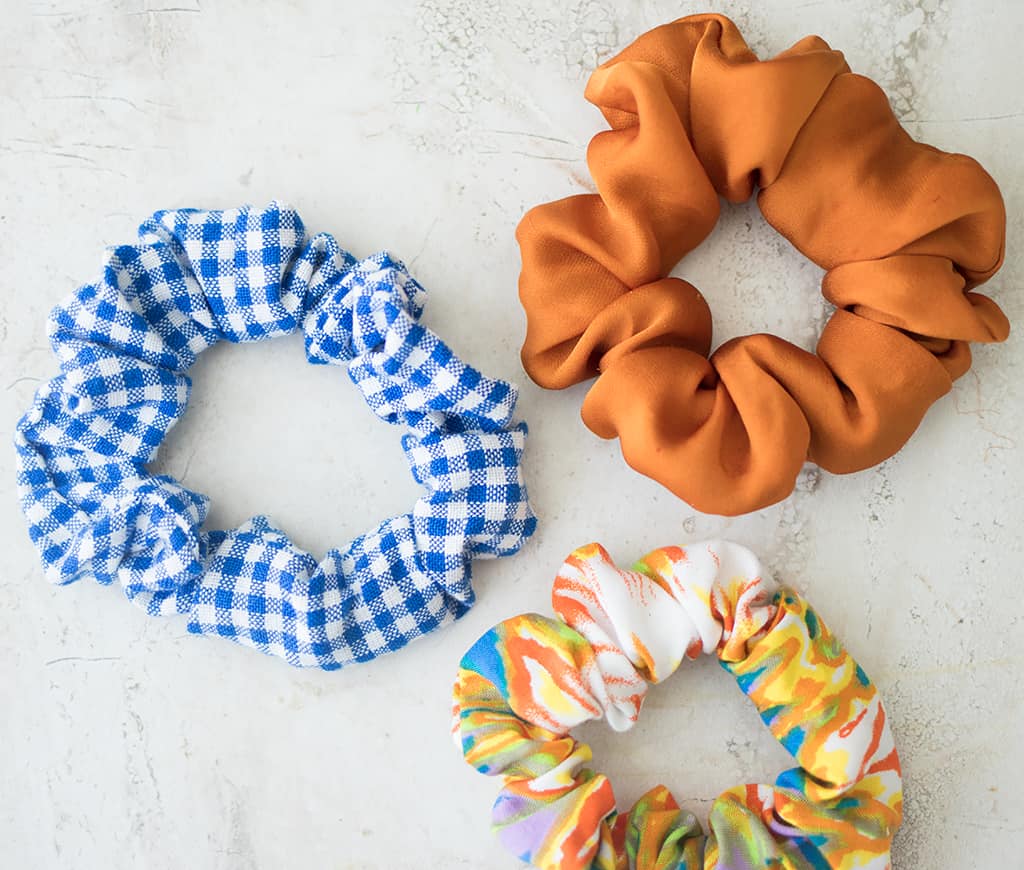
Scrunchies in quality fabrics can be pricey- this leather one is $175 and this silk-satin one is $120. Luckily, scrunchies are fast and easy to sew! They also make for a great scrap busting project. The versions I made are in cotton (the blue/white gingham), rayon (the white multi) and silk (the Sienna). If you’re new to sewing, I recommend sticking to cotton. It’s easy to cut/sew and it doesn’t slip as much as rayon and silk.

Supplies needed:
Strip of fabric
Safety pin
How to Sew a Scrunchie
 Cut a length of fabric that measures 24 inches long and 3 1/2 inches wide.

Fold the fabric over –right sides together– and stitch down at the edge.

Turn fabric right side out.

Cut a length of elastic that measures 8 inches. Thread through the tube, cinching the fabric.

Sew the ends of the elastic together. Sew the ends of the fabric together by hand.
Looking for more easy Sewing Projects?
How to Add Bra Cups to Backless Dresses