DIY Cedar Window Boxes: Easy Custom Planters That Make Your House Look Instantly Prettier
Learn how to make DIY cedar window boxes with simple lumber, brackets, and planter liners. An easy outdoor project that adds instant curb appeal.
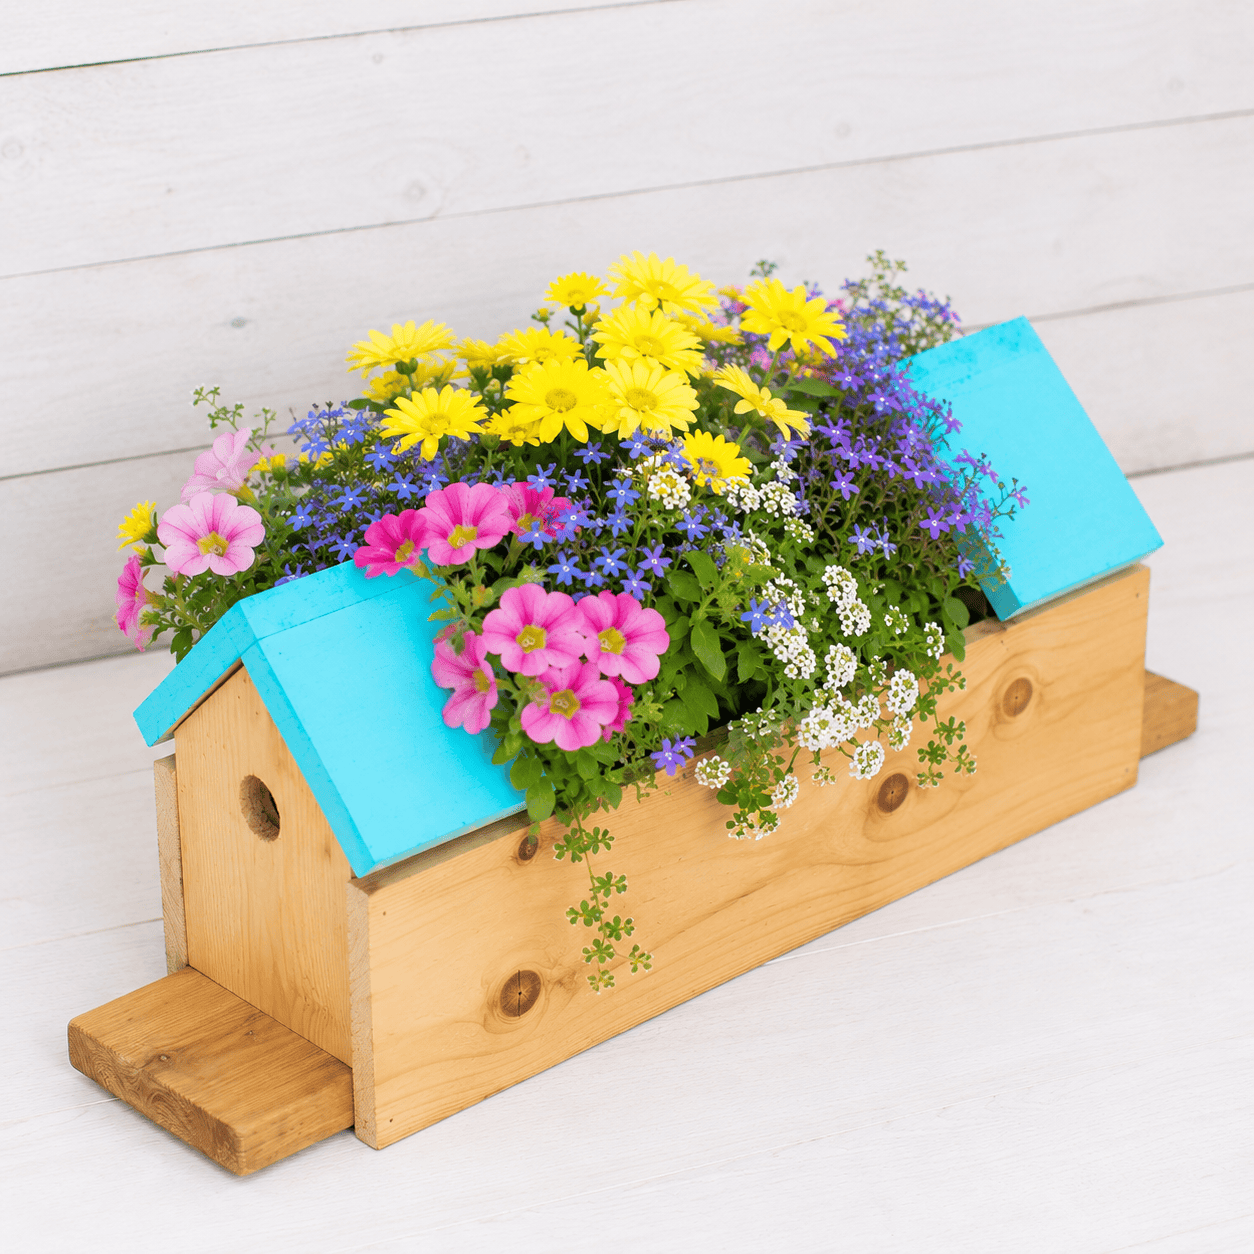
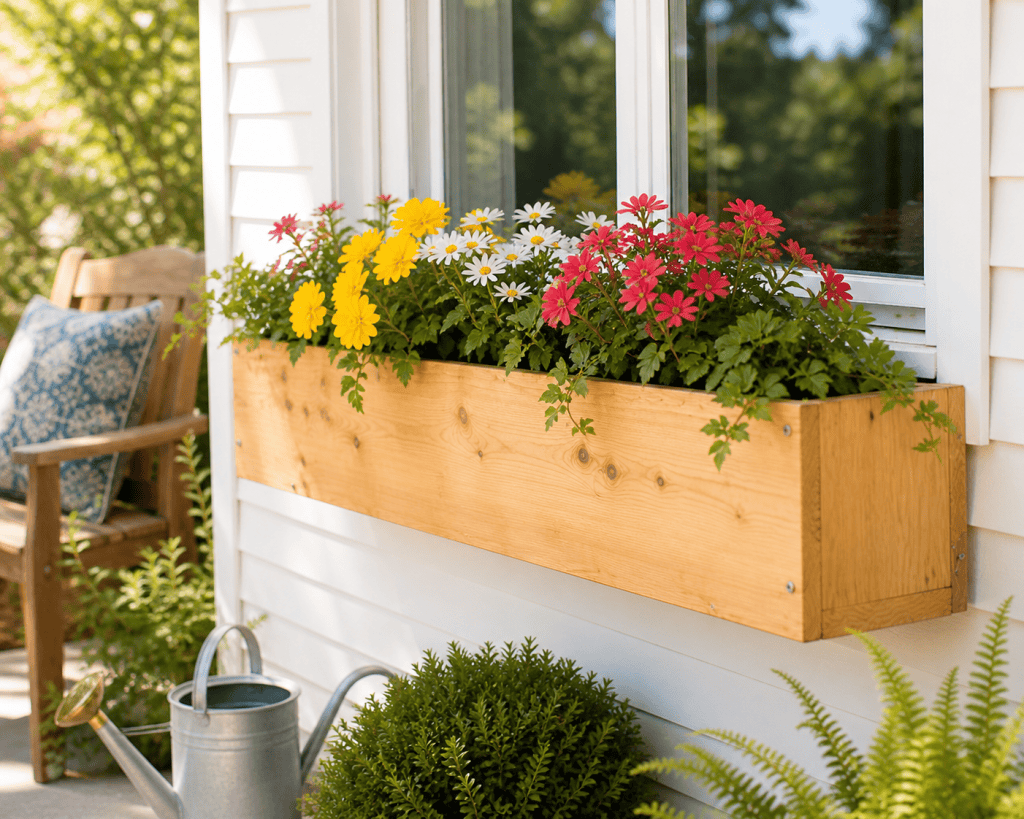
If your windows are looking a little bare, DIY cedar window boxes are one of the easiest ways to add charm, color, and curb appeal to the outside of your home. They instantly make a plain window feel more finished, and once the flowers start filling in, the whole front of the house looks brighter and more inviting.
I originally wanted window boxes to dress up the front of my house, but I was surprised by how expensive store-bought options were. On top of that, my windows weren’t standard sizes, so the ready-made boxes I found online weren’t even the right fit. Instead of settling for something that was too small, too large, or way overpriced, I decided to make my own.
The good news? These DIY cedar window boxes are surprisingly simple to build. You only need basic cedar boards, screws, brackets, and plastic planter liners to protect the inside. Cedar is a great choice for outdoor projects because it naturally holds up better outside than many other woods, and it has a warm, natural look that works beautifully with flowers and greenery.
These window boxes can be customized to fit your exact window size, which makes them a great option for older homes, non-standard windows, sheds, porches, or even backyard studios.
Why Make Your Own Cedar Window Boxes?
Store-bought window boxes can get expensive quickly, especially if you need more than one. Making them yourself allows you to customize the length, choose the wood, and create a more substantial-looking planter for less money.
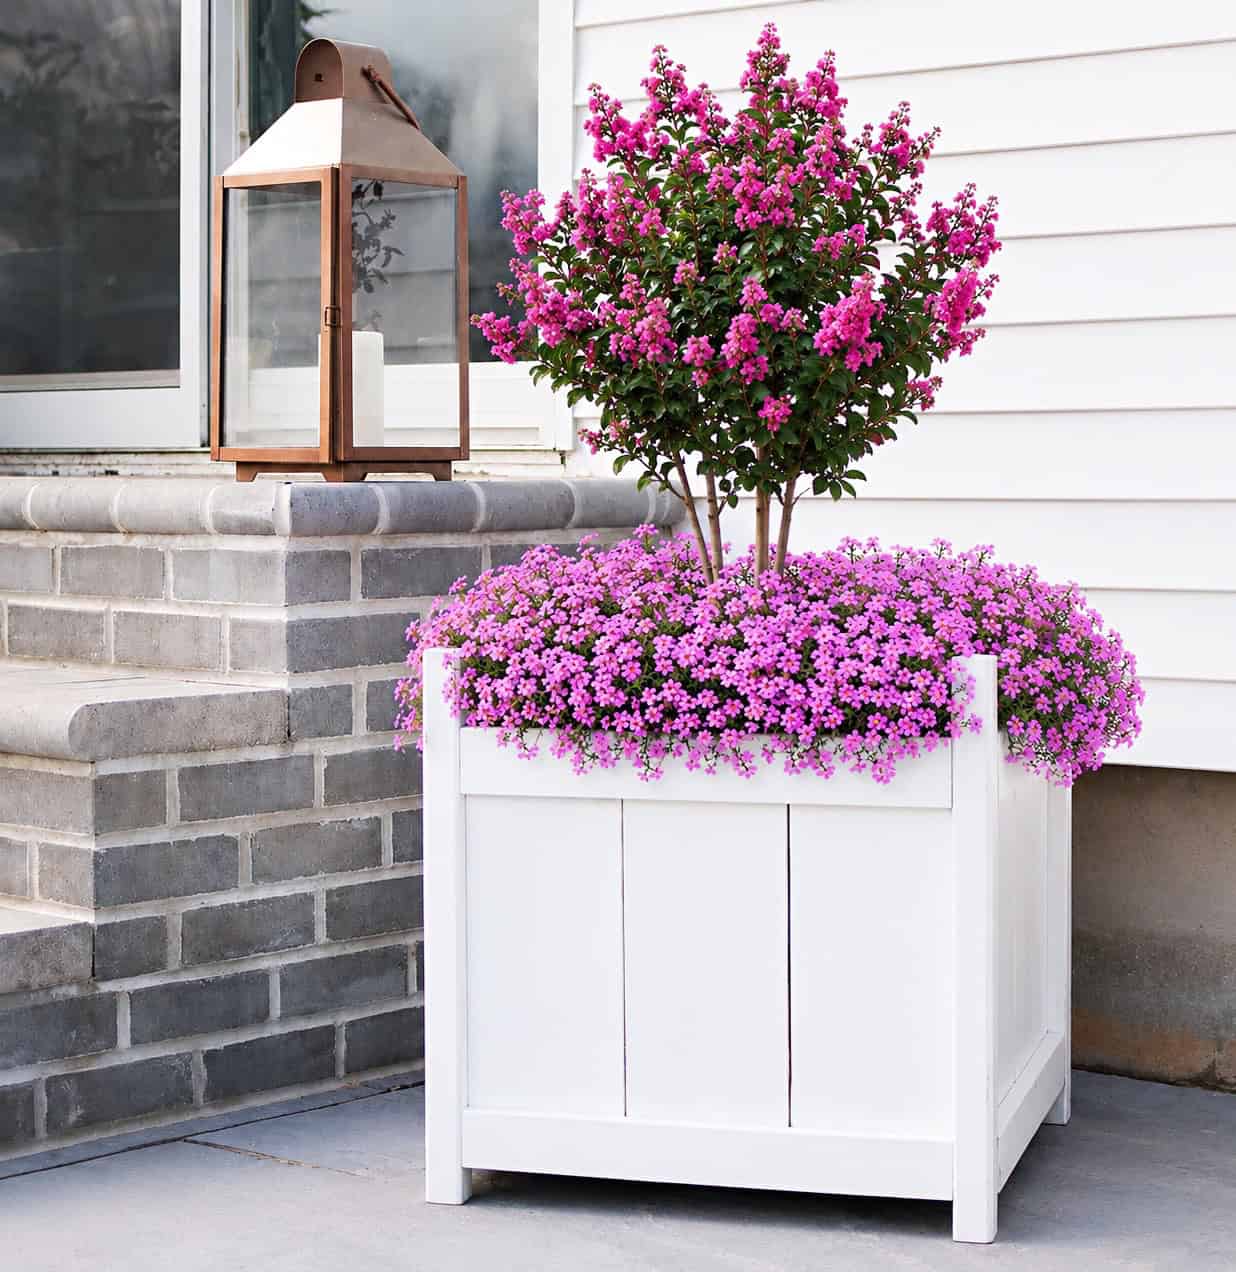
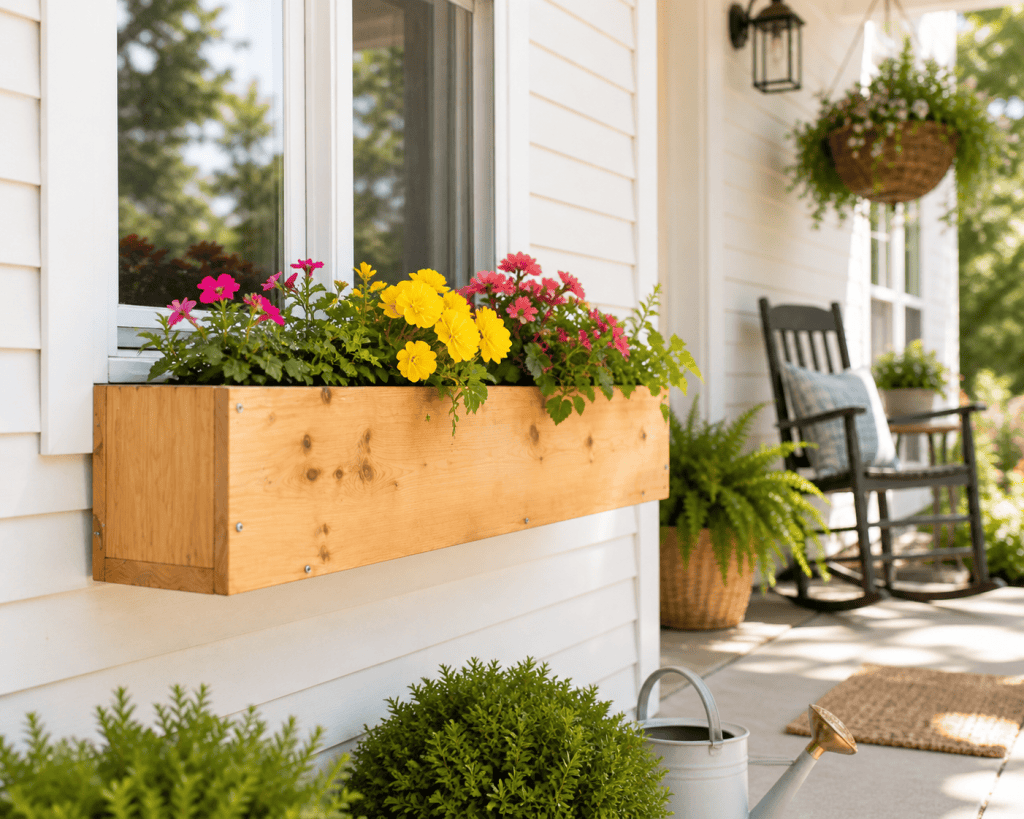
DIY cedar window boxes also give you a more custom look. Instead of using a thin plastic box that may not match your home’s exterior, cedar gives the project a clean, natural, handmade feel. You can leave the wood unfinished for a rustic look, seal it for extra protection, or stain it to match your porch, shutters, or outdoor furniture.
They’re also practical. By adding plastic liners inside the boxes, you help protect the cedar from constant moisture while still getting the look of a wood planter from the outside.
Looking for More DIY Planters?
How to Build Tall Outdoor Planters
Easy DIY Retaining Wall Planter (Beginner-Friendly & Budget Backyard Upgrade)
DIY Privacy Screen Planter That Actually Works (Full Backyard Privacy on a Budget)
Easy Raised Vegetable Garden with Pea Gravel (Simple DIY for a Clean, Modern Backyard)
DIY Cedar Window Boxes: Easy Custom Planters That Make Your House Look Instantly Prettier
Supplies Needed
(As an Amazon associate, I earn from qualifying purchases)
- Cedar lumber, approximately 1 inch thick by 7 inches high
- Screws
- Outdoor brackets
- Plastic planters or window box liners
- Drill
- Saw
- Measuring tape
- Pencil
- Level
- Optional: exterior wood sealer or stain

Step-by-Step Instructions
Step 1: Measure Your Window
Start by measuring the width of your window. Decide how long you want the window box to be. You can make it the same width as the window, or slightly wider for a fuller, more decorative look.
Write down your measurements before cutting. If you’re using plastic planter liners, measure those too so you can make sure they fit neatly inside the cedar box.
Step 2: Cut the Cedar Boards
Cut one board for the front, one for the back, and one for the bottom of the window box. Then cut two smaller pieces for the sides.
The front and back boards should be the same length. The bottom board should also match the length of the box, unless you prefer it to sit slightly inside the front and back pieces.
Step 3: Assemble the Front, Back, and Bottom
Place the front, back, and bottom boards together to form a long rectangular box shape. Attach the bottom board to the front and back pieces using screws.
Use two screws on each side to help keep the box sturdy. Make sure the edges are lined up before drilling.
Step 4: Attach the Side Pieces
Next, screw the side pieces onto each end of the box. These will close off the planter and give it a finished look.
Use outdoor screws and make sure everything feels secure. Since the box will hold soil, plants, and water, you want the frame to be sturdy before hanging it.
Step 5: Drill Drainage Holes
Before adding plants, drill a few drainage holes in the bottom of the cedar box. This allows excess water to escape and helps prevent soggy soil.
Even if you’re using plastic liners, drainage is still important. You don’t want water pooling inside the wood box.
Step 6: Add Plastic Planter Liners
Place plastic planters or window box liners inside the cedar box. These help protect the cedar from constant contact with wet soil.
The liners also make planting easier because you can remove them if needed, switch out flowers seasonally, or clean the box without disturbing the whole structure.
Step 7: Attach the Brackets
Use one sturdy bracket on each side of the window box to attach it below the window. Depending on the length and weight of your box, you may want to add an extra bracket in the center for more support.
Use a level before drilling so the box hangs straight. Once the brackets are secure, carefully place the cedar box on top and attach it according to your bracket style.
Step 8: Add Flowers and Greenery
Now for the fun part: planting! Fill the liners with potting soil and add your favorite flowers.
Trailing plants look especially pretty in window boxes because they spill over the sides as they grow. Geraniums, petunias, ivy, begonias, sweet potato vine, and herbs all work well depending on your sunlight.
Best Plants for Window Boxes
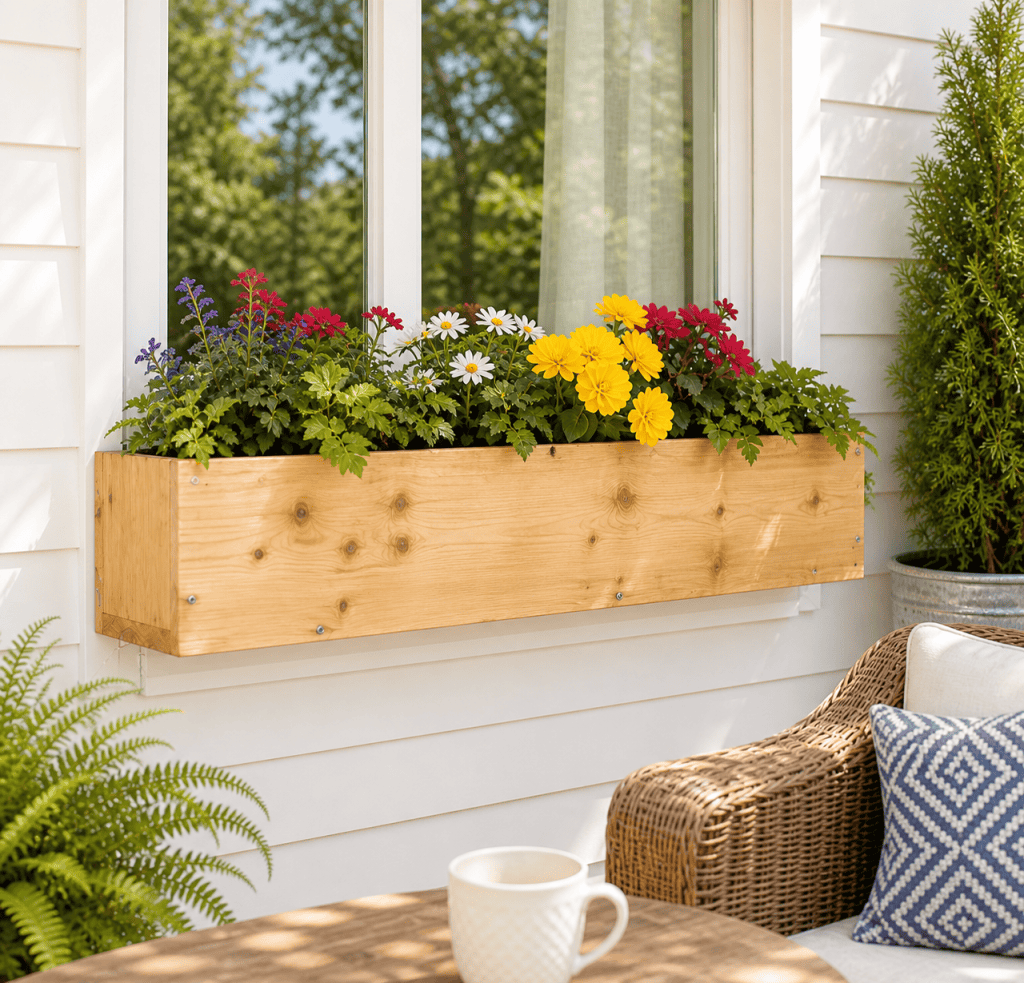
For a full, colorful look, mix upright flowers, trailing greenery, and filler plants. This gives your window box more texture and makes it look lush from the street.
Good options include:
Petunias
Geraniums
Begonias
Marigolds
Ivy
Sweet potato vine
Creeping Jenny
Coleus
Herbs like basil, thyme, or parsley
For sunny windows, choose heat-tolerant flowers. For shaded windows, look for plants like begonias, impatiens, or coleus.
Tips for the Best Results
Use cedar for outdoor durability
Cedar is a great choice for outdoor planters because it naturally resists moisture better than many other woods.
Don’t skip the liner
The plastic liner helps protect the wood and makes the window box easier to maintain.
Check the weight
Soil gets heavy, especially after watering. Make sure your brackets are strong enough to support the filled box.
Water consistently
Window boxes dry out faster than garden beds, especially in warm weather. Check them often during summer.
Refresh seasonally
Swap flowers for mums in fall, greenery in winter, and bright annuals in spring and summer.
More Outdoor DIY Projects to Try
If you enjoyed this DIY cedar window box project, you might also like these outdoor projects:
DIY Trellis (Easy, Budget-Friendly Garden Upgrade That Looks Expensive)
15 Easy Outdoor DIY Projects That Will Transform Your Backyard This Weekend
Rust-Oleum Outdoor Fabric Paint Review (Does It Actually Work?)
How to Build an Easy Kayak Rack (Cheap DIY That Holds Multiple Kayaks)
How to Build an Easy Stone Grill Surround
FAQ: DIY Cedar Window Boxes
Are cedar window boxes beginner-friendly to build?
Yes! DIY cedar window boxes are a great beginner project. If you can measure, cut wood, and use a drill, you can make these. The design is simple—just a basic rectangular box—so it’s a perfect first woodworking project with a big visual payoff.
Why is cedar a good choice for window boxes?
Cedar is naturally resistant to moisture, rot, and insects, which makes it ideal for outdoor projects. It also looks beautiful unfinished and weathers nicely over time. Compared to other woods, cedar holds up better in changing weather conditions.
Do I need to seal or stain cedar window boxes?
You don’t have to, but it depends on the look you want. Left untreated, cedar will naturally fade to a soft gray over time. If you prefer to keep the warm wood tone, apply an outdoor sealer or stain to protect it.
Do cedar window boxes need drainage holes?
Yes, drainage is important. Drilling holes in the bottom of the box prevents water from pooling, which can lead to root rot and damage the wood over time. Even if you use liners, drainage helps keep plants healthy.
Should I use a liner inside the window box?
Using plastic planter liners is highly recommended. They protect the wood from constant moisture and make it easier to swap out plants seasonally. Liners also help extend the life of your window box.
How do I attach a window box safely?
Use sturdy outdoor brackets and secure them into studs or solid siding. Make sure the box is level before attaching it. For longer or heavier boxes, add a third bracket in the center for extra support.
How much weight can a window box hold?
Window boxes can get heavy, especially when filled with wet soil. A fully planted box can weigh 20–50+ pounds depending on size. Always use strong brackets and proper anchors to support the weight safely.
What are the best plants for window boxes?
A mix of upright, filler, and trailing plants works best. Popular choices include petunias, geraniums, begonias, ivy, and sweet potato vine. Choose plants based on how much sun your window gets.
How often should I water window boxes?
Window boxes tend to dry out faster than garden beds, especially in warm weather. In summer, you may need to water daily or every other day depending on your climate and sun exposure.
Can I use these window boxes for herbs or vegetables?
Yes! Cedar window boxes are perfect for small herb gardens. Basil, thyme, parsley, and chives all grow well. You can even try compact vegetables like lettuce or strawberries if the box gets enough sunlight.
How long do cedar window boxes last?
With proper care, cedar window boxes can last several years. Using liners, ensuring good drainage, and optionally sealing the wood will help extend their lifespan.
Can I make window boxes without power tools?
It’s possible, but power tools make the project much easier and faster. A drill is especially helpful for assembling the box and attaching brackets securely.
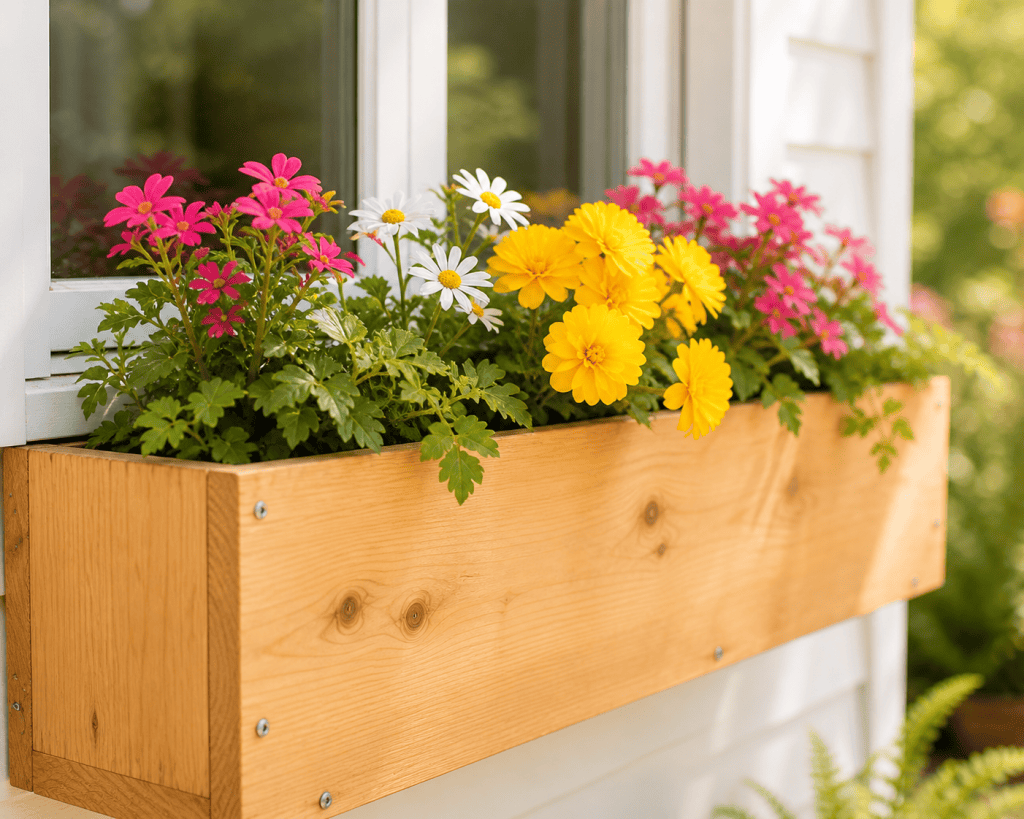
These DIY cedar window boxes are a simple project with a big visual payoff. They add instant charm to the outside of your home, make your windows feel more finished, and give you a beautiful place to display seasonal flowers.
The best part is that you can customize them to fit your exact windows, which makes them much more practical than store-bought options. With a few cedar boards, screws, brackets, and planter liners, you can create custom window boxes that look polished, classic, and full of personality.
✨ I’d love to see what you’re making! ✨
If you’ve tried one of my knitting patterns, crochet projects, DIYs, or recipes, share your finished project on Instagram and tag me so I can see it 💛
There’s nothing better than seeing your creations come to life—from cozy knits to delicious recipes and everything in between. It truly makes my day!
Tag me @ginamicheleny so I can share your work and cheer you on!
Happy making!