How to Crochet a Stem on Pumpkins
Learn how to crochet a stem on pumpkins with this easy tutorial. Quick, beginner-friendly, and the perfect finishing touch for fall décor.
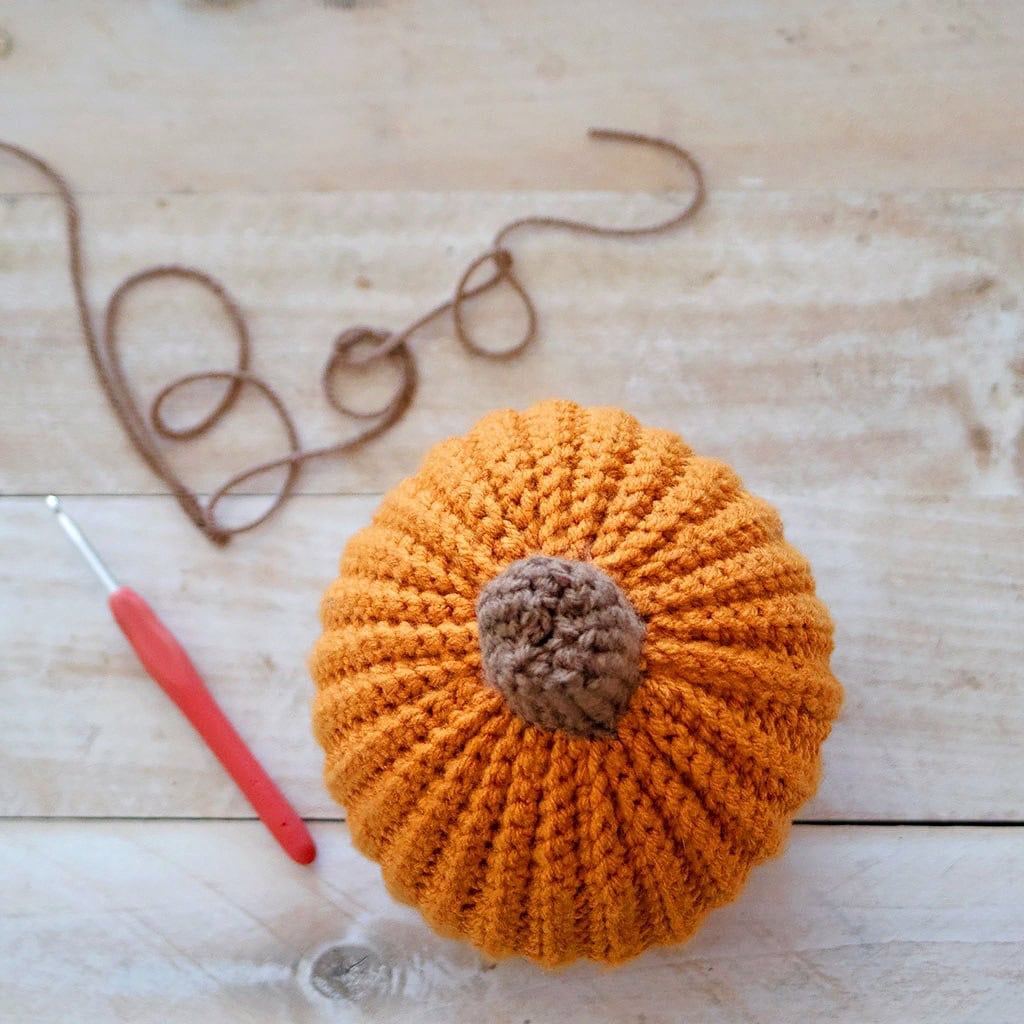
If you’ve been making crochet pumpkins this fall, you may be wondering: how do you crochet a stem to finish them off? The stem is the perfect finishing touch that takes your handmade pumpkins from cute to complete. In this tutorial, I’ll show you how to crochet a stem on pumpkins using just a few stitches. It’s quick, beginner-friendly, and adds that authentic pumpkin look.
Whether you’re making pumpkins for fall décor, gifts, or craft fairs, a crochet stem is the cherry on top. The best part? You can customize the size, shape, and color of the stem to make each pumpkin unique.
KEEP IN TOUCH! FOR MORE INSPIRATIONS, TUTORIALS, AND FREE KNITTING PATTERNS, SIGN UP FOR MY WEEKLY NEWSLETTER:
How to Crochet a Stem on Pumpkins
(As an Amazon associate, I earn from qualifying purchases)
Supplies needed:
Worsted weight yarn and a size US H crochet hook
(You can use other weights of yarn, as long as the crochet hook corresponds to the weight)
Instructions:

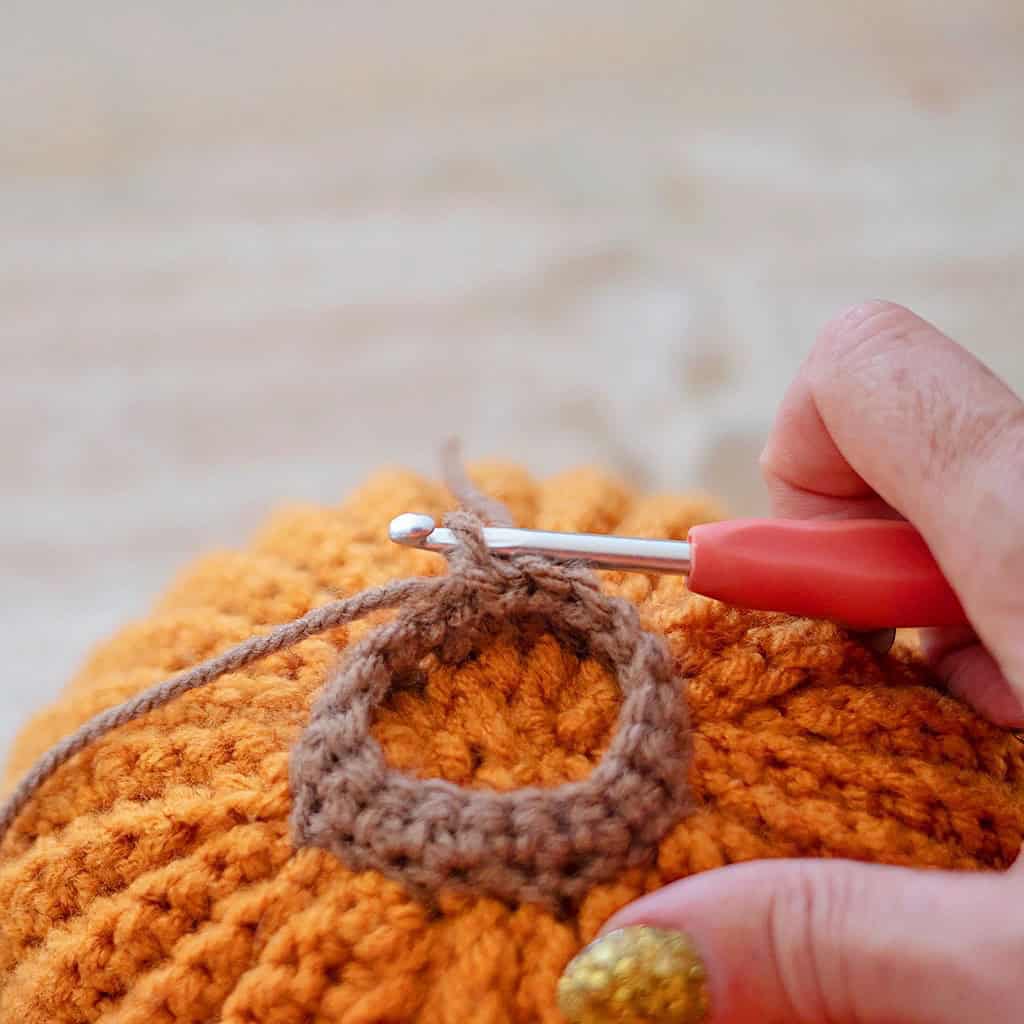
Start by picking up and single crocheting stitches in a ring around the top of the pumpkin. Join the last stitch to the first with a slip stitch.

This is what the first finished round should look like.
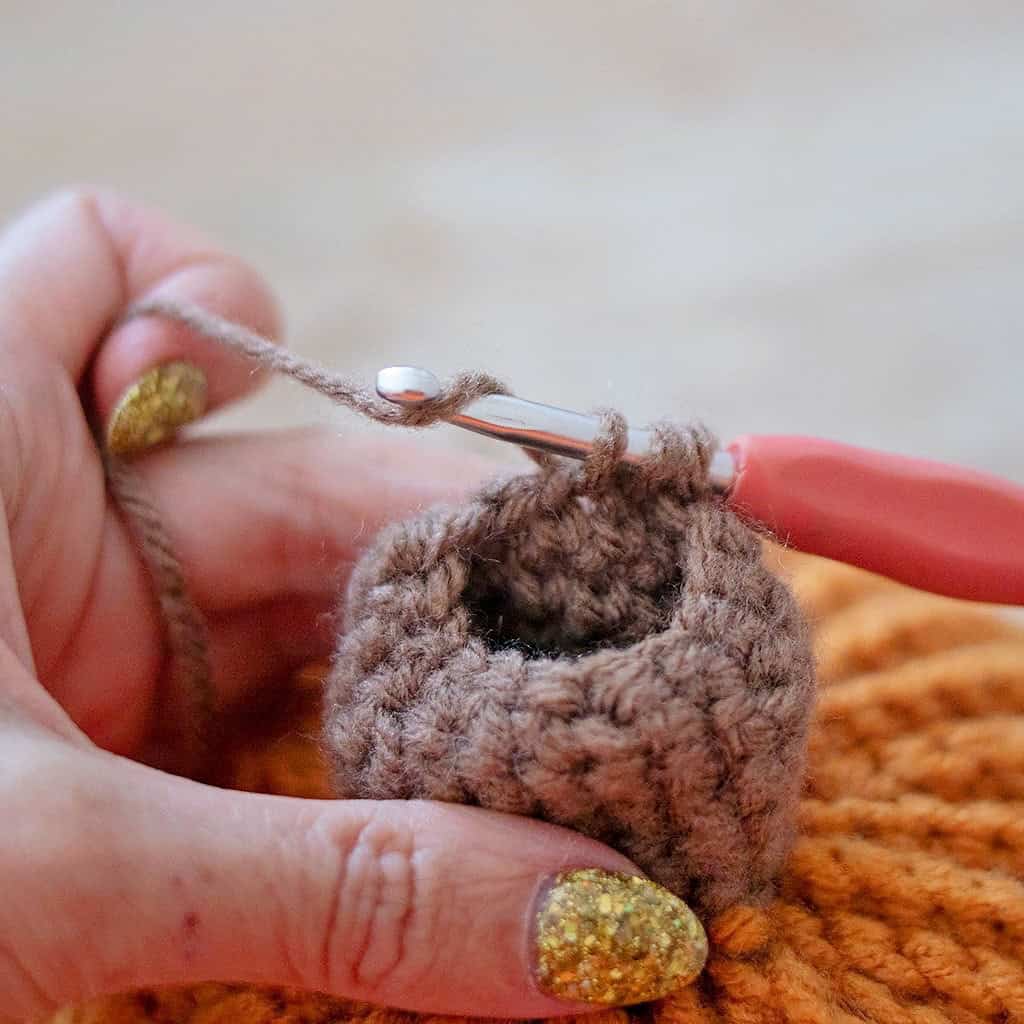
Chain 1. Then single crochet in each stitch. Join the end of the round to the previous one with a slip stitch.
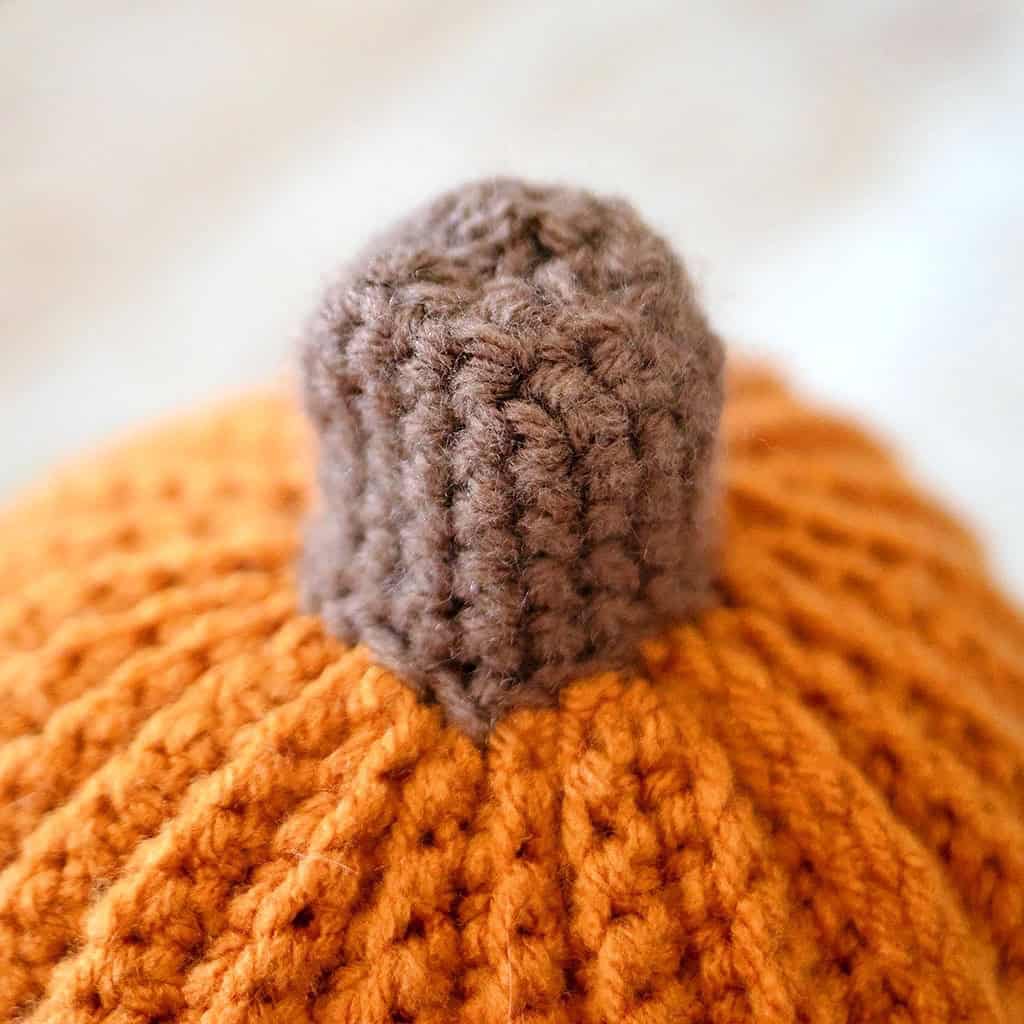
Keep working in this manner until the stem reaches your desired height.
To finish off the stem: Single crochet 2 stitches together until you are left with a handful of stitches. Break the yarn, thread it through a yarn needle and then pull through remaining stitches. Pull to tighten, secure and weave in ends.
Tips for Customizing Your Pumpkin Stem
- Use green yarn to make curly vines by chaining and slip stitching back down.
- Crochet a short, squat stem for a rustic look, or make it tall for a whimsical feel.
- Try different yarn textures (like tweed or chunky yarn) to give your stem more character.
Why Add a Crocheted Stem?
A crocheted stem makes your pumpkin look polished and professional. Plus, it’s sturdy and stays in place better than felt or fabric alternatives. If you’re selling your pumpkins, a crocheted stem is the perfect way to elevate your work.
Looking for more free Halloween crochet patterns?
Easiest Large Pumpkin Crochet Pattern
Large Plush Candy Corn Crochet Pattern
How to Crochet a Pumpkin- the Easy Way!
I love seeing your finished projects! If you enjoyed making this tutorial, How to Crochet a Stem on Pumpkins, or any of my other beginner crochet patterns, I’d love to see yours on Instagram, just tag me @ginamicheleny. Happy crocheting!