How to Crochet a Pumpkin – the Easy Way!
How to Crochet a Pumpkin- learn to crochet decorative pumpkins the easy way with this video tutorial!
If you’re looking for a quick, cozy, and beginner-friendly fall project, learning how to crochet a pumpkin the easy way is the perfect place to start. These soft, textured pumpkins are one of the most popular seasonal crafts because they are simple to make, highly customizable, and perfect for decorating your home.
Whether you’re new to crochet or just looking for a relaxing project, this easy crochet pumpkin pattern uses basic stitches and simple shaping to create a finished piece that looks beautiful and polished. Once you make one, you’ll quickly find yourself making more in different sizes and colors to decorate your space for fall.
If you love fall crochet patterns like this, you might also enjoy this cozy
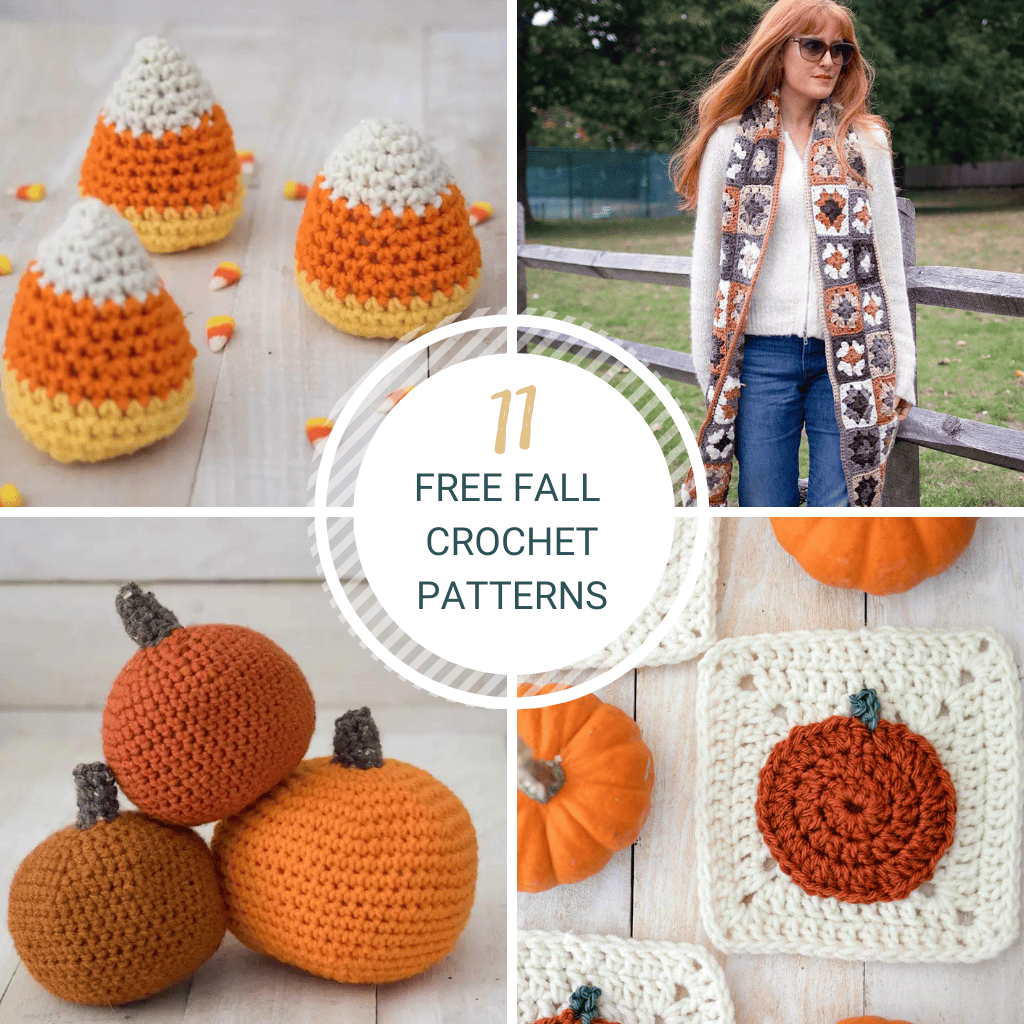
11 Free Crochet Patterns or explore even more beginner-friendly ideas in
12 Beginner Fall Crochet Patterns
Why Crochet Pumpkins Are So Popular
Crochet pumpkins have become a fall favorite because they combine simplicity with charm. Unlike real pumpkins, these handmade versions last year after year, making them a sustainable and reusable decor option.
They’re also incredibly versatile. You can make them small for tabletop displays or larger for statement pieces. By changing yarn colors and textures, you can create a variety of looks, from rustic farmhouse decor to modern neutral palettes.
Because they work up quickly, they’re also perfect for gifting. Handmade decor adds a personal touch that store-bought items simply can’t match.
What Makes This Pumpkin Pattern Easy
This easy crochet pumpkin pattern is designed with beginners in mind. It focuses on simple stitches and straightforward construction, making it accessible even if you’re just starting out.
The pumpkin is typically made by crocheting a simple rectangle, which is then gathered and shaped to form the pumpkin. This method eliminates complicated shaping techniques and keeps the process approachable.
If you’ve already tried beginner-friendly projects like
Easy Scrap Yarn Baby Blanket Knitting Pattern or small decorative items like
Mini Christmas Wreath Crochet Pattern you’ll find this project very manageable.
How to Crochet a Pumpkin – the Easy Way!
Yarn: #4 weight yarn and corresponding crochet hook
Also needed: Yarn needle, fiberfill
Gauge: not important for this pattern
Pattern instructions:
Make a loop and ch (chain) 17 sts.
Turn the chain over and Single Crochet in the back ridges of each chain.
Once the row is finished, make a turning chain and turn the work over. Single crochet in the back of each chain. Repeat, making a turning chain each time you finish a row. Work until your piece measures 10 inches. Cut yarn, leaving a long tail.
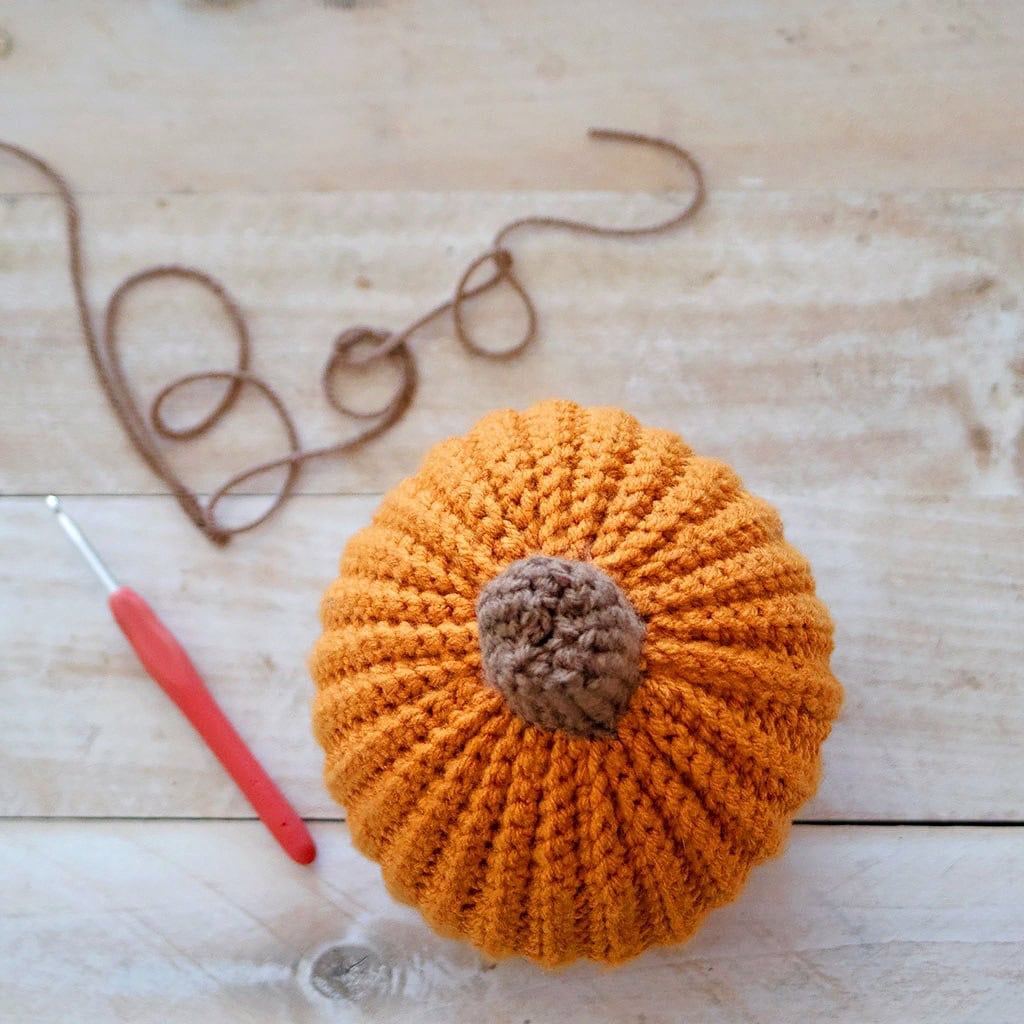
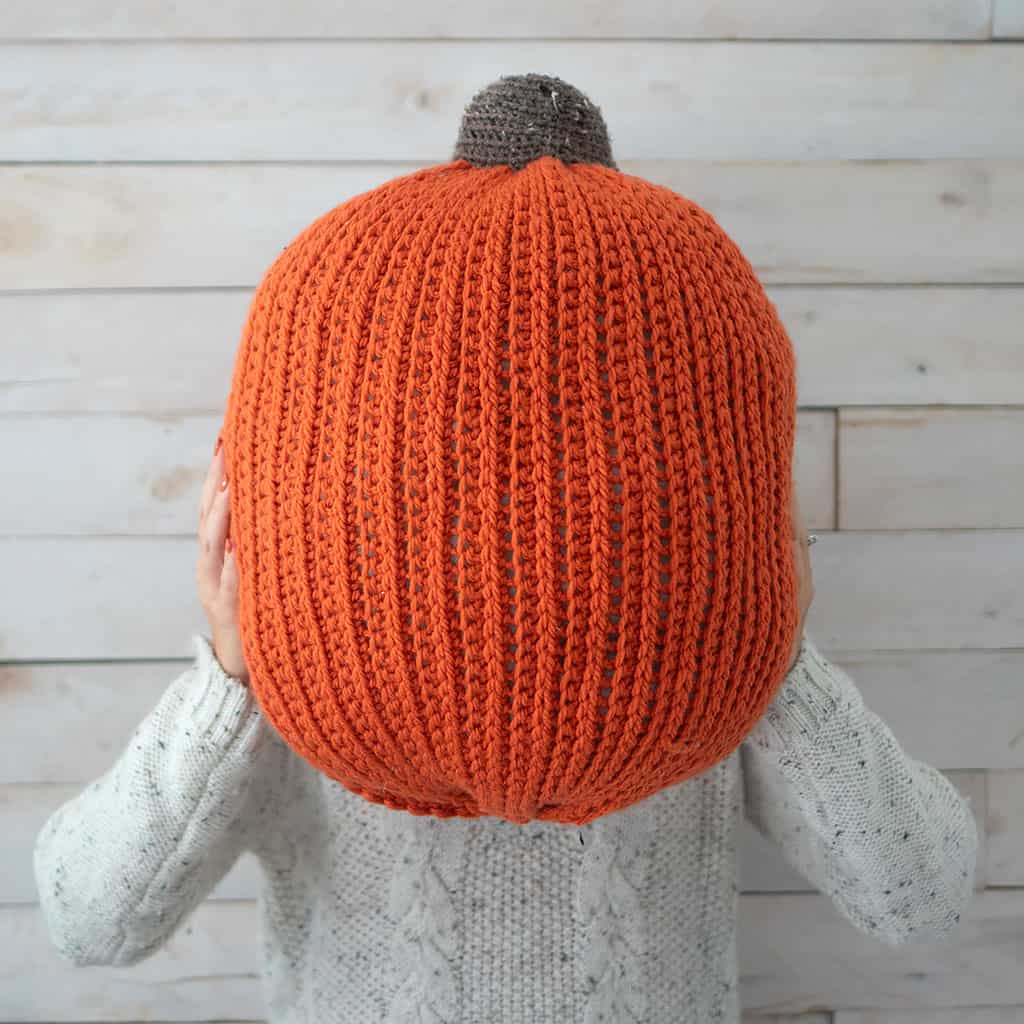
To assemble the pumpkin: Once you finish crocheting the piece will look like a rectangle. Fold the piece over and sew the side seam. Run a stitch around the bottom of the pumpkin and pull to gather.
Add the stuffing to the pumpkin and push the needle through the inside (including the fiber fill). Run a stitch around the top of the pumpkin. Pull to gather. Weave in ends.
To create the pumpkin stem: Pick up the stitches around the top of the pumpkin. Work in single crochet for a few rounds. Break yarn and sew the top of the stem closed. Weave in ends.

Choosing the Right Yarn for Crochet Pumpkins
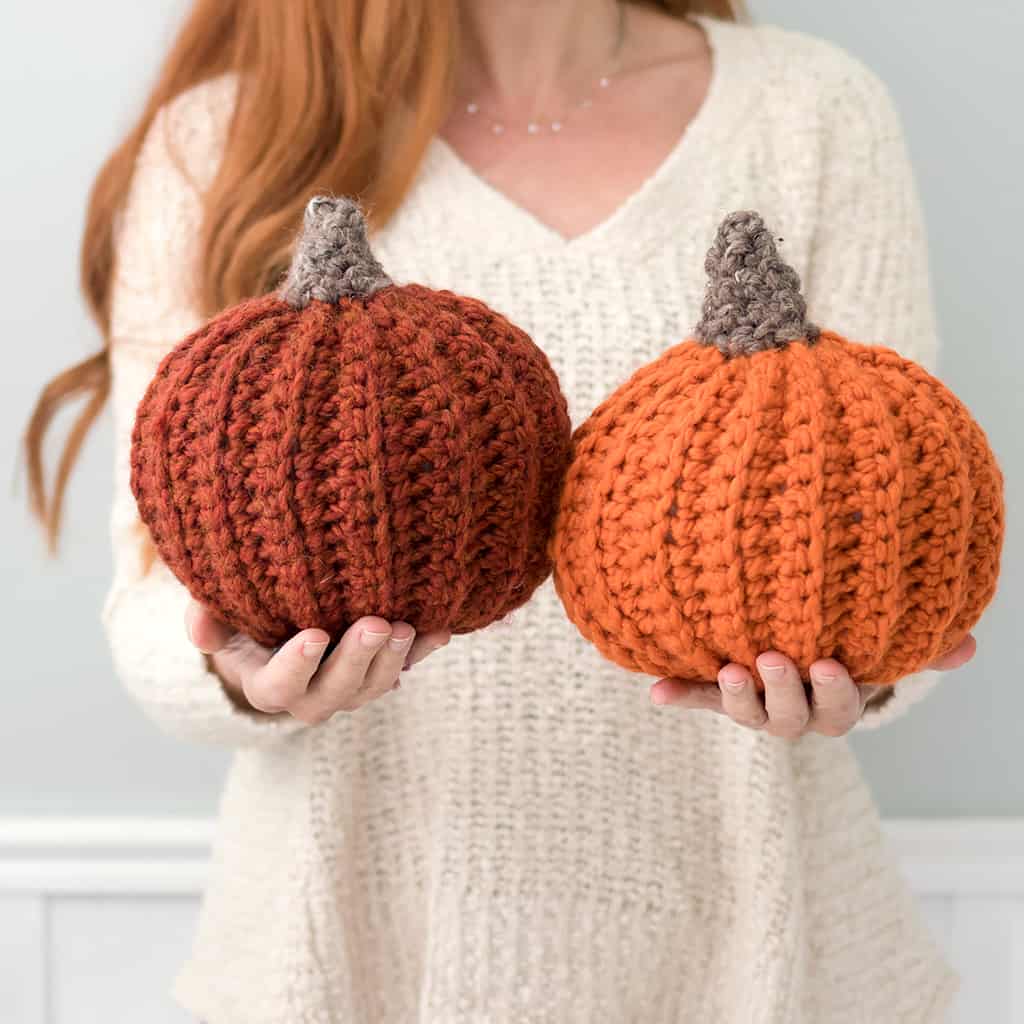
Yarn choice plays a big role in the final look of your pumpkin. Thicker yarns create a chunky, cozy appearance, while thinner yarns produce a more delicate design.
For a classic fall look, warm tones like orange, cream, and brown work beautifully. However, neutral shades like white, gray, and beige have become increasingly popular for modern decor styles.
You can also experiment with textured yarns to give your pumpkins a unique feel. If you enjoy using leftover yarn, this project is perfect for stash-busting, similar to
Easy Scrap Yarn Baby Blanket Knitting Pattern
Easy Ways to Customize Your Crochet Pumpkins
One of the best things about this project is how easy it is to customize. You can create pumpkins in different sizes by adjusting the size of your starting rectangle.
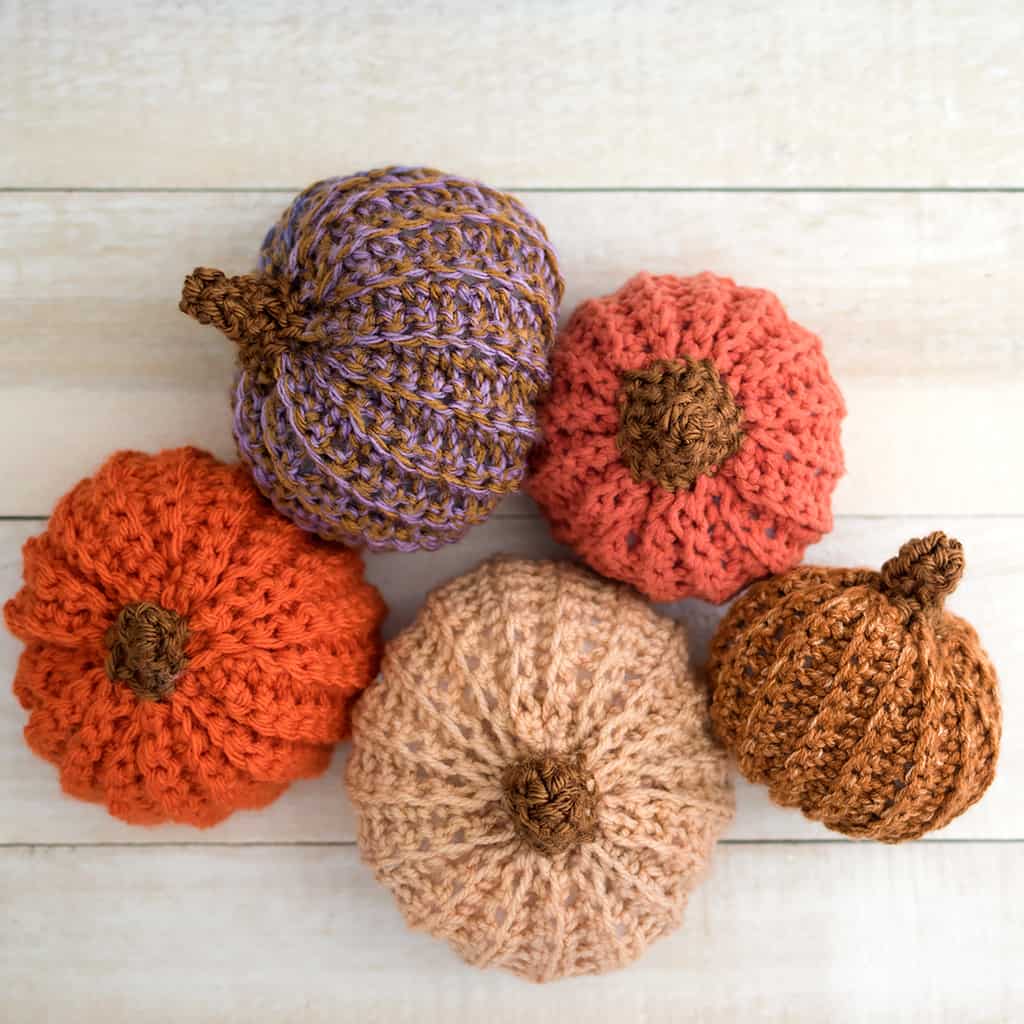
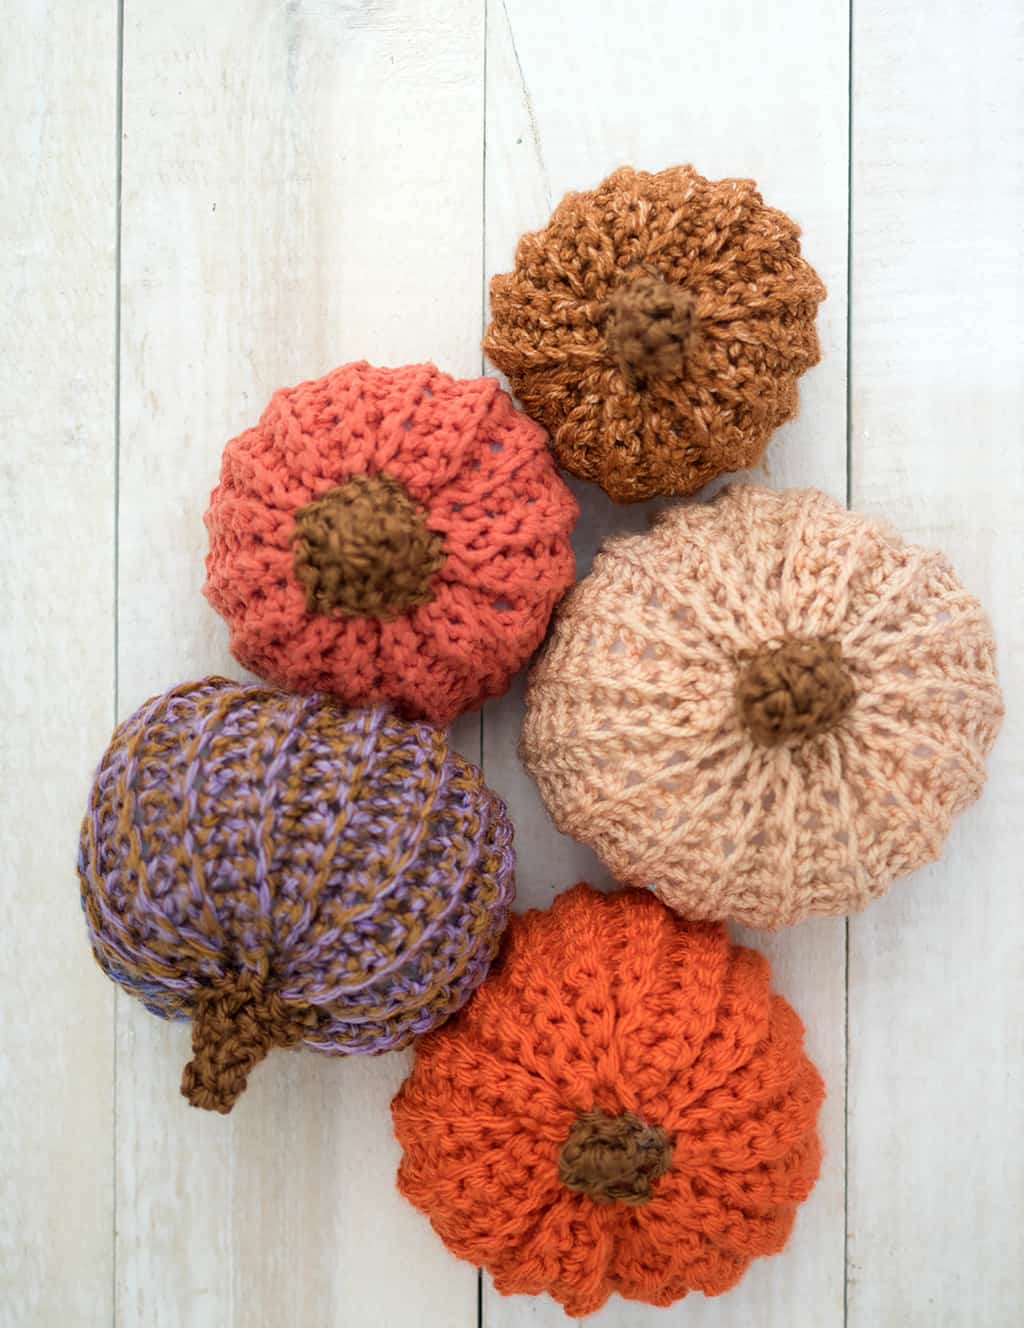
Color choices can completely change the look of your pumpkins. Traditional orange creates a classic fall feel, while neutral tones offer a more modern aesthetic.
You can also add details like ridges by wrapping yarn around the pumpkin and pulling it tight. This gives the pumpkin a more realistic shape and adds visual interest.
If you enjoy decorative projects, you might also love creating seasonal pieces like
String Christmas Lights Crochet Pattern for your home.
Decorating with Crochet Pumpkins
Crochet pumpkins are incredibly versatile when it comes to decorating. You can display them on mantels, shelves, dining tables, or entryways to instantly add a cozy fall touch.
Grouping pumpkins in different sizes and colors creates a layered, visually interesting display. You can also mix them with other decor elements like candles, greenery, or woven baskets.
Because they’re lightweight and durable, they’re easy to move and rearrange throughout the season.
A Perfect Handmade Gift
These easy crochet pumpkins make thoughtful and unique gifts. Whether for a host, a friend, or a family member, handmade decor is always appreciated.
Because they’re quick to make, you can create multiple pumpkins in a short amount of time, making them perfect for gift sets.
Pairing them with other handmade items, like cozy knits or seasonal decor, makes your gift feel even more special.

Keep in touch!
For more inspirations, projects, and free knitting patterns, sign up for our weekly newsletter.
Looking for more Fall Craft Projects?
How to Make a Stenciled Doormat Without a Cricut Machine
How to Sew Fabric Pumpkins- Fast & Easy!
Scrap Yarn Pumpkin Knitting Pattern
Frequently Asked Questions
Is this crochet pumpkin pattern beginner-friendly?
Yes, this is a great beginner crochet project. The pattern uses simple stitches and basic construction, making it easy to follow even if you’re new to crochet. Since the pumpkin is made from a simple rectangle and shaped at the end, there’s no complicated shaping involved.
How long does it take to crochet a pumpkin?
Most crochet pumpkins can be completed in about 30 minutes to an hour, depending on your skill level and the size of the pumpkin. Smaller pumpkins work up especially quickly, making them perfect for batch-making or last-minute decor.
What type of yarn works best?
Worsted weight yarn is the most commonly used because it creates a nice balance between structure and softness. However, you can also use bulky yarn for a chunkier pumpkin or lighter yarn for a smaller, more delicate version. Choosing soft, textured yarn can also add extra dimension to your finished pumpkin.
How do I make different sizes?
To make different sizes, simply adjust the size of your starting rectangle. A larger rectangle will create a bigger pumpkin, while a smaller one will result in a mini pumpkin. You can also change your hook size or yarn weight to further customize the size.
What can I use for stuffing?
Fiber fill is the most common option, but you can also use yarn scraps, fabric scraps, or even recycled materials. Just make sure the stuffing is evenly distributed so the pumpkin keeps its shape.
Can I make these pumpkins in different colors?
Absolutely. While traditional orange pumpkins are classic, neutral tones like white, cream, and gray are very popular for modern fall decor. You can also experiment with bold or pastel colors to match your style.
How do I make the pumpkin look more realistic?
To create a more realistic shape, you can wrap yarn around the pumpkin and pull it tight to form ridges. Adjusting the stuffing and shaping carefully will also help give your pumpkin a more natural, rounded look.
More Easy Projects to Try
If you enjoyed learning how to crochet a pumpkin the easy way, there are plenty of other beginner-friendly projects to explore. You can find more inspiration in
11 Free Crochet Patterns or seasonal patterns throughout your site.
Exploring different types of projects helps you build skills while keeping your creativity flowing.
Learning how to crochet a pumpkin the easy way is a fun and rewarding way to embrace fall crafting. This project is simple, customizable, and perfect for both beginners and experienced makers.
Once you make one pumpkin, you’ll likely want to create a whole collection. With endless options for color, size, and texture, each pumpkin can be completely unique.
Whether you’re decorating your home, making gifts, or just enjoying a relaxing crochet project, this pattern is one you’ll come back to year after year.
I love seeing your finished projects! If you enjoyed making this post- How to Crochet a Pumpkin – the Easy Way!, I’d love to see yours on Instagram, just tag me @ginamicheleny. Happy Halloween crocheting!
Looking for free Halloween knitting patterns?
Easiest Large Pumpkin Knitting Pattern
Kids Black Cat Hat Knitting Pattern