Easiest Large Pumpkin Crochet Pattern
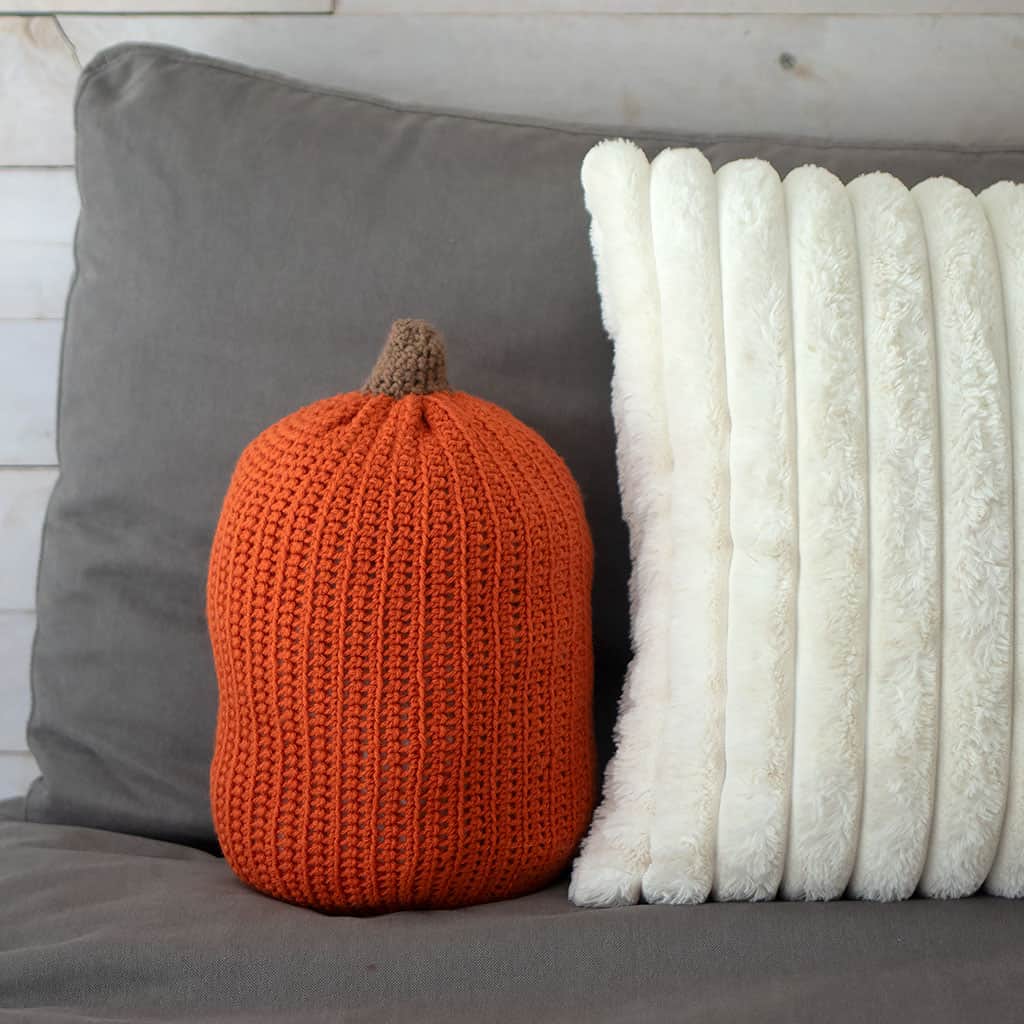
Easiest Large Pumpkin Crochet Pattern- a fast and fun project for the quintessential autumn decor!
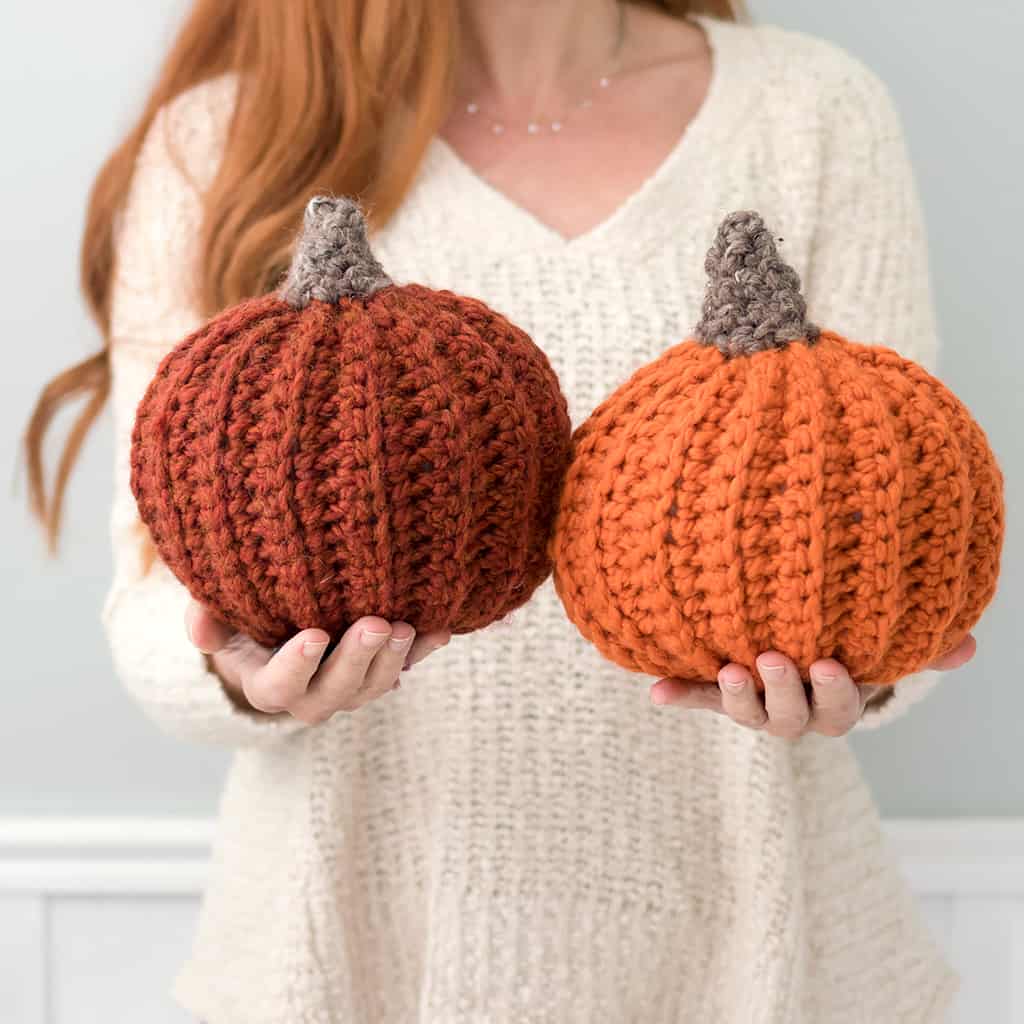
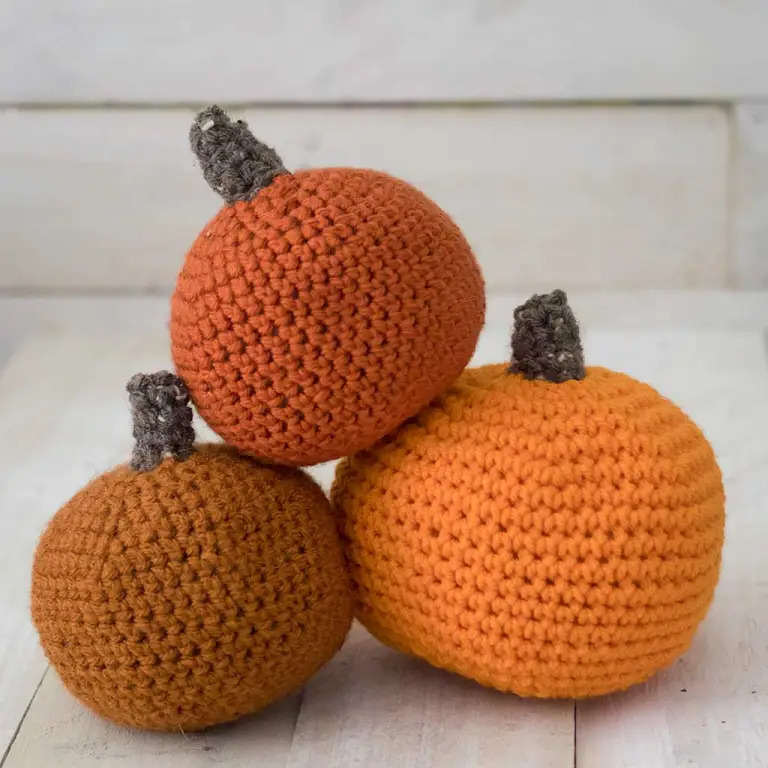
These crochet pumpkins are a breeze to make and they look great on bookcases and mantels. I have a collection of these pumpkins on my build-in bookcase. This is a fun crochet project that doesn’t require much time. They’re also a great way to make use of small amounts of yarn.
Nearly all of the crochet pumpkin patterns I came across were worked in the round. I wanted to create a pattern that was so simple, even true beginners could make it. The piece is crochet flat, then the side seam is sewn. Next, a loose “running” stitch is sewn around the bottom to gather. The pumpkin is stuffed with fiberfill and another running stitch is made at the top to gather. Finally, a handful of stitches are picked up at the top and worked in single crochet to create a stem.
For this pattern, I used Lion Brand Wool-Ease Thick & Quick yarn. This is my favorite super bulky yarn to work with. It’s easy to work with, it’s inexpensive and it comes in a huge array of colors, including the perfect pumpkin orange. The bulky texture is ideal for home decor items and anything plush.
Easiest Large Pumpkin Crochet Pattern
Yarn: Lion Brand Wool-Ease Thick & Quick (I used pumpkin, spice, coney island, and barley for the stem) You can also use any other super bulky weight yarn
Crochet Hook Size J (I know this hook is a little smaller than the recommended size for this yarn. The small hook creates a tighter crochet and the filling won’t show through). This same crochet hook will be used to make the stem.
Gauge: not important for this project
Pumpkin measures (height including stem): 9 inches
Make a loop and chain 20 sts
Turn the chain over and Single Crochet in the back ridges of each chain.
Once the row is finished, make a turning chain and turn the work over. Single crochet in the back of each chain. Repeat, making a turning chain each time you finish a row. Work until your piece measures 16 inches. Cut the end of the yarn, leaving a long tail.
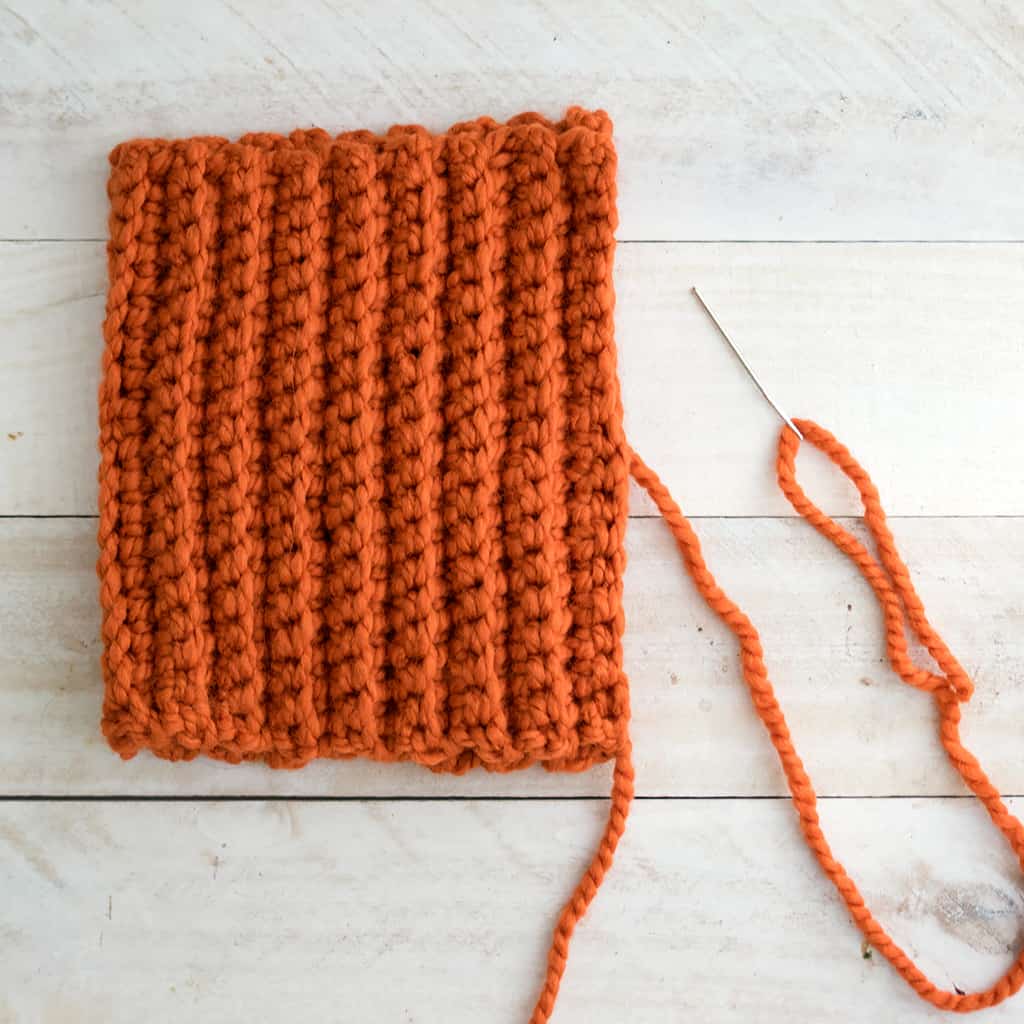
Once you are finished knitting, fold the piece over and sew the side seam using a yarn needle. Turn the piece inside out.
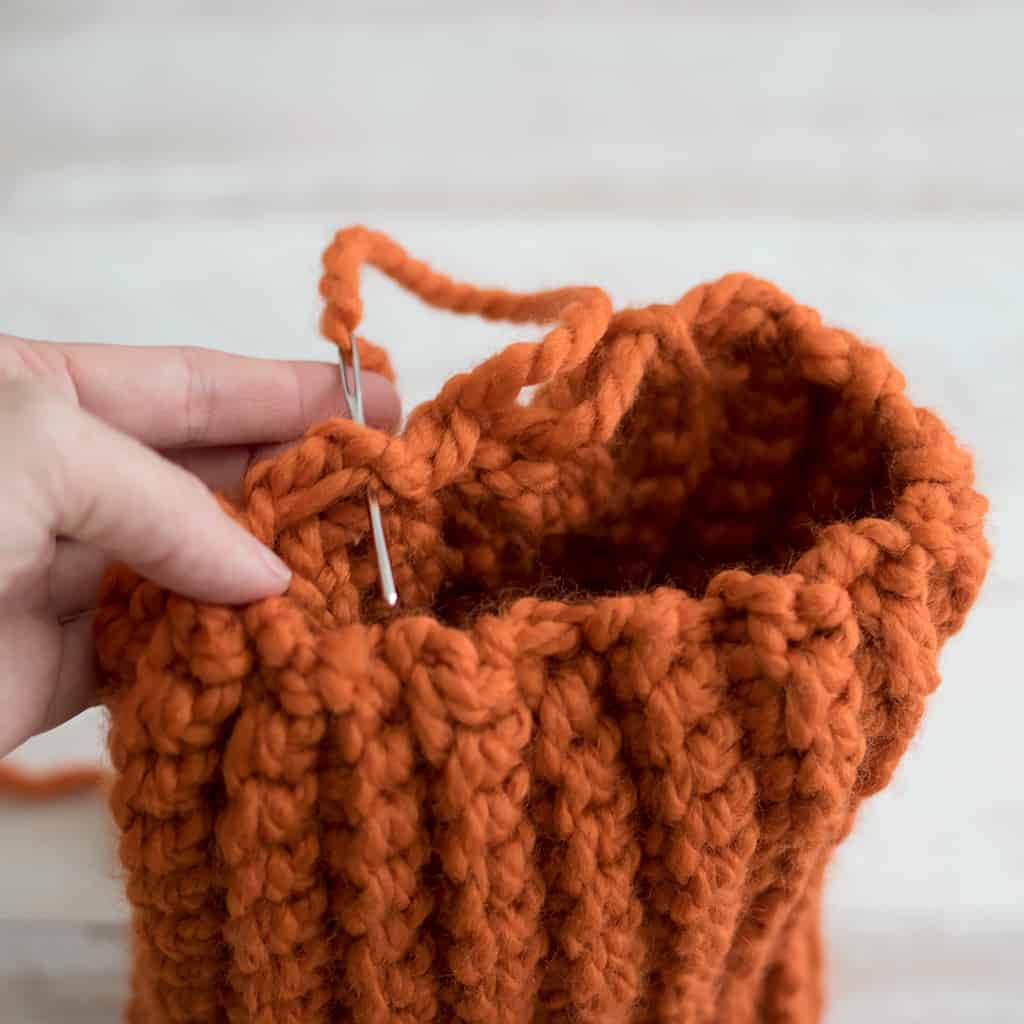
Make a running stitch (by weaving in and out) around the bottom of the pumpkin. Pull to gather until the opening is closed. Make a knot.

Once you stuff the pumpkin it will take on a rounded shape. Use a liberal amount of stuffing so it easily stands upright. Make another running stitch along the top. Pull to gather. If needed: make a few stitches to close the opening. Don’t worry if there’s still a small opening. The stem will cover it.
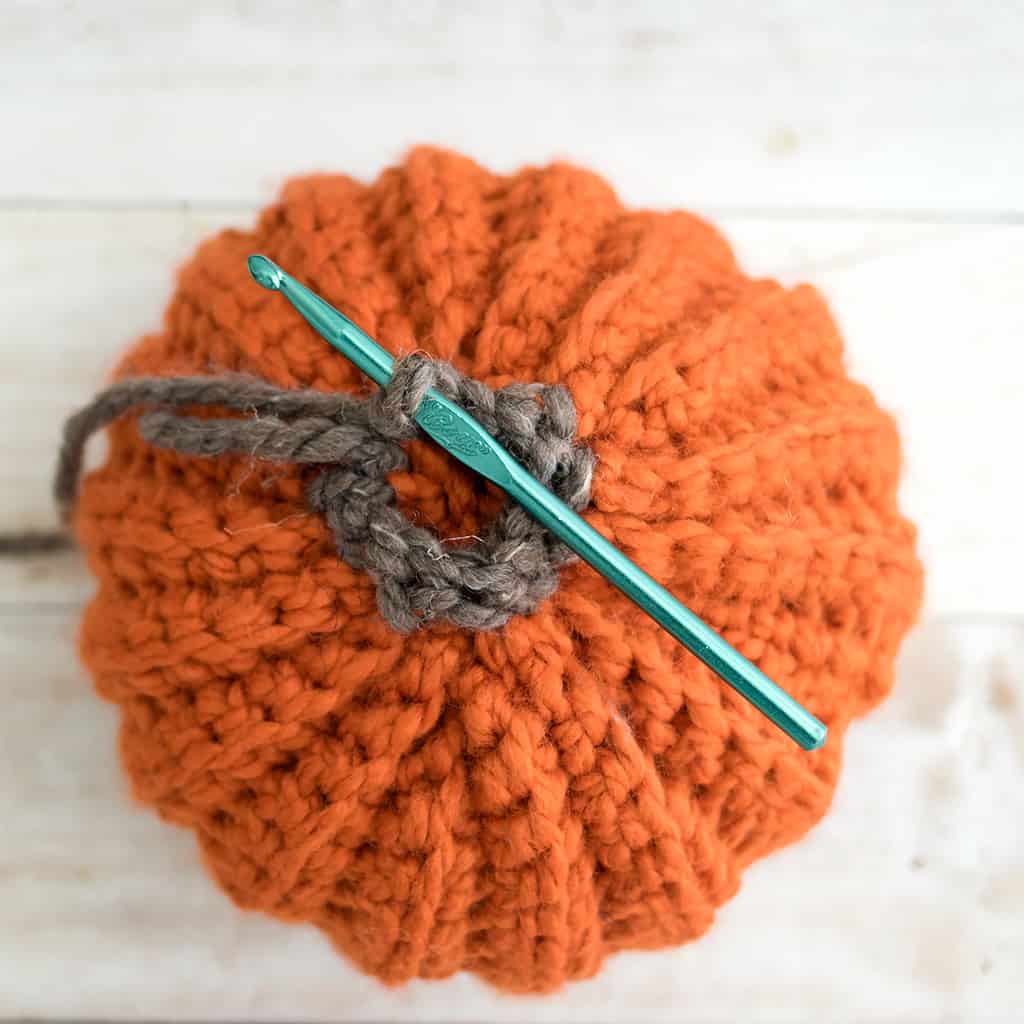
There’s no exact pattern for crocheting the stem. Pick up stitches around the top of the stem and make a single crochet around the top of the pumpkin. Work for a few rounds until the stem is as long as you like.
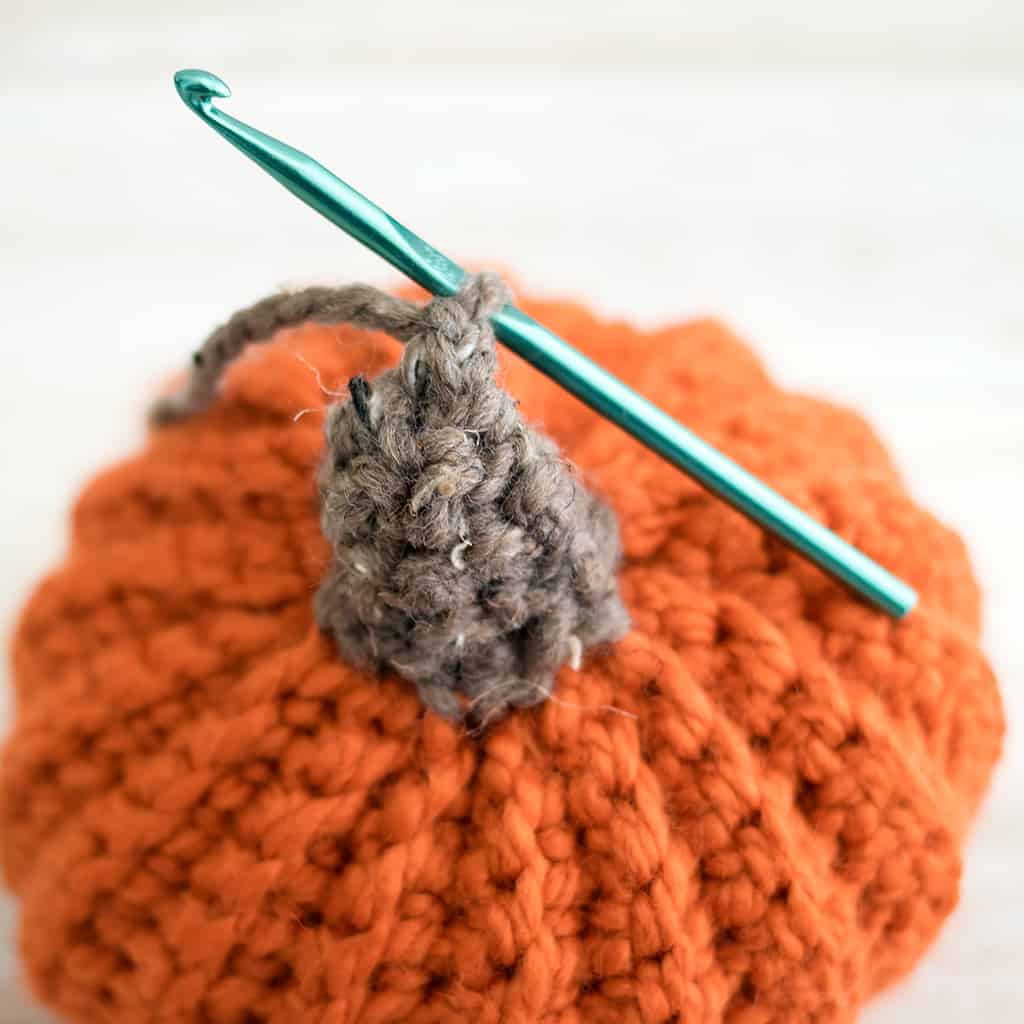
On the last row, single crochet in every other stitch to decrease. Break yarn and weave in ends.
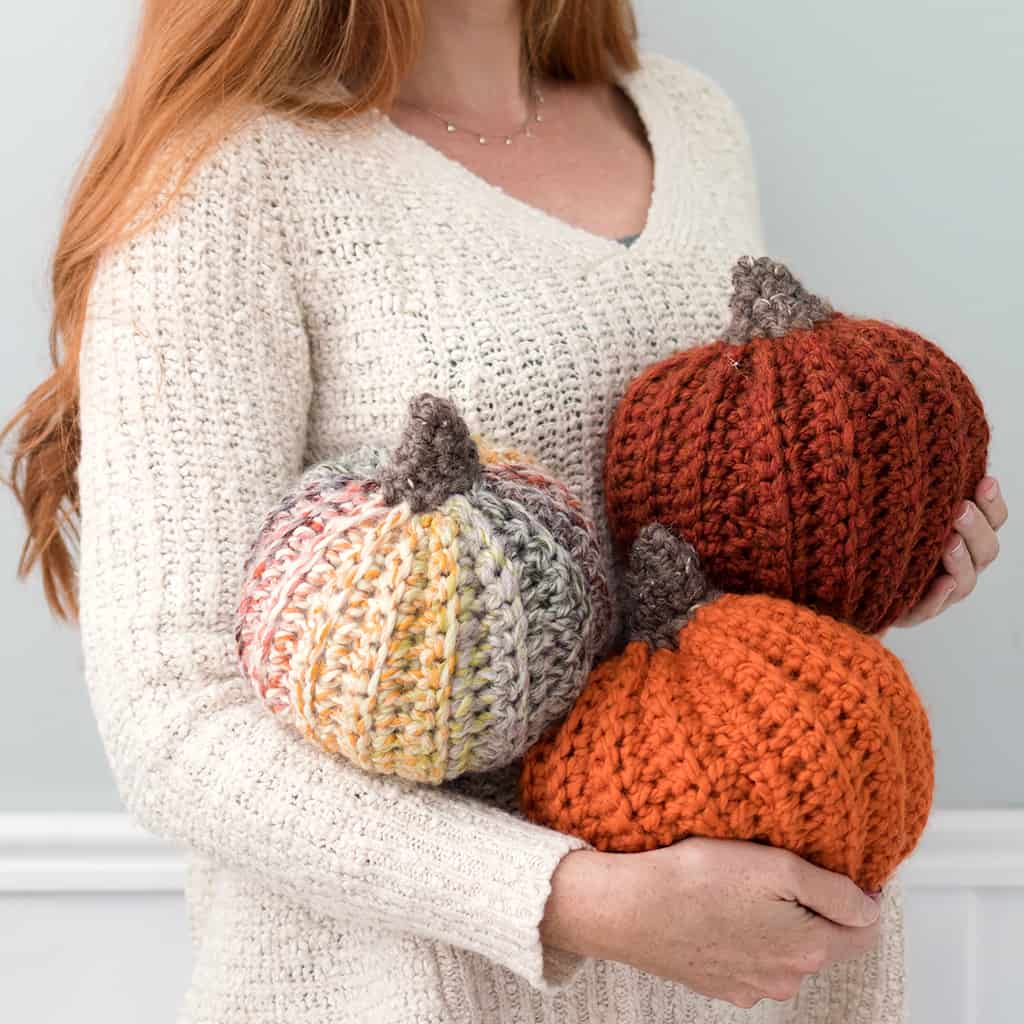
Looking for more Fall Craft Projects, like this free crochet pumpkin pattern?
How to Make a Stenciled Doormat Without a Cricut Machine
How to Sew Fabric Pumpkins- Fast & Easy!
Scrap Yarn Pumpkin Knitting Pattern
How to Make a No-Sew Ghost Halloween Costume
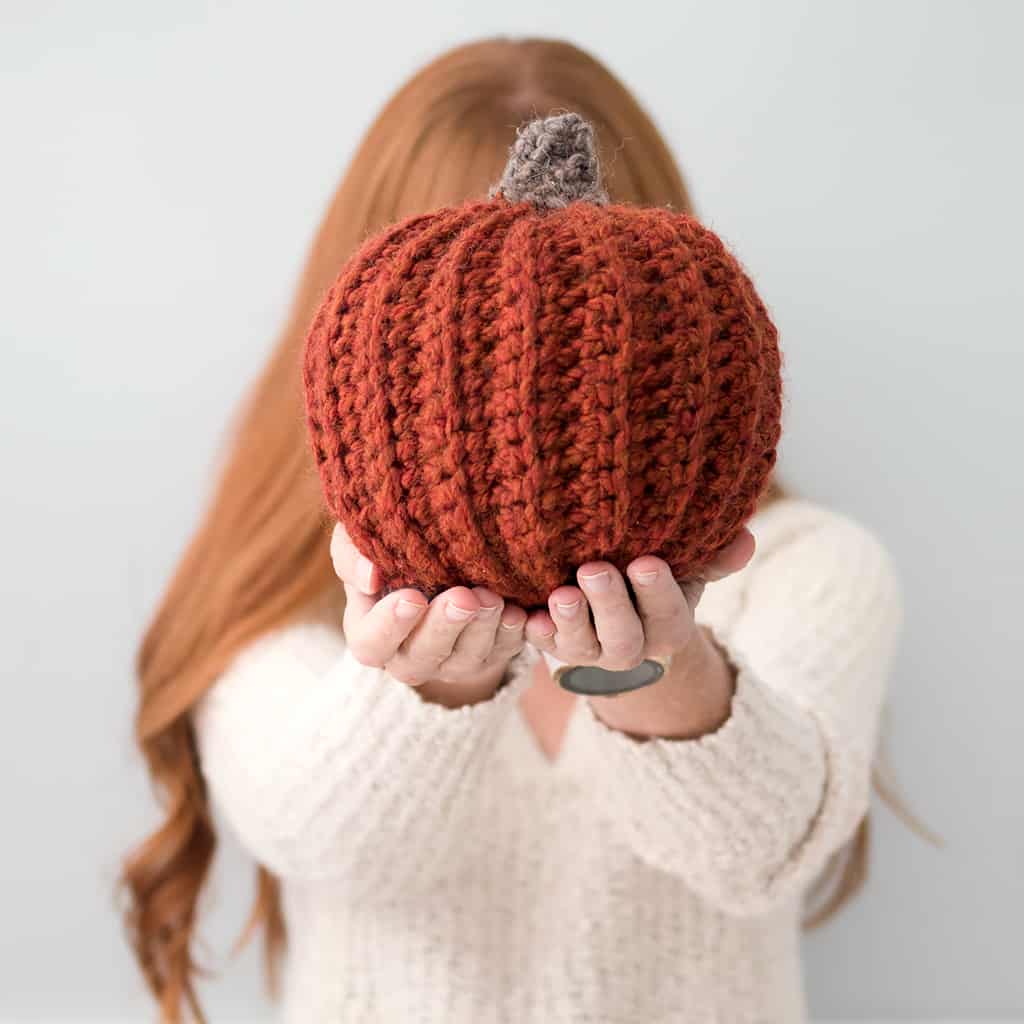
I love seeing your finished projects! If you enjoyed making this Easiest Large Crochet Pumpkin, I’d love to see yours on Instagram, just tag me @ginamicheleblog. Happy Halloween crocheting!
Looking for free Halloween knitting patterns?
Easiest Large Pumpkin Knitting Pattern
Kids Black Cat Hat Knitting Pattern
Kids Ghost Hat Knitting Pattern
Kids Colorwork Pumpkin Hat Knitting Pattern
Keep in touch!
For more inspirations, projects, and free knitting patterns, sign up for our weekly newsletter

