Pea Gravel Patio DIY
How to build a pea gravel patio DIY. Easy step-by-step guide to creating an affordable backyard patio with gravel, edging, and simple tools.
If you’re looking for an affordable and beginner-friendly way to upgrade your backyard, a pea gravel patio DIY project is one of the easiest and most beautiful outdoor improvements you can make. Pea gravel patios are charming, budget friendly, and simple to install compared to traditional paver or concrete patios.
With just a few materials and a weekend of work, you can create a cozy outdoor space for relaxing, entertaining, or enjoying time with your family.
One of the biggest advantages of a pea gravel patio is how versatile it is. It works beautifully in cottage gardens, farmhouse landscapes, and modern backyard spaces alike. The soft natural texture of pea gravel adds visual interest while still creating a comfortable walking surface.
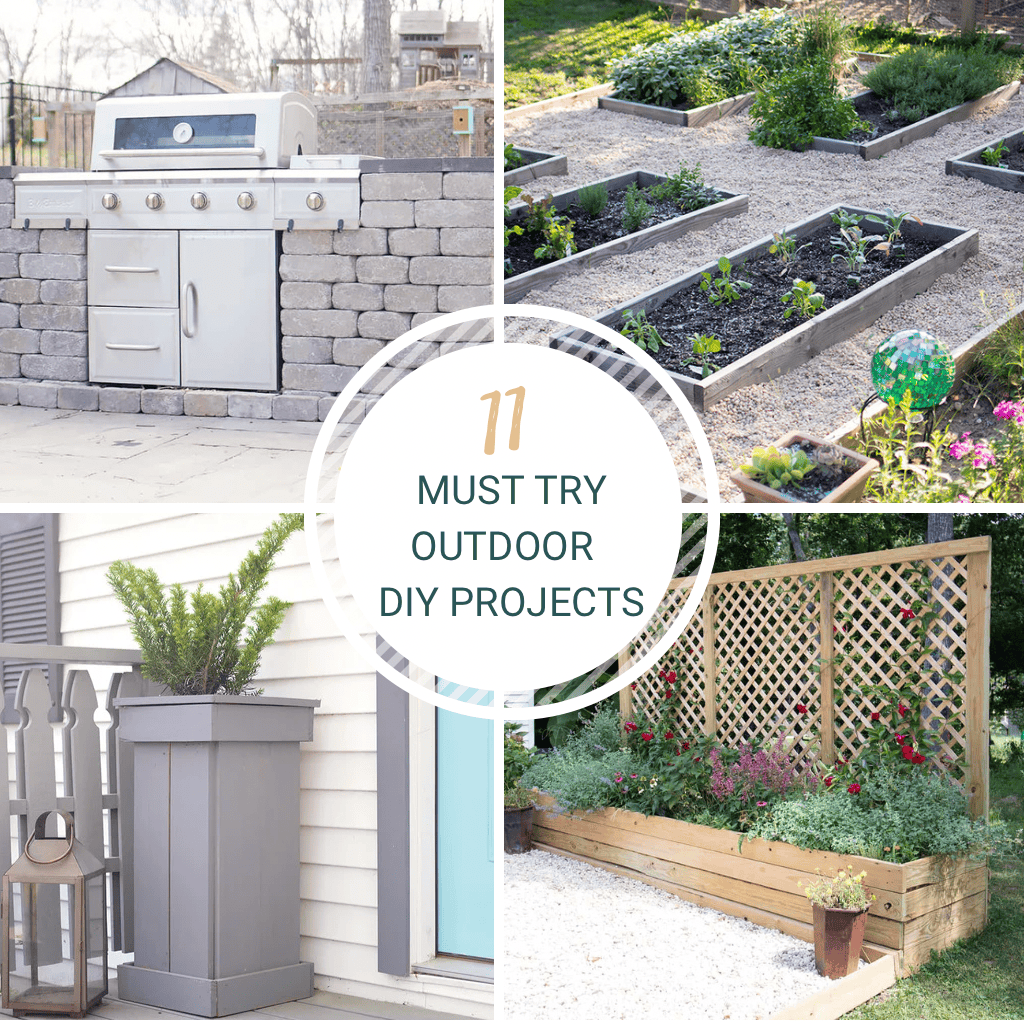
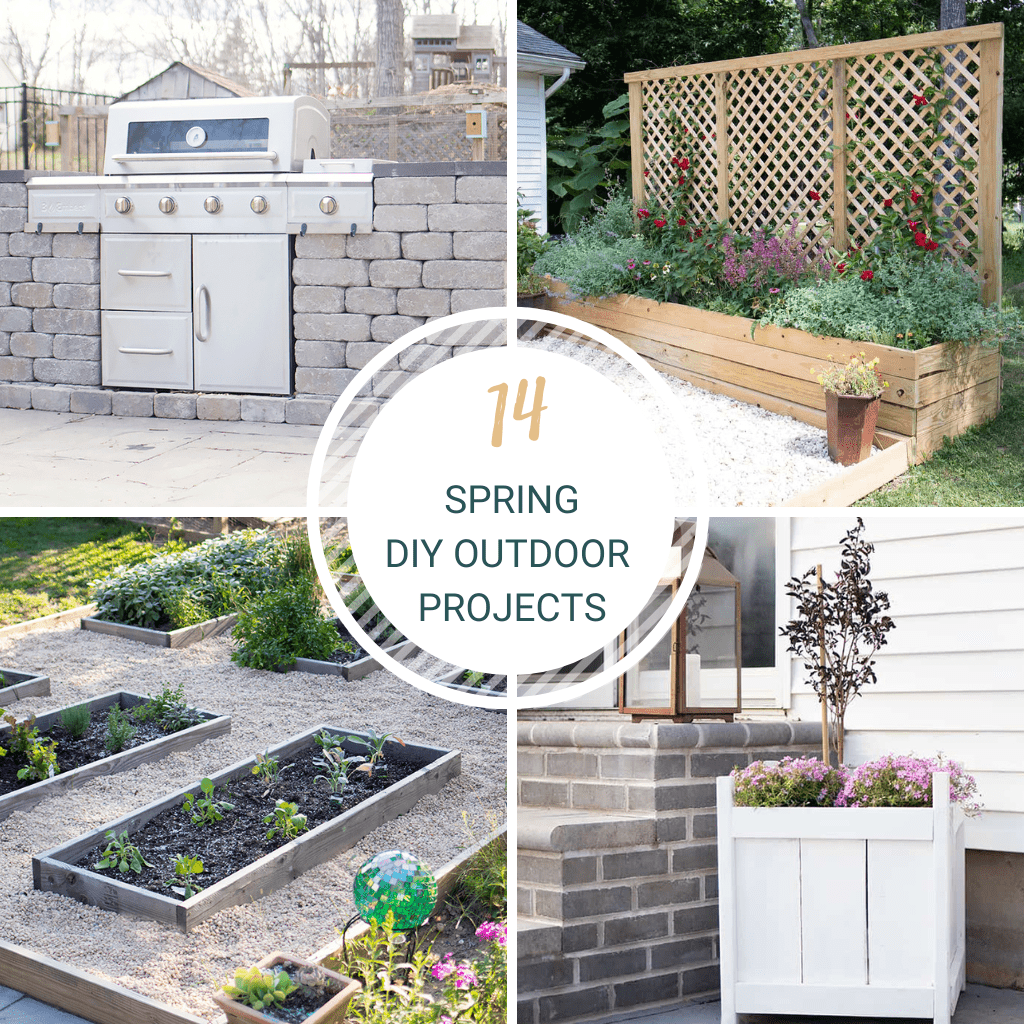
If you enjoy outdoor DIY projects like this one, you may also want to explore more ideas in my DIY Outdoors category:
There you’ll find many backyard projects designed to help you create a beautiful outdoor space.
Why Choose a Pea Gravel Patio?
There are many different patio options available, including concrete slabs, stone pavers, wood decks, and brick patios. However, pea gravel patios are especially popular because they combine affordability with a relaxed natural look.
Here are a few reasons homeowners love pea gravel patios:
• Budget friendly compared to pavers or concrete
• Easy DIY installation
• Excellent drainage
• Flexible design options
• Works in many landscape styles
Another benefit of gravel patios is that they drain extremely well. Gravel surfaces allow rainwater to filter through instead of pooling on the patio.
This makes them a great option for areas that receive heavy rainfall.
What Is Pea Gravel?
Pea gravel is a small, smooth stone that is commonly used for landscaping, walkways, and patios. The stones are typically about the size of peas, which is where the name comes from.
Because the stones are rounded and smooth, pea gravel creates a softer and more natural look than crushed stone.
Many homeowners prefer pea gravel because it feels comfortable underfoot and blends nicely into garden landscapes.
Pea Gravel Patio DIY
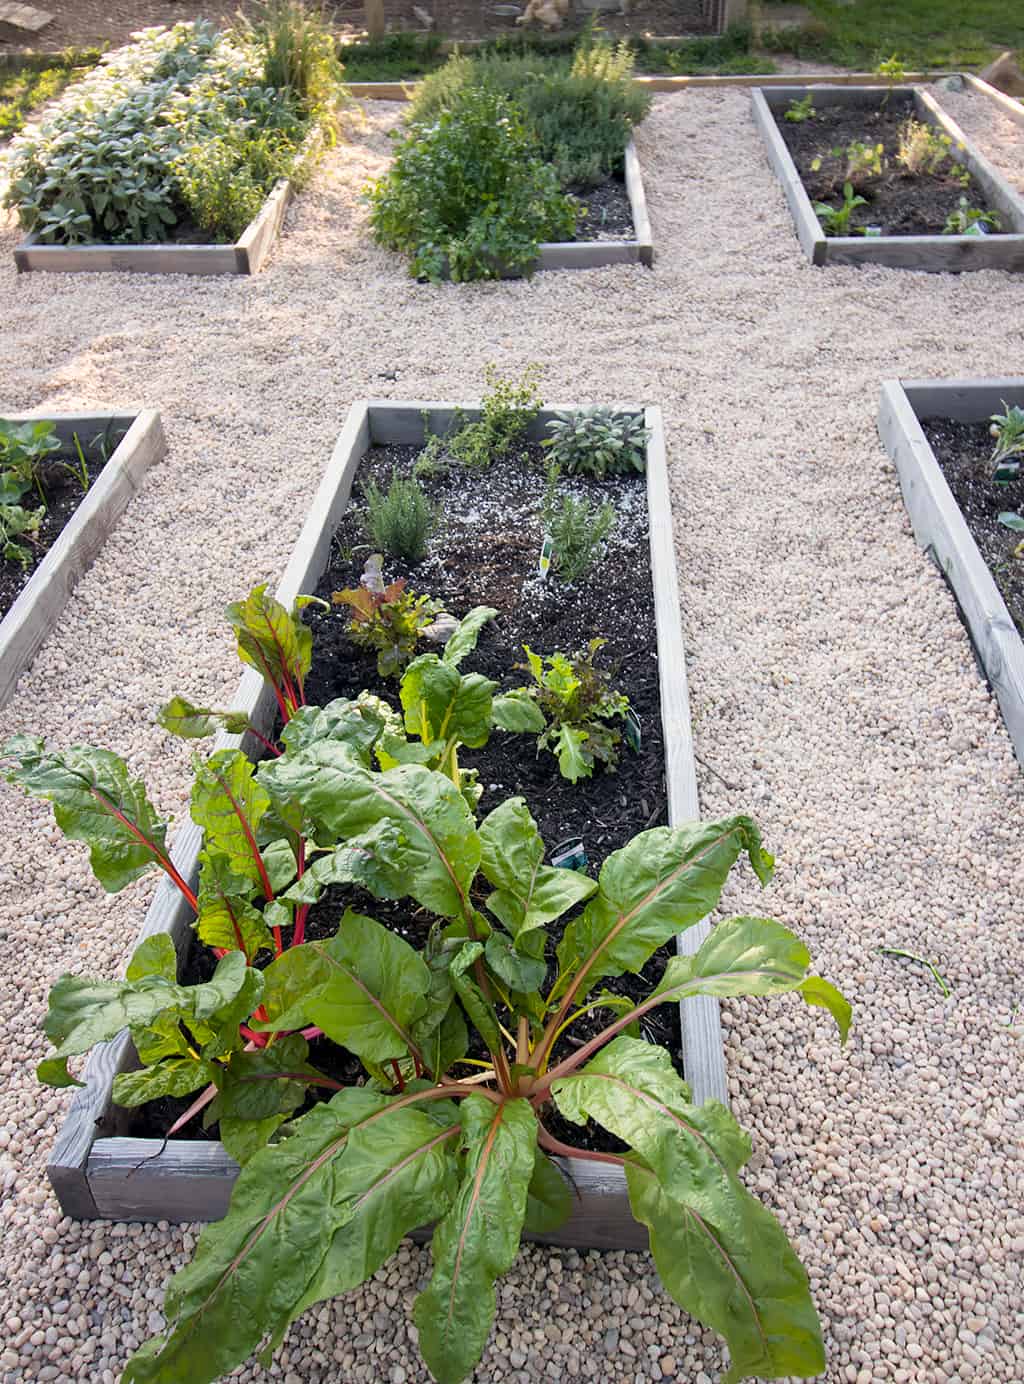
Pea Gravel patios, walkways and driveways are popular in the Hamptons. They’re beach-y and casual and the stones make the best sound when you walk on them! This entire patio project can be finished in a weekend- especially if you have a helper (unfortunately I didn’t). The hardest/most time-consuming part is definitely shoveling all the pea gravel into the frame.
The first thing you need to do is measure out the size of the patio. I did 12′ x 20′. I had a local excavating company deliver the pea gravel. It actually turned out to be cheaper than if I had ordered it a major home improvement store! I also had the wood delivered from a local lumber yard, which was much easier than trying to fit the patio materials in my car.
KEEP IN TOUCH! FOR MORE INSPIRATION, PROJECTS, AND FREE KNITTING PATTERNS, SIGN UP FOR OUR WEEKLY NEWSLETTER:
Supplies needed for Pea Gravel Patio DIY
(As an Amazon associate, I earn from qualifying purchases)
2 x 6s
Mending plates (if joining together 2 pieces of wood in the center)
Corner braces
Exterior screws
Landscape fabric
Pea gravel or crushed rock
Tools
• Shovel
• Drill
• Rake
• Staple gun
• Wheelbarrow
• Hand tamper
• Level
• Tape measure
Pea Gravel Patio DIY
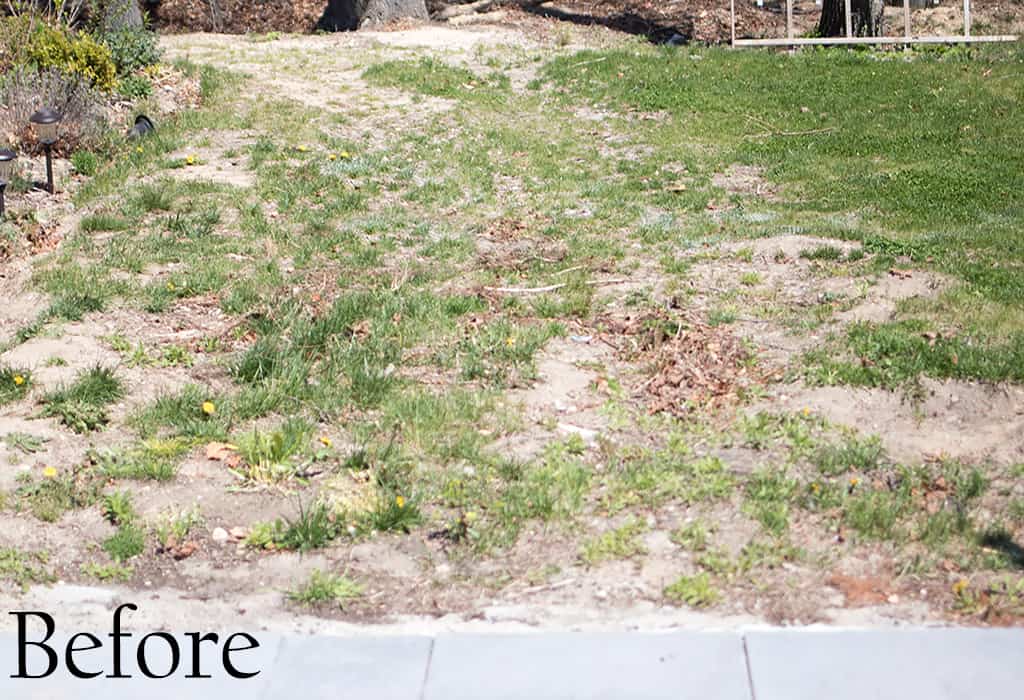
Step 1: Choose the Patio Location
The first step in building a pea gravel patio is selecting the best location in your yard.
Look for an area that:
• Has relatively level ground
• Is close to your house for convenience
• Receives some shade if possible
• Has good drainage
Many people build pea gravel patios near back doors, garden areas, or outdoor dining spaces.
If you’re improving your backyard layout, you might also enjoy projects like building a playhouse platform or adding an outdoor chalkboard, both of which can be found in my Outdoor DIY Projects section:
https://gina-michele.com/category/DIY-Outdoors/
Step 2: Mark the Patio Area
Once you’ve selected the location, outline the patio shape using stakes and string or landscape marking paint.
Marking the patio area allows you to visualize the final layout before digging begins.
This is also a good time to measure the space so you know how much gravel and base material you’ll need.
Step 3: Excavate the Patio Area
Next, remove grass and soil from the patio area.
Most pea gravel patios require digging about 4–6 inches deep to allow space for the base and gravel layers.
As you dig, try to keep the bottom surface as level as possible.
This step helps create a stable foundation for the patio.
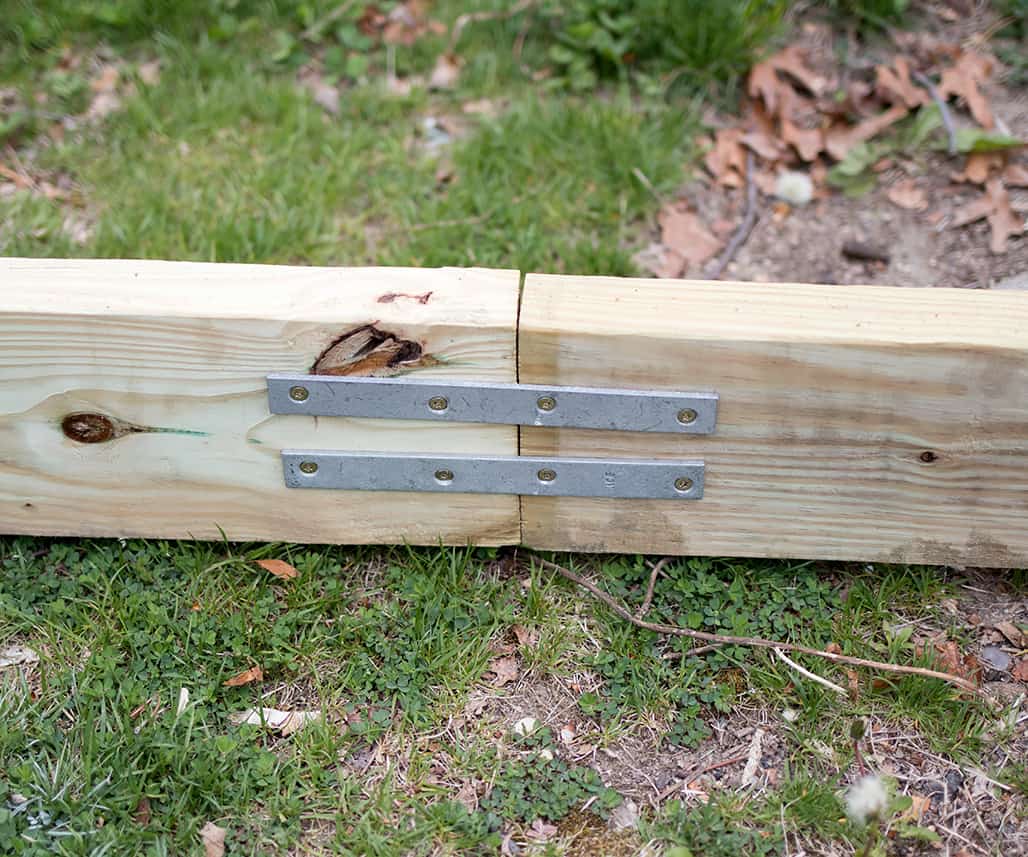
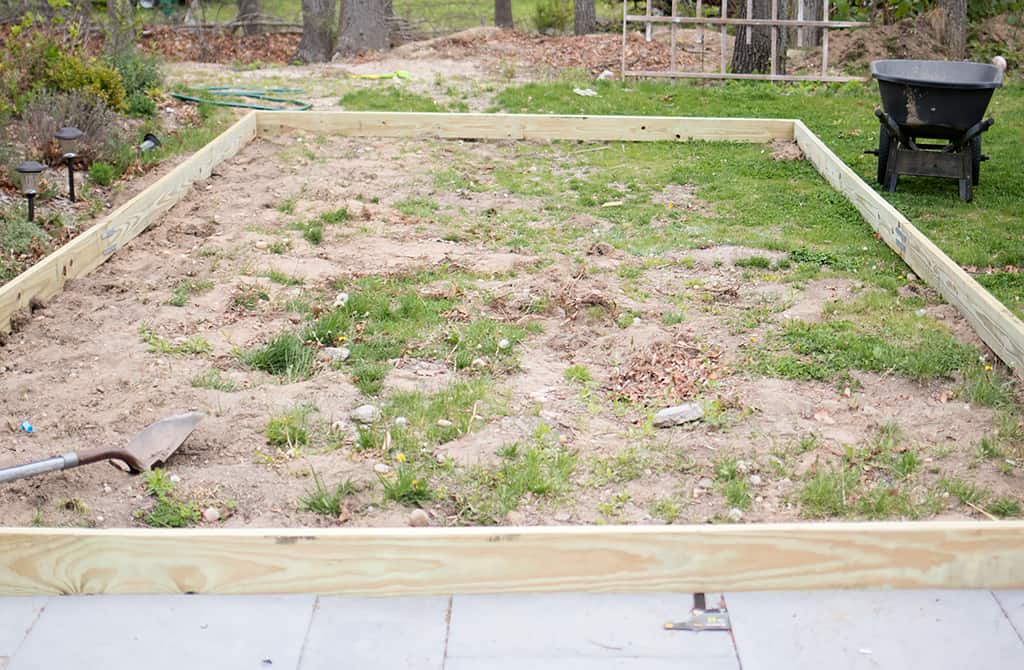
Step 3: Build the Frame
Making the frame for the patio is simple. I added mending plates to connect the 2 10′ long 2 x 6s in the middle. Then I screwed the 12″ 2 x 6s to the ends and attached the corner braces.
Step 4: Excavate the Patio Area
Next, remove grass and soil from the patio area.
Most pea gravel patios require digging about 4–6 inches deep to allow space for the base and gravel layers.
As you dig, try to keep the bottom surface as level as possible.
This step helps create a stable foundation for the patio.
Once you have the frame built, make sure it is level on all sides. Rake and remove any pebbles/large rocks from the patio area.
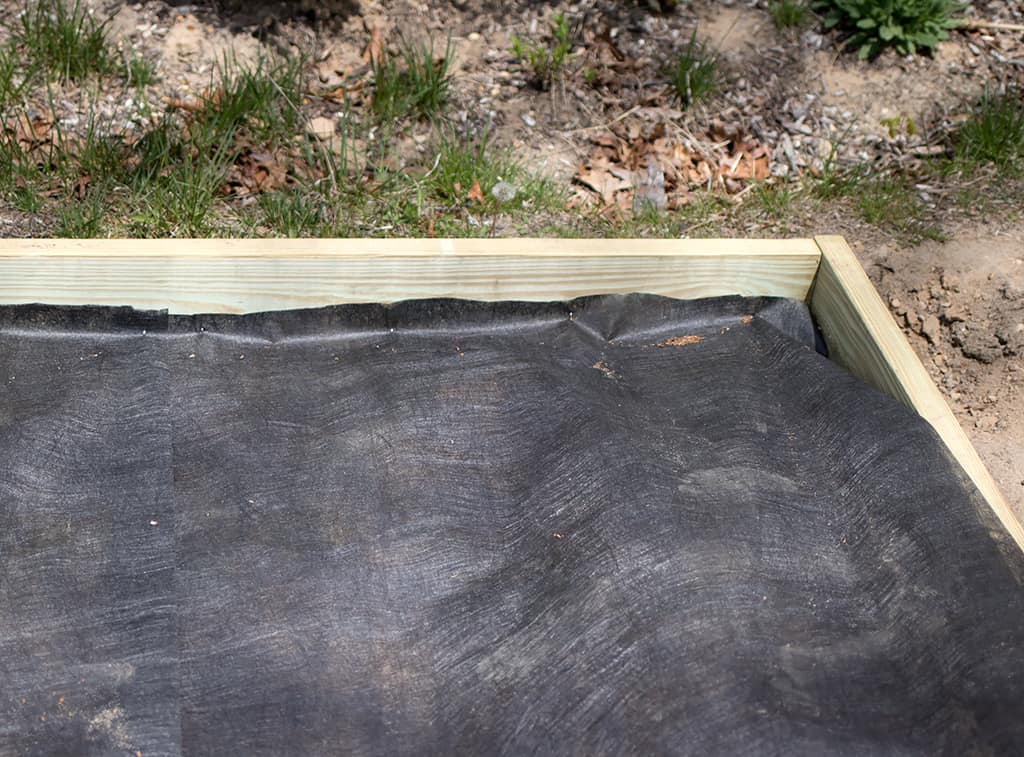
Step 5: Install Landscape Fabric
Landscape fabric is an important step that many DIYers skip, but it helps prevent weeds from growing through the gravel.
Roll the fabric across the entire patio area and secure it to the frame using a staple gun.
Overlapping seams by several inches helps ensure weeds cannot grow between sections of fabric.
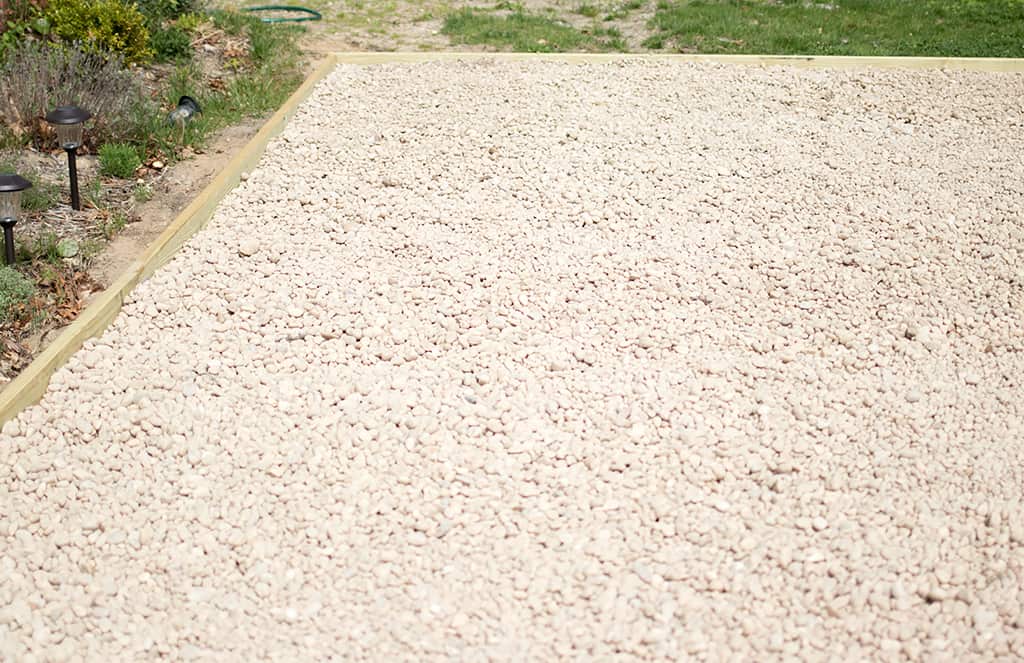
Step 6: Add the Pea Gravel
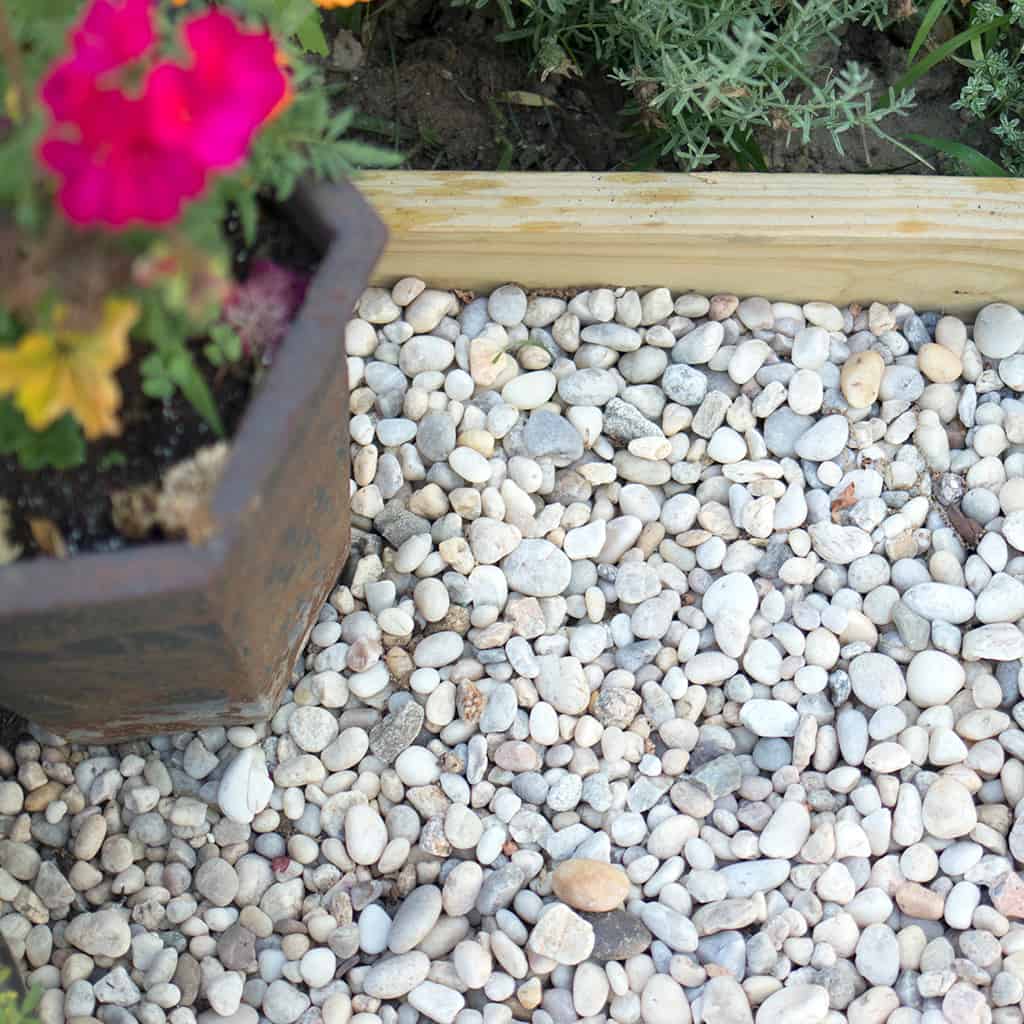
Shovel in the pea gravel. The gravel is dusty and dull when it arrives, but after it rains it changes to its natural color (see below)
Spread the gravel evenly across the surface using a rake until it reaches a depth of about 2–3 inches.
Once the gravel is spread, lightly tamp or walk over the surface to help the stones settle.
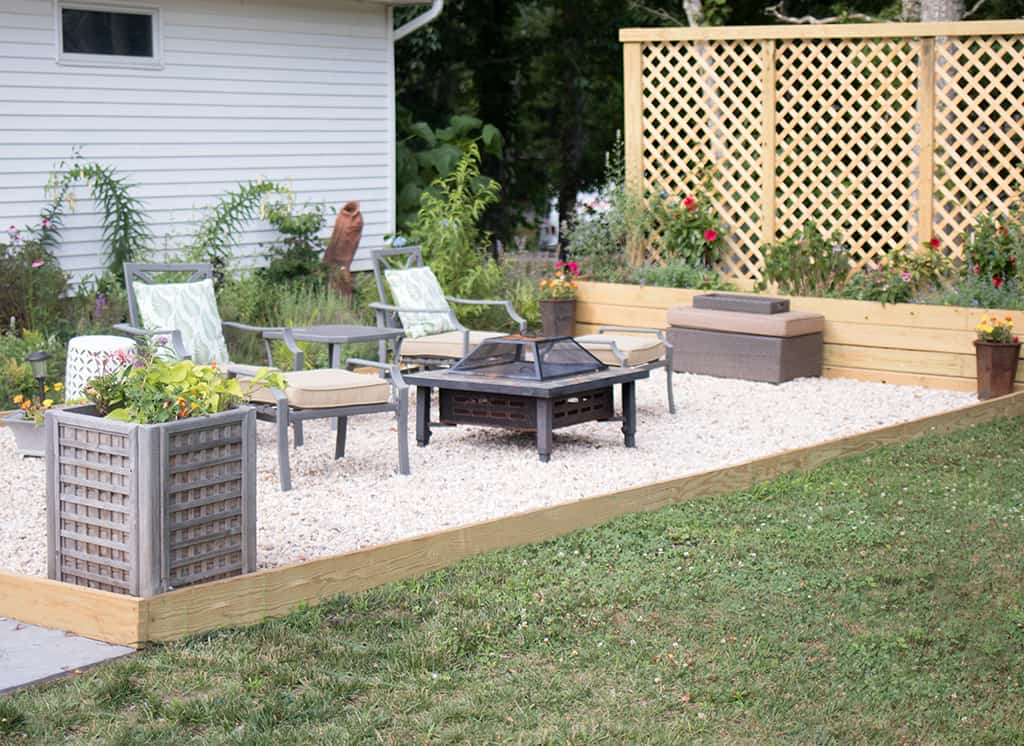
Decorating Your Pea Gravel Patio
Once the patio is finished, you can turn it into a beautiful outdoor living space.
Here are a few ideas for decorating your patio:
Add outdoor furniture
Small bistro sets or lounge chairs work beautifully on gravel patios.
Create a fire pit area
Gravel patios are excellent spaces for fire pits.
Add plants and planters
Surrounding the patio with plants softens the look and creates a garden atmosphere.
Install string lights
Outdoor lights instantly make the space feel cozy and inviting.
Maintenance Tips
Pea gravel patios are very low maintenance, but a few simple tasks help keep them looking great.
Rake occasionally
Raking smooths the gravel and removes uneven areas.
Remove weeds
Occasional weeds may appear but are usually easy to pull.
Add gravel if needed
Over time, you may need to add a small amount of new gravel to maintain the correct depth.
More Outdoor DIY Projects
If you enjoyed this Pea Gravel Patio DIY, you may also like these backyard projects:
• Building a playhouse platform
• Creating an outdoor chalkboard for kids
How to Build a Sandbox with a Roof
You can explore all of these projects in my DIY Outdoors category:
These tutorials are designed to help you transform your backyard into a space your family loves.
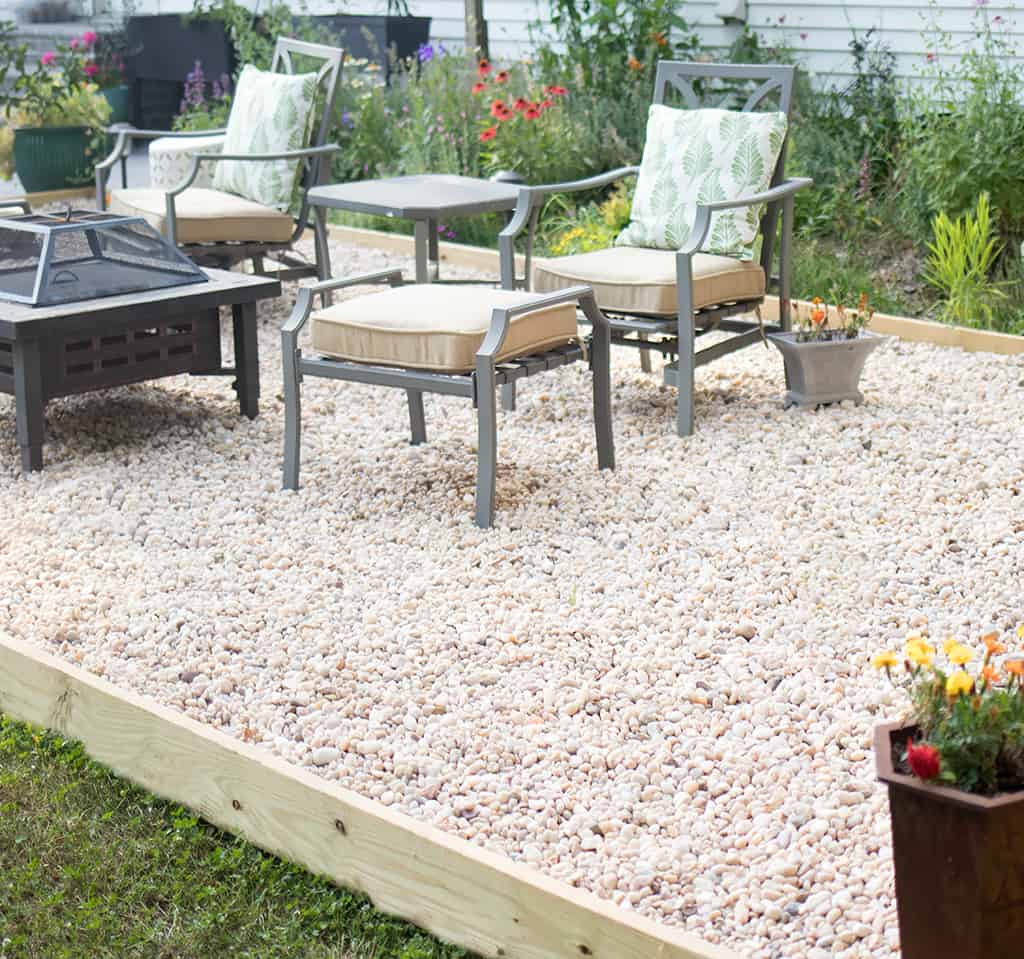
I completed this Pea Gravel Patio DIY a few months ago, but I waited to post because I wanted to see how it held up. I’m happy to report that it looks even better in person! I love all the extra hanging out space it gave me in the backyard. It also gave me a place for my fire pit. As far as “bang for your buck” low cost projects go, this one is at the top of my list!
FAQ: Pea Gravel Patio DIY
How deep should a pea gravel patio be?
Most pea gravel patios require 4–6 inches of excavation to allow space for a crushed stone base and the top layer of gravel.
Do you need landscape fabric under pea gravel?
Yes. Landscape fabric helps prevent weeds from growing through the gravel and keeps the patio looking clean.
How much gravel do I need for a patio?
The amount depends on the size of your patio. Gravel calculators online can help estimate the number of cubic yards needed.
Is pea gravel good for patios?
Yes. Pea gravel patios provide excellent drainage and are one of the most affordable patio options available.
Are pea gravel patios low maintenance?
Pea gravel patios require minimal maintenance. Occasional raking and weed removal are usually all that’s needed.

A DIY pea gravel patio is one of the easiest and most affordable ways to transform your backyard. With simple materials and a weekend of work, you can create a beautiful outdoor space that’s perfect for relaxing, entertaining, and enjoying the outdoors.
Whether you’re creating a small garden seating area or a larger patio for family gatherings, pea gravel offers a charming and practical solution.
If you enjoy backyard projects like this one, don’t forget to explore more ideas in my DIY Outdoors section:
https://gina-michele.com/category/DIY-Outdoors/
You’ll find plenty of inspiration to help you create a beautiful outdoor space.
Want more Affordable Home Improvement DIY projects?
How to build a sandbox with a roof
How to build a cedar window box
Did you try this project at home? If you enjoyed making this Pea Gravel Patio DIY , or any of my other home improvement projects, I’d love to see yours on Instagram, just tag me @ginamicheleny. Happy DIYing!