Easy Wood Burned Gift Tags or Christmas Ornaments
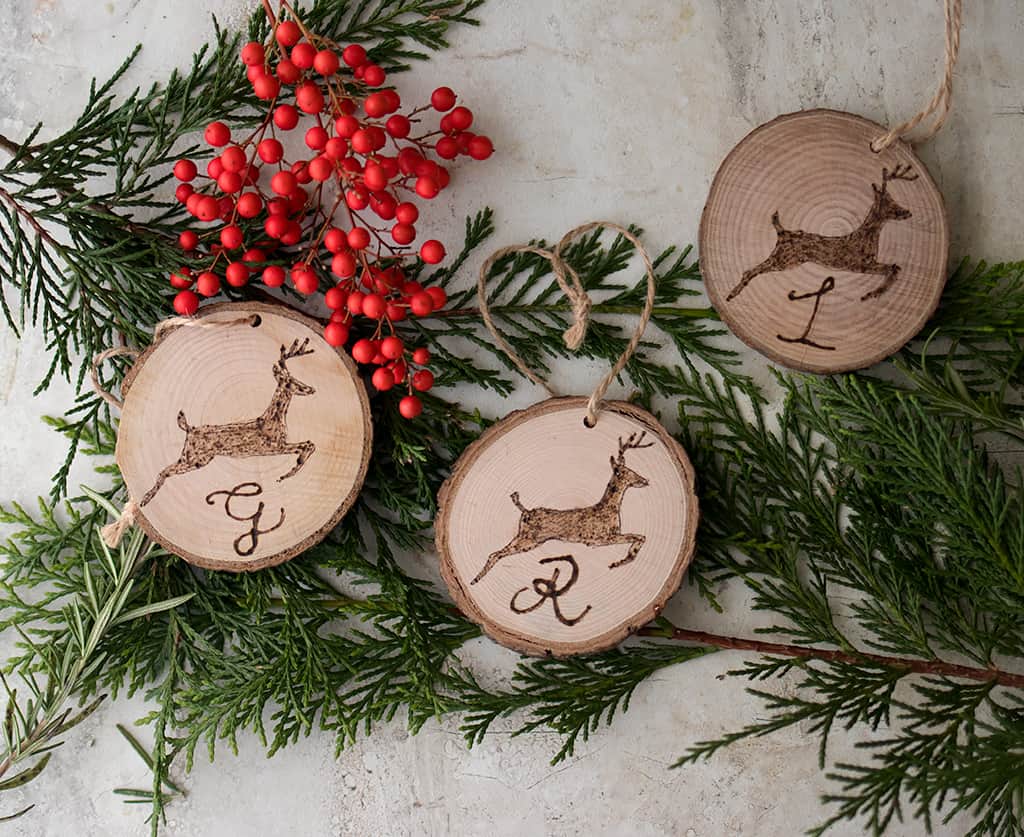
Easy Wood Burned Gift Tags or Christmas Ornaments- add rustic charm to your presents with this quick and easy DIY!

These Wood Burned gift tags (which also double as Christmas ornaments) are simple to make, even if you don’t have an artistic side! Carbon paper is used to transfer an image to the wood slice and then the lines are traced over with a wood burner.
These keepsake tags are a thoughtful alternative to the stick-on kind. Best of all, they can be re-used year after year!
Easy Wood Burned Gift Tags or Christmas Ornaments
Supplies needed:

1. Measure the length and width of the wood slice and resize the image to fit. Print it out and roughly cut it out. Place the transfer paper down on the wood slice, place the cut-out on top. 2. Trace around the cut-out. 3. Lift up the cut-out and transfer paper and the image will be transferred to the wood slice. Attach a fine point to the wood burner and let it heat up. 4. Trace around the image using the wood burner. 5. Fill in the center of the image using short strokes.Easy Wood Burned Gift Tags or Christmas Ornaments

Materials
Instructions
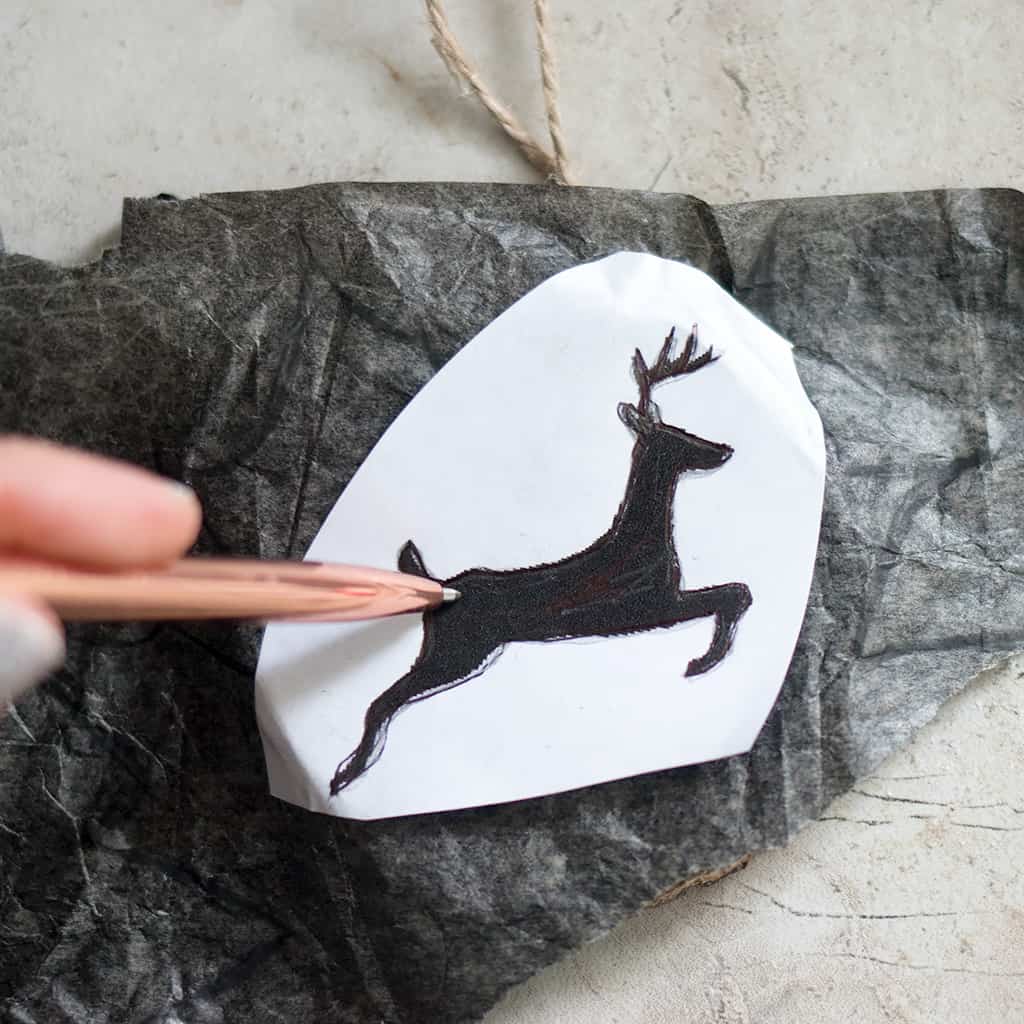
Trace around the cut-out.

Lift up the cut-out and transfer paper and the image will be transferred to the wood slice. Attach a fine point to the wood burner and let it heat up.

Trace around the image using the wood burner.

Fill in the center of the image using short strokes.

Draw the initial using a pencil and wood burn over the tracing.


Looking for more Christmas DIY Projects?
DIY Yarn Wrapped Christmas Ornaments
5 Easy Christmas Tree Decorating Tips
