How to Sew Fabric Pumpkins- Fast & Easy!
How to Sew Fabric Pumpkins- a quick & easy project for holiday decor!
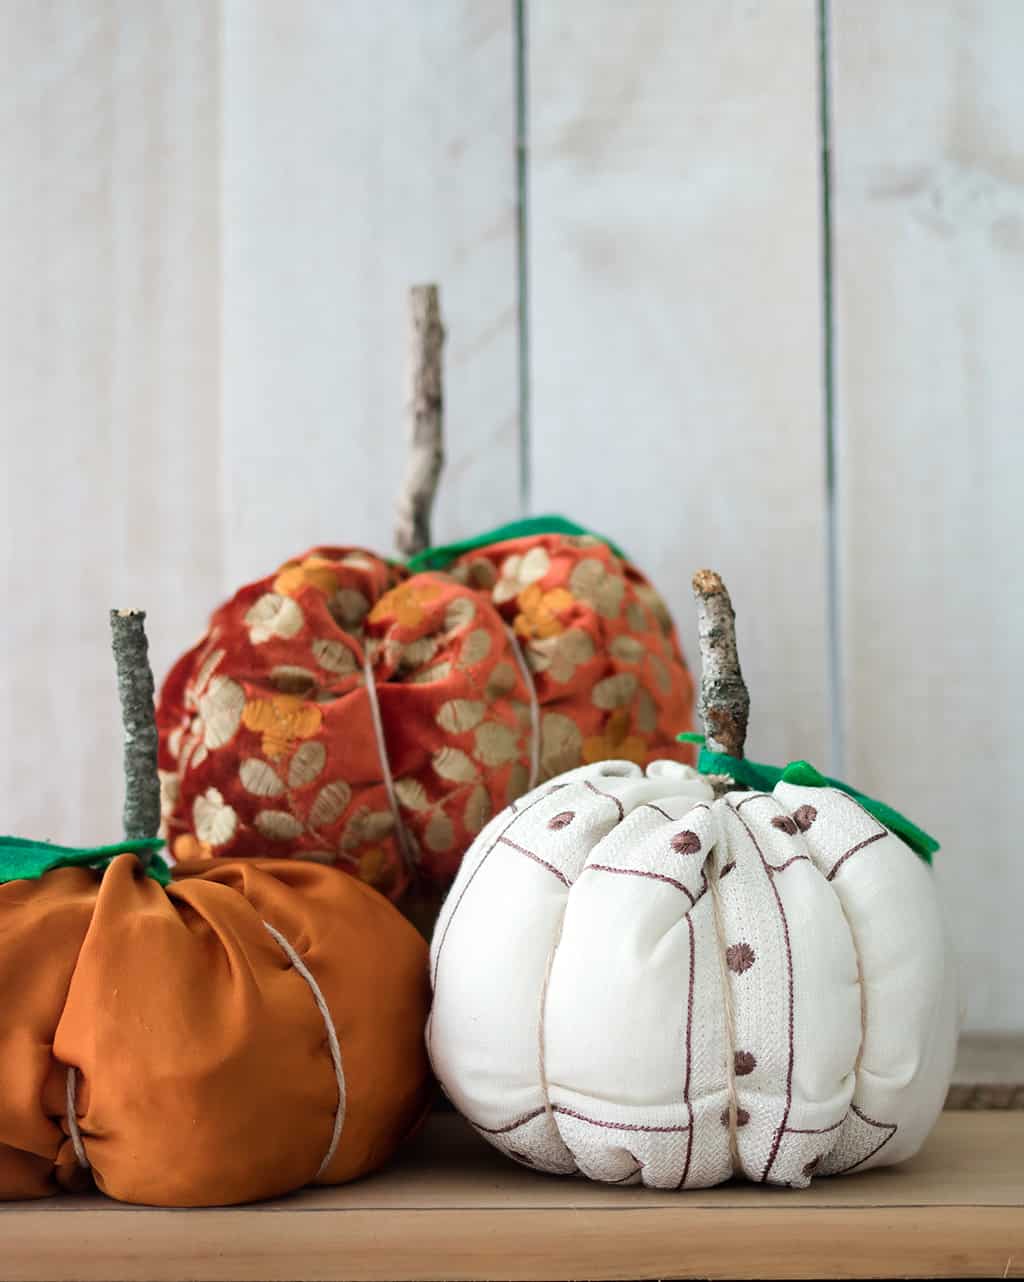 I received such a great response to my Large Pumpkin Knitting Pattern (thanks, guys!) that I decided to make a version out of fabric. These fabric pumpkins take less than 15 minutes to make. They require no pattern and there’s minimal sewing involved.
This is a great project for making use of fabric remnants!
Supplies needed:
Fabric
Yarn or twine
Felt (for leaves)
How to Sew Fabric Pumpkins
These pumpkins can be made in any size. You want the size of your rectangle to measure roughly width= 2 times the height.
Fold your fabric over and sew the side seam.
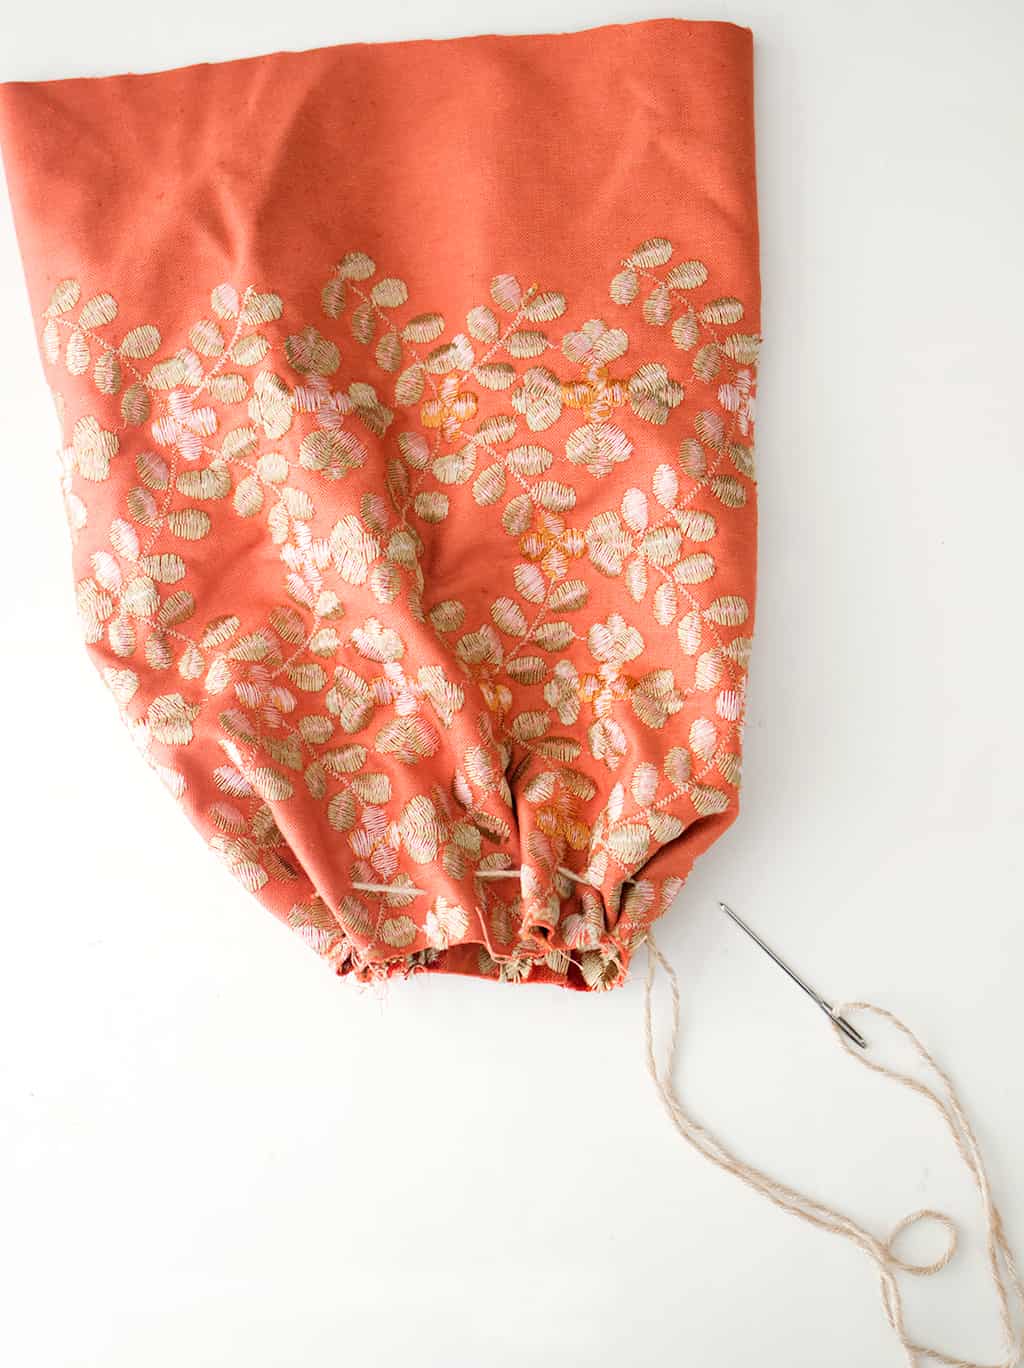
To gather the ends of the pumpkin, you will need to use either a sewing machine or needle and thread. For heavier fabric (like the upholstery fabric I’m using), a large-eye needle and thread (on in the above picture, yarn) work best.
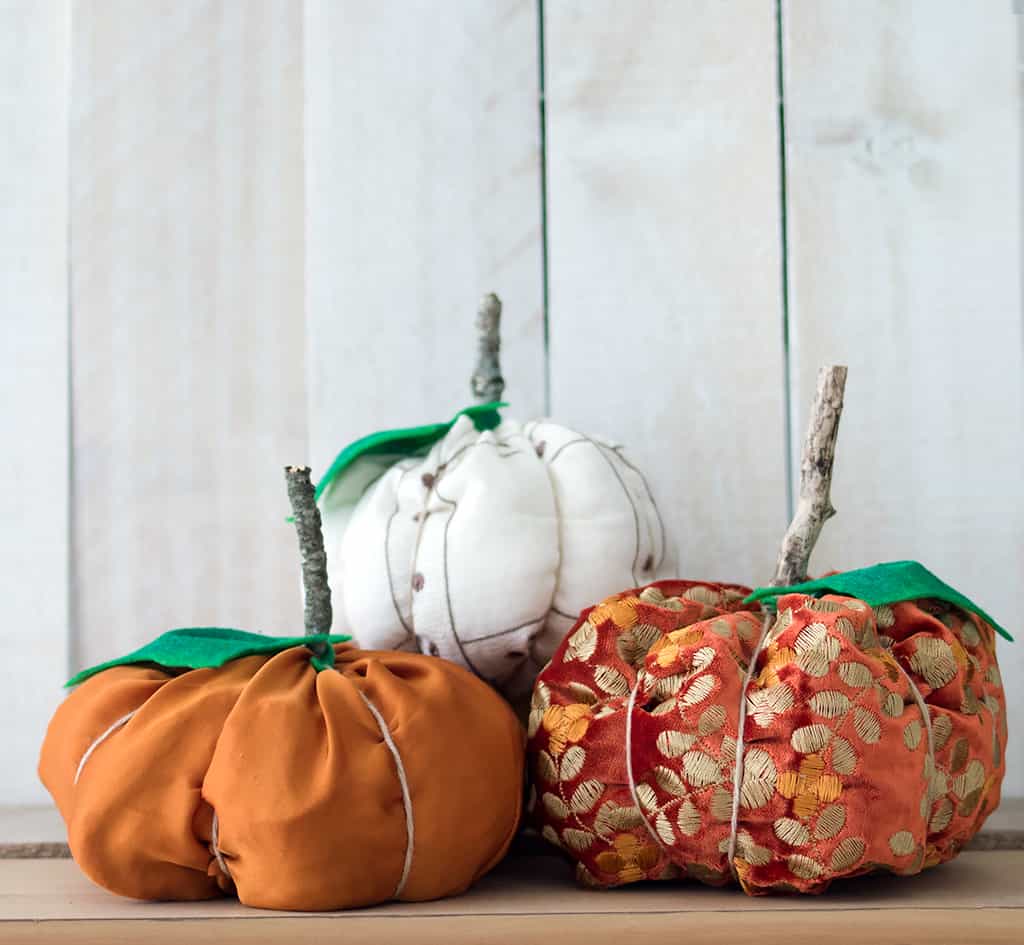
For thinner fabrics, like the orange silk pumpkin above, a baste stitch done a sewing machine is the easiest method.
Pull the thread to close the opening and knot.
This is what the bottom of the pumpkin will look like.
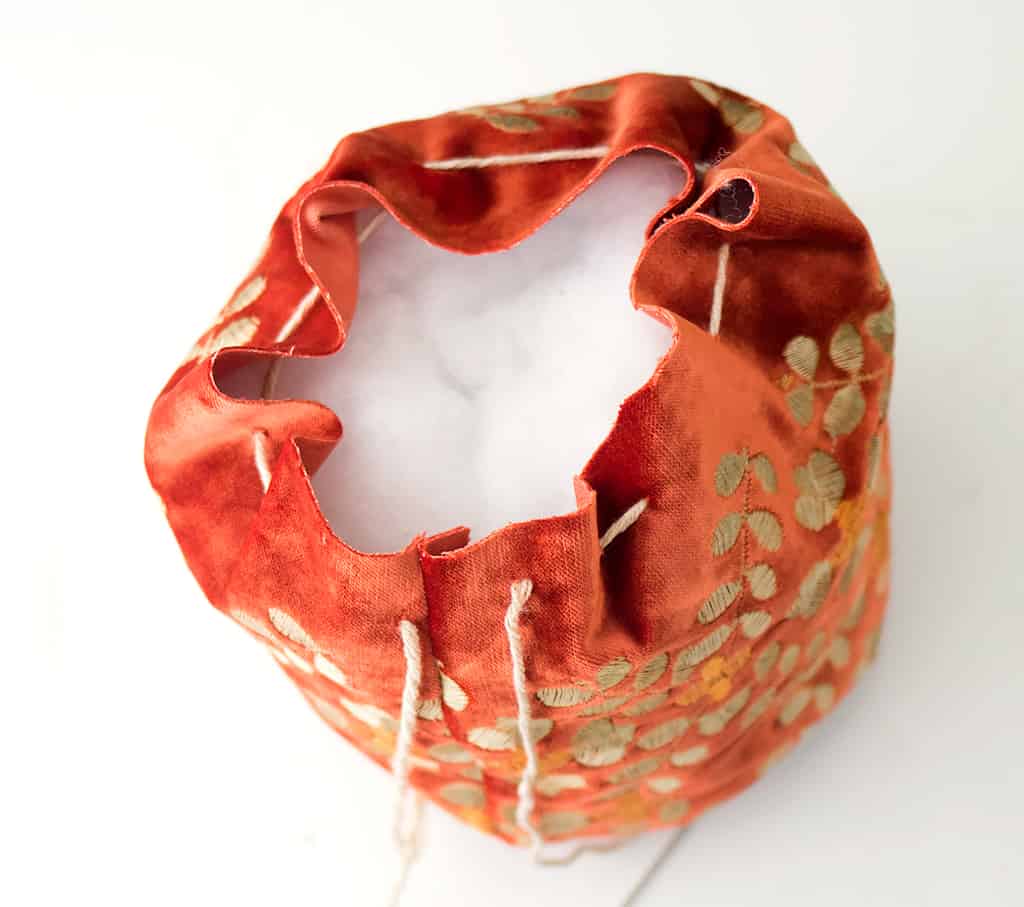
Stuff with the pumpkin with fiber fill. Be sure to leave a few inches at the top so you can add a stitch to close it.
Run a stitch through the top of the pumpkin and pull to close.
Make a knot to secure.
Take a long length of yarn or twine and fold in half. Criss cross over the pumpkin to create the ridges.
For the stem, I used a stick I found outside. Add a small amount of glue to the bottom of the stick and press on to the pumpkin. Use the ends of the yarn to hold in place.
Looking for more fall-themed DIYs?
How to Make a Stencil Doormat Without a Cricut


