How to Make a Stenciled Doormat- Without a Cricut
How to Make a Stenciled Doormat- personalize your front porch with this easy DIY project!

Please tell me I’m not the only one who has the porch already fully decorated for fall! As a finishing touch, I wanted a simple stenciled doormat. I couldn’t find exactly what I wanted so (naturally) I decided to go the DIY route. After a quick search online, I found that most of the stenciled doormat tutorials required a Cricut machine (which is expensive and I don’t own). I wanted to see if a simple paper stencil would work- spoiler- it worked great!
The key to a successful stencil for your doormat is to choose a font that’s thick. A thick font is easier to cut out and easier to paint. Dafont has tons of free fonts. The one I used is called Sweet Hipster (I know, I know…the name). For the “hello” I used a size of 350 and for “pumpkin” the size was 450. “Pumpkin” had to be printed out on 2 separate pages. I used Photoshop for the print-out but any photo editing software will do.
Supplies needed:
Masking tape or painter’s tape
Acrylic paint & paintbrush
Clear spray paint
How to Make a Stenciled Doormat without a Cricut Machine
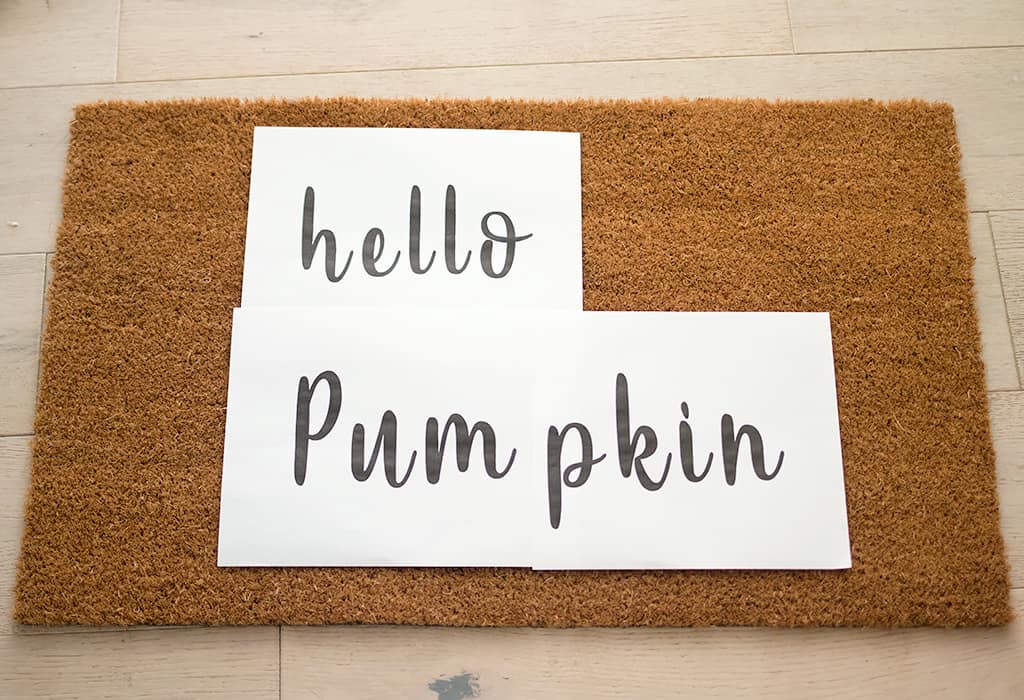
Print out the words and situate them on the doormat so you can make sure they fit and they’re to your liking.
Using a precision cutter or Xacto knife, cut out the letters. The loops for some letters (like”e” and “o”) will be cut out, but you can correct this when you paint.
Once all the letters are cut out, tape the paper to the doormat.
Paint the letters using the cut out as a guide. Since the doormat is textured, it will require several coats of paint for the letters to show up. I didn’t let the paint dry between coats.
Remove the paper and touch up the letters.
Once the paint is fully dry ( I waited 24 hours since there were so many coats) spray with clear spray paint.
Let the spray paint dry.
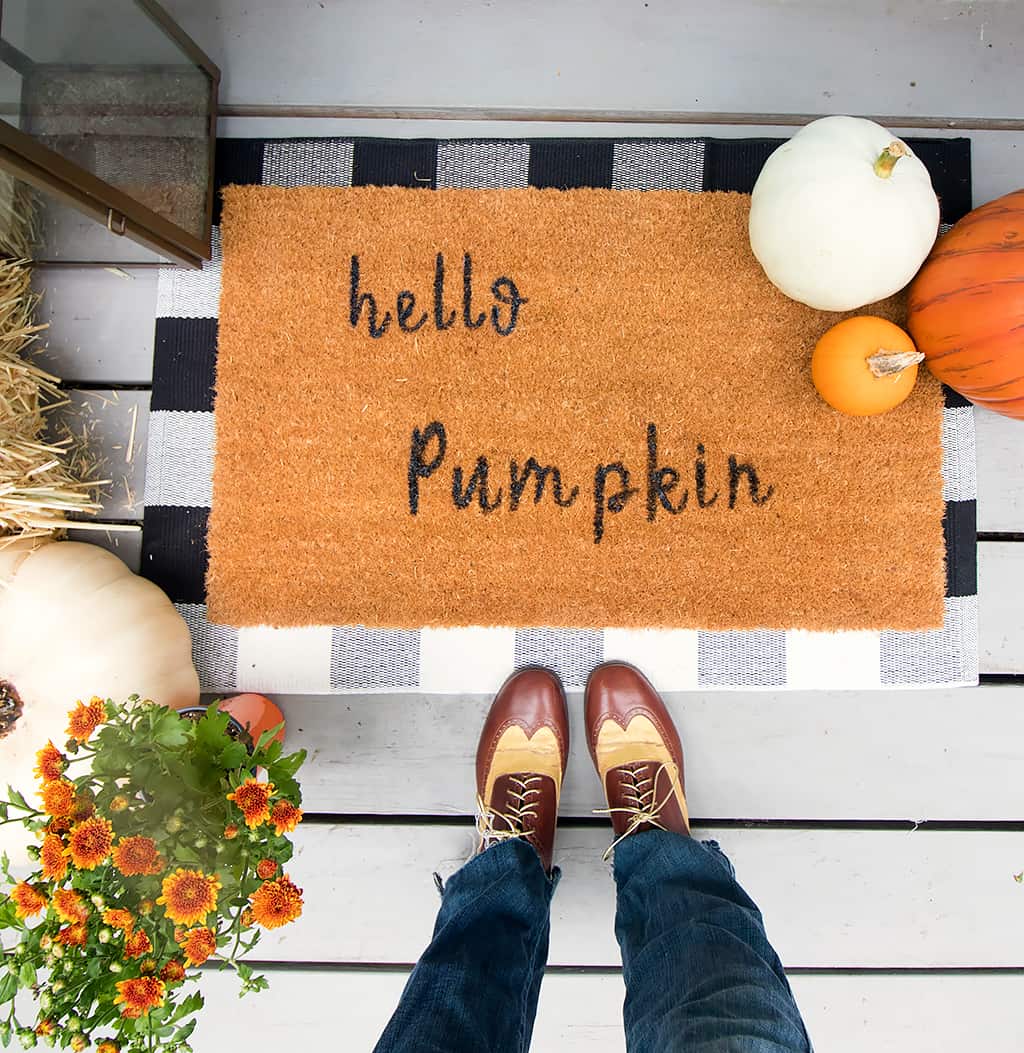
Finally, lay down the new mat & enjoy your handiwork!
Looking for more Autumn DIY projects?
How to Make a Pumpkin Centerpiece


