Fabric Twine Flower Pot DIY
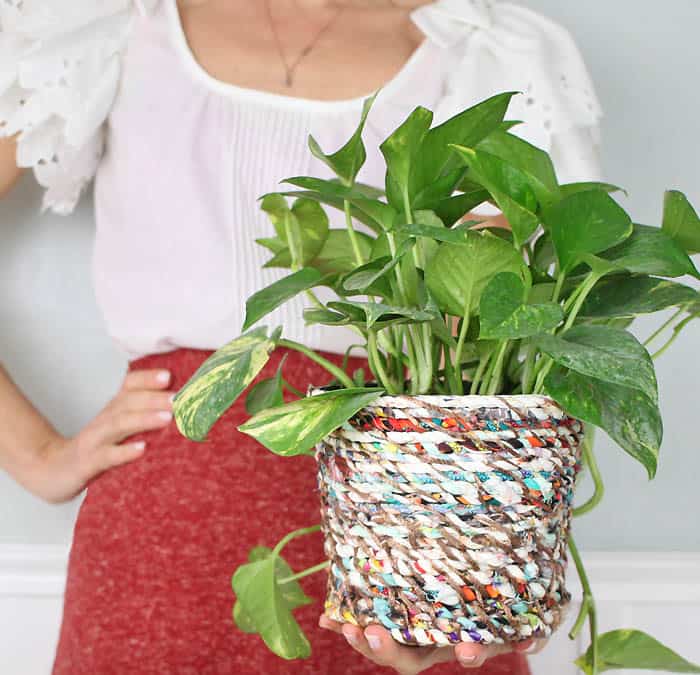
Fabric Twine Flower Pot DIY- learn how to upgrade a basic flower pot using fabric twine.
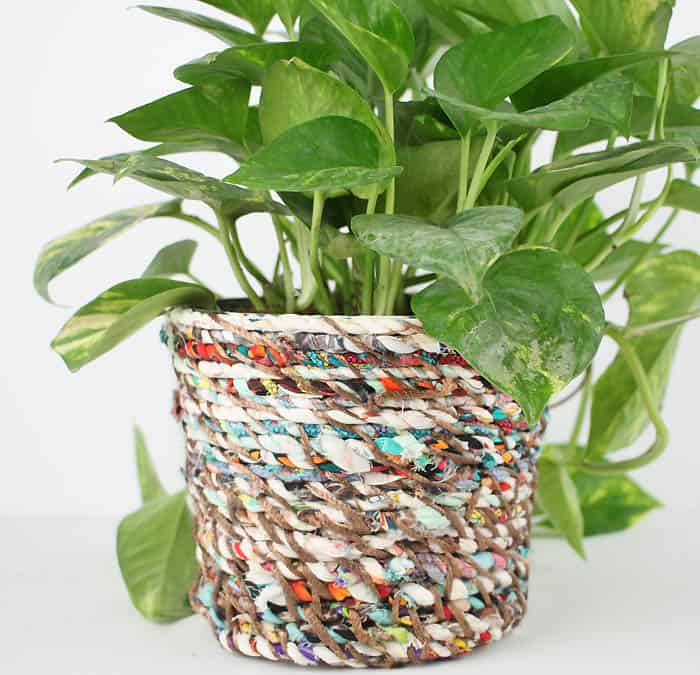
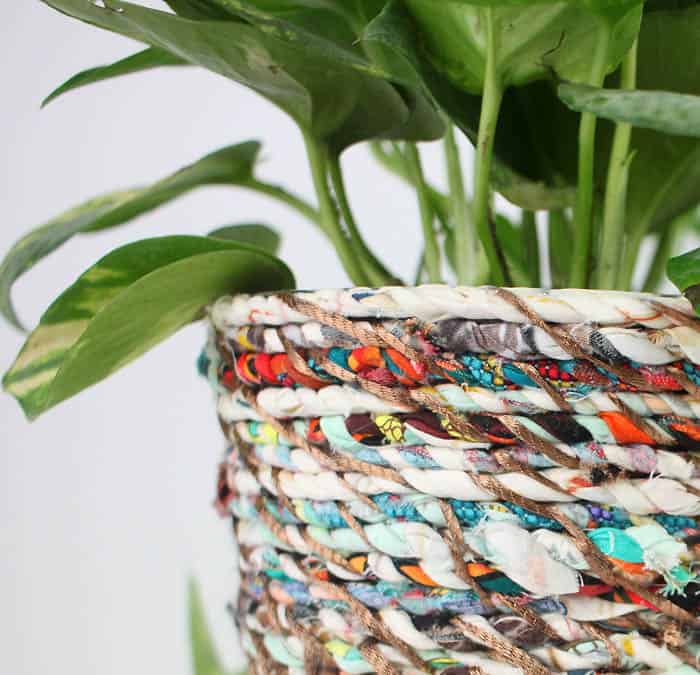
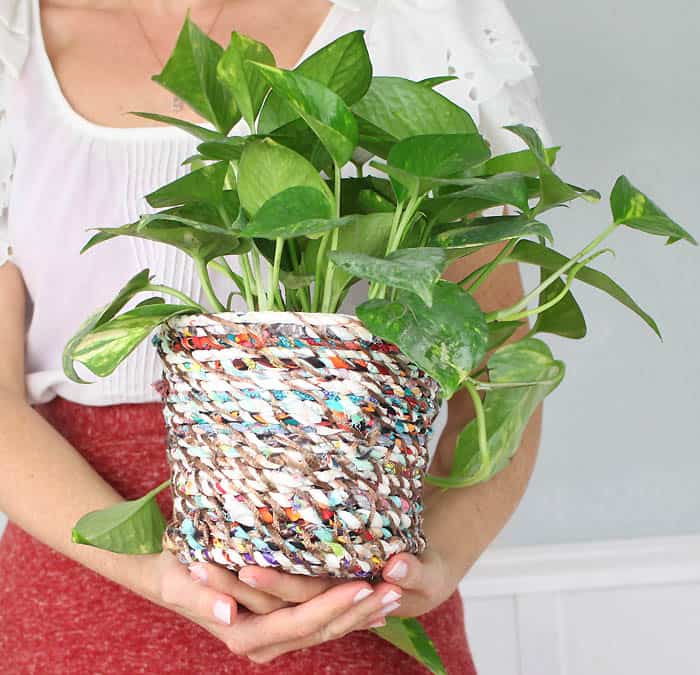
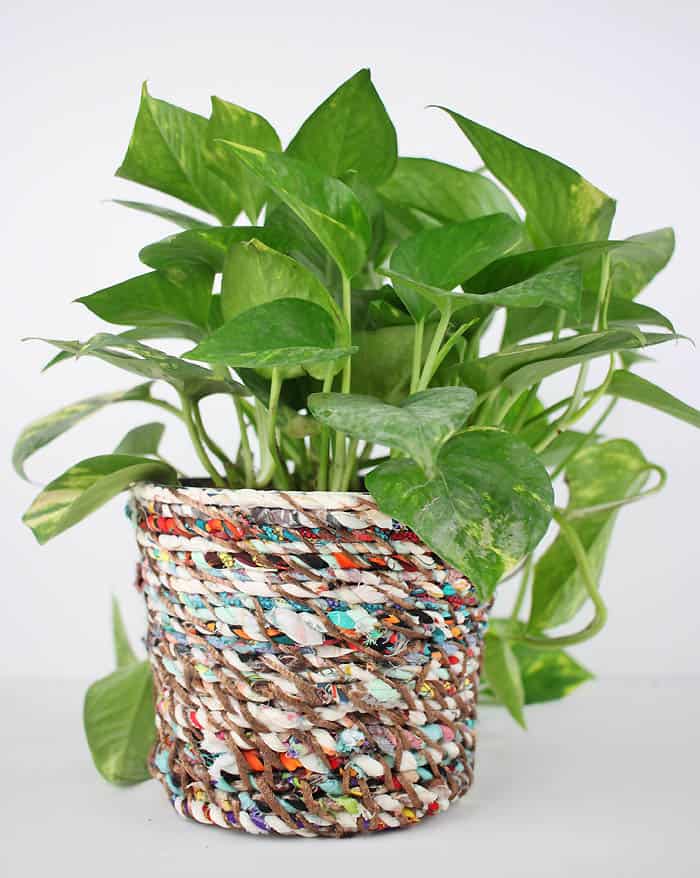
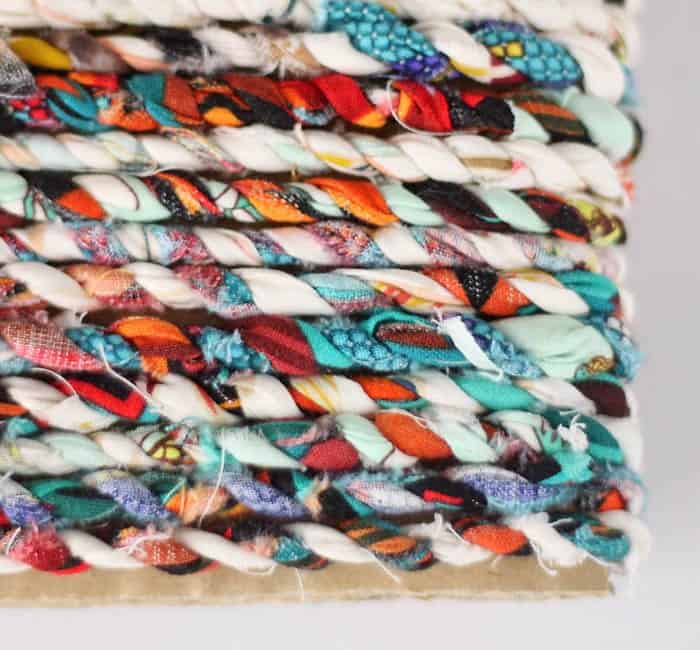
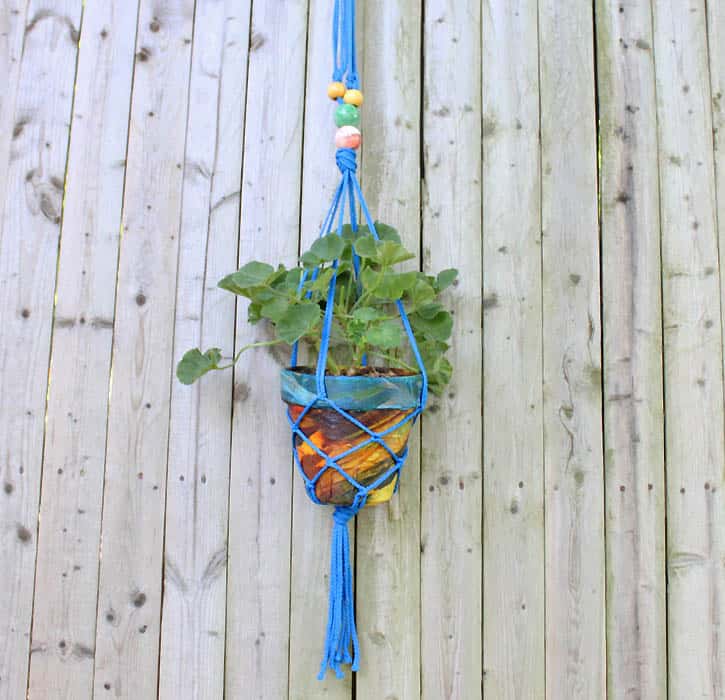
Last month I posted a tutorial showing how to turn your fabric scraps into twine. I love the twine I made and I’m constantly finding new ways to use it! I decided to do some experimenting over the weekend and see how easy it was to sew together. Spoiler alert: it’s super easy! I coiled the scrap fabric twine and hand sewed it together row by row using metallic yarn that has a silky texture. I covered a plastic flower pot, but this could easily have been a basket. I’m really happy with the way this DIY turned out. The flower pots adds color and texture to my white walls…and best of all, it was free to make!
Note- You don’t want the flower pot to drain onto the twine. Make sure you have a second plastic pot (with no holes) over the original flower pot to catch any water.
KEEP IN TOUCH! FOR MORE INSPIRATION, PROJECTS, AND FREE KNITTING PATTERNS, SIGN UP FOR OUR WEEKLY NEWSLETTER:
Fabric Twine Flower Pot DIY
Supplies needed:
Scrap Fabric twine
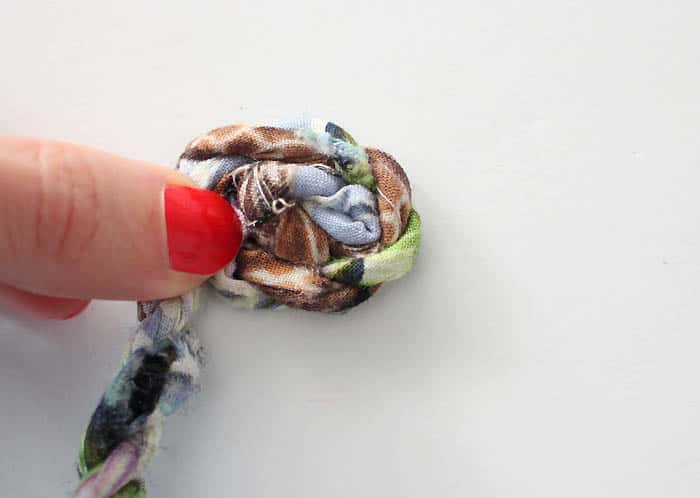
Begin coiling up your scrap fabric twine on a flat surface.
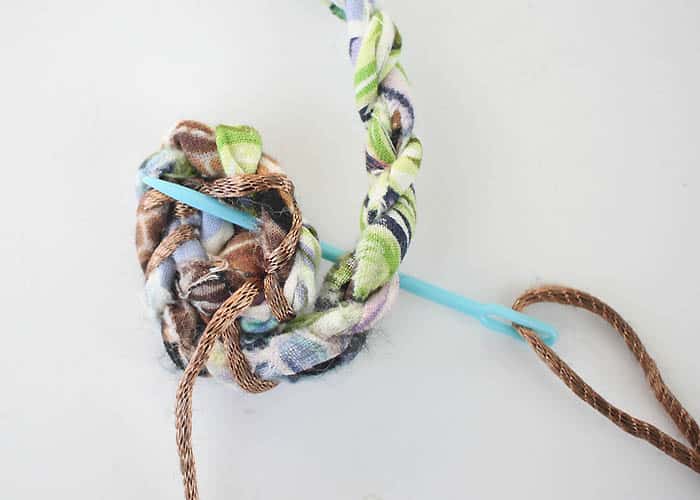
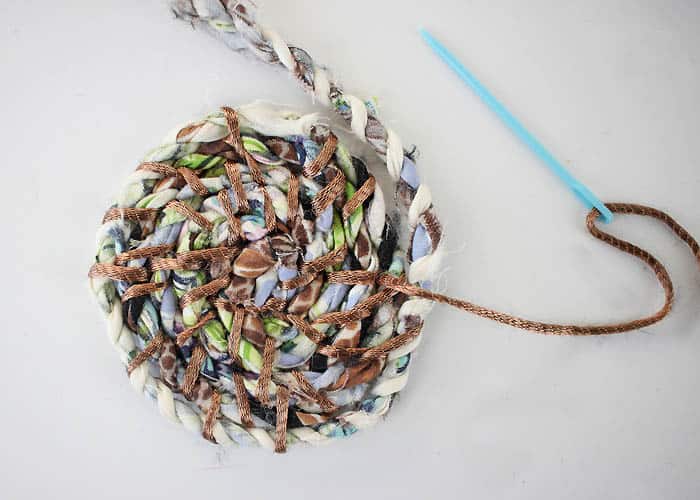
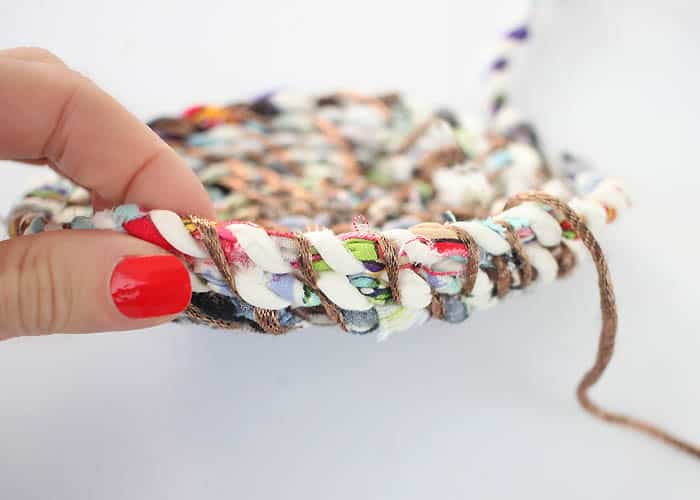
Starting at the inside of the coil, begin sewing the rows together. Loop the thread around the row and stitch in a circular motion.
Keep winding and sewing until your base is the desired size. Make it slightly larger than your flower pot.
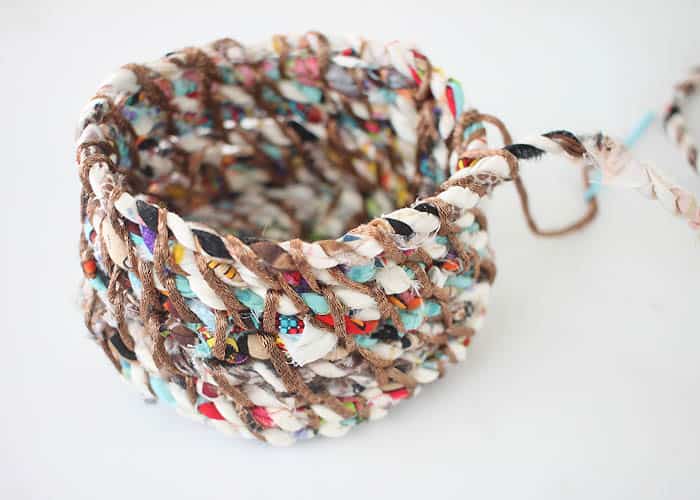
To begin working upwards, just place a row of twine above instead of next to the previous row.
Keep working upwards until you reach the desired height.
When you reach the end, knot the end of the twine with the yarn a few times and cut off any excess.
I love seeing your finished projects! If you enjoyed making this Fabric Twine Flower Pot DIY or any of my other DIY craft projects, I’d love to see yours on Instagram, just tag me @ginamicheleblog. Happy crafting!




Brilliant! Could you also glue the twine onto an ugly but functional pot?
Definitely =)
beautiful mom with style! love your flower pot