How to Upgrade Your Windows With Craftsman Style Trim
How to Upgrade Your Windows With Craftsman Style Trim- an inexpensive DIY project that has a big impact!
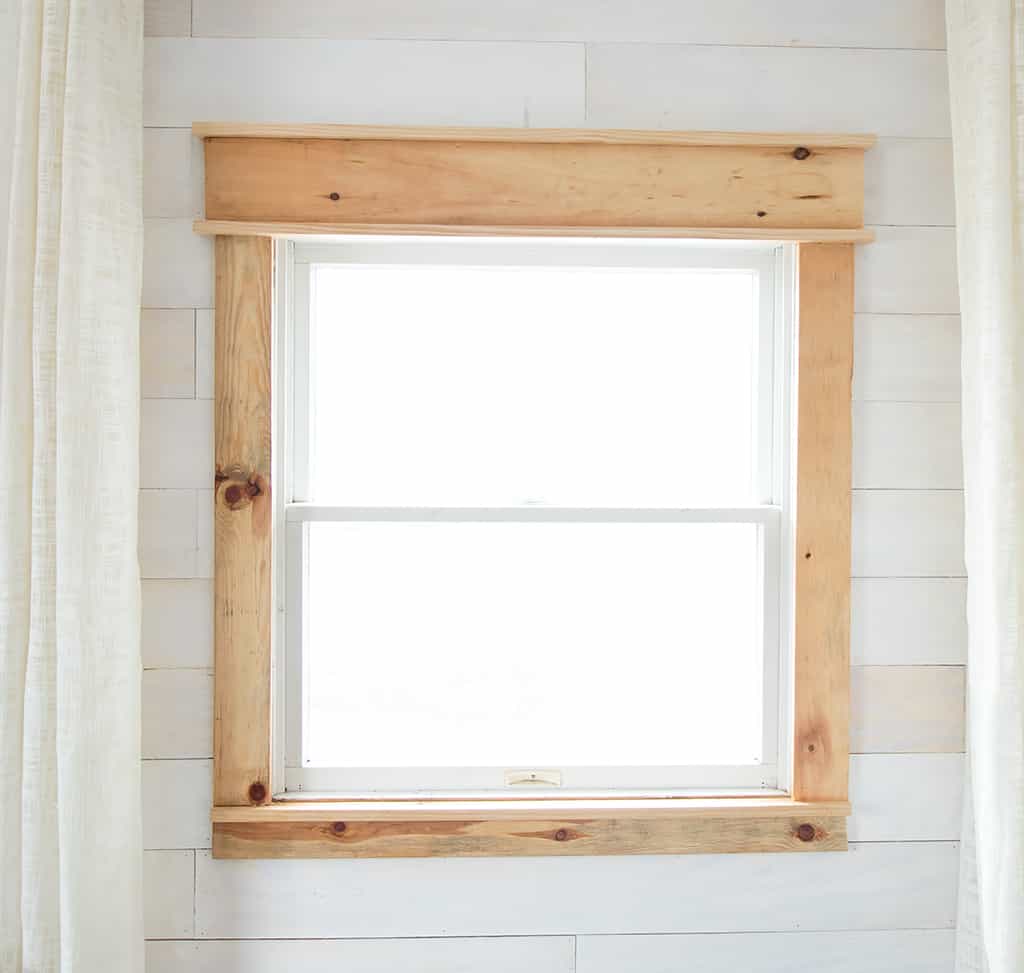
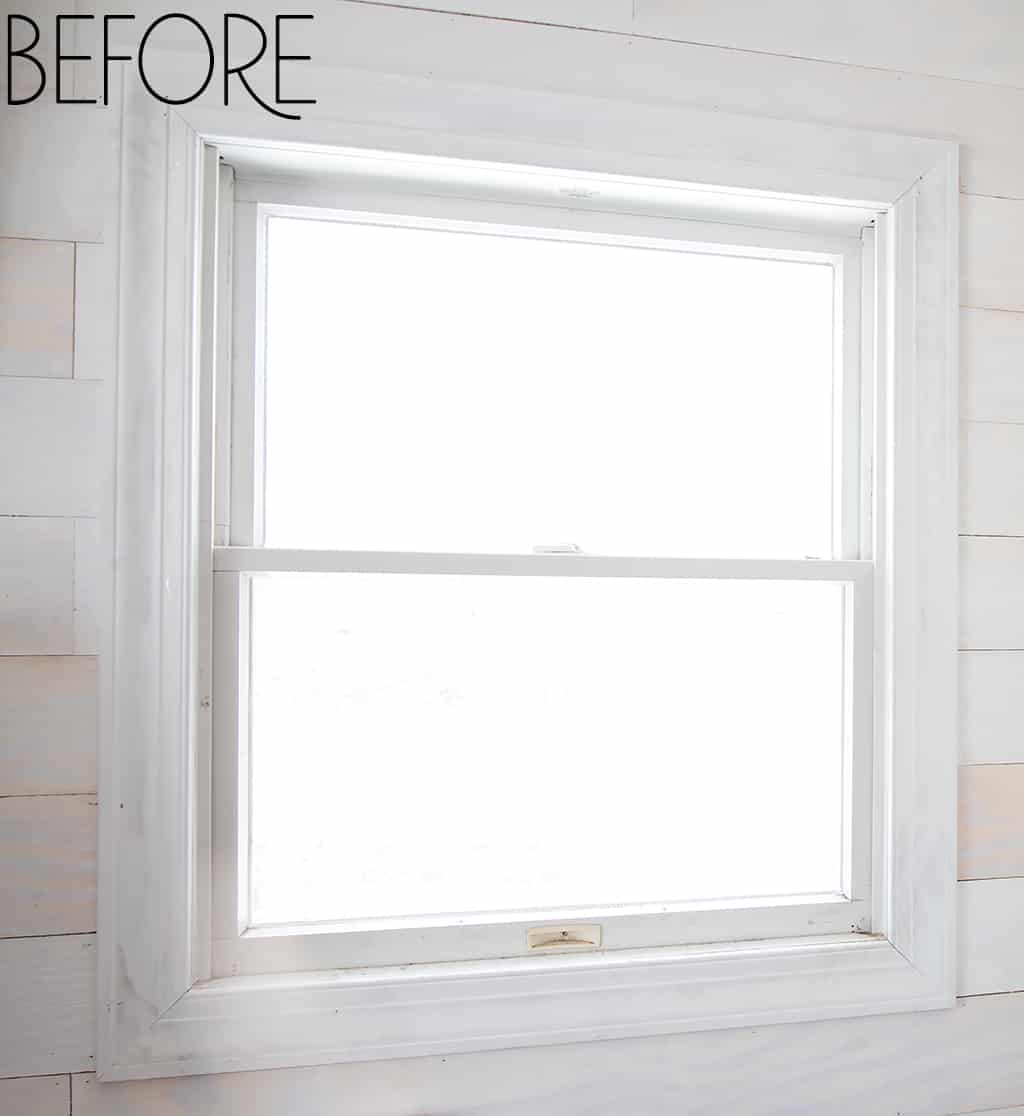
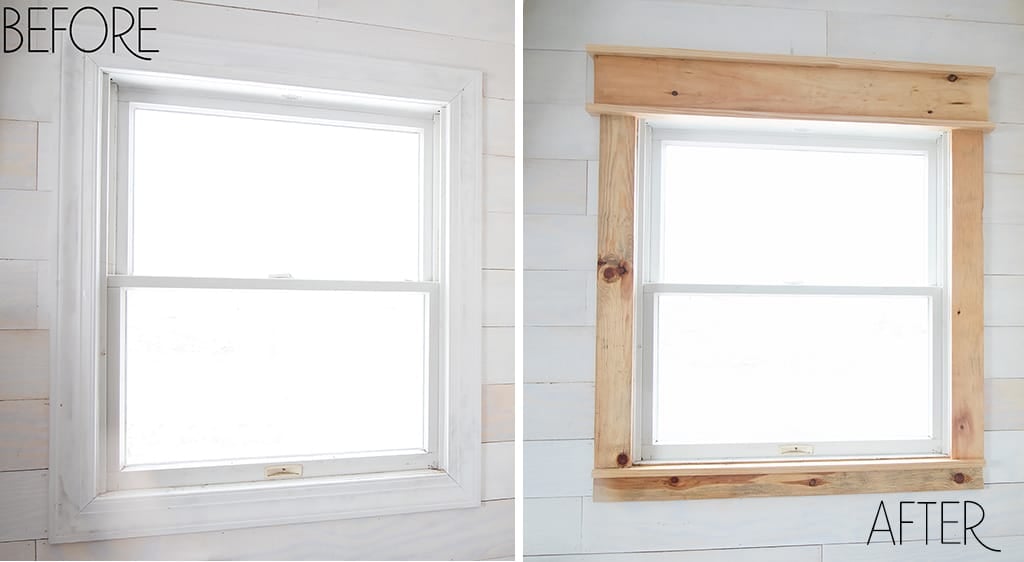
Lately, I’ve been tackling a bunch of home improvement projects and I’m excited to share them with you! Over the weekend I decided to rip out the builder-grade window trim in the nursery and replace it with Craftsman style trim. The old trim was picture frame molding. It wasn’t anything special and it had begun to crack around the seams. Rather than repair it, I decided to upgrade!
This project was easy- especially since you don’t have to miter the corners. Since my house has a beachy vibe, I wanted to incorporate some natural, weathered wood. I loved the look of the knots, but if you plan on painting your trim white, be sure to use wood that’s clear of knots.
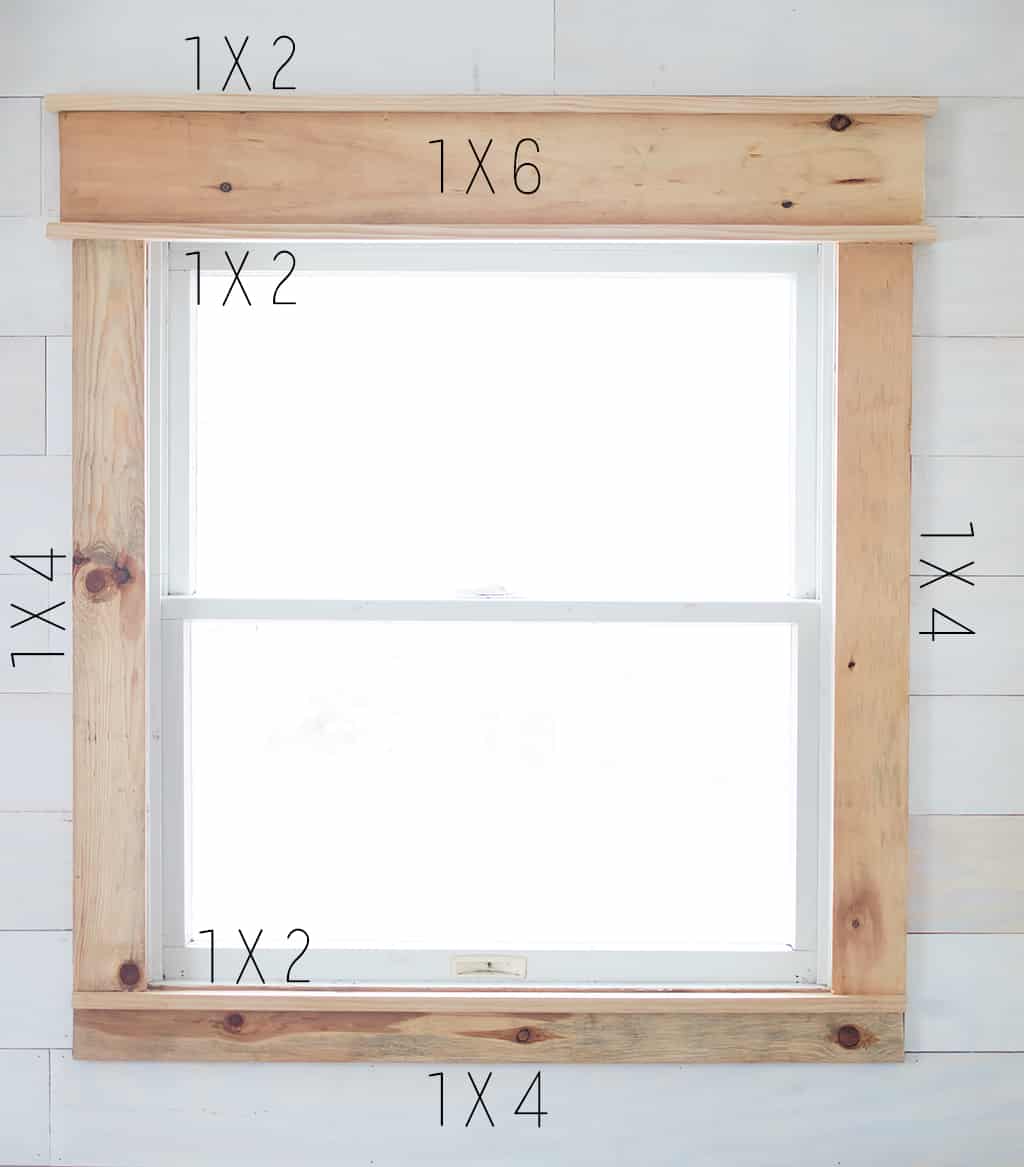
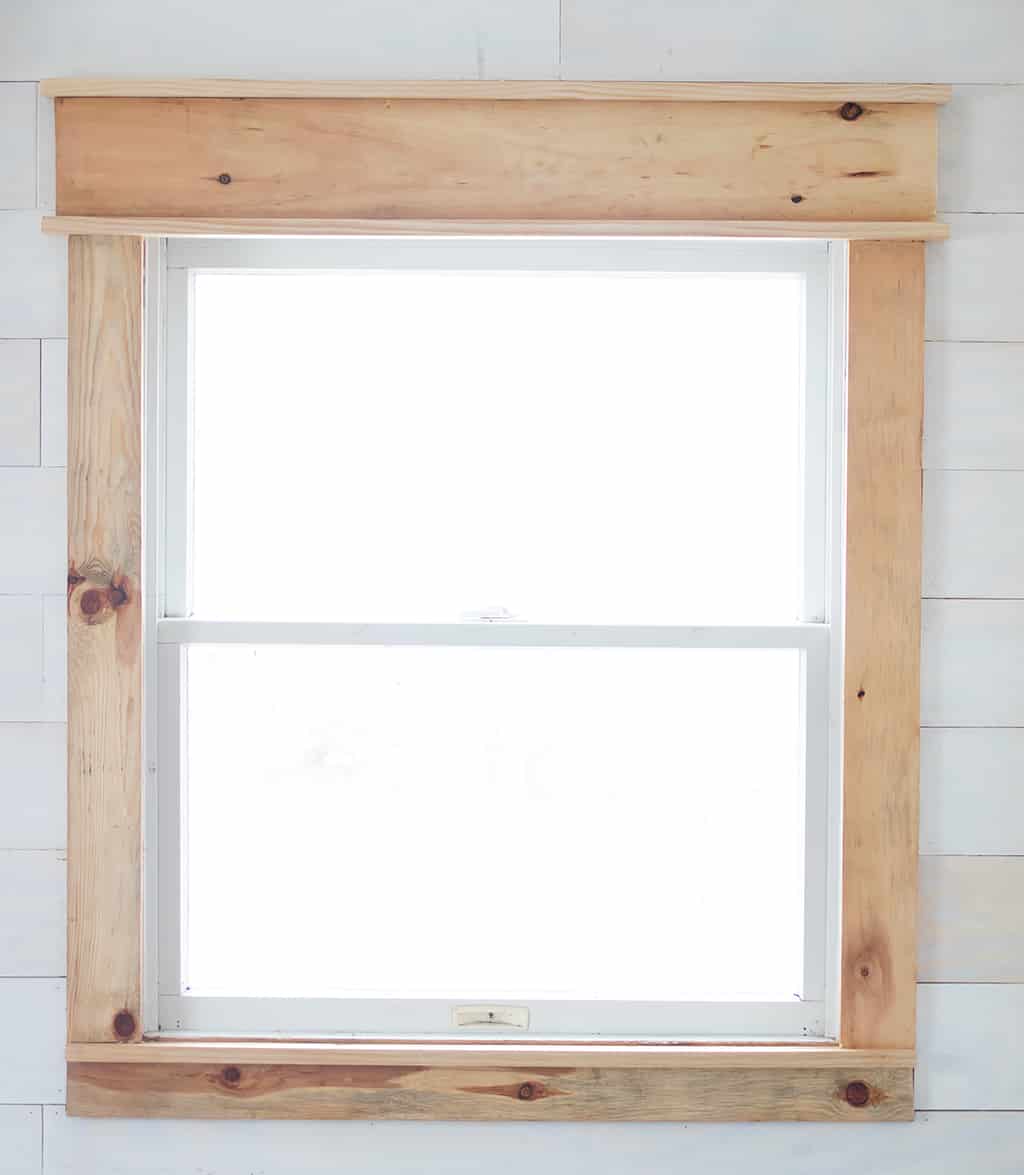
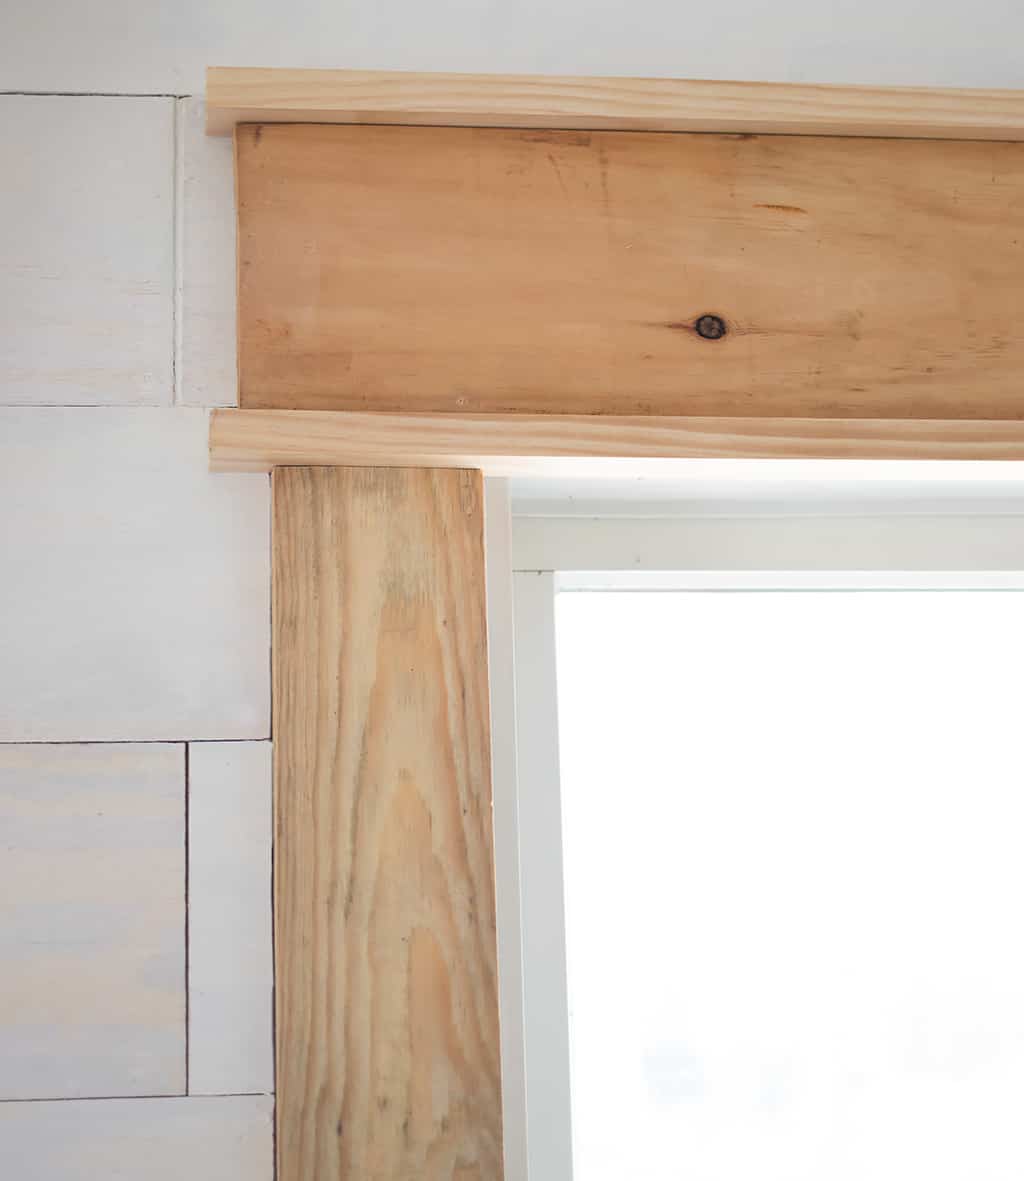
I included a picture below illustrating what sizes of wood go where. For the top of the window, I cut the pieces 2 inches larger so there would be an inch of overhang on each side.
I’m really happy with the transformation. It made a big difference with a small amount of time and money!
Looking for more Home DIY Projects?
How To Build a Privacy Screen Planter
How to Build an Outdoor Planter for $20
Wood needed:
1 x 2s (2 for the top of the window, 1 for the bottom)
1 x 4s (for the sides)
1 x 6 (for the top of the window)
Tools needed:
Circular, Table or Miter saw
Nail gun
How to Upgrade Your Windows With Craftsman Style Trim
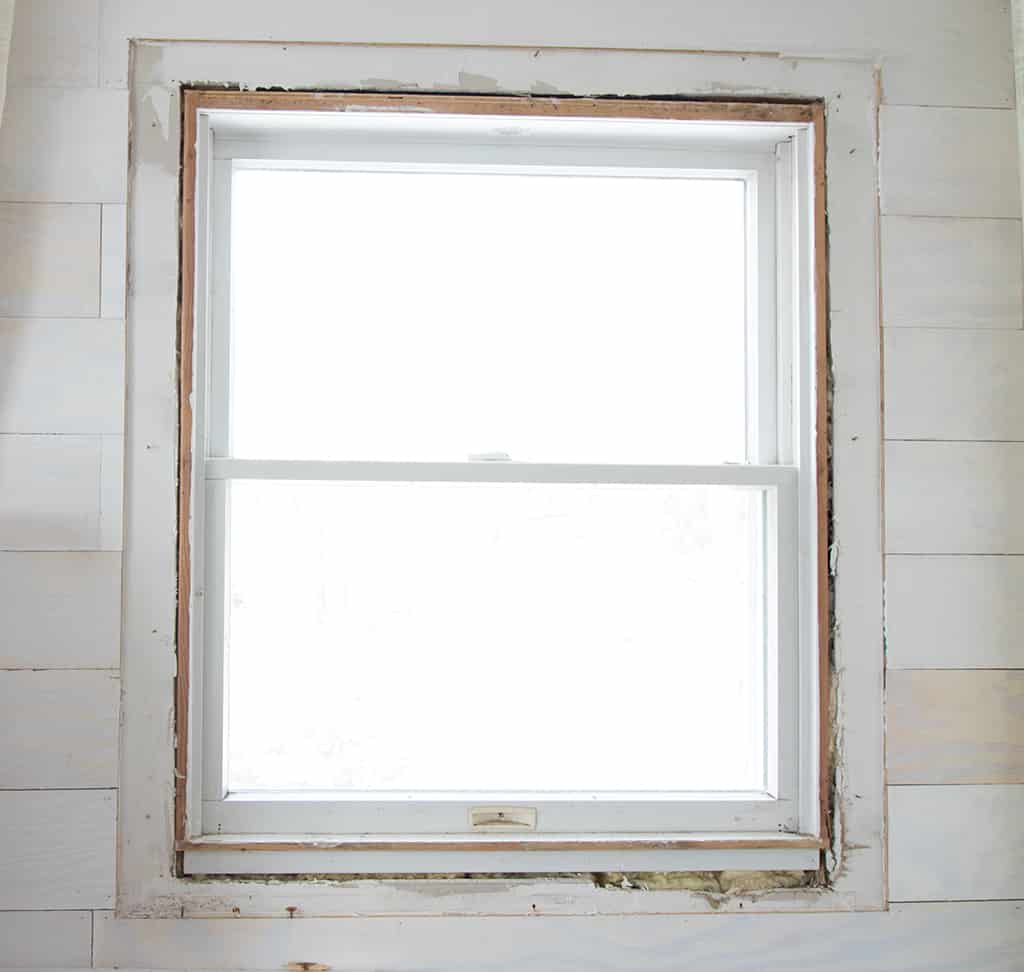
The first step is to remove the old trim using a pry bar. Pull out all the old nails.
Cut the wood to size. Starting at the bottom of the window, nail on the trim.
Once I was finished, I filled the nail holes and painted on a coat of clear stain.




Great idea- and great tutorial on how to do it!
Have to confess tho, when I first read the title, I thought it was about the computer software Windows! LOL! Electronics are taking over our brains!!😳