Growth Ruler DIY- Inspired by Pottery Barn
Growth Ruler DIY- Inspired by Pottery Barn – DIY your own for a fraction of the price of the original!
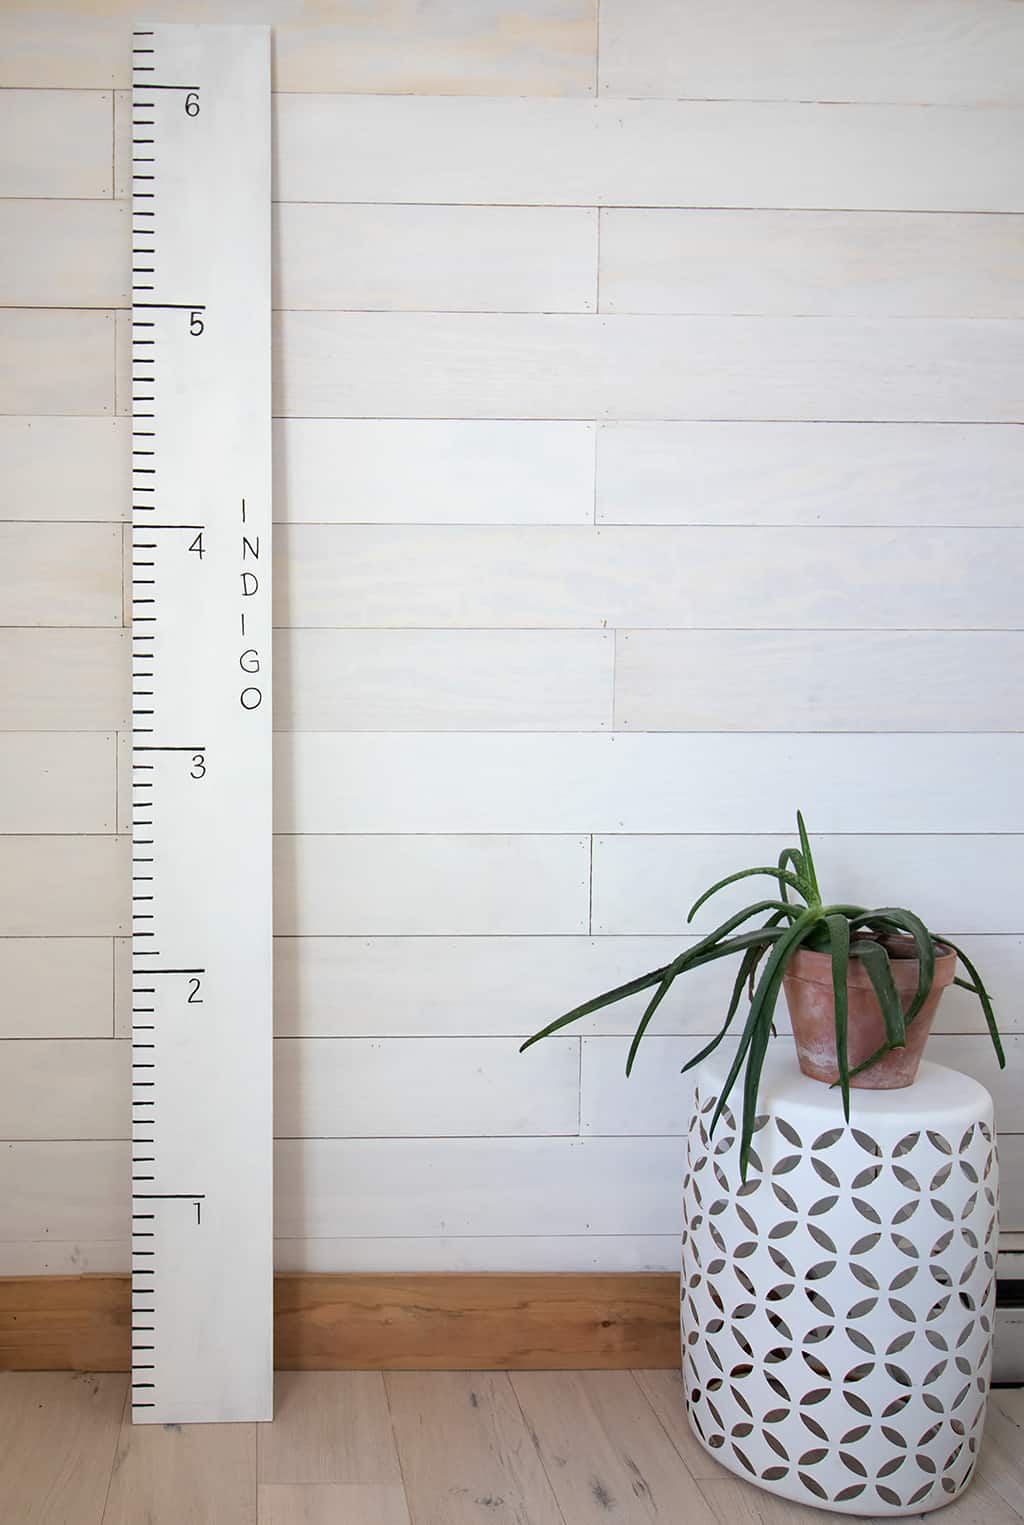
I recently came across this Pottery Barn Growth Chart and I thought it was such a great idea. Indigo is always asking when he’s going to get bigger, so I thought it would be fun to have a way to chart his progress. The Pottery Barn version is $99 and it’s made of MDF. For a fraction of the price, I was able to create this Growth Ruler DIY- Inspired by Pottery Barn in real wood. This is a fun addition to any kid’s room and they’ll love it!
Note- Before starting your project make sure you take into account where the ruler will be hung. If it’s going directly on the floor (like mine is) start with 1 inch. If you’re hanging the ruler above a baseboard start measuring after the width of the baseboard.
Supplies needed for Growth Ruler DIY- Inspired by Pottery Barn:
Wood (I used a 1X6)
Paint
Tape Measure
Print out of numbers and name
Clear spray paint (optional)
I recommend painting the wood rather than staining it. This way it’s easier to clean up edges or any mistakes.
Using the painter’s tape, mark off a small section at each inch. Use longer sections of tape to mark off the feet.
Measure 1 1/2 inches from the edge and run a length of tape to mark off the edges for the inches. Use a smaller piece of tape to mark off the feet. This will create rectangles to use as a stencil.
Fill in the lines using a paint marker.
Print out the numbers and name template. This can easily be created in Photoshop or any other editing software. Cut of the numbers and sandwich the transfer paper between the wood and the paper. Using a pencil, trace the numbers and they will appear on the board below. Go over the tracing with the paint marker.
Optional- after the paint marker is dry, finish with a coat of clear spray paint.
Looking for more DIY projects for kids?
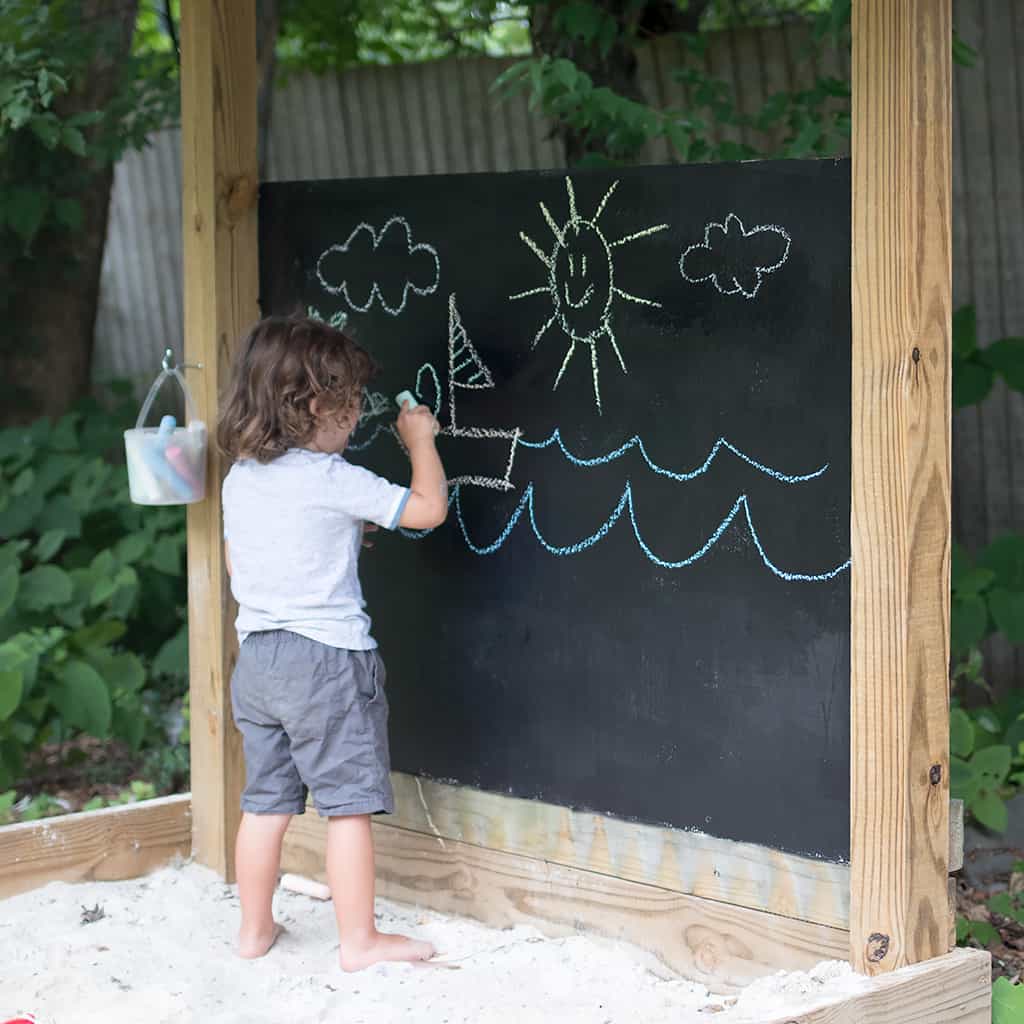
How to Make a Weatherproof Chalkboard

