DIY Kid’s Art Display
DIY Kid’s Art Display- a fun way to display little masterpieces!
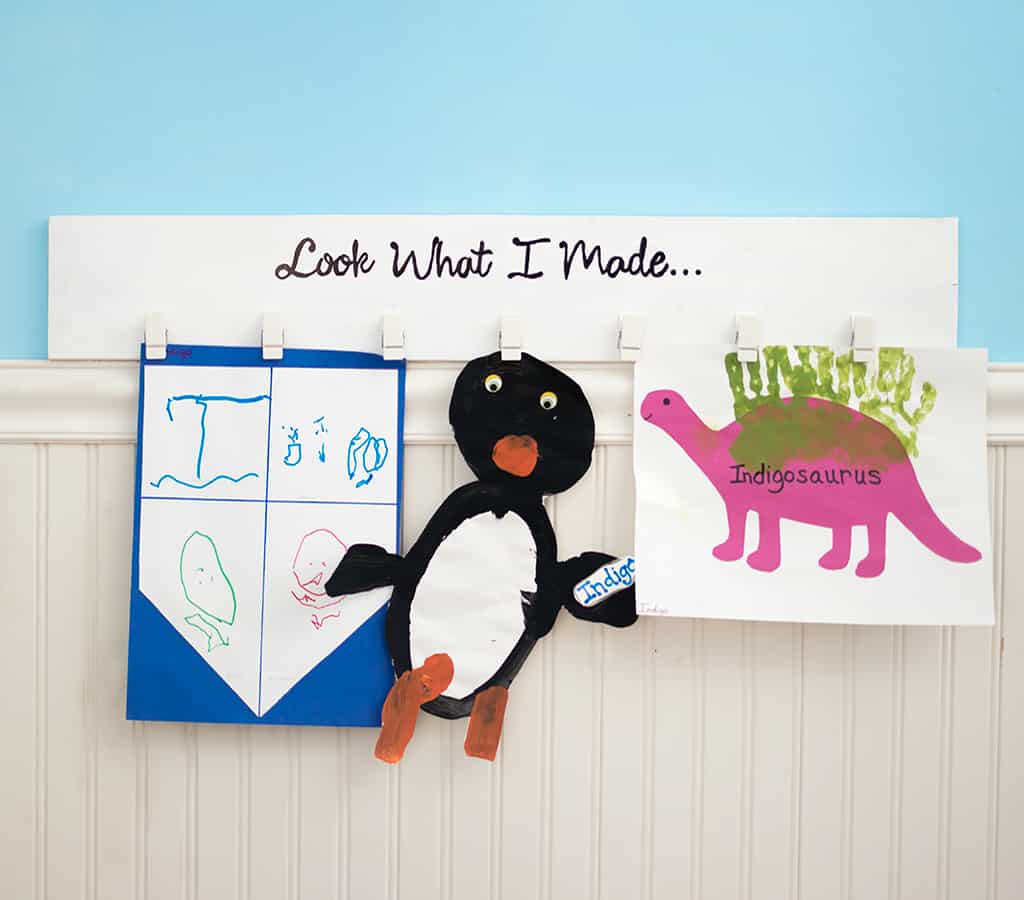
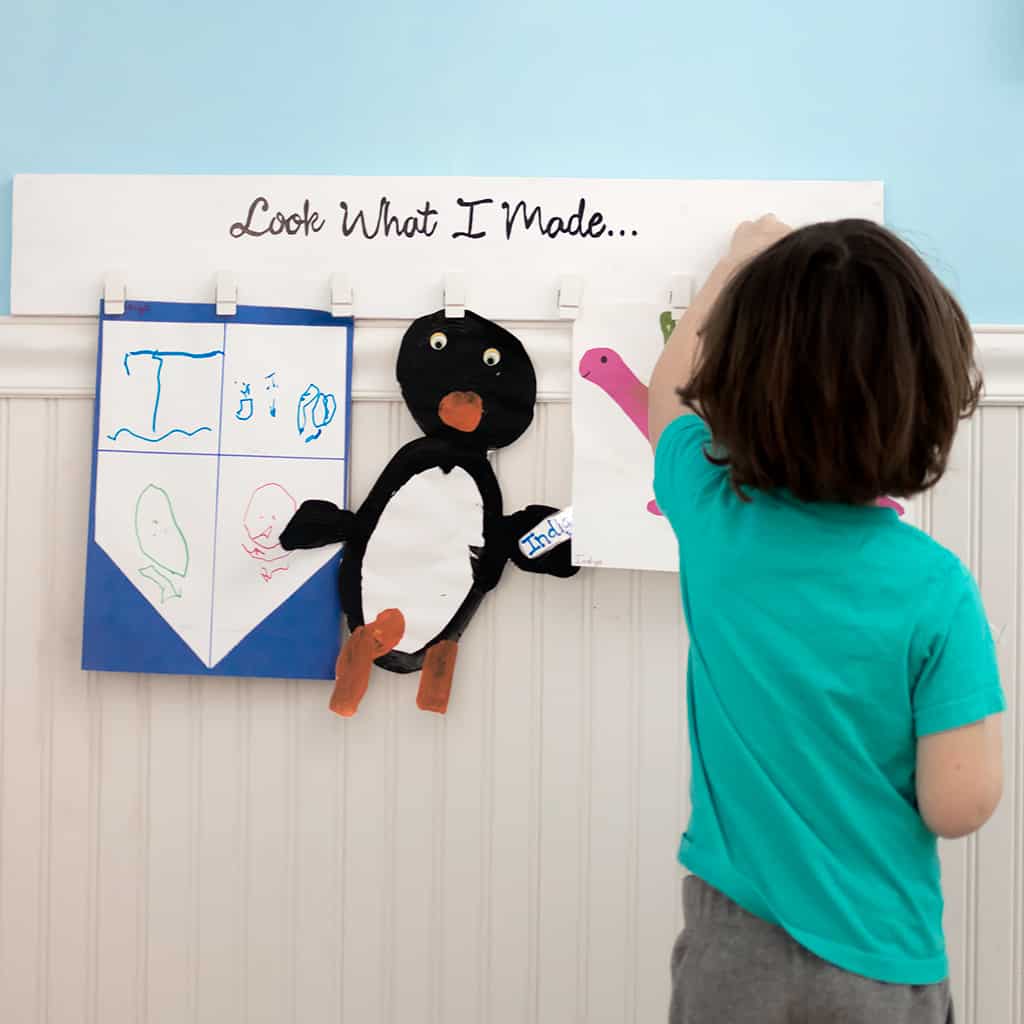
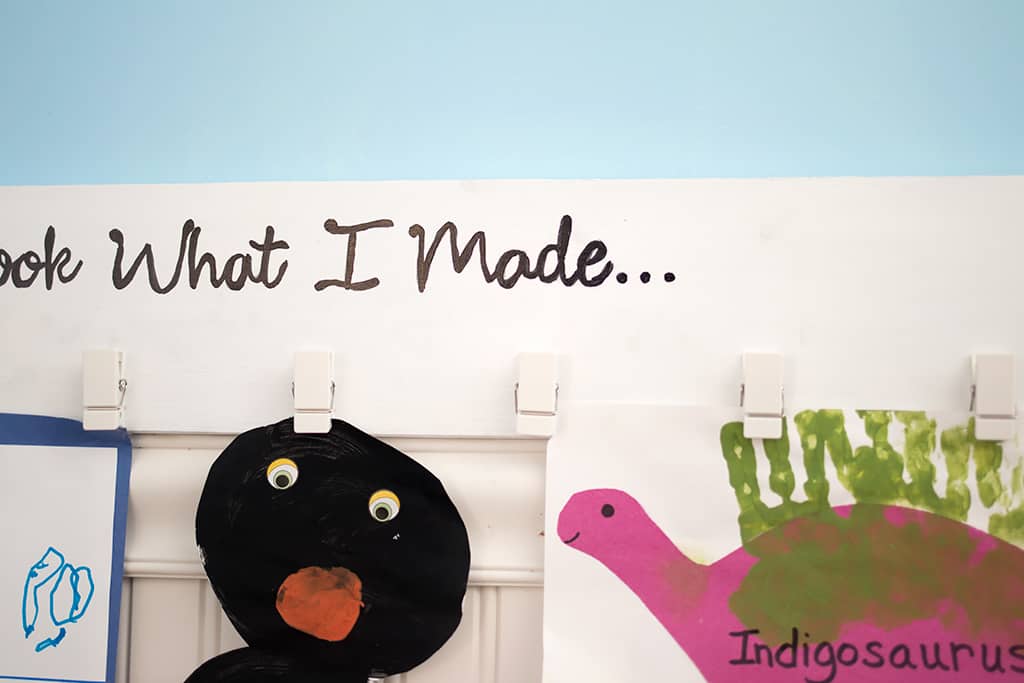
Indigo comes home with the cutest artwork from nursery school! I have been hanging it on the refrigerator, but the magnets don’t hold well and it’s always sliding/falling. This DIY Kid’s Art Display was the perfect solution!
This display is easy to make and it’s a cute way to show off your little one’s art. I hung it above the wainscotting in Indigo’s room so he could reach it and change the artwork all by himself.
Supplies needed for DIY Kid’s Art Display:
Wood-I used a clear (free of knots) piece of scrap wood that measured 1 x 5 x 30
Paint
DIY Kid’s Art Display
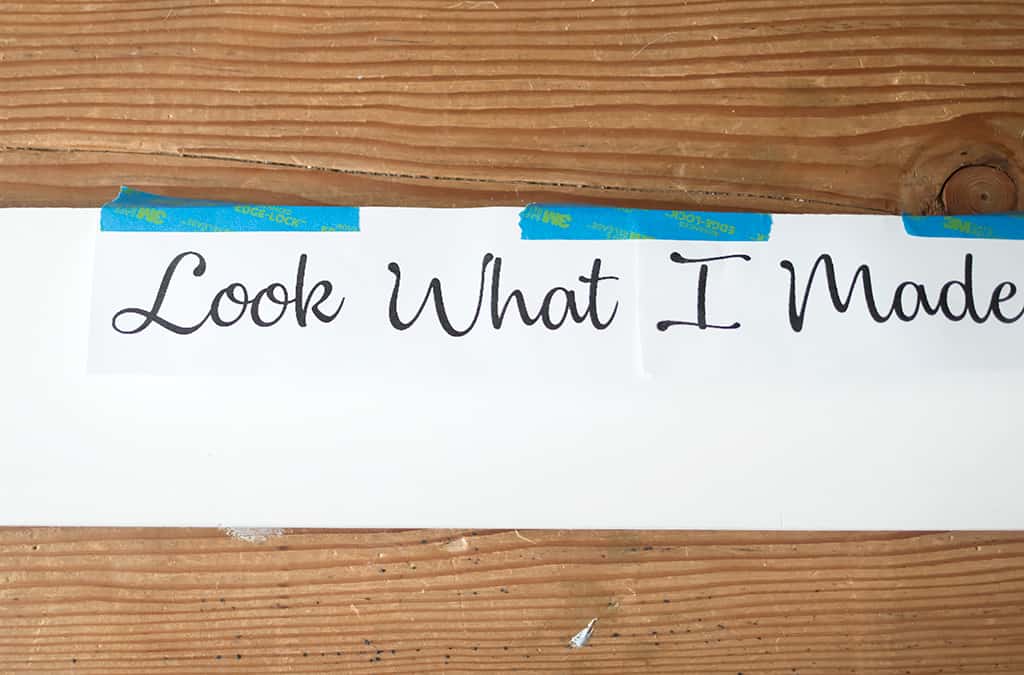
Paint the wood and let dry. Print out the saying you would like- I chose “Look What I Made”. Center the words on the board and tape to the top.
If you have nice handwriting (I don’t!), you could skip this step and write directly on the board in pencil.
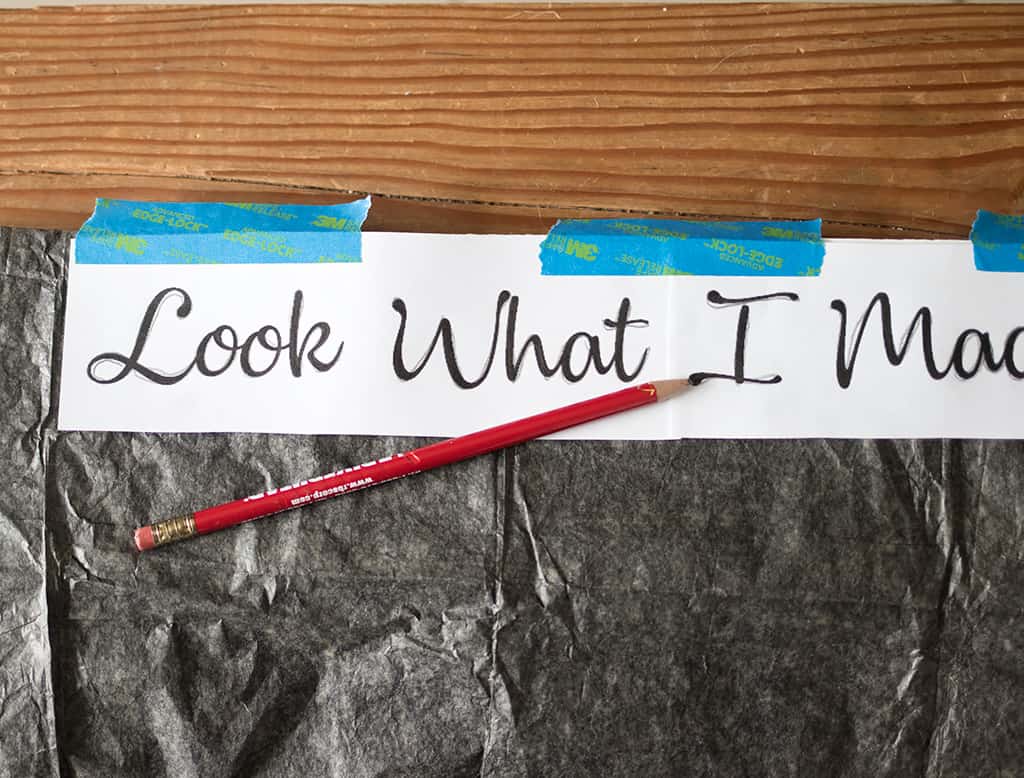
Slide the graphite paper under the print out (lighter side up) and trace.

Remove the print out and graphite paper. The print out will be nicely transferred to the board!

Trace over the words using the paint marker.
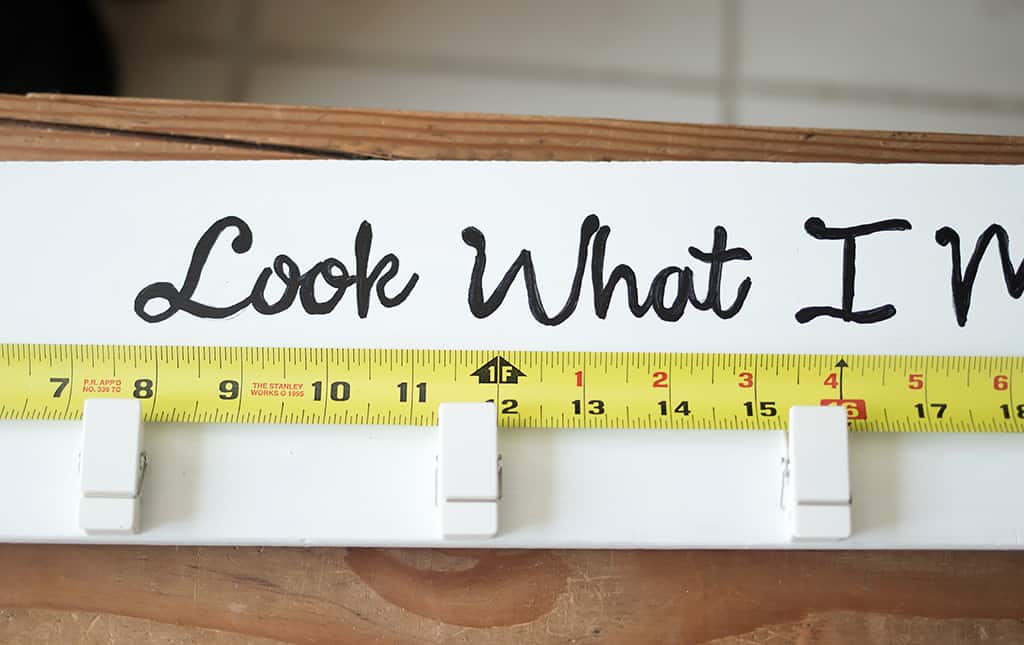
Measure the spacing for the clips.
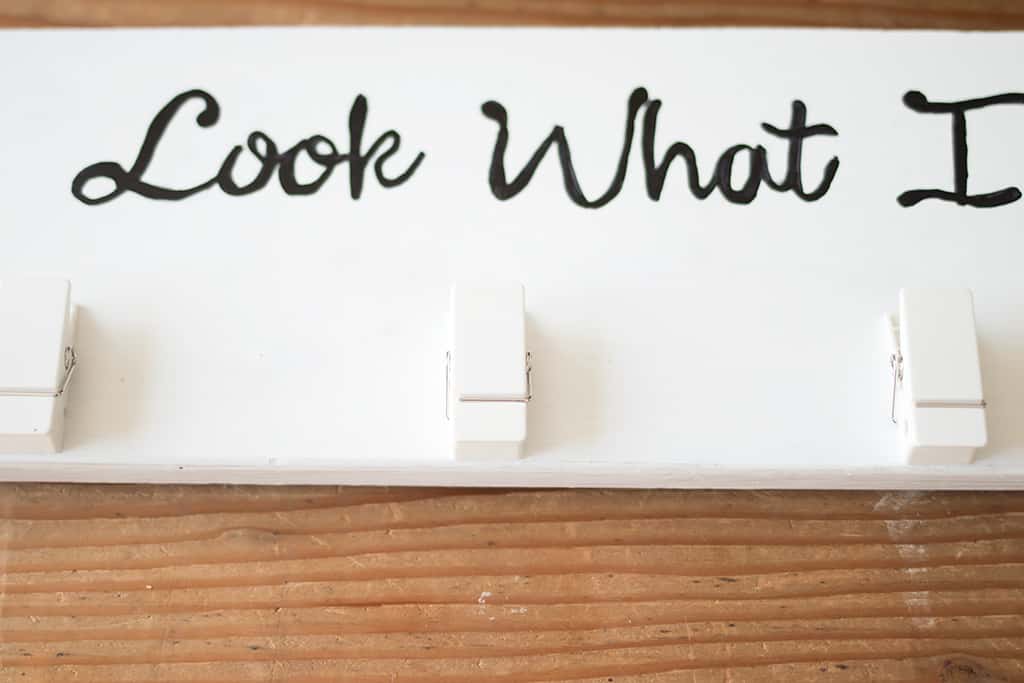
Secure the Command Clips- they come with an adhesive tape.
I nailed the display directly to the wall using finishing nails. Then I puttied the holes and touched up the paint. You could also put a sawtooth hanger on the back to hang.
Looking for more DIY projects for kids?
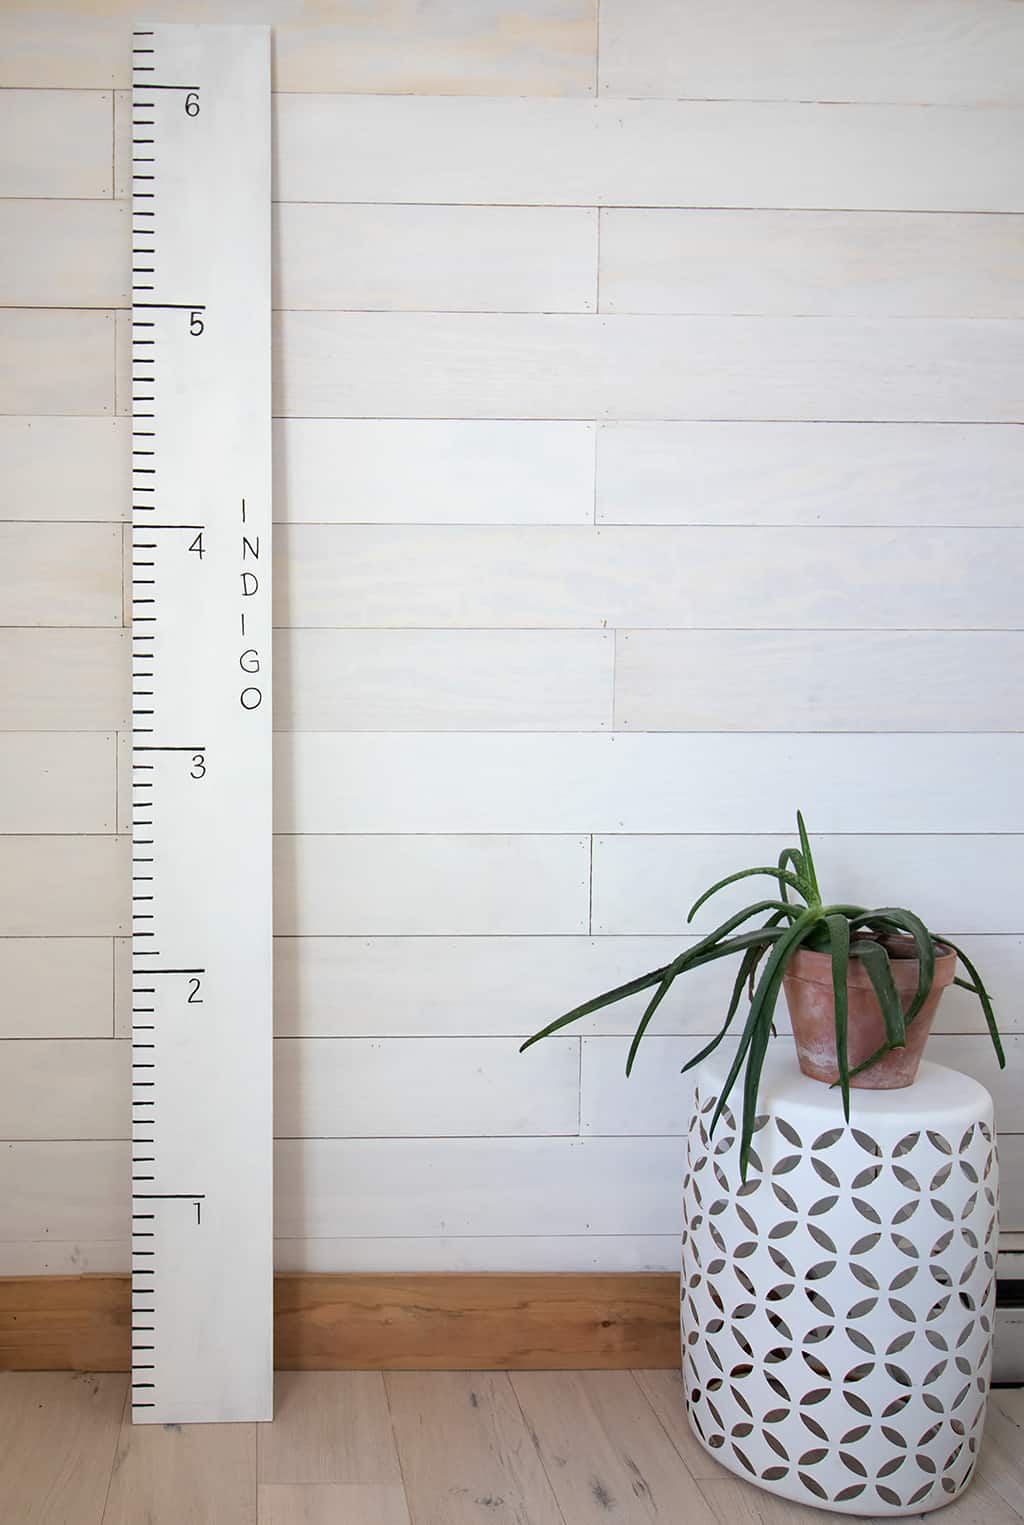
Growth Ruler DIY- Inspired by Pottery Barn