Easy Kids Tank Knitting Pattern (Beginner-Friendly Summer Top Knit Flat)
Learn how to knit an easy kids tank top with this beginner-friendly pattern! Knit flat using simple stitches, this lightweight summer top is perfect for warm weather and quick gifts.
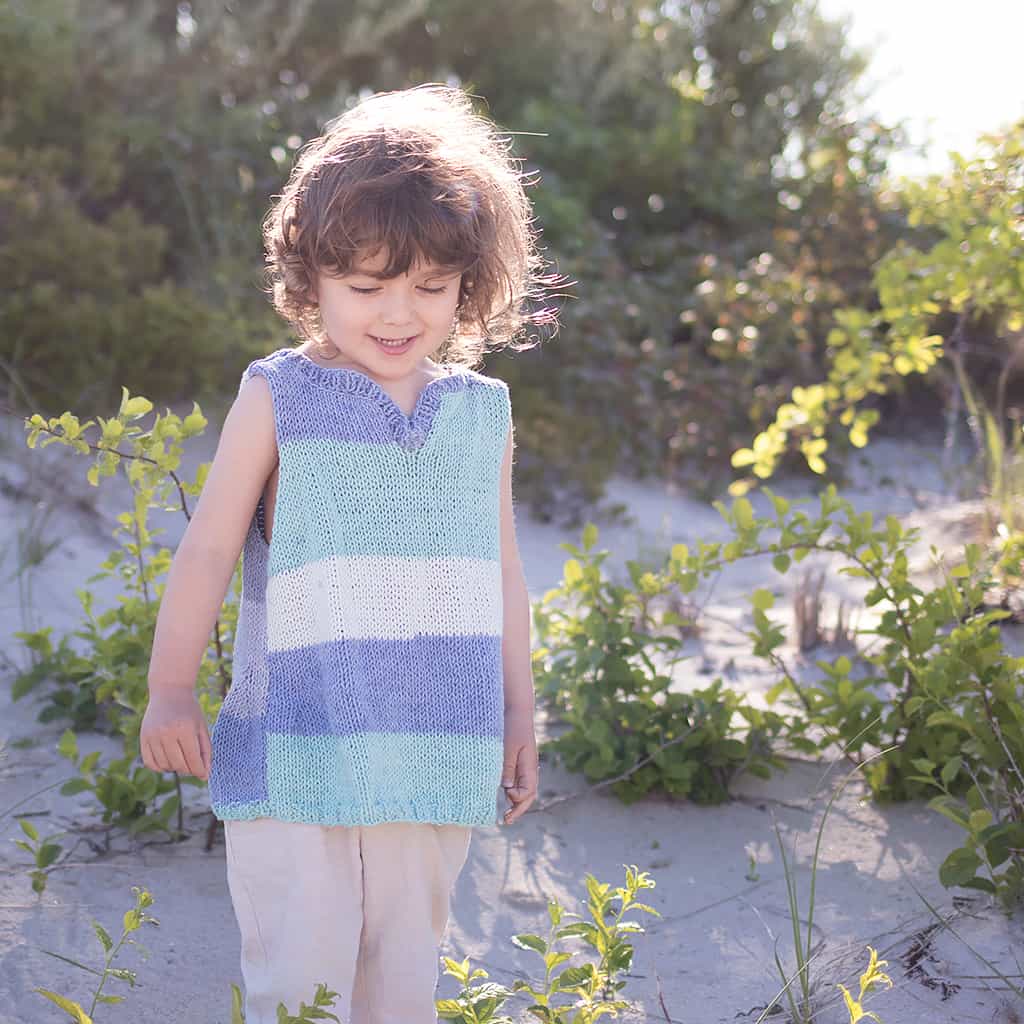
If you’re looking for a simple, stylish knitting project for warmer weather, this easy kids tank knitting pattern is one of the best places to start.
Lightweight, breathable, and incredibly beginner-friendly, this tank is the kind of project that feels relaxing from the very first row—and actually gets worn once it’s finished.
Grab the printable version of this pattern and start knitting right away—no scrolling needed.
Get the Printable PatternBecause let’s be honest… the best knitting projects are the ones your kids will actually wear.
This pattern is designed to be:
Easy to follow
Quick to knit
Comfortable for everyday wear
And best of all, it uses simple stitches and basic shaping, making it perfect for beginners.
Why This Is the Perfect Beginner Tank Pattern
If you’ve already mastered basic stitches like knit and purl, you’re ready for this project.
This tank is worked flat and then seamed, which means:
No knitting in the round
No complicated construction
No stress
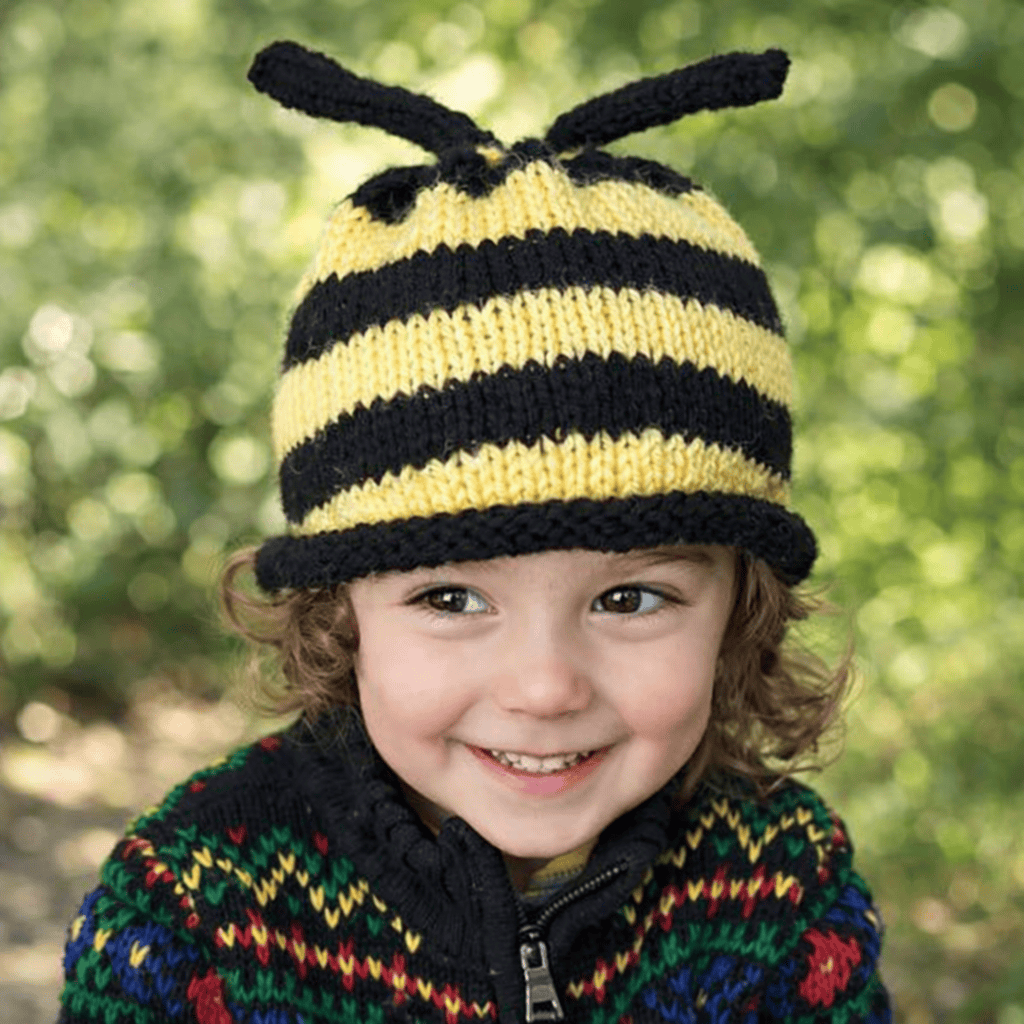
It’s a great “next step” after beginner projects like:
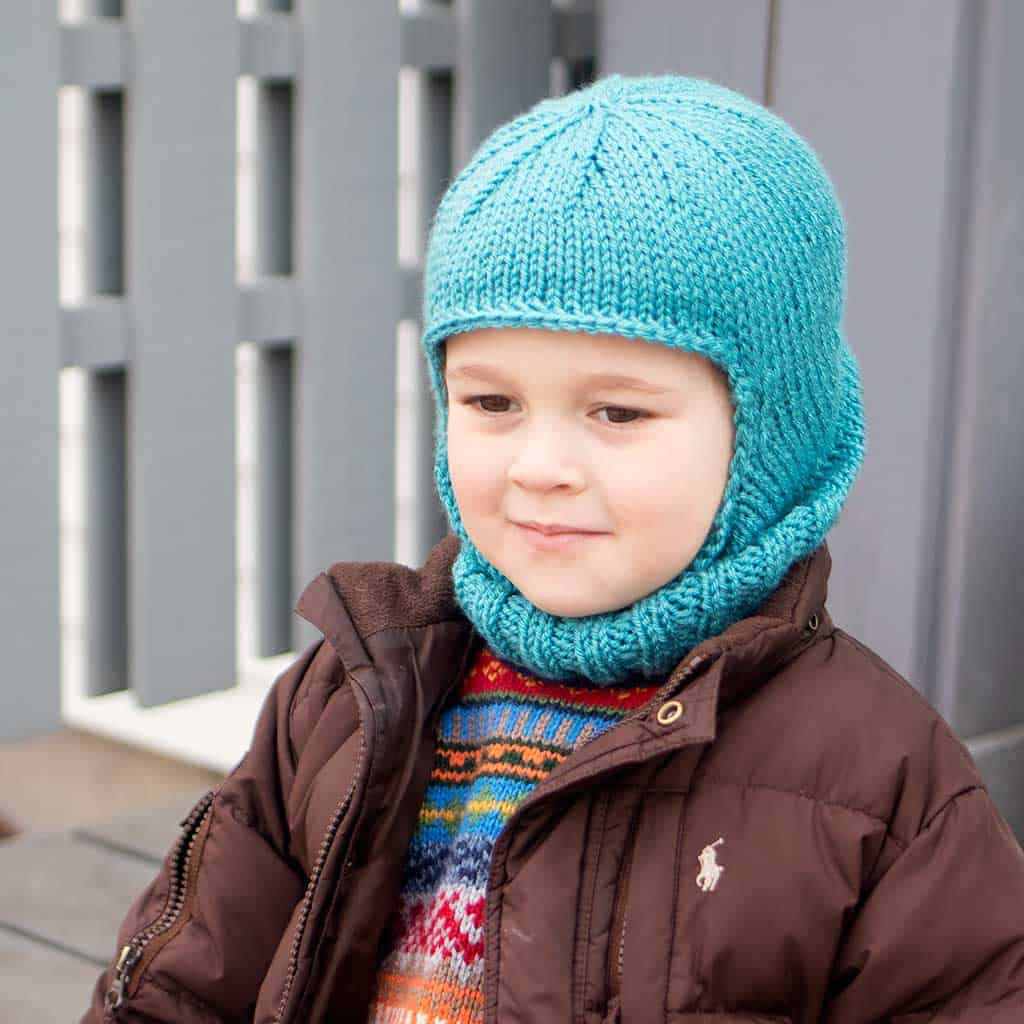
How to Knit a Hat on Straight Needles
How to Knit Baby Booties
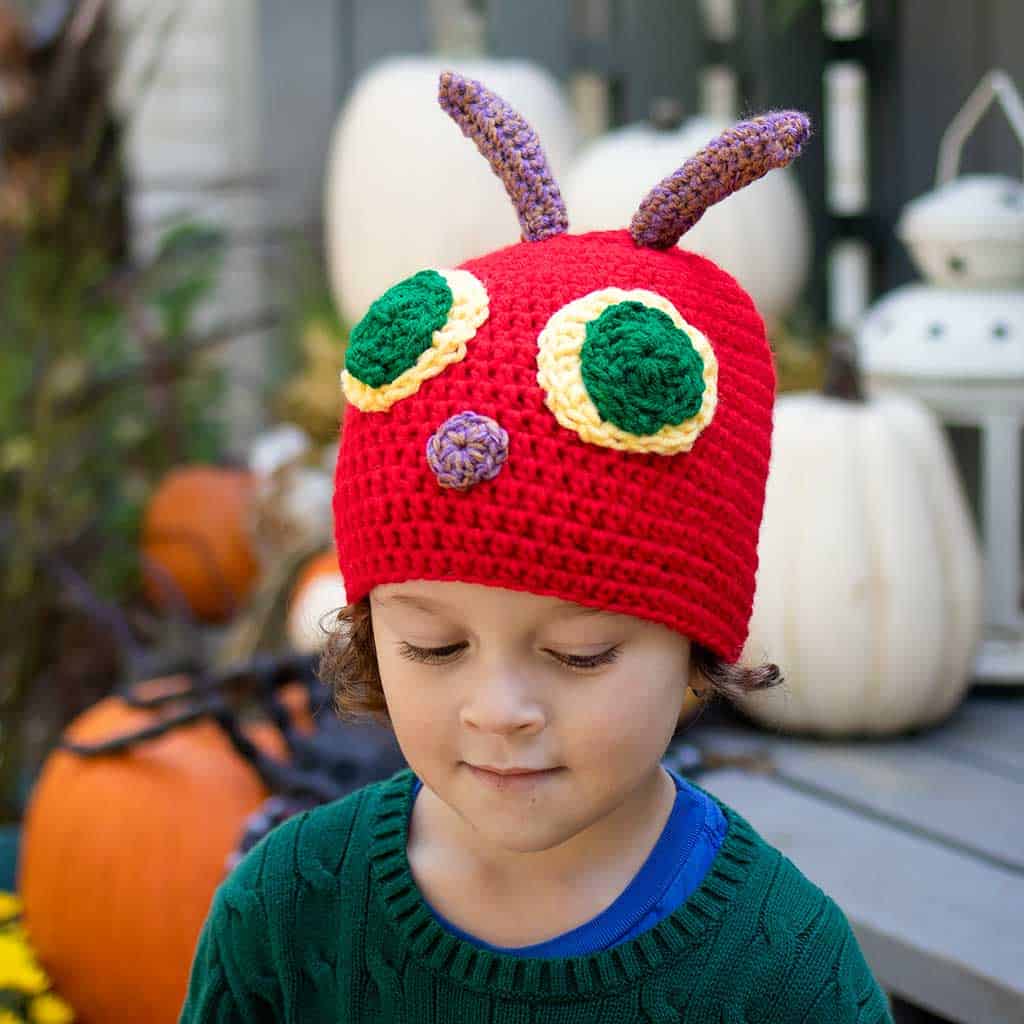
Easy Plush Bear Knitting Pattern
If you can knit a rectangle, you can absolutely make this tank.
The Perfect Summer Knitting Project
This pattern was designed with warm weather in mind.
Loose-fitting tanks are ideal for spring and summer because they’re:
Lightweight
Breathable
Easy to layer
The original version uses cotton yarn, which gives the tank a soft feel and beautiful drape—perfect for keeping kids comfortable on warm days.
If you loved your Easy Tank Knitting Pattern for Women, this kids version is the perfect match.
Easy Kids Tank Knitting Pattern (Beginner-Friendly Summer Top Knit Flat)
✨ Ad-Free Printable Pattern Available! ✨
The ad-free, printable PDF of this pattern is now available for purchase at Shop Gina Michele—perfect for easy, distraction-free stitching.
Looking for more projects? Browse the Knitting Pattern Directory to explore all my knitting patterns in one place.
(As an Amazon associate, I earn from qualifying purchases)
Yarn: Caron Cotton Cakes in Hydrangea (2 skeins)
Needles: Size 7 single point and size 7 circular, 16 inch
Gauge: 18–20 stitches = 4 inches (10 cm) in stockinette stitch
Sizes: 2T, 3T
You Might Also Like


Pattern instructions:
For the Back:
Cast on 68 (70) sts. Work in K2, P2 ribbing for 3 rows.
Rows 4-8: Knit.
Row 9 (Decrease Row) (RS): K4, k2tog, k to last 6 stitches, k2tog, k to end of row – you will have 66 (68) sts at the end of this row.
Rows 10-16: Beg with a WS (purl) row, work in Stockinette stitch.
Rows 17-40: Repeat Rows 9-16 for 3 more times – 60 (62) sts when all have been worked.
Row 41: Repeat Row 9 – 58 (60) sts.
Continue in Stockinette st until the piece measures about 8 1/2 (9 1/2) inches from the beginning, end with a WS row as the last row you work.
Shape Armholes:
Row 1 (RS): Bind off 4 sts, k to end of row.
Row 2: Bind off 4 sts, p to end of row – 50 (52) sts.
Row 3 (Decrease Row): K1, k2tog, k to last 3 sts, k2tog, K1 – 48 (50) sts.
Row 4: Purl.
Repeat Rows 3 and 4 for 3 more times – 42 (44) sts when all decreases have been completed.
Continue in Stockinette st for 2 rows.
Repeat Row 3 – 40 (42) sts.
Continue in Stockinette st until armholes measure about 2 1/2 (3 1/2) inches, end with a WS row as the last row you work.
Shape Neck:
Note: You’ll be shaping one side of the front neck at a time.
First Shoulder Row 1 (RS): K15 (16) and slip these sts onto a stitch
holder for second side, bind off 10 sts, k to end of row – 15 (16) sts remain.
Rows 2, 4, 6 and 8: Purl.
Row 3: Bind off 3 sts, k to end of row – 12 (13) sts.
Row 5: Bind off 2 sts, k to end of row – 10 (11) sts.
Row 7: K2tog, k to end of row – 9 (10) sts.
Row 9: K2tog, k to end of row – 8 (9) sts.
Rows 10-13: Work in Stockinette st.
Bind off.
Second Shoulder:
Return 15 (16) sts from st holder to needles so you are ready to work a WS row.
Row 1(WS): Bind off 3 sts, purl to end of row – 12 (13) sts.
Rows 2, 4 and 6: Knit.
Row 3: Bind off 2 sts, p to end of row – 10 (11) sts.
Row 5: P2tog, p to end of row – 9 (10) sts.
Row 7: Rep Row 5 – 8 (9) sts.
Rows 8-11: Work in Stockinette st.
Bind off.
For the Back:
Cast on and work the same as Front until armholes measure about 1 1/2 (2
1/2) inches, end with a WS row as the last row you work.
Divide for Back Slit
First Shoulder
Next Row (RS): K 20 (21); sl rem sts to a st holder for second side – 20 (21) sts rem for first shoulder.
Continue in Stockinette st until armhole measures about 3 1/2 (4 1/2) inches, end with a RS row as the last row you work.
Shape the Neck:
Next Row (WS): Bind off 10 sts, p to end of row – 10 (11) sts.
Next Row: K to last 2 sts, k2tog – 9 (10) sts.
Next Row: Purl.
Next Row: K to last 2 sts, k2tog – 8 (9) sts.
Continue in Stockinette st for 4 rows.
Bind off.
Second Shoulder:
Return 20 (21) sts from holder to needles ready to work a RS row.
Continue in Stockiette st until armhole measures same as first shoulder to neck, end with a WS row as the last row you work.
Shape the Neck:
Next Row (RS): Bind off 10 sts, k to end of row – 10 (11) sts.
Next Row: Purl.
Next Row: K2tog, k to last end of row – 9 (10) sts.
Next Row: Purl.
Next Row: K2tog, k to last end of row – 8 (9) sts.
Continue in Stockinette st for 4 rows.
Bind off.
Finishing:
Sew shoulder seams.
Neck Edging
From RS with circular needle, and beg at left Back slit, pick up and k70 sts evenly spaced around neck edge, ending at right Back slit.
Working back and forth in rows on circular needle as if working on straight needles, knit 2 rows.
Bind off.
Armhole Edging:
From RS with circular needle, and beg at underarm, pick up and k 52 (62) sts evenly spaced around armhole edge.
Work as for neck edging.
Bind off.
Repeat edging on the opposite armhole.
Sew side seams, including armhole edging.
Sew a button to the top of one side of Back slit. Button the Top by inserting the
button through the knit fabric.
Weave in ends.
Grab the printable version of this pattern and start knitting right away—no scrolling needed.
Get the Printable Pattern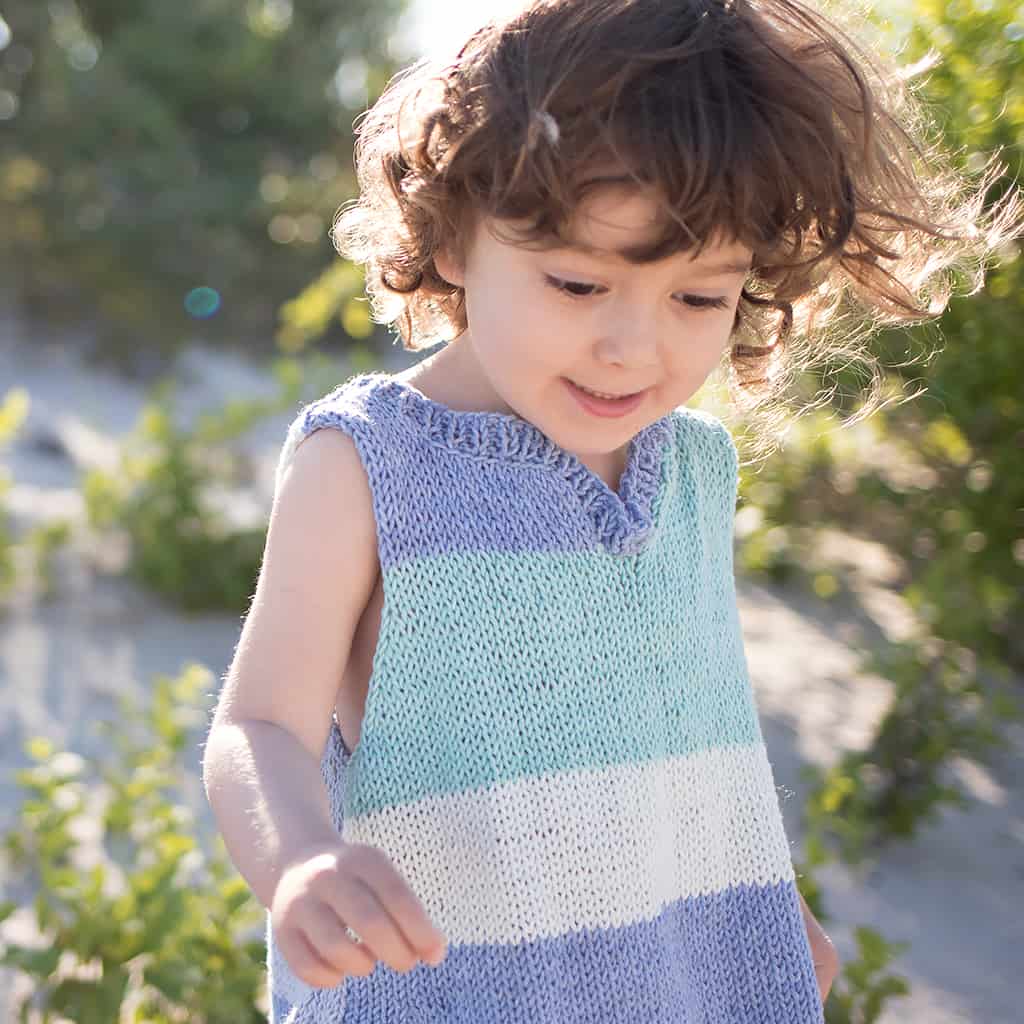
Want the Ad-Free PDF Pattern for this Easy Kids Tank Knitting Pattern (Beginner-Friendly Summer Top Knit Flat)?
If you prefer knitting from a clean, printable pattern (no scrolling, no ads), grab the PDF version here:
👉 Shop the Kids Tank Knitting Pattern
✨ Buy 2 patterns, get 1 FREE—no code needed!
The PDF is perfect for:
Printing
Taking to knitting groups
Keeping in your pattern binder
A Perfect Handmade Gift
This tank makes a beautiful handmade gift for:
Birthdays
Summer wardrobes
Vacation outfits
Back-to-school layering pieces
And because it knits up relatively quickly, it’s ideal for last-minute gifts.
Tips for the Best Results
If you want your tank to look polished and wearable, here are a few simple tips:
Keep your tension consistent
Even stitches make a huge difference in garments.
Don’t skip blocking
Blocking helps the tank lay flat and improves the drape.
Use soft yarn
Comfort is key—especially for kids.
Take your time with seaming
Neat seams = a more professional finish.

Ways to Customize Your Tank
Once you’ve made one, you’ll want to experiment.
Try:
Stripes or color blocking
Adding a pocket
Making it longer or cropped
Using chunky yarn for a different look
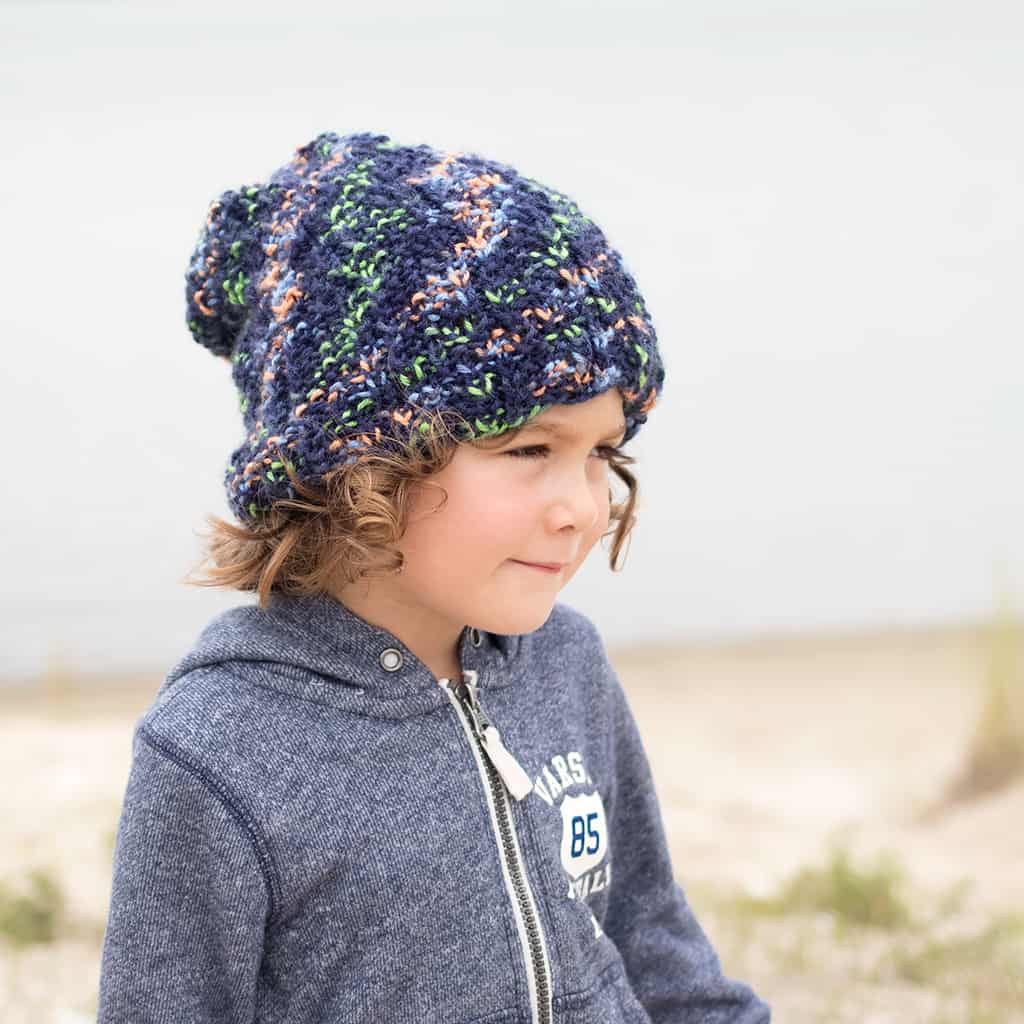
Looking for more knitting patterns for toddlers?:
Flat Knit Toddler Ear Flap Hat
Easy Toddler Pants Knitting Pattern
Easy Cotton Toddler Sweater Knitting Pattern
More Easy Knitting Patterns You’ll Love
If you enjoyed this project, here are more beginner-friendly patterns to try next:
Easy Toddler Sweater Knitting Pattern
Easy Kids Garter Stitch Hat Knitting Pattern (Beginner-Friendly & Knit Flat)
Easy Flat Knit Baby Hat and Booties Pattern (Beginner-Friendly Newborn Gift Set)
Flat Knit Plush Cat Knitting Pattern
One Square Stuffed Bunny
Or browse the full Knitting Pattern Directory to find your next project.
Why Simple Wearables Are So Valuable
Simple wearable projects like this tank are incredibly powerful for growing your knitting skills.
They help you:
Build confidence
Practice shaping
Learn garment construction
Without feeling overwhelmed.
And unlike more complicated projects, this is something that actually gets worn—again and again.
Grab the printable version of this pattern and start knitting right away—no scrolling needed.
Get the Printable Pattern
This easy kids tank knitting pattern is the perfect combination of simple and satisfying.
It’s:
Beginner-friendly
Quick to make
Perfect for warm weather
Actually wearable
Whether you’re knitting for your own kids or making a thoughtful handmade gift, this is one of those patterns you’ll come back to every summer.
And once you finish one… don’t be surprised if you start planning the next in a different color.
✨ I’d love to see what you’re making! ✨
If you’ve tried one of my knitting patterns, crochet projects, DIYs, or recipes, share your finished project on Instagram and tag me so I can see it 💛
There’s nothing better than seeing your creations come to life—from cozy knits to delicious recipes and everything in between. It truly makes my day!
Tag me @ginamicheleny so I can share your work and cheer you on!
Happy making!