
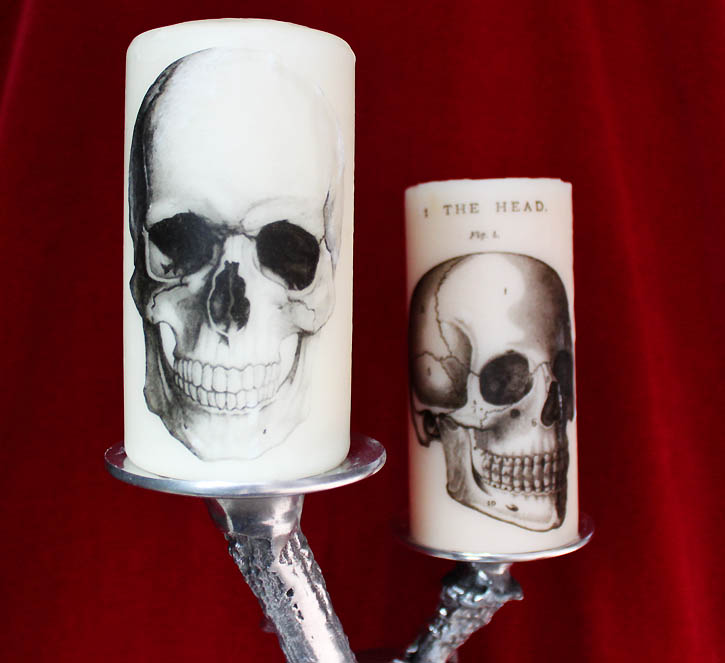
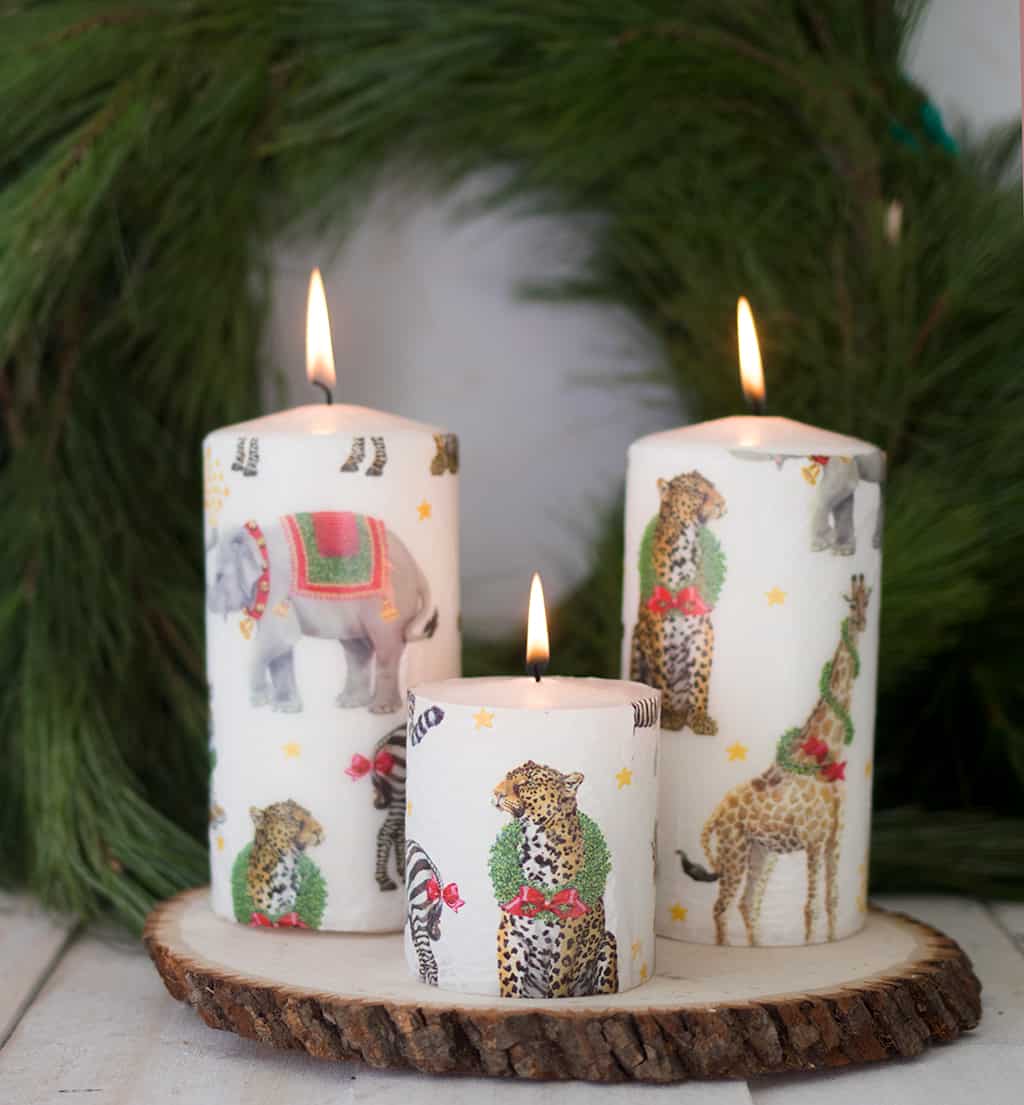
DIY Printed Halloween Candles
DIY Printed Halloween Candles- spooky chic decor that’s fun to make!
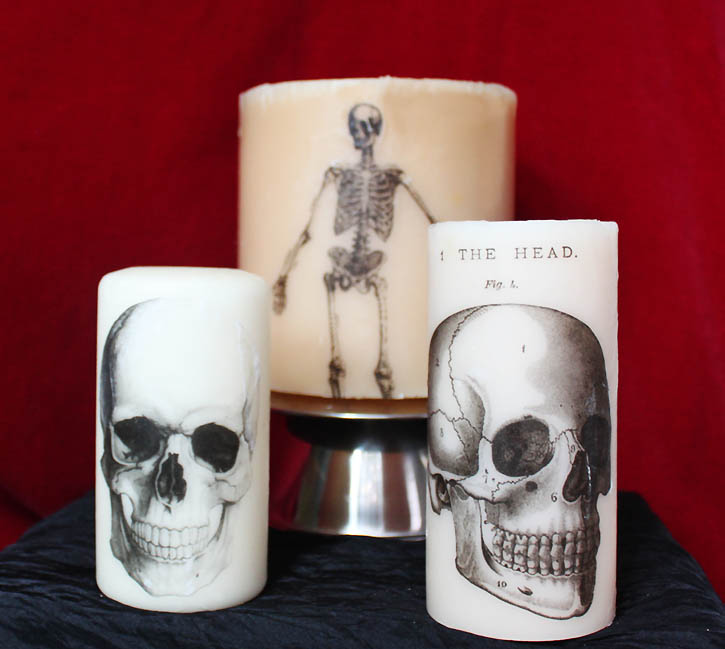
Did you know you can transfer images to candles using tissue paper? These DIY Printed Halloween Candles are a great way to make some inexpensive Halloween decorations!
Supplies for DIY Printed Halloween Candles-
- Pillar candles
- Tissue paper
- Ink jet printer and paper
- Glue stick
- Scotch Tape
- Hair dryer
 |
| The first step is to print out the image on to the tissue paper. If you run tissue paper through your printer by itself it will jam, so it has to be scotch taped to paper first. Cut the tissue paper a few inches smaller than the printer paper. Tape all around the border. When you are finished, run an iron over it a few times on the lowest setting to make sure it is perfectly flat |
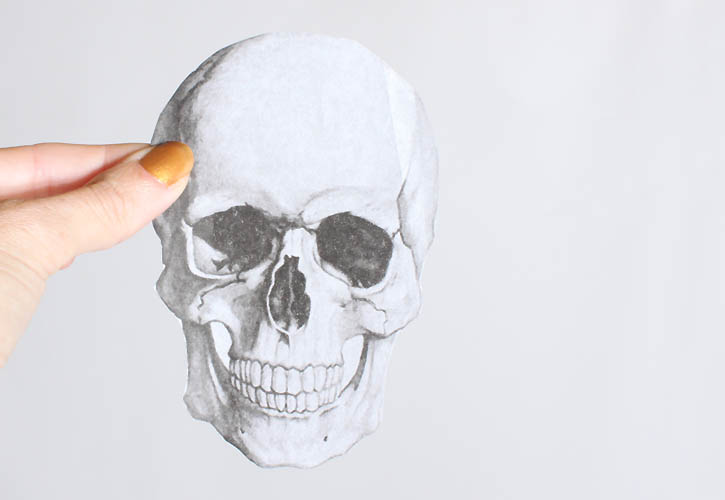 |
| Cut out your image. I found it easier to cut through both the tissue paper and printer paper |
 |
| Wipe some glue around the edges and stick the image to the candle- this prevents the tissue paper from moving when you use the hair dryer |
 |
| Using a hair dryer held a few inches away, go over the image. The candle will heat up and the tissue paper will adhere. You can see the white parts of the tissue paper disappear before your eyes! |


That's such a great idea! I need to try that out! ♥
I found your blog when I was looking for a different sort of wonderful colorful candles collection, but I was very happy and glad to read through your blog. The information available here is great. Get Wholesale Unscented Pillar Candles