Pea Gravel Patio DIY
Looking for an affordable alternative to a stone patio? Try this Pea Gravel Patio DIY!
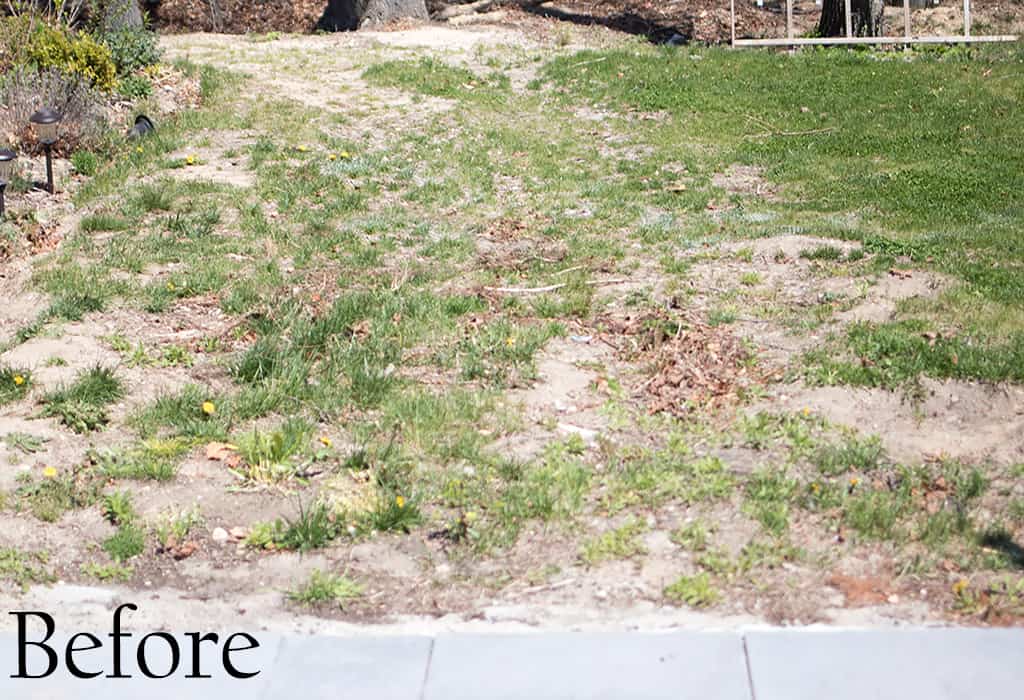
Next to my back patio there was a sorry looking space. I’d call it a lawn, but as you can see from the “before” pic, it was mostly dirt patches and weeds! I tried to grow grass, but it never took. Needless to say, it was a major eyesore. Last year I had a new stone patio put in. I love the way it turned out but not only was it very expensive (labor prices in the Hamptons are so high), the workers showed up sporadically and it took months to complete. This time around, I wanted something that was more affordable and that I could make myself.
Pea Gravel patios, walkways and driveways are popular in the Hamptons. They’re beach-y and casual and the stones make the best sound when you walk on them! This entire patio project can be finished in a weekend- especially if you have a helper (unfortunately I didn’t). The hardest/most time-consuming part is definitely shoveling all the pea gravel into the frame.
The first thing you need to do is measure out the size of the patio. I did 12′ x 20′. I had a local excavating company deliver the pea gravel. It actually turned out to be cheaper than if I had ordered it a major home improvement store! I also had the wood delivered from a local lumber yard, which was much easier than trying to fit the patio materials in my car.
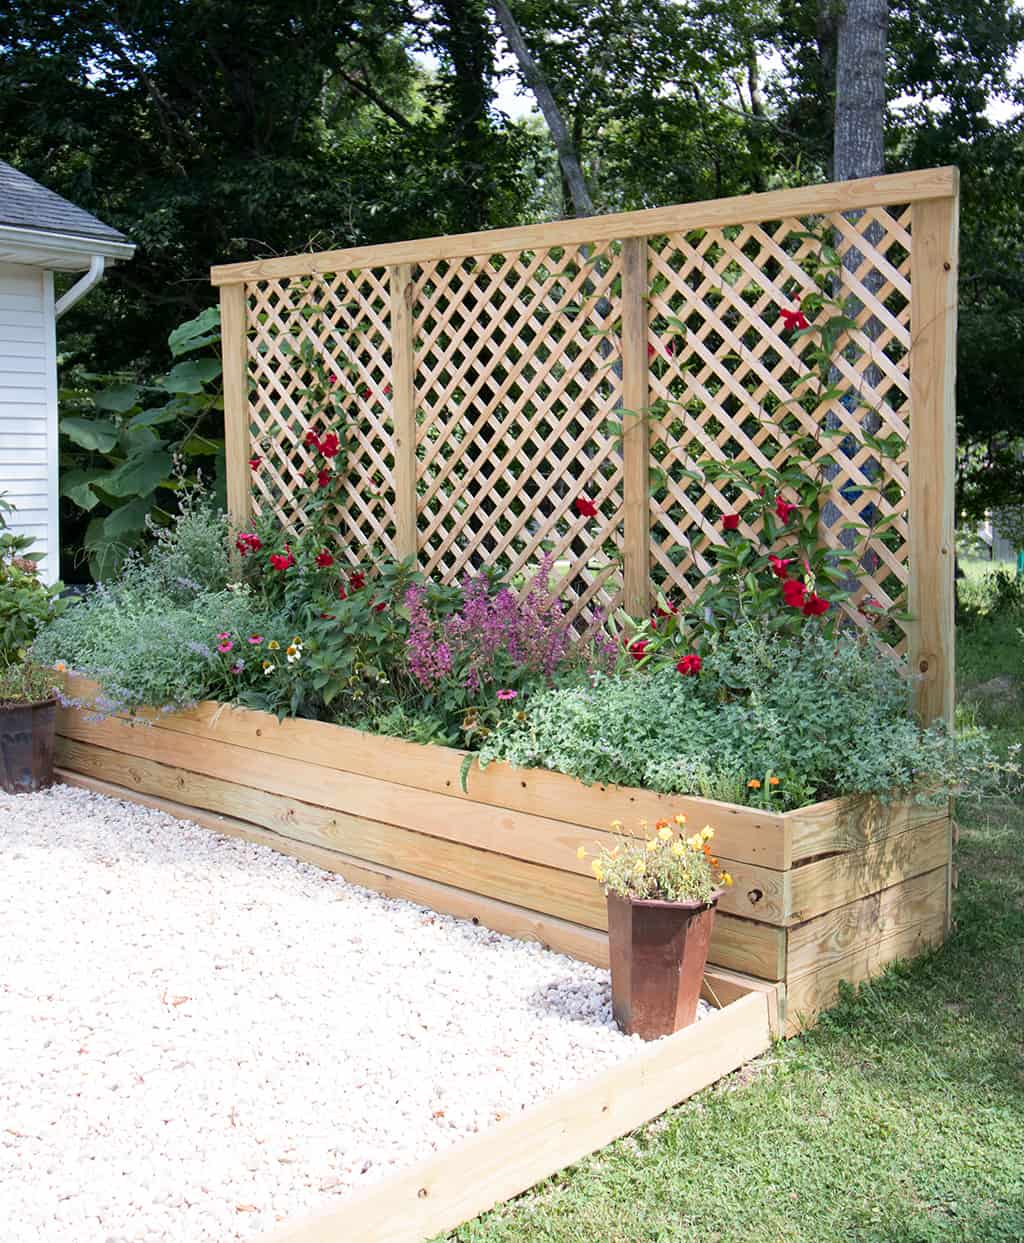
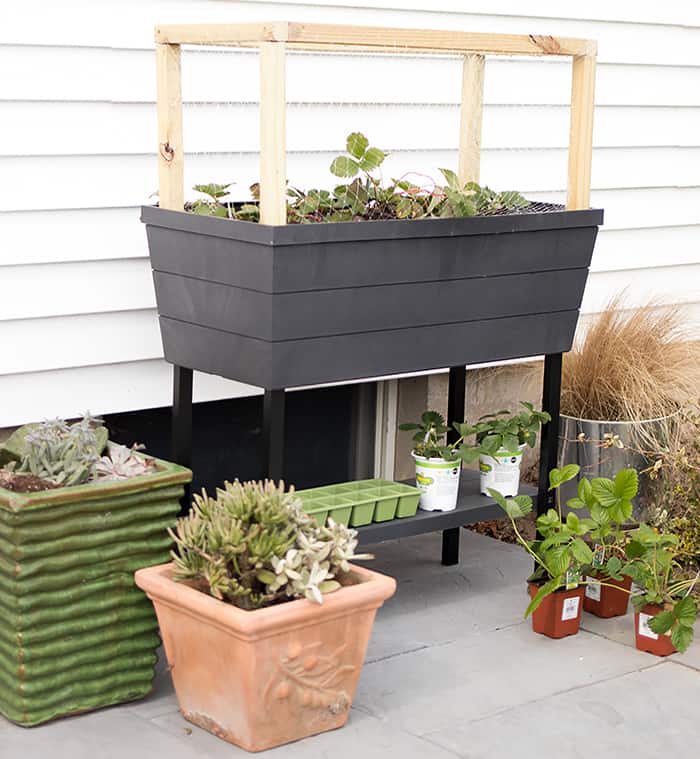
(Note- the pictures include a planter/privacy screen that I also DIYed. The instructions for this will be covered in an upcoming post)
KEEP IN TOUCH! FOR MORE INSPIRATION, PROJECTS, AND FREE KNITTING PATTERNS, SIGN UP FOR OUR WEEKLY NEWSLETTER:
Supplies needed for Pea Gravel Patio DIY
2 x 6s
Rake
Wheelbarrow (for moving the pebbles)
Mending plates (if joining together 2 pieces of wood in the center)
Corner braces
Screws and drill
Landscape fabric
Level
Staple gun
Pea gravel or crushed rock
Pea Gravel Patio DIY
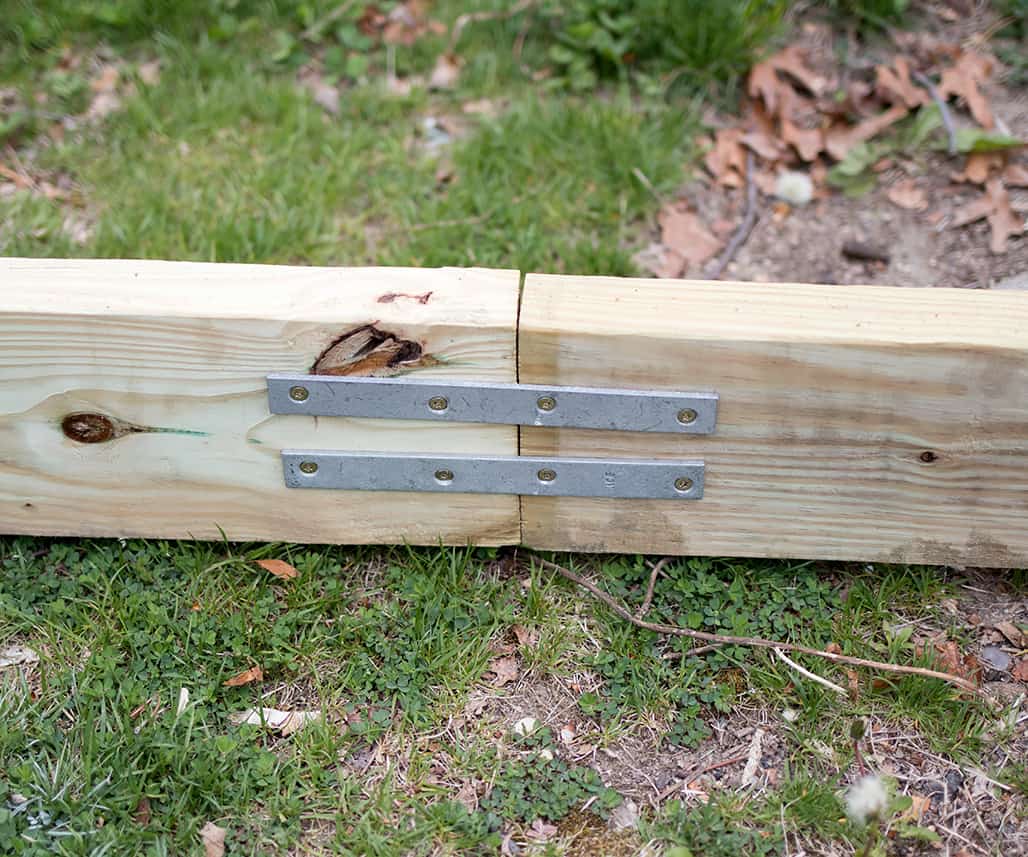
Making the frame for the patio is simple. I added mending plates to connect the 2 10′ long 2 x 6s in the middle. Then I screwed the 12″ 2 x 6s to the ends and attached the corner braces.
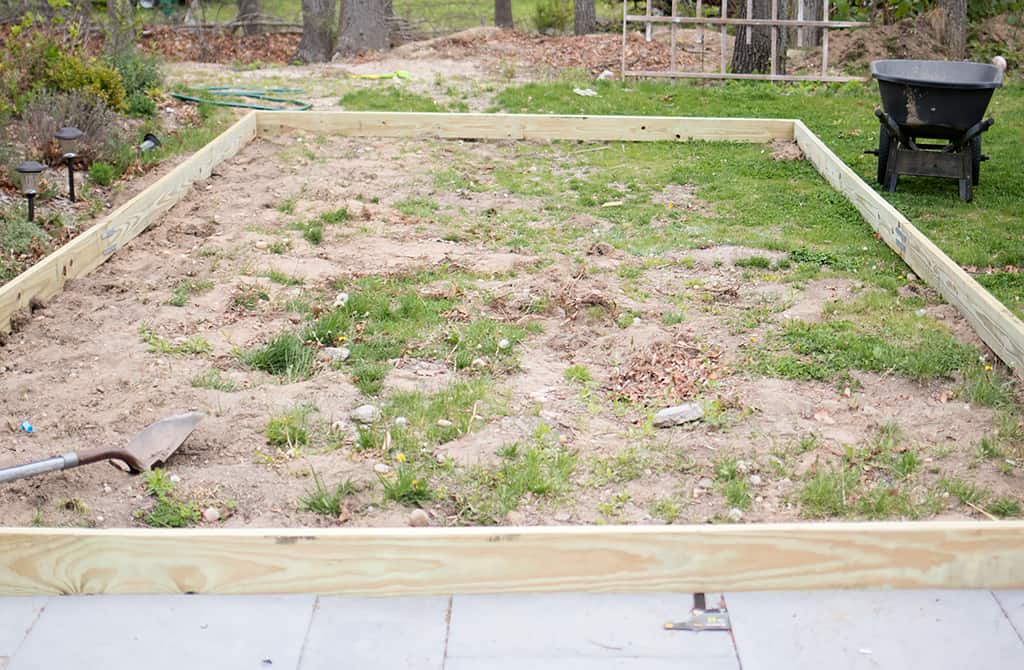
Once you have the frame built, make sure it is level on all sides. Rake and remove any pebbles/large rocks from the patio area.
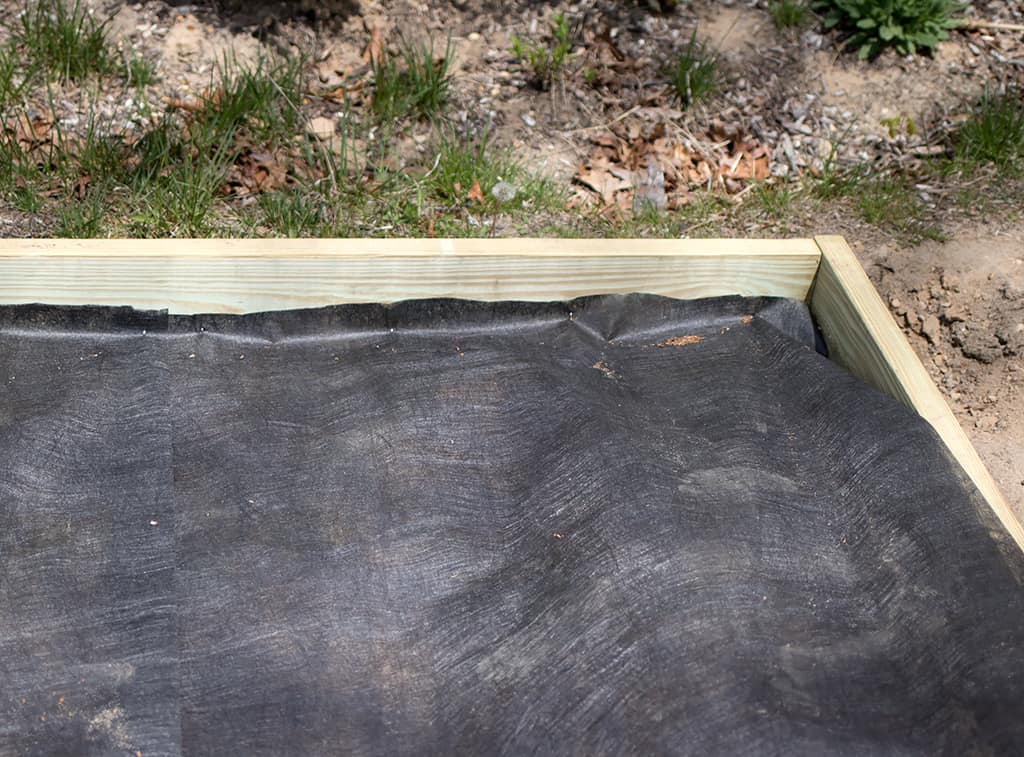
Then roll out the landscape fabric (it will prohibit weed growth) and staple it to the frame in sections until the whole bottom is covered.
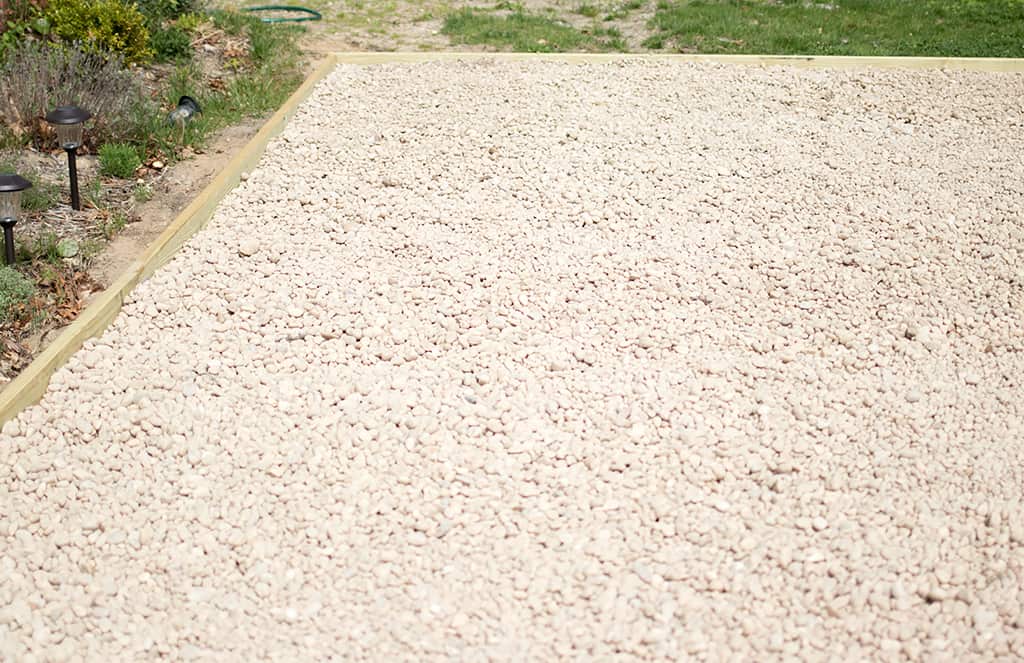
Shovel in the pea gravel. The gravel is dusty and dull when it arrives, but after it rains it changes to its natural color (see below)
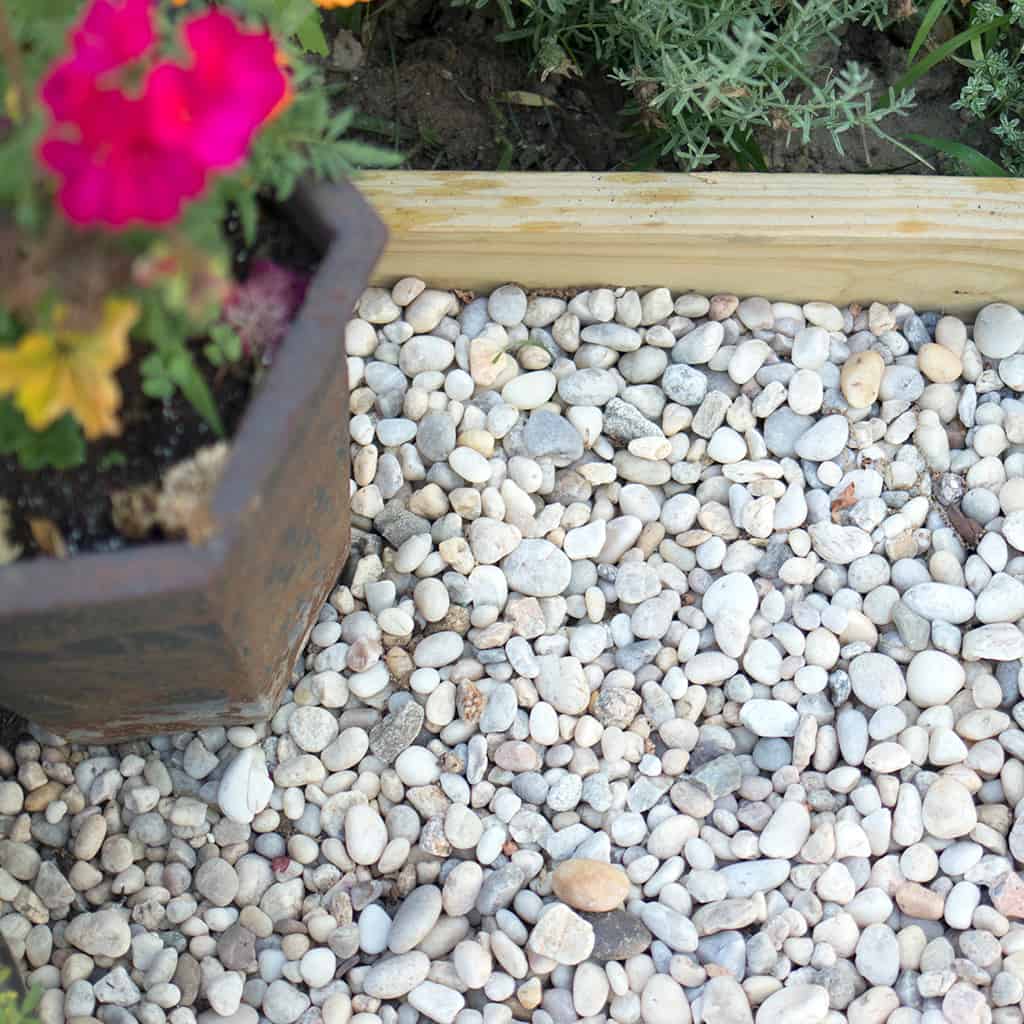
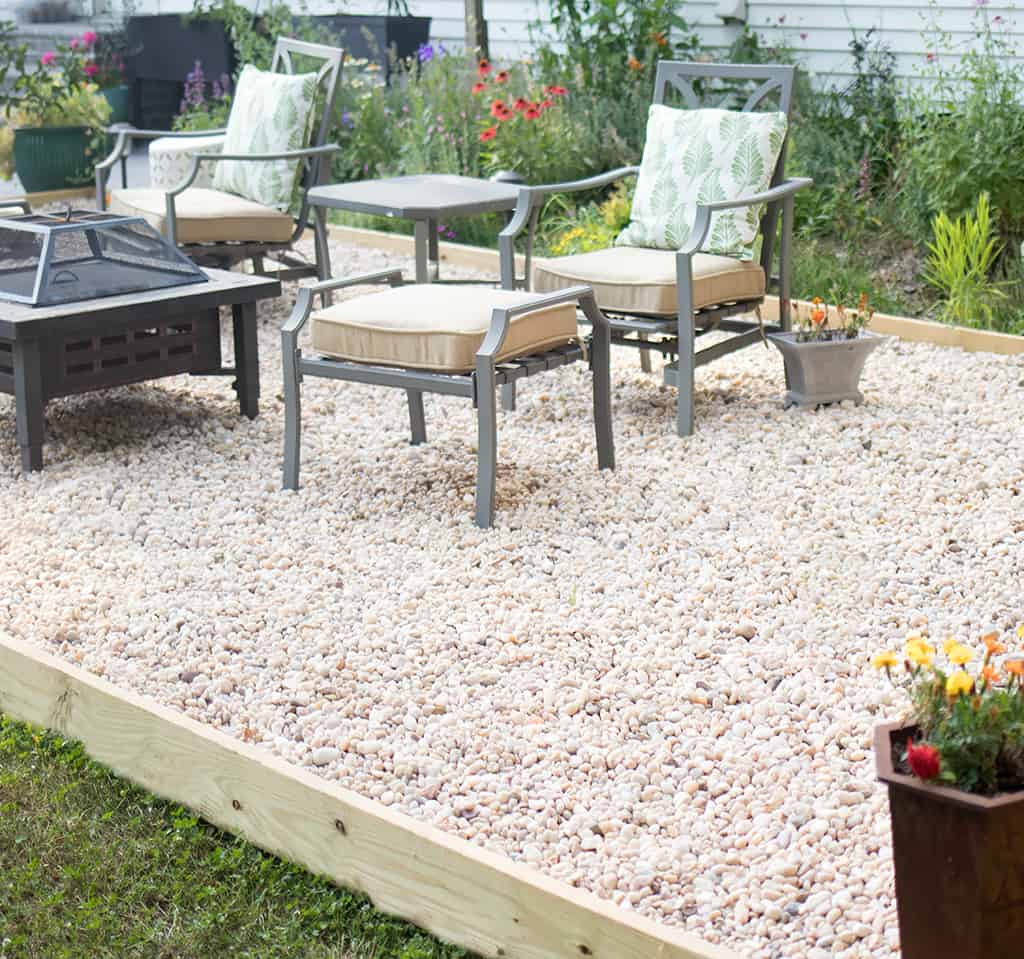
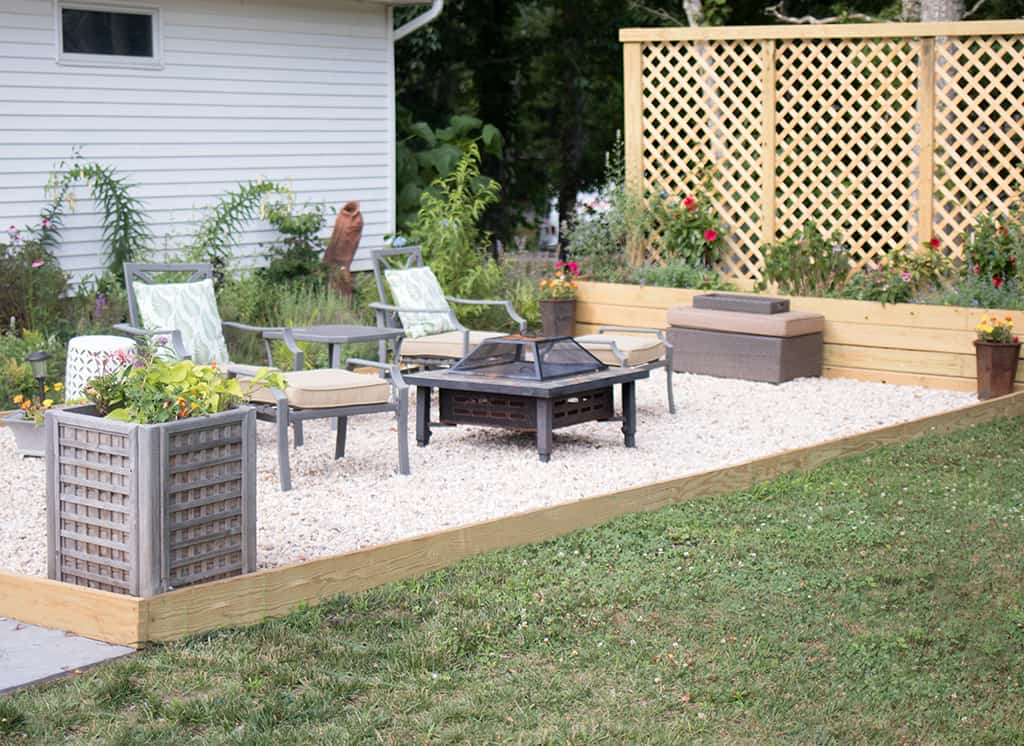
I completed this Pea Gravel Patio DIY a few months ago, but I waited to post because I wanted to see how it held up. I’m happy to report that it looks even better in person! I love all the extra hanging out space it gave me in the backyard. It also gave me a place for my fire pit. As far as “bang for your buck” low cost projects go, this one is at the top of my list!

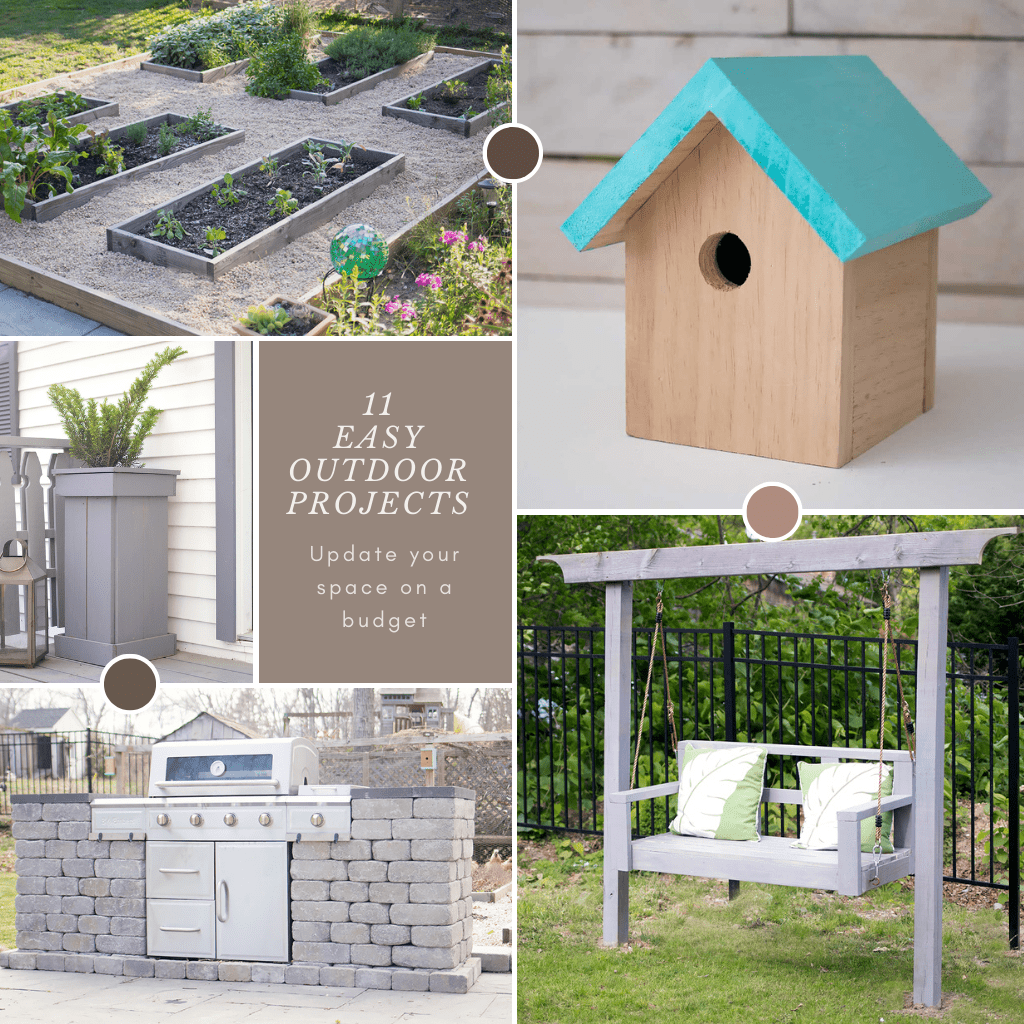
Want more Affordable Home Improvement DIY projects?
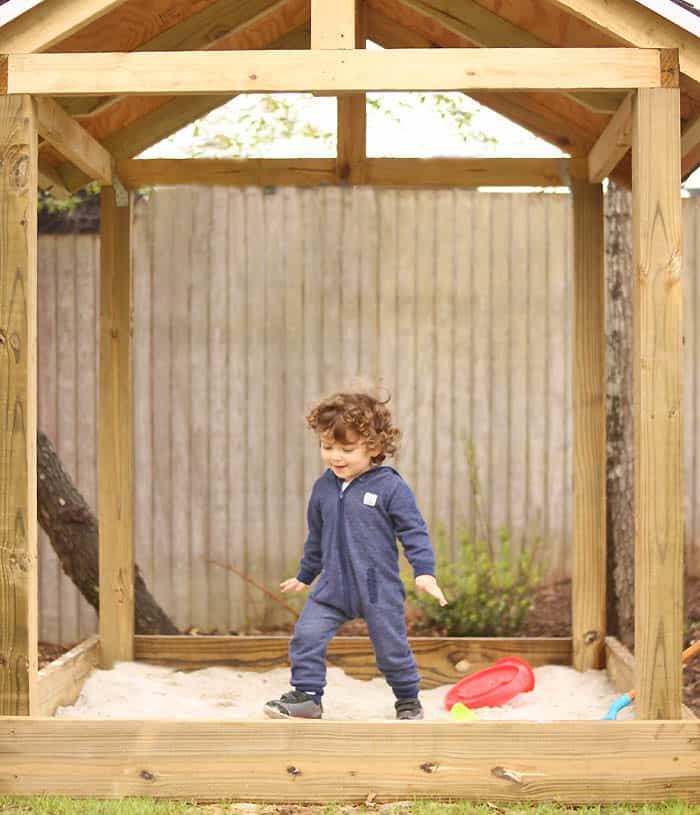
How to build a sandbox with a roof
How to build a cedar window box
Did you try this project at home? If you enjoyed making this Pea Gravel Patio DIY , or any of my other home improvement projects, I’d love to see yours on Instagram, just tag me @ginamicheleblog. Happy DIYing!