Vogue Sewing Pattern 1893
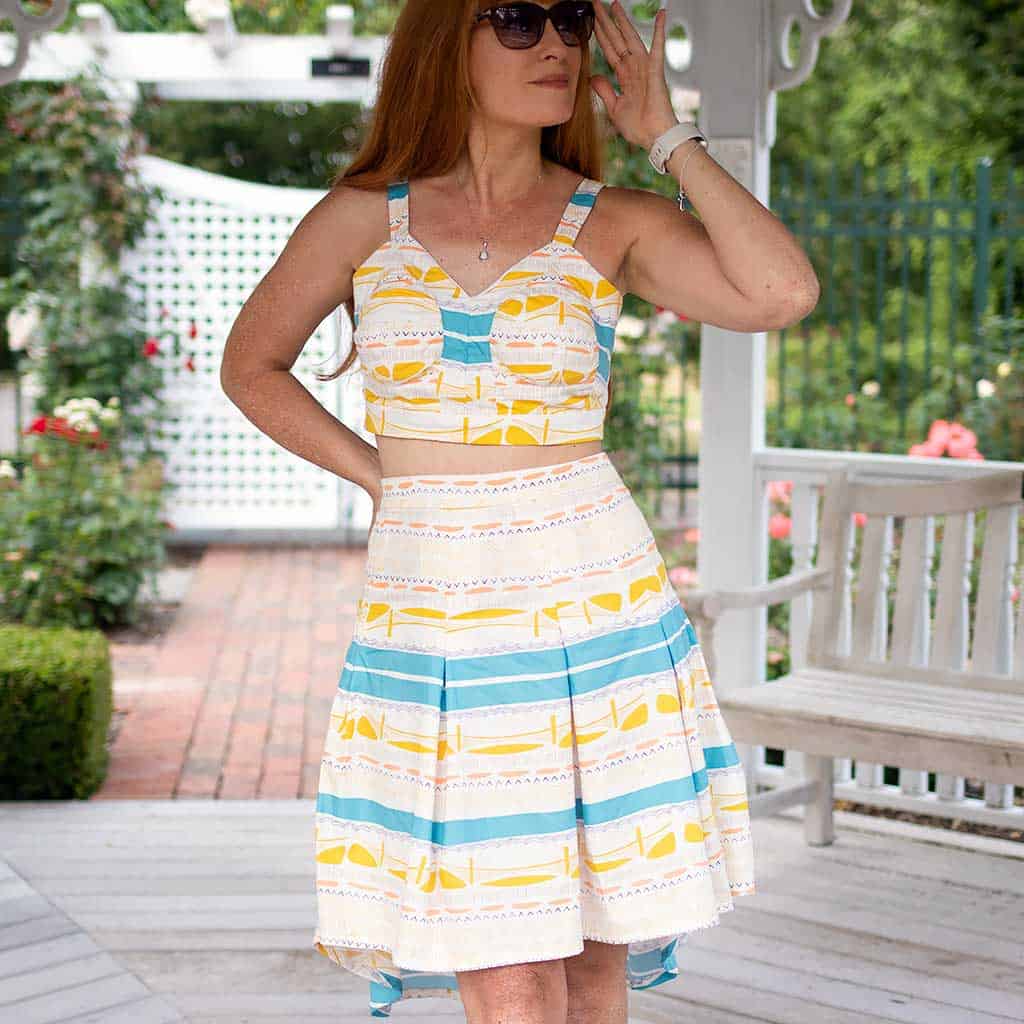
Embodying timeless meets modern style, the top and skirt I crafted using Vogue Sewing Pattern 1893 have become favorite additions to my wardrobe.
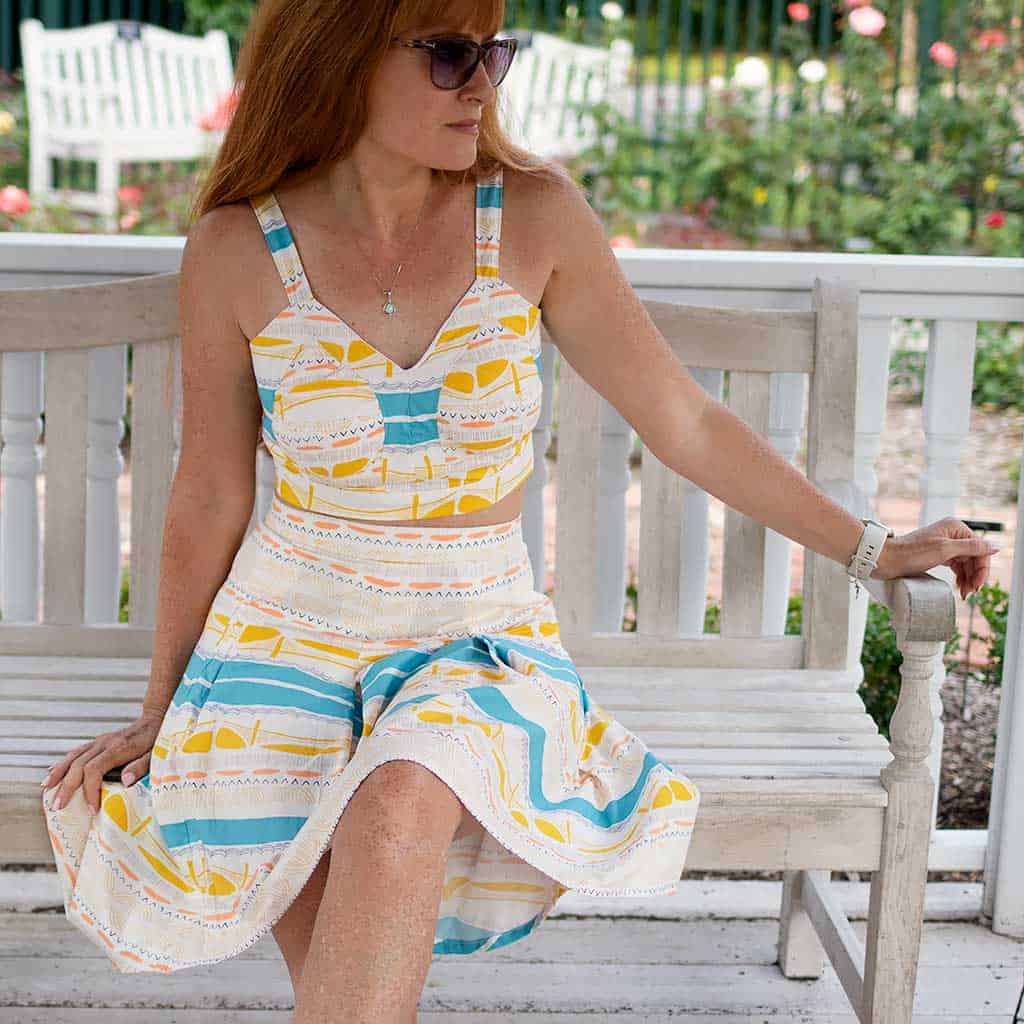
Let me share my excitement about the beautiful top and skirt I recently crafted using Vogue Sewing Pattern 1893 . This pattern proved to be a true gem, allowing me to create coordinates that have quickly become wardrobe favorites. From the moment I laid eyes on the pattern, I knew I had to make it!
KEEP IN TOUCH! FOR MORE INSPIRATIONS, TUTORIALS, AND FREE KNITTING PATTERNS, SIGN UP FOR MY WEEKLY NEWSLETTER:
Vogue Sewing Pattern 1893
It’s been a while since I’ve sewn anything for myself, so I’m excited to share this project. For this pattern, I used Art Gallery’s Gramercy cotton fabric.
The close fitting, lined bra top has cup seaming, topstitching and a separating zipper in the back.
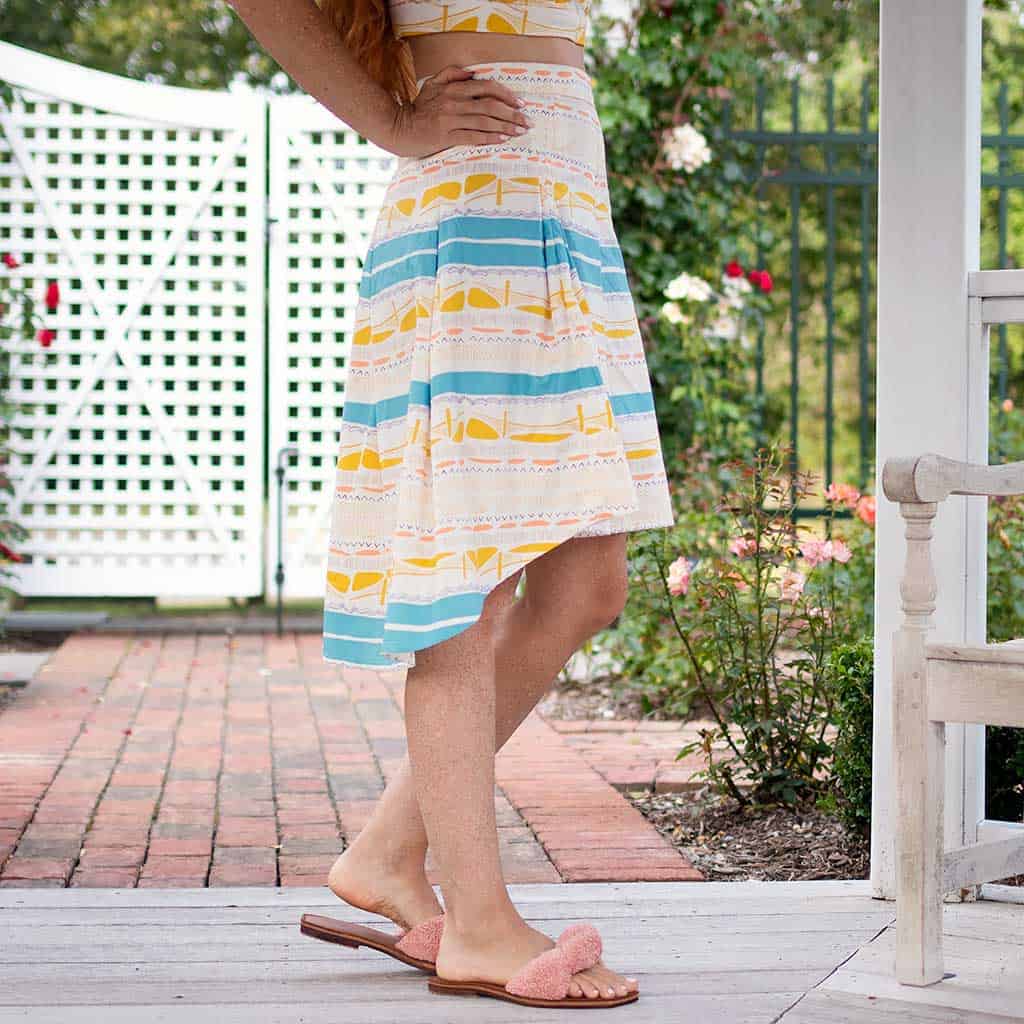
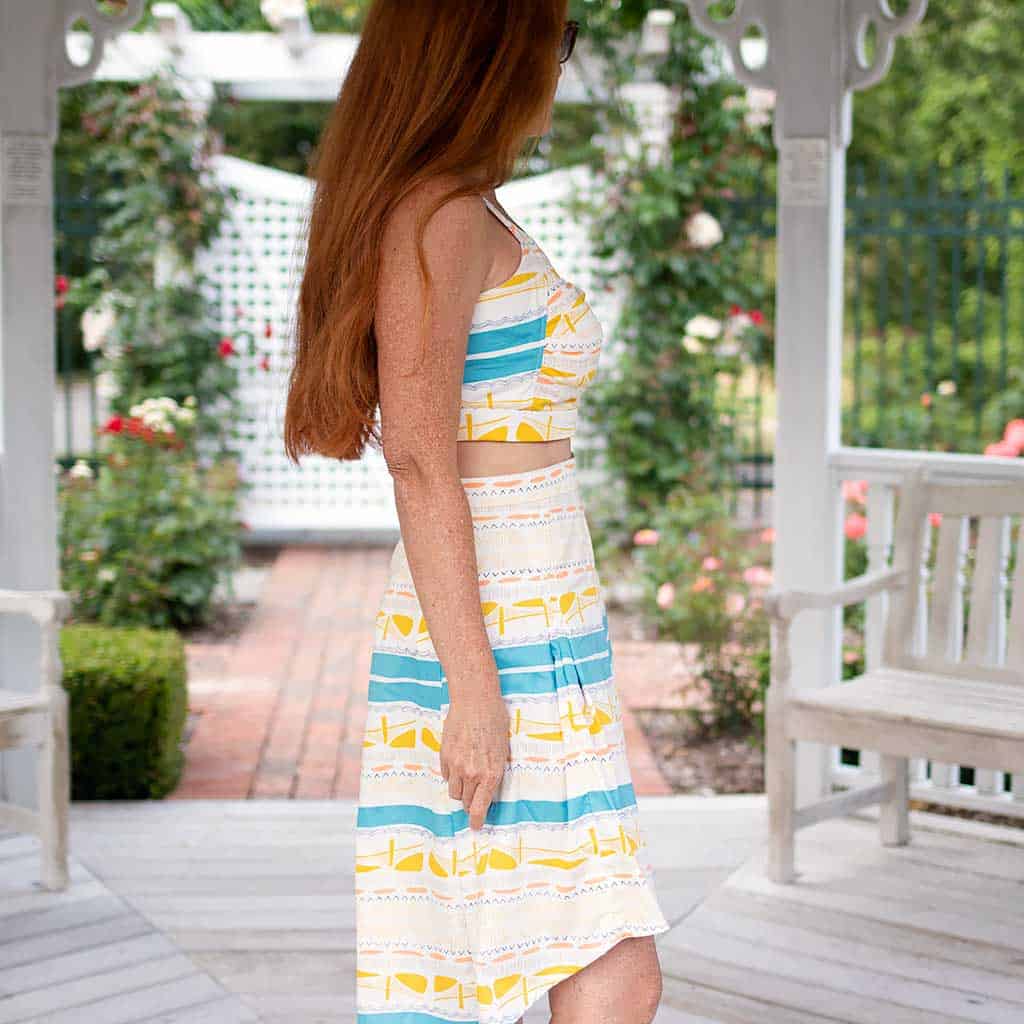
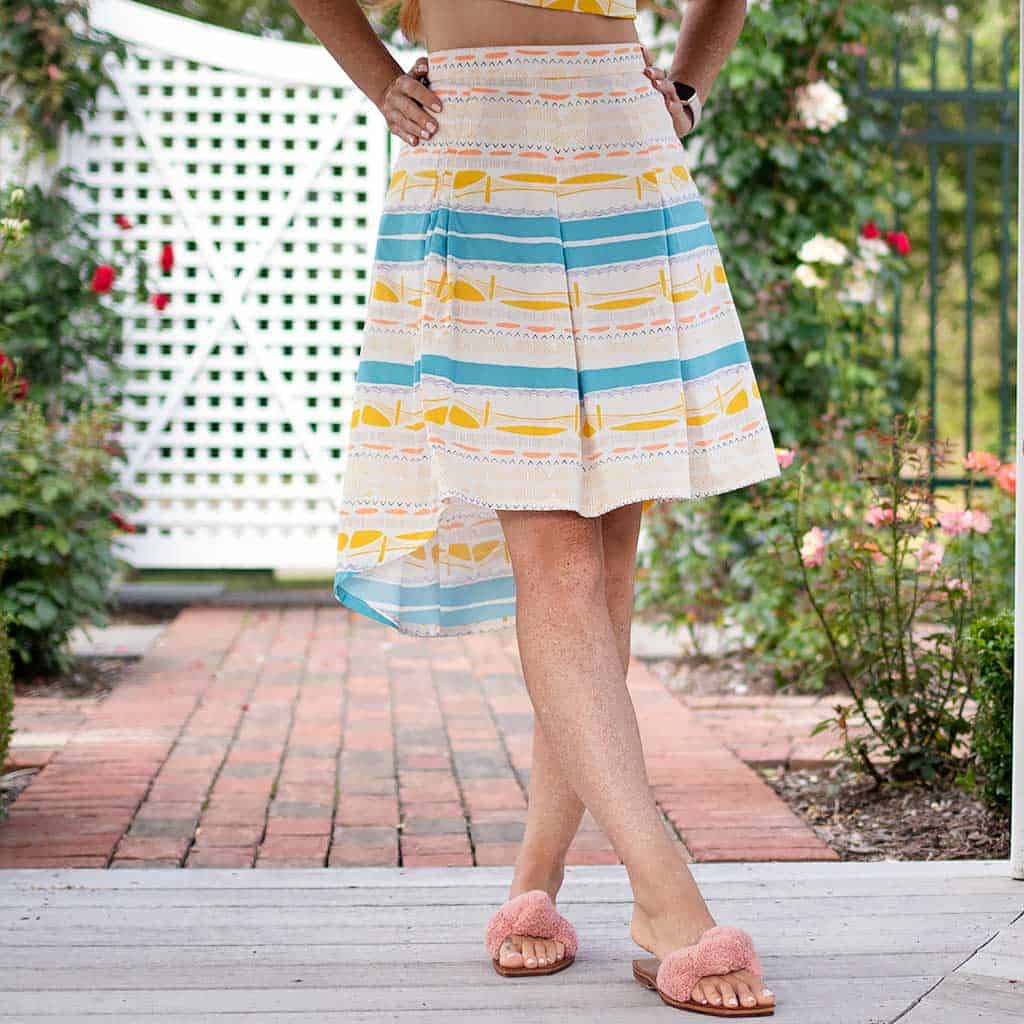
The skirt has pleats, a high-low hem and an invisible zipper.
The bra top was challenging and time consuming to make. It consisted of 8 pieces that all needed interfacing and a full lining. It’s essential to mark all the notches and dots. On the bra top, the band notches did not match the cup edges, but the dots did match. On the back of the top, I added zipper shield so the zipper teeth weren’t right against my skin. The top required a fair amount of adjusting to ensure that it fit correctly. The cups were a tad too large so I added bra cups which worked nicely. They also provided more structure.
The skirt was a breeze to make! The front and back pieces have pleats and there is a side invisible zipper with hook and eye closure.The only change I made to the skirt was to add elastic inside the waistband to make it fit better.
Tips for Creating Professional Looking Garments with Sewing Patterns
- Take accurate measurements: Proper fit is crucial for professional-looking garments. Take accurate body measurements and compare them to the pattern’s size chart. Make adjustments if necessary to ensure a good fit.
- Test your pattern: Before cutting into your fabric, make a test garment, often called a muslin or toile, using inexpensive fabric. This allows you to check the fit and make any necessary adjustments without wasting your good fabric.
- Cut carefully: Precision cutting is essential for professional-looking garments. Use sharp fabric scissors or a rotary cutter and a cutting mat. Follow the cutting lines on the pattern and take care to cut accurately.
- Transfer markings: Transfer all markings from the pattern to your fabric. These markings include notches, darts, pleats, buttons, and buttonholes. Clear and accurate markings will help you assemble the garment correctly.
- Practice precise stitching: Professional garments have even, straight stitches. Take your time and practice stitching techniques before working on your final garment. Use appropriate thread tension and stitch length for each fabric.
- Finish seams neatly: Clean and finished seams are a hallmark of professionally made garments. Consider using techniques like French seams, serging, or binding to finish your seams neatly. Experiment with different finishes to find the one that suits your fabric and garment type.
- Press as you sew: Pressing at each step is crucial for a professional finish. Use an iron to press seams, darts, pleats, and hems as you go. Pressing helps to set the stitches and creates crisp, polished edges.
- Pay attention to details: Small details can make a big difference in the overall appearance of your garment. Take care when sewing buttons, buttonholes, zippers, collars, cuffs, and pockets. Follow the pattern instructions closely and use additional resources if needed.
- Finish with proper hemming: A well-executed hem adds to the overall professionalism of your garment. Choose the appropriate hemming method for your fabric and garment type, whether it’s a blind hem, machine-stitched hem, or hand-stitched hem.
- Test the fit: Once your garment is assembled, try it on to ensure the fit is as desired. Make any necessary adjustments before completing the finishing touches.
- Pay attention to pressing and final touches: After completing the garment, give it a final press to ensure all seams and details are crisp. Check for loose threads or any other imperfections, and make necessary corrections.
Looking for more sewing projects like this post, Vogue Sewing Pattern 1893?
Free T-Shirt Sewing Pattern for Boys and Girls
How to Sew a Baby Romper- No Pattern Necessary
How to Sew a Kid’s Beach Towel Poncho- No Pattern Necessary
How to Sew a Super Easy Beach Dress- No Pattern Necessary
I love seeing your finished projects! If you enjoyed making this Vogue Sewing Pattern 1893 or any of my sewing projects, I’d love to see yours on Instagram, just tag me @ginamicheleblog. Happy sewing!