$20 DIY Nerf Blaster Rack
$20 DIY Nerf Blaster Rack- create this space-saving and affordable Nerf blaster storage for $20! Ideal for beginner DIYers. Your kids will love it!
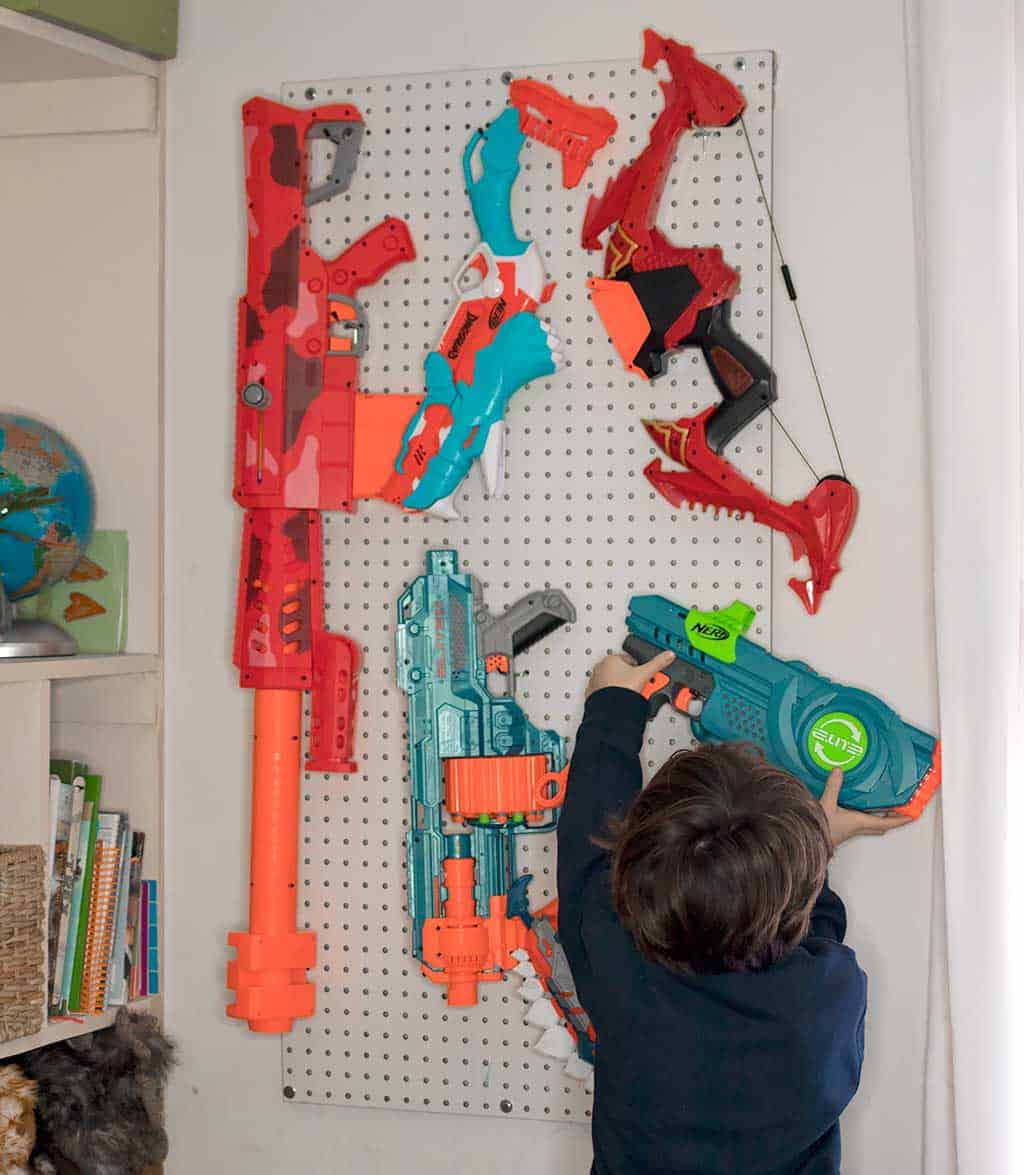
My son loves Nerf blasters. I don’t love them on the floor, piled on the dresser and everywhere else they get left because there wasn’t proper storage. Despite my best efforts, I couldn’t find a way to contain them. I looked into buying a Nerf rack, but it would take up a lot of room on the floor in my son’s bedroom. Naturally, I decided to DIY a solution! There was an empty space on the wall between the bookshelf and the window, so I figured it would be perfect for hanging blaster storage.
The pegboard I bought from Home Depot was 24 x 48 inches. I didn’t need to cut it for the space, but it can easily be cut using a table saw or a circular saw (it’s made from a sheet of mdf board). The total for this project was around $20 (for the pegboard, furring strip and the hooks) and this easy installation took approximately 20 minutes.
KEEP IN TOUCH! FOR MORE INSPIRATIONS, PROJECTS, AND FREE KNITTING PATTERNS, SIGN UP FOR OUR WEEKLY NEWSLETTER:
$20 DIY Nerf Blaster Rack
Supplies needed:
Drill
Wood screws (I used 2 1/2 inch screws. The head was too small, so I also use washers when attaching the peg board to the wall)
Level
Stud finder
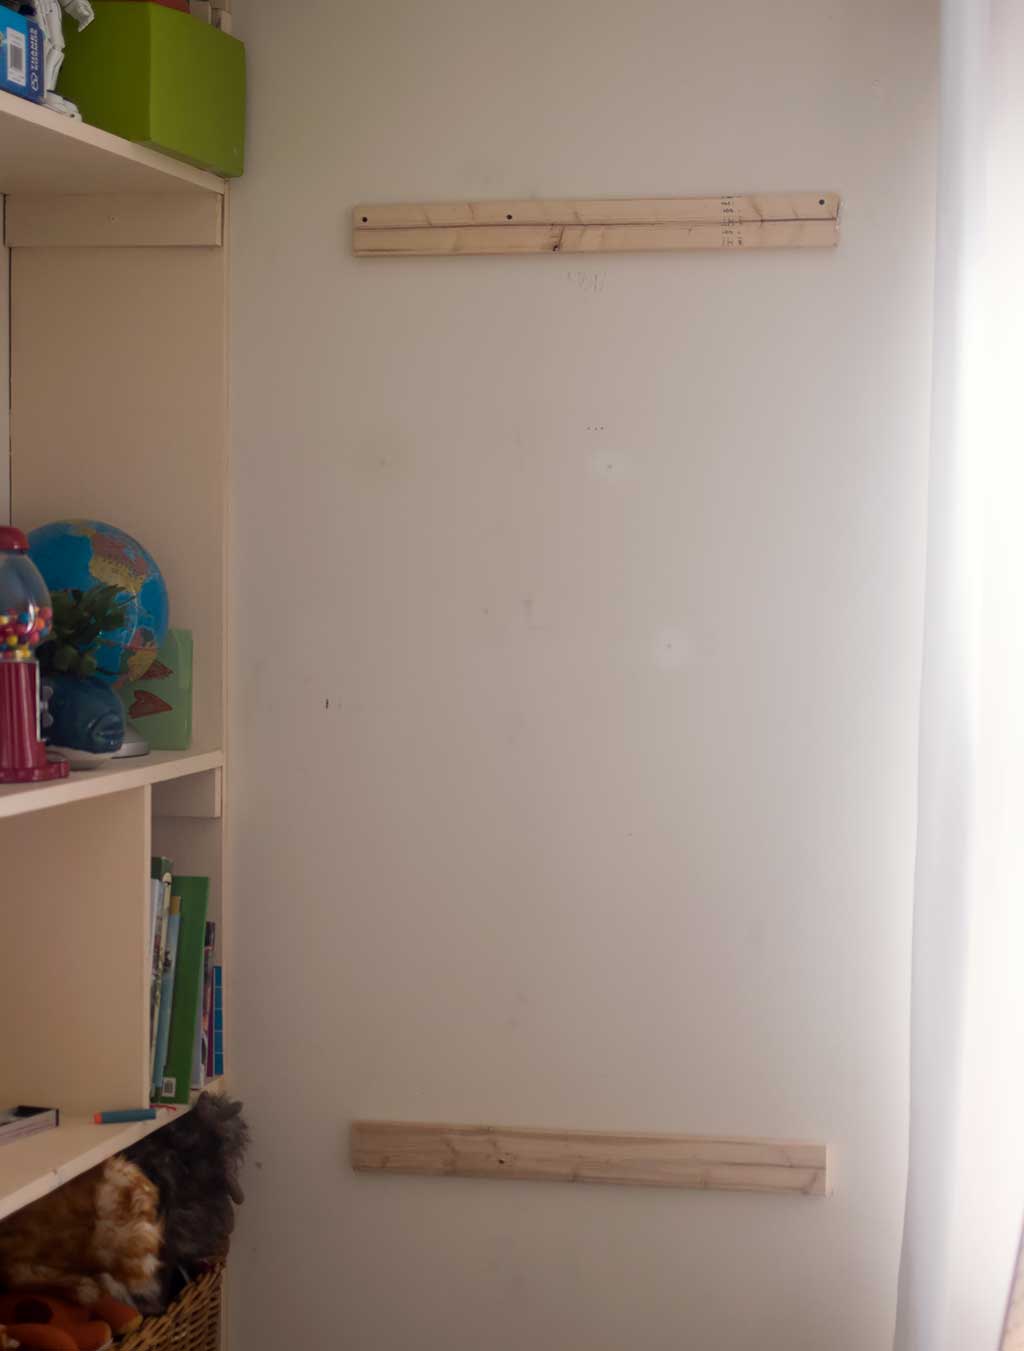
The peg board can’t be screwed directly onto the wall because then there won’t be space to attach the hooks. I created space by using furring strips. Furring strips are thin, inexpensive strips of wood that are used to level or raise surfaces of another material to prevent dampness, or to make space. Cut 2 furring strips to the width of the board (24 inches). Use a stud finder to locate the studs and mark them with a pencil.

Screw the furring strip into the wall using a level to make sure it is even. Measure down 48 inches and attach the other furring strip to the wall.

Screw the pegboard into the furring strips. The holes in the pegboard were larger than the head of my screw, so I used washers.

I used 3 screws across the top and 3 across the bottom.
Slip in the hooks and hang the blasters (by the trigger seemed to be the easiest way). You can also put the darts in a small bag and hang them.
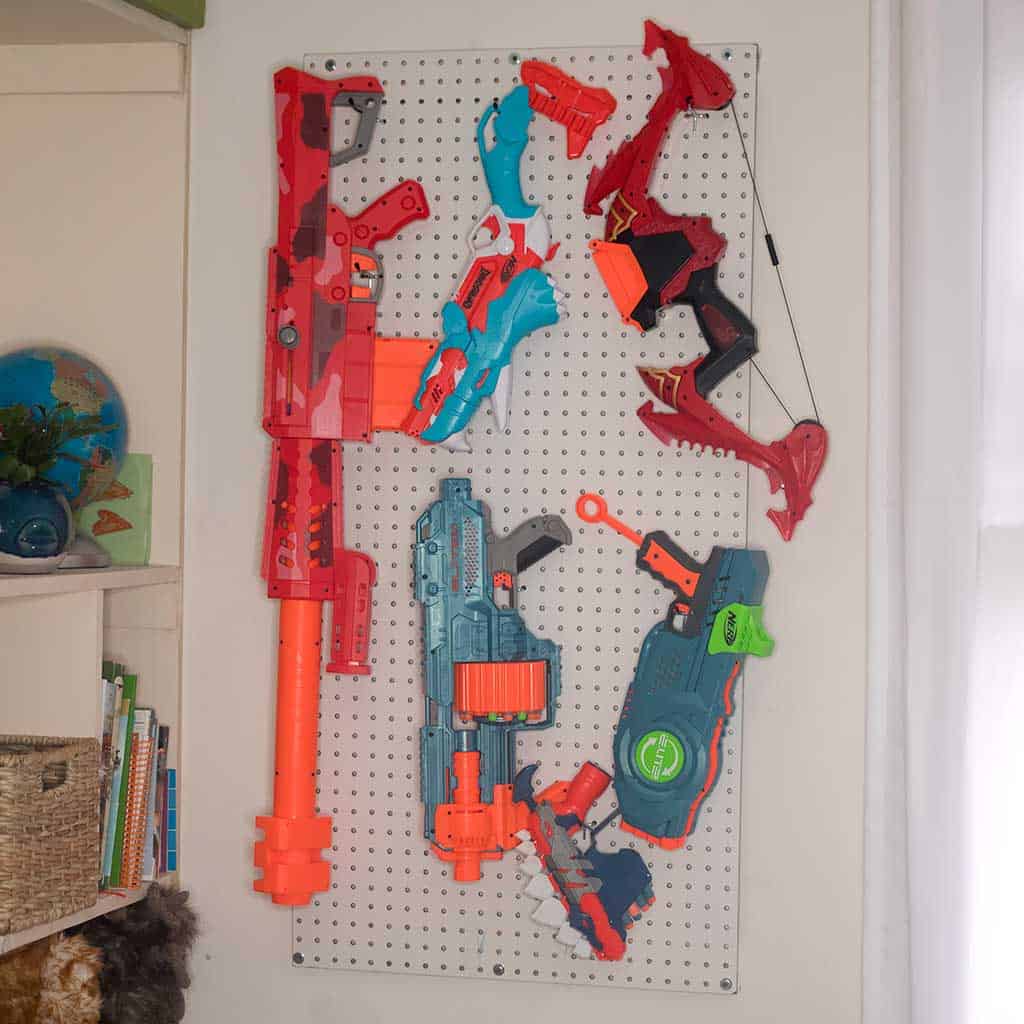
My son loves this rack so much, he actually enjoys hanging his Nerf toys up!
Looking for more Easy DIY Projects?
Easy DIY Climbing Wall for a Treehouse
Lego Table DIY- 30 Minutes to Make!
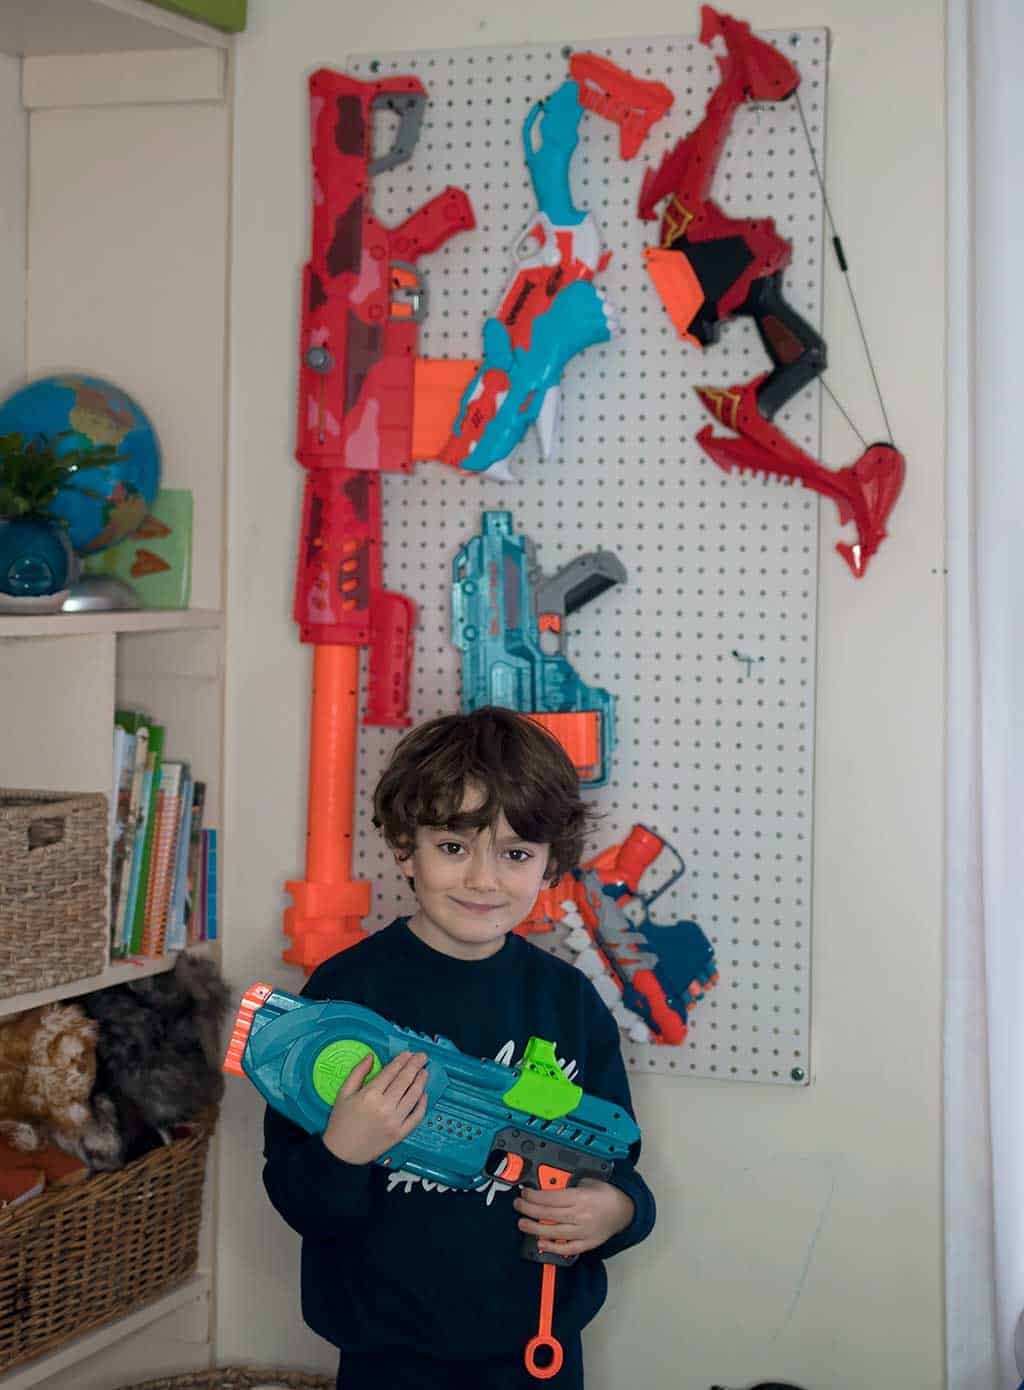
I love seeing your finished projects! If you enjoyed making this $20 DIY Nerf Blaster Rack, or any of my other DIY projects, I’d love to see yours on Instagram, just tag me @ginamicheleblog. Happy DIYing!

