Seed Stitch Pumpkins Knitting Pattern
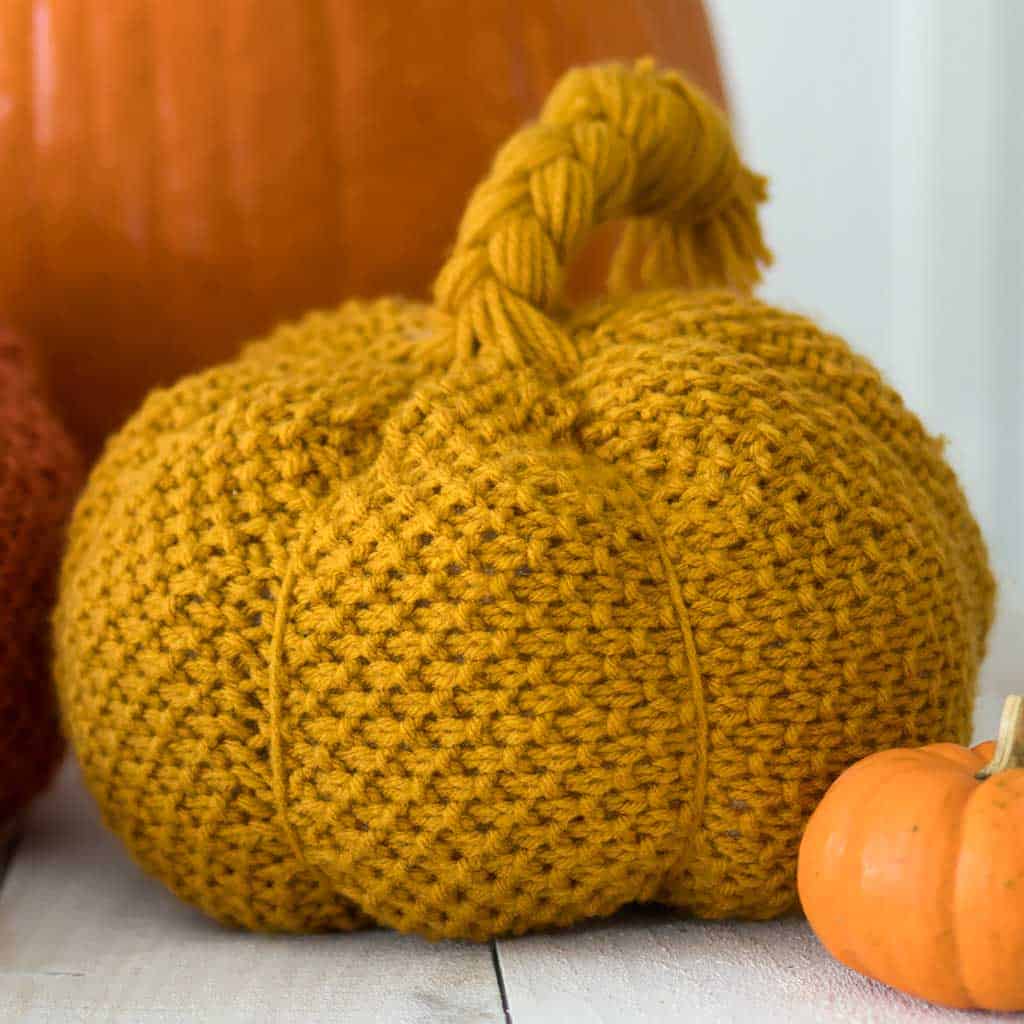
Seed Stitch Pumpkins Knitting Pattern- free beginner-friendly knitting pattern for festive, textured pumpkins inspired by Pottery Barn.
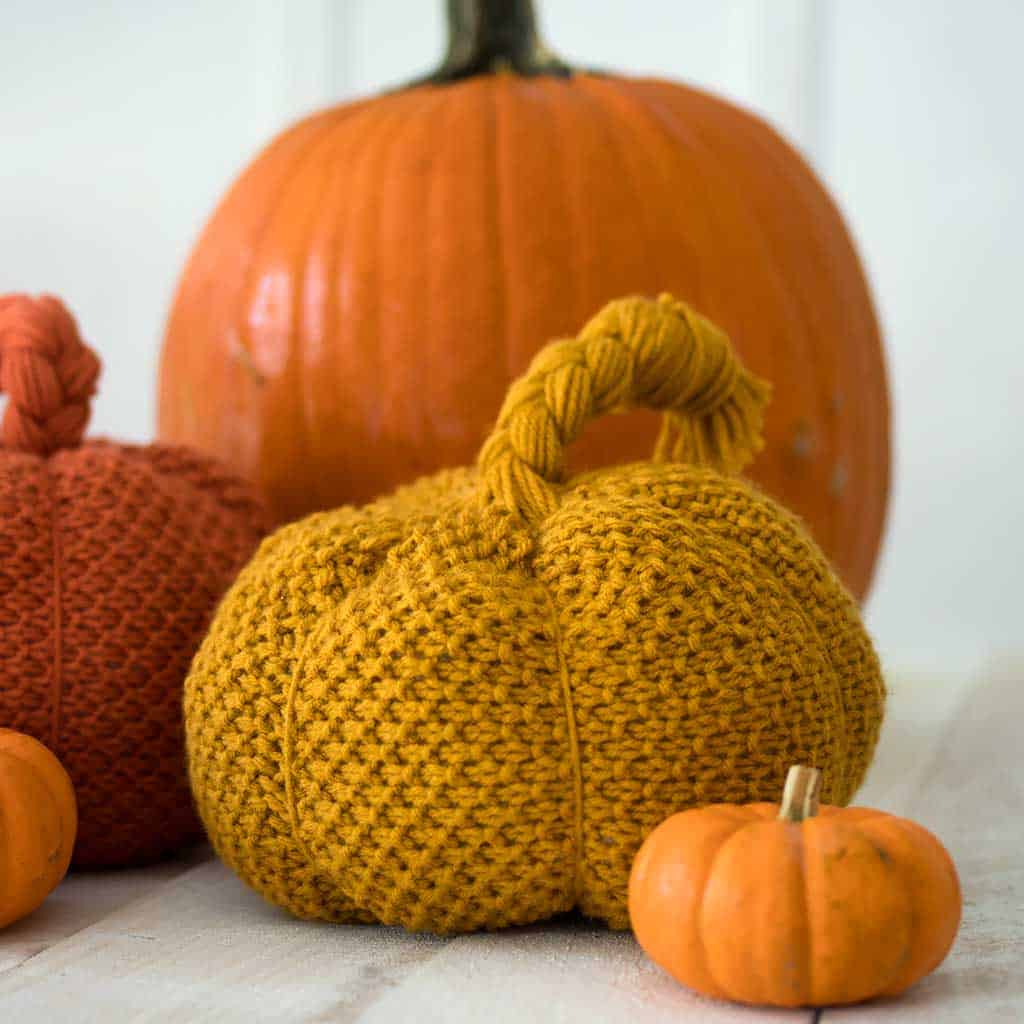
As soon as I saw these Seed Stitch Pumpkins at Pottery Barn, I knew I had to re-create them! I loved the Seed Stitch texture and I thought the braided stem was a fun twist.
Seed stitch gets its name from the texture of the knitted fabric because the little purl bumps look like scattered seeds. Seed stitch consists of single knits and purls that alternate both horizontally and vertically.
These pumpkins are knit on straight needles using knit and purl stitches. The pumpkin shape is created by running yarn through the center and around the sides to create ridges. Finally, yarn is threaded through the top of the pumpkin and braided to create a cute stem.
Seed Stitch Pumpkins Knitting Pattern
Yarn: Loops & Threads Impeccable yarn in Gold, and in Pumpkin
(you can substitute this yarn for any #4 weight)
Needles: Size US 8 single point knitting needles
Gauge: Not important for this project
Also needed: fiber fill, yarn needle
Size: Pumpkins measure approximately 6 inches tall (not including the stem)
Cast on 33 stitches.
Row 1: K1, P1 across the row.
Row 2: P1, K1 across the row.
Work these two rows for pattern. Once the piece measures 11 inches from the cast-on edge, bind off in ribbing.
How to Assemble the Seed Stitch Pumpkins
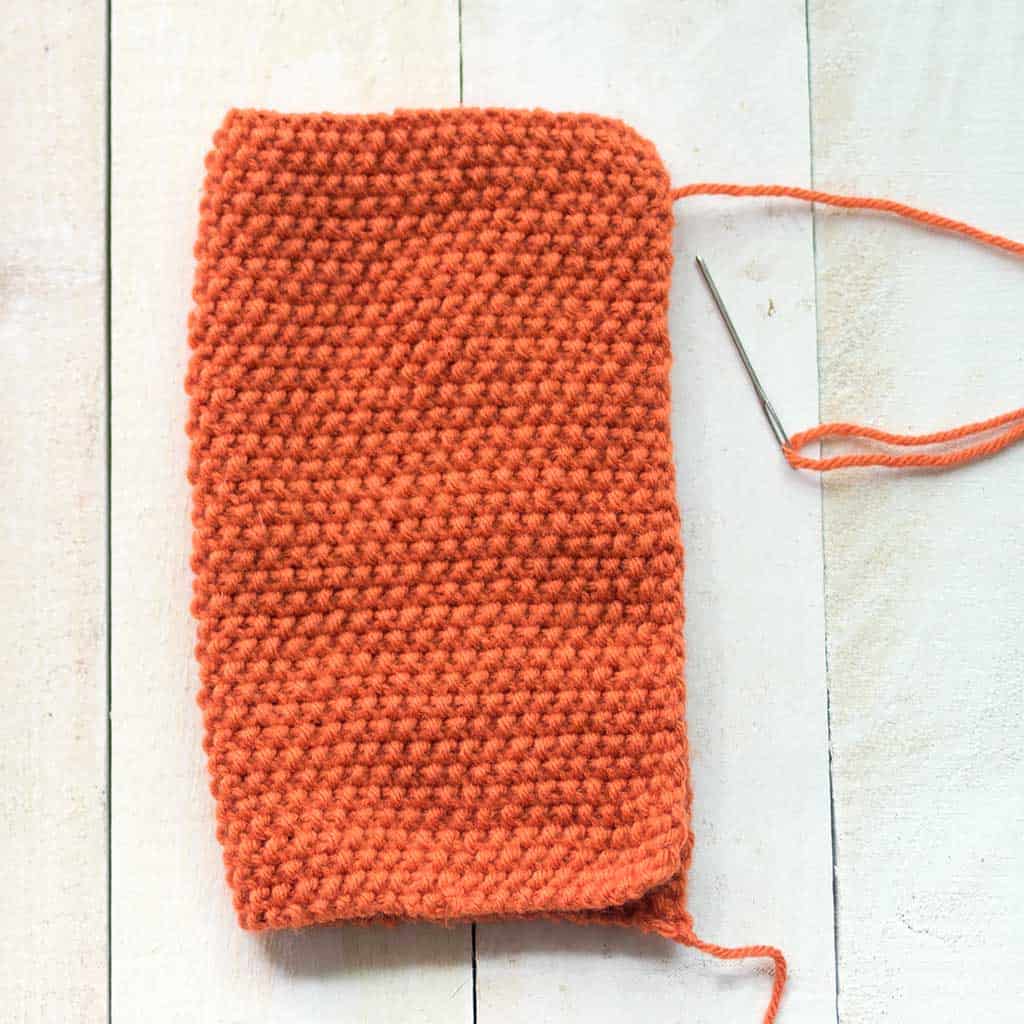
Once you are finished knitting, fold the piece over lengthwise and sew the seam.

Thread the yarn needle and weave it in and out around the bottom of the pumpkin to create a loose gathering stitch.
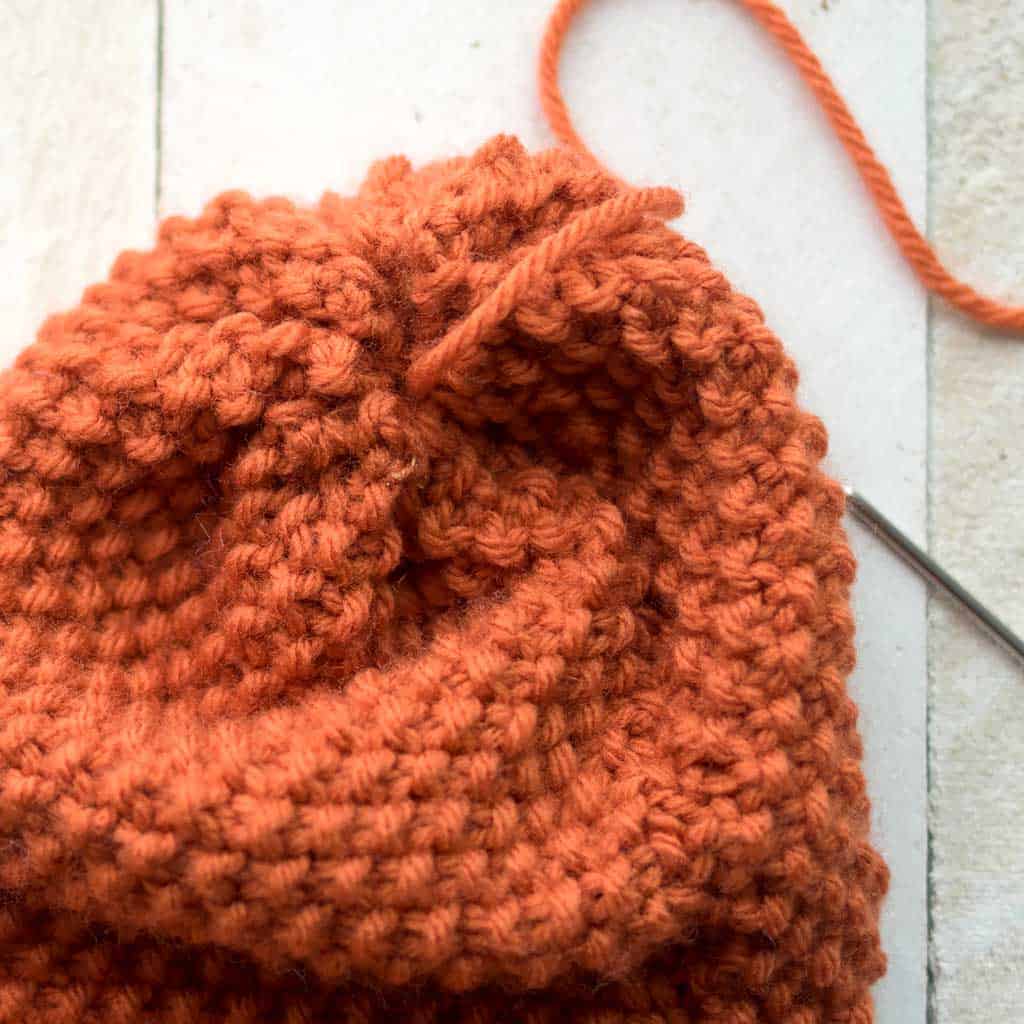
Pull the gathering stitch to close the opening. Make a stitch to secure.

Stuff the pumpkin. Use a liberal amount of fiberfill until the pumpkin takes shape. It should be firm enough to stand upright on its own.

Making a gathering stitch at the top of the pumpkin and pull to close. Make a stitch to secure.
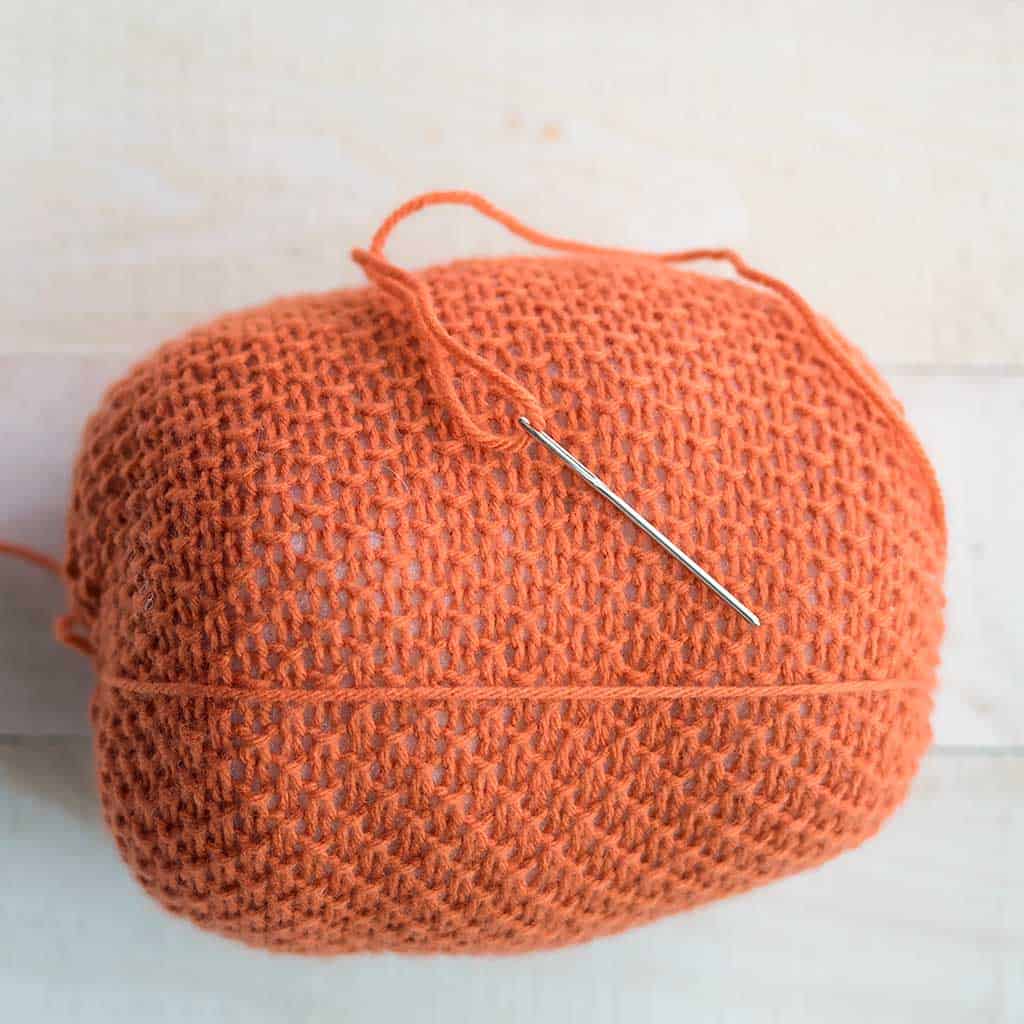
The next step is to create ridges on the pumpkin which will give it shape. These ridges are loops of yarn that are threaded through the center of the pumpkin. When these loops are pulled, the pumpkin takes shape.
To make: cut a long length of yarn (approximately 24 inches) and thread the yarn needle. Starting at the bottom, press the needle through the center of the pumpkin, bringing the yarn through the top. Thread through the bottom of the pumpkin again to create the first ridge. When you pull on the yarn the loop will tighten and the pumpkin will start to take shape.

Repeat the looping process until you have 8 evenly spaced ridges. Make a knot to secure the yarn at the bottom.
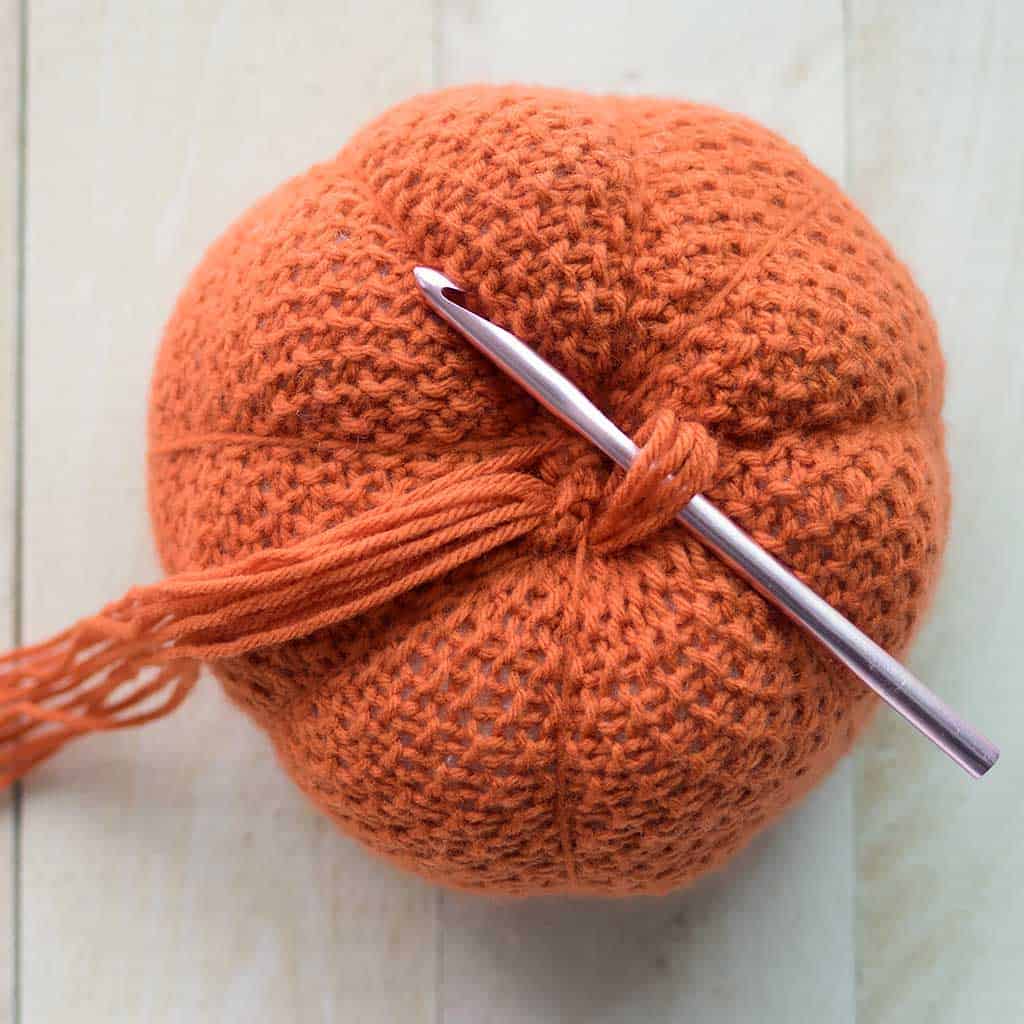
The stem on the pumpkin is made by braiding together strands of yarn that have been looped through the top of the pumpkin. Cut lengths of yarn that measure approximately 14 inches.
Loop 3-4 strands of yarn through the top of the pumpkin using a crochet hook.

Repeat looping the yarn in a circular motion until the center of the pumpkin is covered.
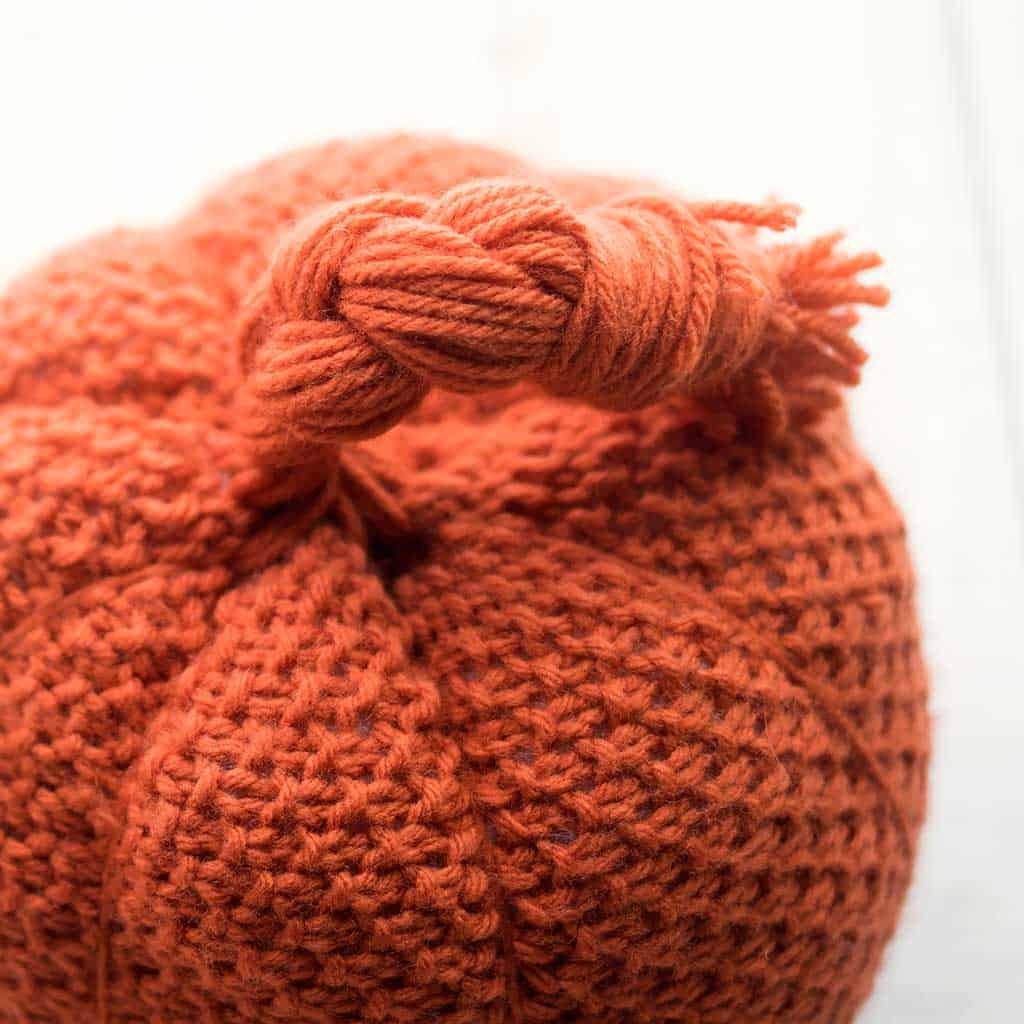
Braid the yarn strands and make a knot at the end. Trim the excess yarn.
Looking for more Pumpkin Knitting Patterns?
Straight Needle Pumpkin Knitting Pattern and Video Tutorial
Easy Jumbo Pumpkin Knitting Pattern
Scrap Yarn Pumpkin Knitting Pattern

Looking for more Halloween knitting patterns?
Kids Ghost Hat Knitting Pattern
Baby Pumpkin Hat Knitting Pattern
Frankenstein Hat Knitting Pattern
Kids Black Cat Hat Knitting Pattern
Keep in touch!
For more inspirations, projects, and free knitting patterns, sign up for our weekly newsletter.
I love seeing your finished projects! If you enjoyed making this Seed Stitch Pumpkin Knitting Pattern, I’d love to see yours on Instagram, just tag me @ginamicheleblog. Happy Halloween knitting!

