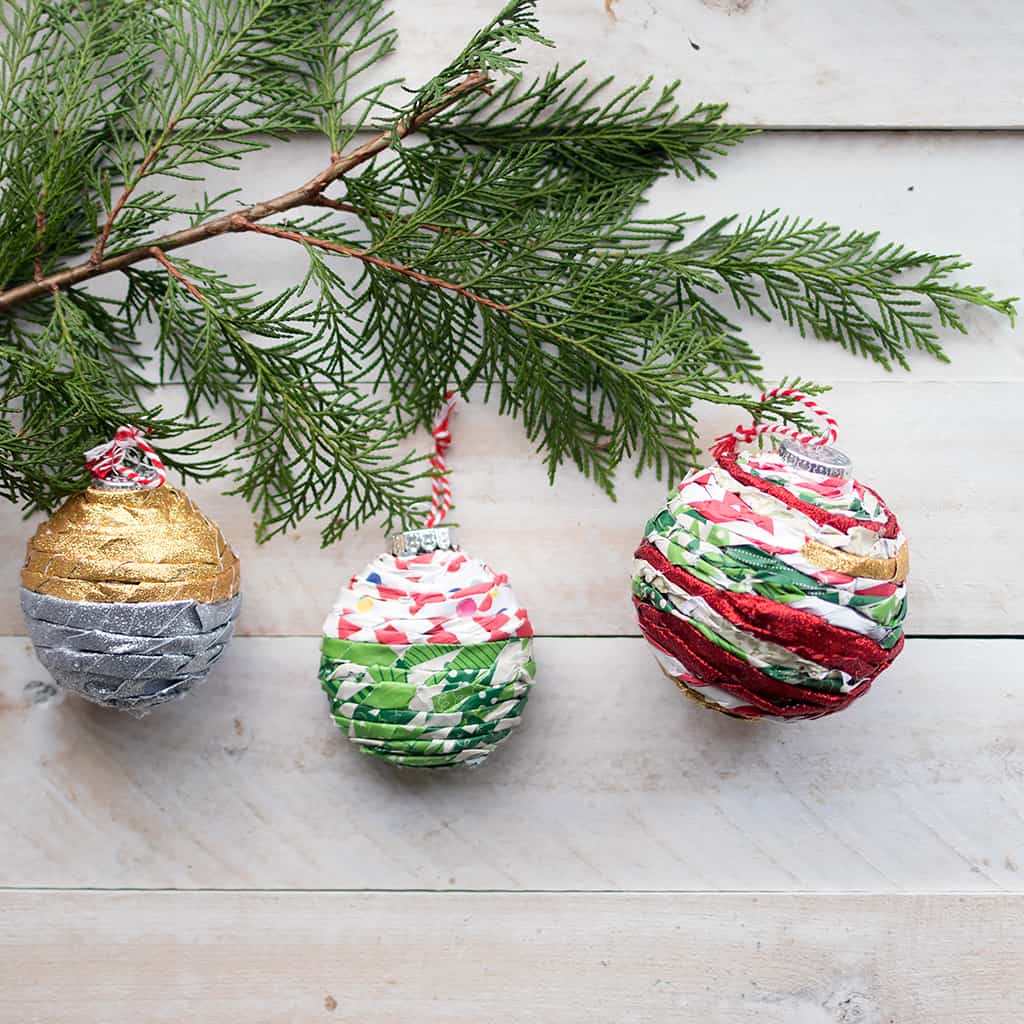
How to Make Twisted Paper Ornaments
This post, How to Make Twisted Paper Ornaments, is sponsored by BabbleBoxx on behalf of JoAnn.

The holiday season might seem a little different this year, but our home looks as festive as ever. Thanks to Joann’s incredible selection of crafting supplies, we added these Twisted Paper Ornaments to our growing collection of handmade Christmas décor. Join me today as I show you how to make them.
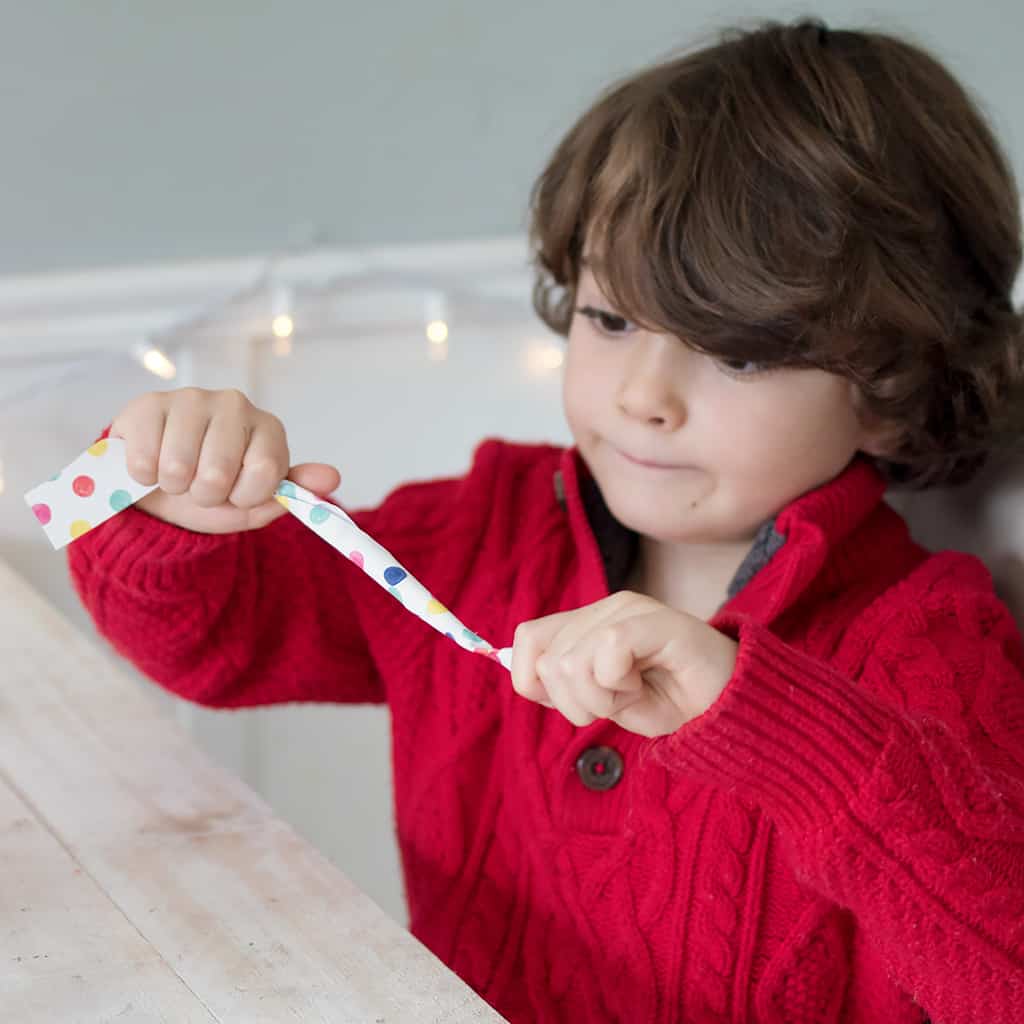
My 5-year-old love to craft with me and these ornaments are the perfect project to make with kids. My son was in charge of cutting the paper strips, spraying them with water, and twisting. I was responsible for gluing the paper to the ornament.
How to Make Twisted Paper Ornaments

Supplies needed:
Assorted cardstock
Scissors
Hot glue gun
Spray bottle filled with water
Assorted plastic ornaments

Cut the paper into 1-inch wide strips. I used a variety of textures from heavy glitter cardstock to lightweight scrapbook paper.


The next step is to lightly spray the paper with water. Be careful not to use too much water. The paper will disintegrate if it gets too wet.
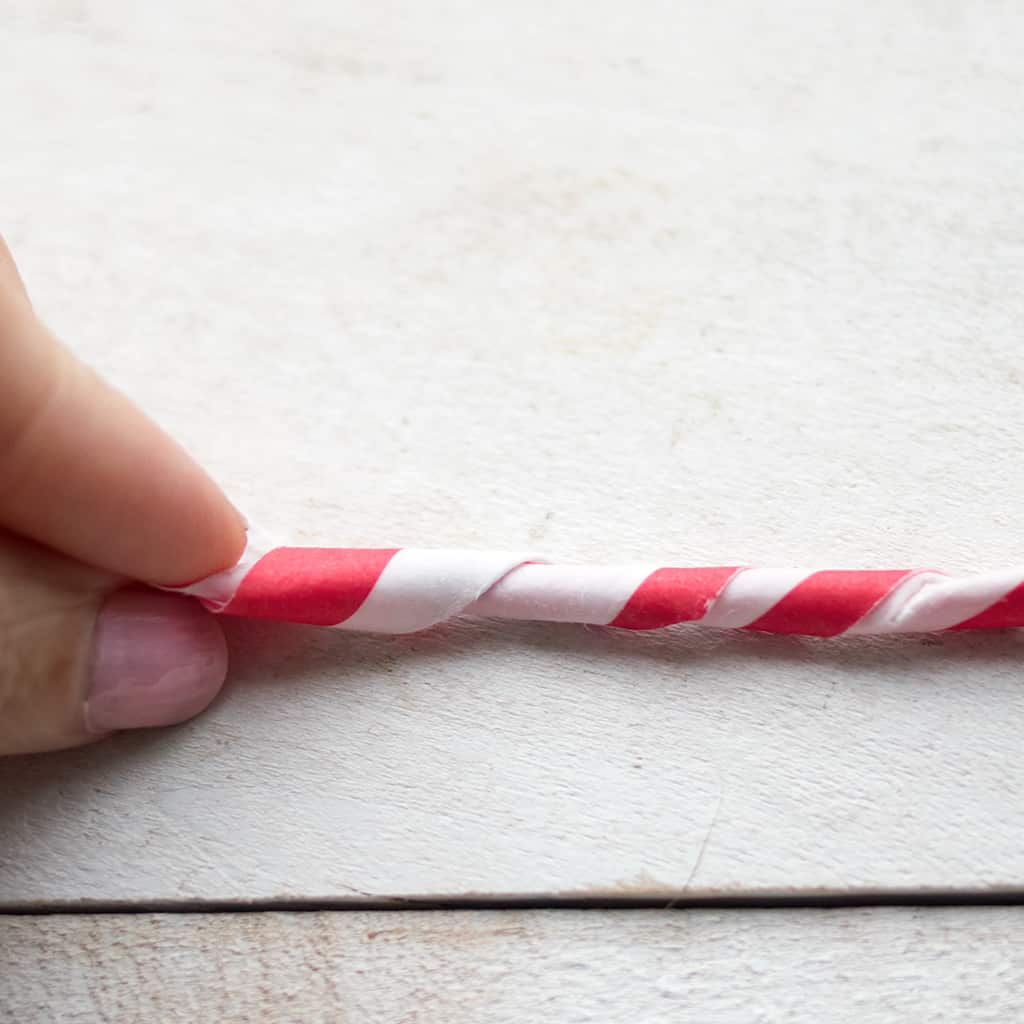
Once the paper has been lightly sprayed start twisting it. You want to twist it so it holds its shape. If you twist too tightly, the paper can tear.
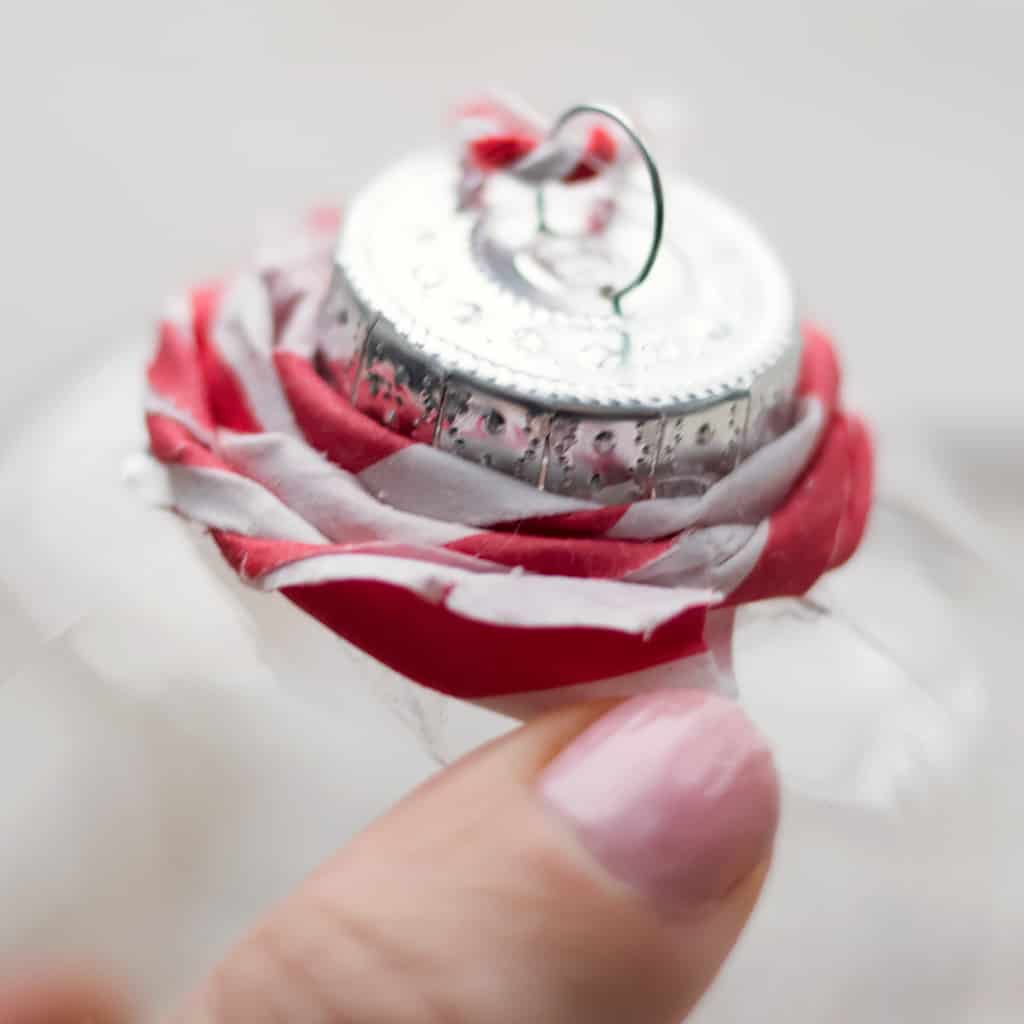
Starting at the top of the ornament, wrap the paper around, securing it with the hot glue gun as you go. Keep each row close to the previous so that there are no gaps. Keep wrapping until you reach the bottom of the ornament.


Don’t forget to visit Joann for the best selection of crafting and sewing supplies. They have everything you need for your holiday craft projects! Before you shop, make sure you download the Joann app to take advantage of their weekly coupons and offers.
Happy holiday crafting!
