Easy DIY Bath Bomb Recipe- Step by Step Tutorial
Easy DIY Bath Bomb Recipe- Step by Step Tutorial turn your bath into a spa experience with this easy-to-follow and inexpensive homemade bath bombs recipe.
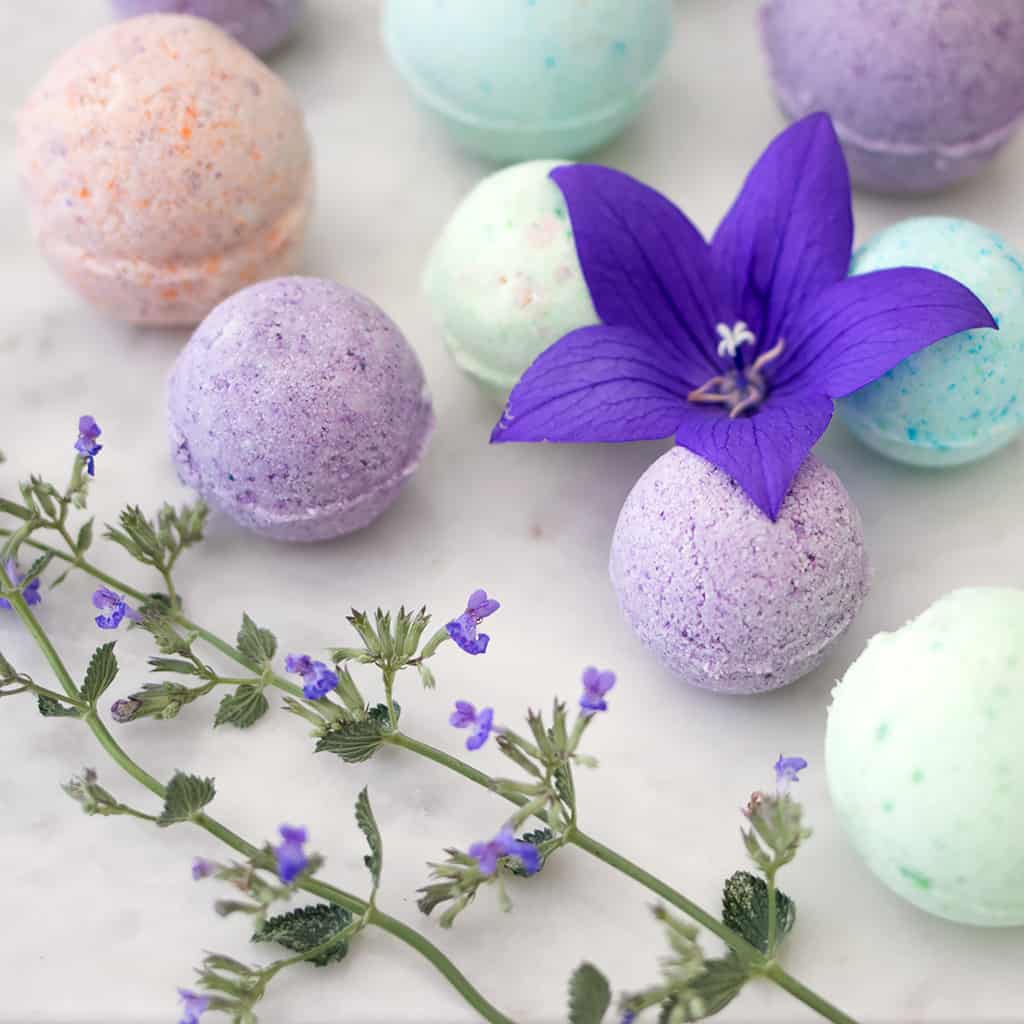
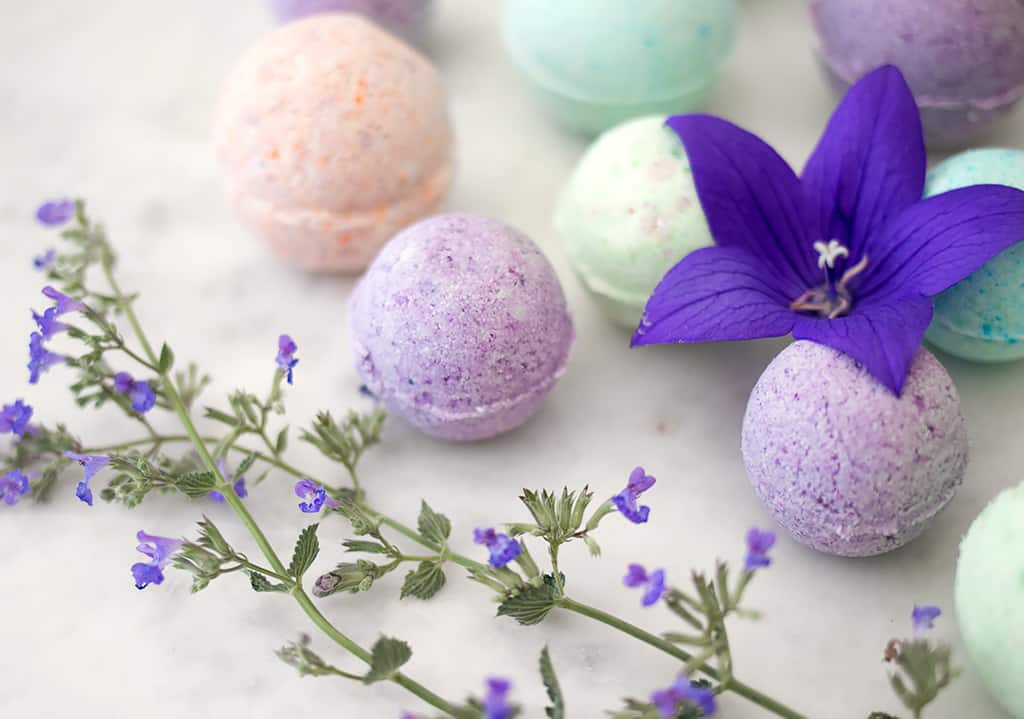
Who doesn’t love a relaxing bath at the end of a long day? Especially when you drop in a colorful and wonderfully-scented bath bomb! Bath bombs can be pricey- especially when you get in the habit of using them daily. They’re easy and fun to DIY- plus you can get a lot more for your money!
Bath bombs are a fun and easy way to turn your bath into a luxurious and relaxing experience. They are made with a combination of dry ingredients that fizz and dissolve in the water, releasing fragrant essential oils and other nourishing ingredients. You can easily make your own bath bombs at home with a few simple ingredients and a few basic tools.
This Easy DIY Bath Bomb Recipe- Step by Step Tutorial can be customized with any combination of scents or colors. Epsom salt can be added for extra skin softening and you can use any oil you’d like (almond, jojoba, coconut oil or olive).
Making your own bath bombs is pretty addictive- once you try this, you’ll never buy them again! They also make a great gift!
KEEP IN TOUCH! FOR MORE INSPIRATIONS, TUTORIALS, AND FREE KNITTING PATTERNS, SIGN UP FOR OUR WEEKLY NEWSLETTER:
Supplies needed:
(As an Amazon associate, I earn from qualifying purchases)
Citric Acid
Baking Soda
Cornstarch
Oil (Almond, jojoba, melted coconut oil, or olive oil)
Epsom salt (optional)
your favorite Essential oils (some of my favorites are lavender, peppermint and eucalyptus)
Dyes & bath bomb mold (I used this inexpensive kit) Silicone molds work well too
Optional: you can also also add rose petals, lavender buds or herbs to the bombs
Instructions:
Easy DIY Bath Bomb Recipe- Step by Step Tutorial
Upgrade your next soak in the tub with this fun project!
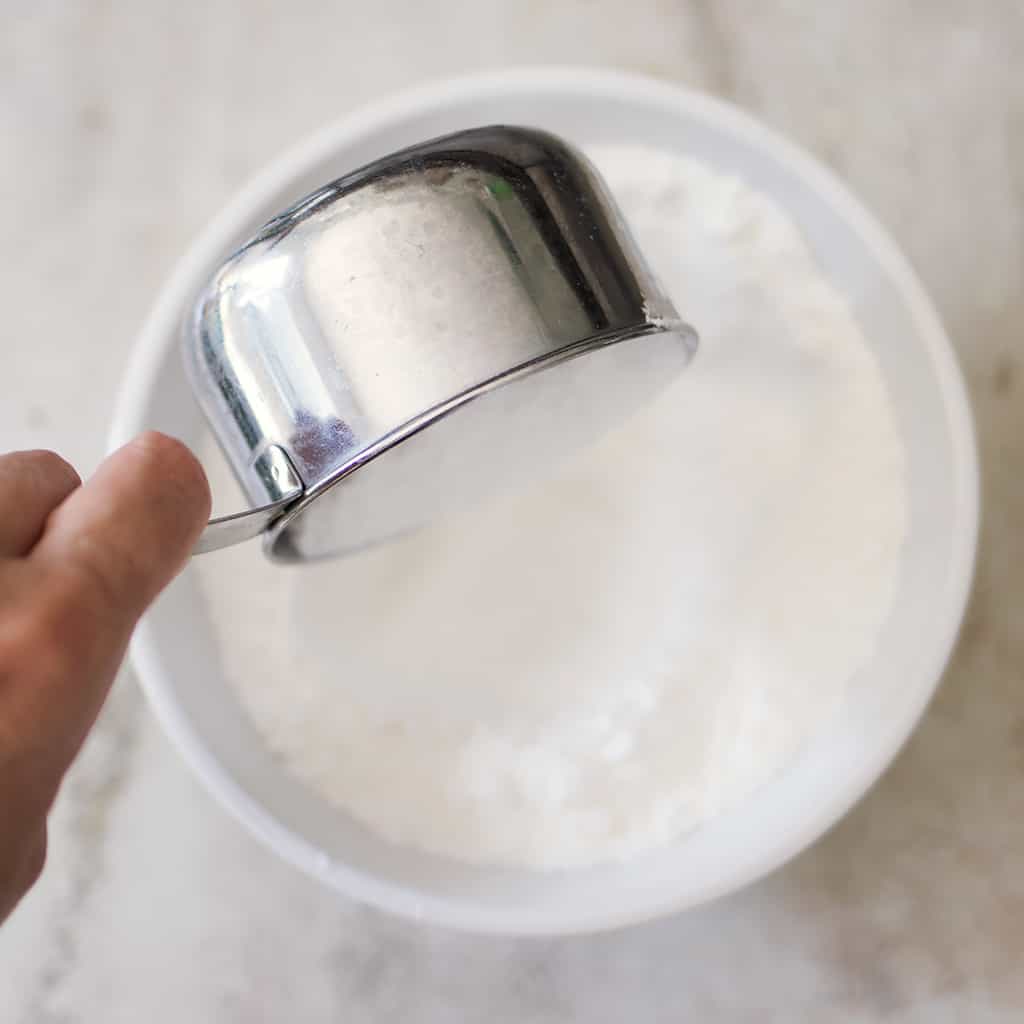
Whisk together 1/2 cup citric acid, 1 cup baking soda, and 3/4 cup corn starch in a small bowl.

Optional- add 1/4 cup Epson salt for extra skin-soothing!
Slowly (approximately 1 teaspoon at a time) pour in 1/4 cup almond oil or melted coconut oil. Stir in between pours.
If you add too much liquid to the dry mixture at once, the citric acid will be activated (fizz and bubble) and the mixture will be ruined.
You want the mixture to have a crumbly texture and to stick together when you pinch it (like damp sand).

Add approximately 15 drops of fragrance oil and the coloring and mix together.

Add the mix to one half of the bath bomb mold. You can either scoop it with the mold or use a spoon. Press down lightly.
If this is your first time using a bath bomb mold, it takes a bit of trial and error. If you pack the mold too tightly, the bomb won’t come out. If you pack it too loose, it will fall apart when you remove the mold.

Fill the other mold. Add extra bath bomb mixture to both sides and press the ends of the mold together.
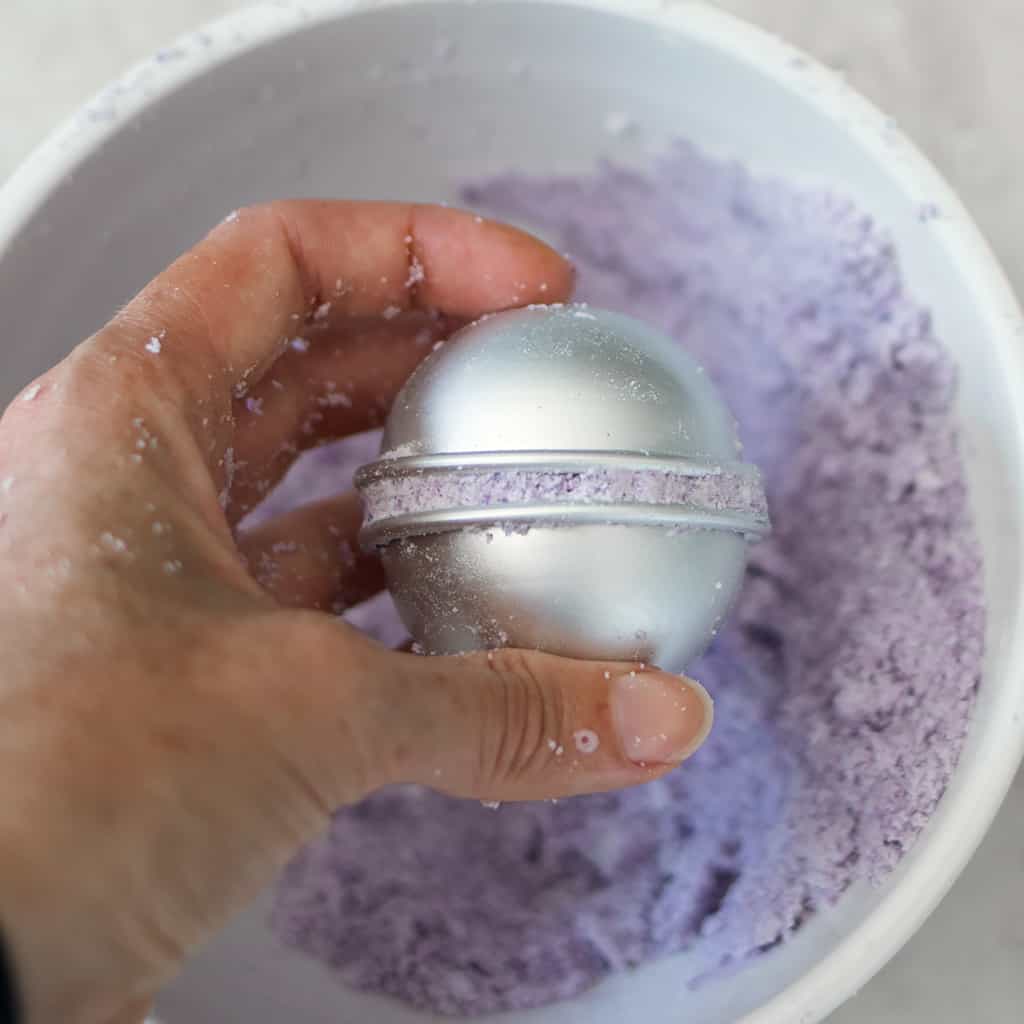
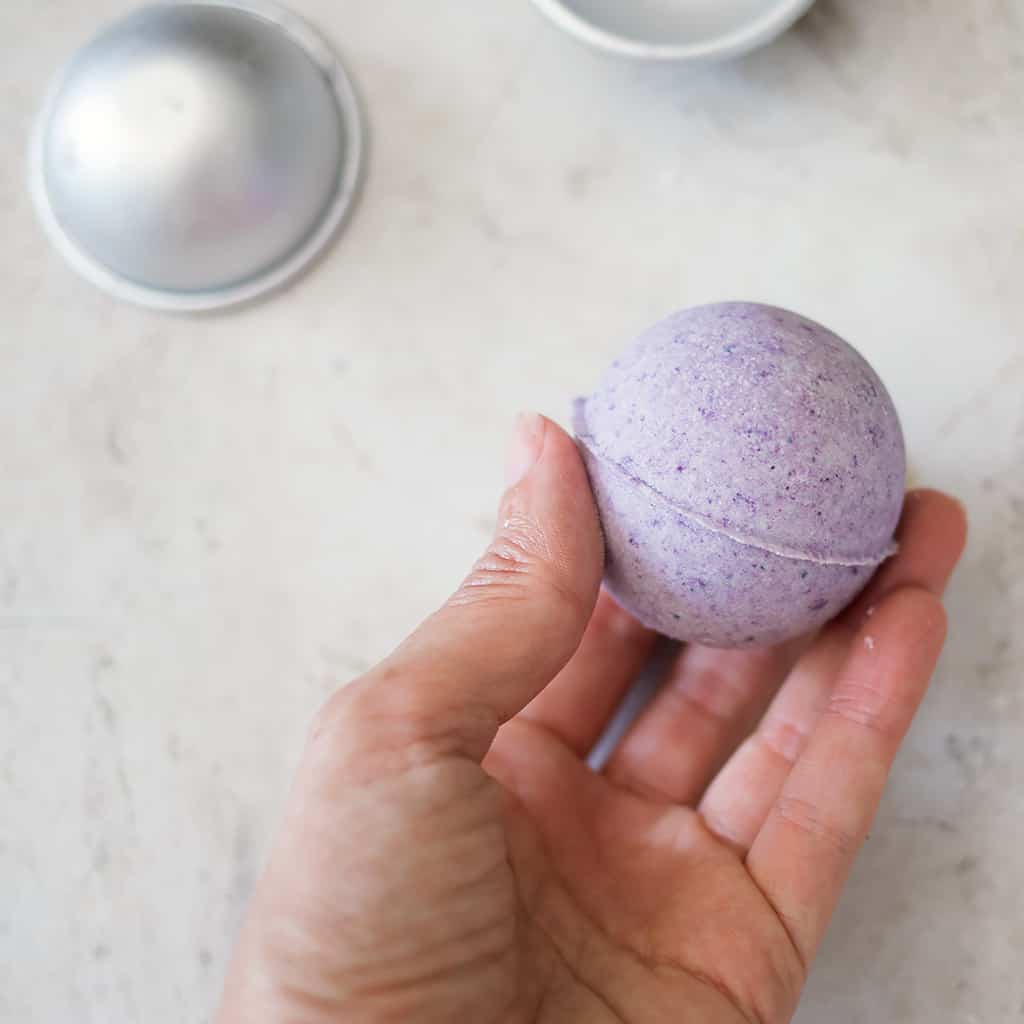
Wipe off the excess mixture around the seam. Tap the mold gently against a flat surface to release the bomb. Remove the mold.
Let dry for 24 hours before using. Store bath bombs in an airtight container like a glass jar in a place that’s free from moisture.

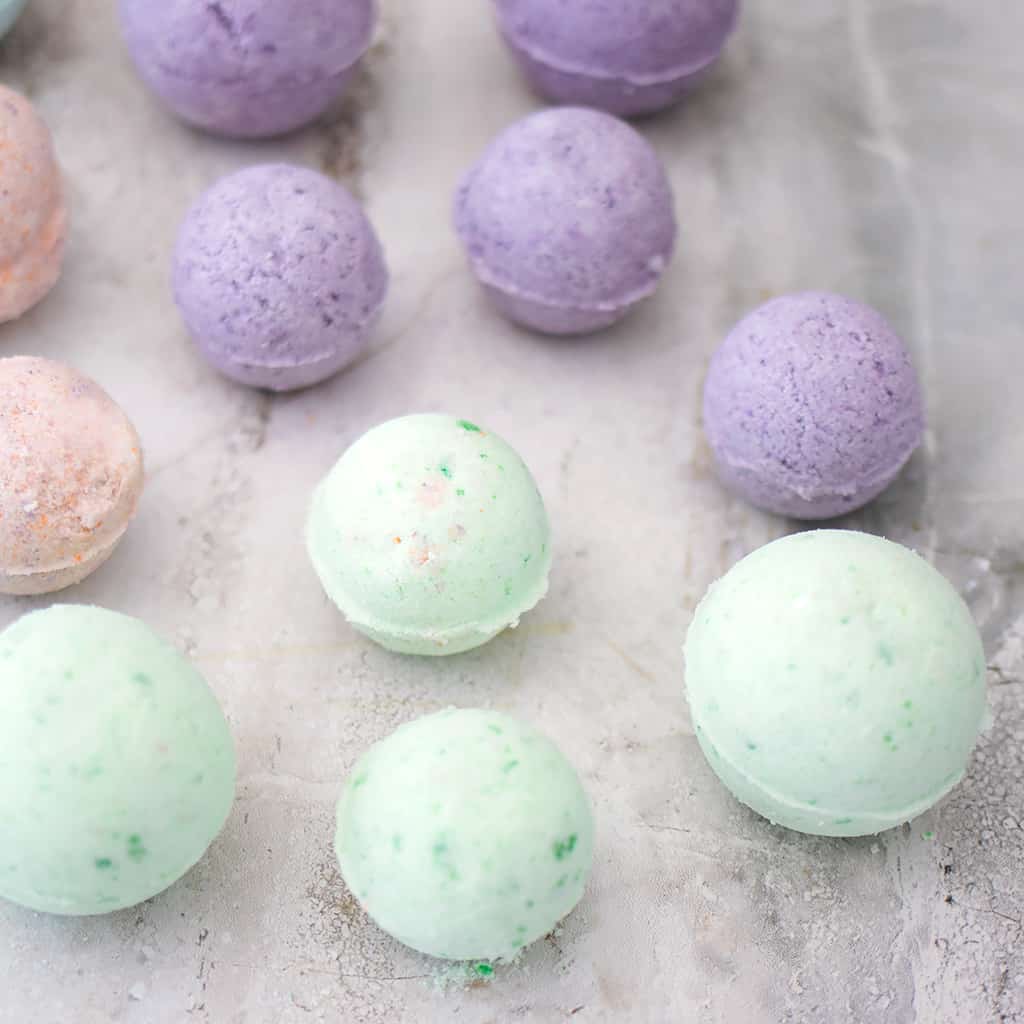
Once you get the hang of it, these bath bombs are fast & easy to make. It’s fun to experiment with different scent and color combinations.
Looking for more DIY Projects with Essential Oils?
How to Make Bath Bombs with Prizes Inside- great gift for kids!
How to Make Essential Oil Rollers
How to Make All-Natural & Reusable Dryer Sheets
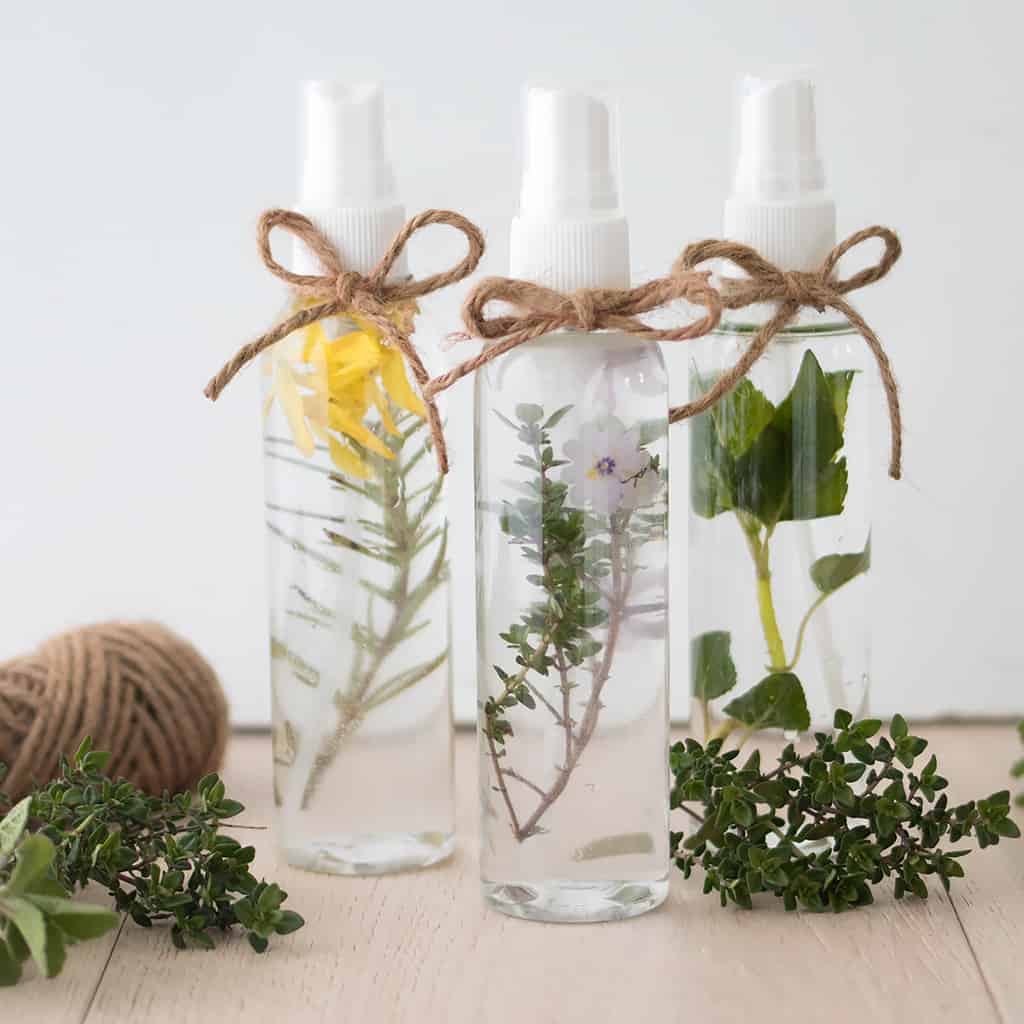
How to Make Essential Oil Room & Linen Spray
I love seeing your finished projects! If you enjoyed making these Easy DIY Bath Bomb Recipe- Step by Step Tutorial or any of my other craft projects, I’d love to see yours on Instagram, just tag me @ginamicheleblog. Happy crafting!
Like what you see here? Don’t forget to visit my other blogs:

