Privacy Screen Planter DIY
Privacy Screen Planter DIY- an inexpensive project with major impact! Upgrade your outdoor space with this beginner-friendly weekend project.
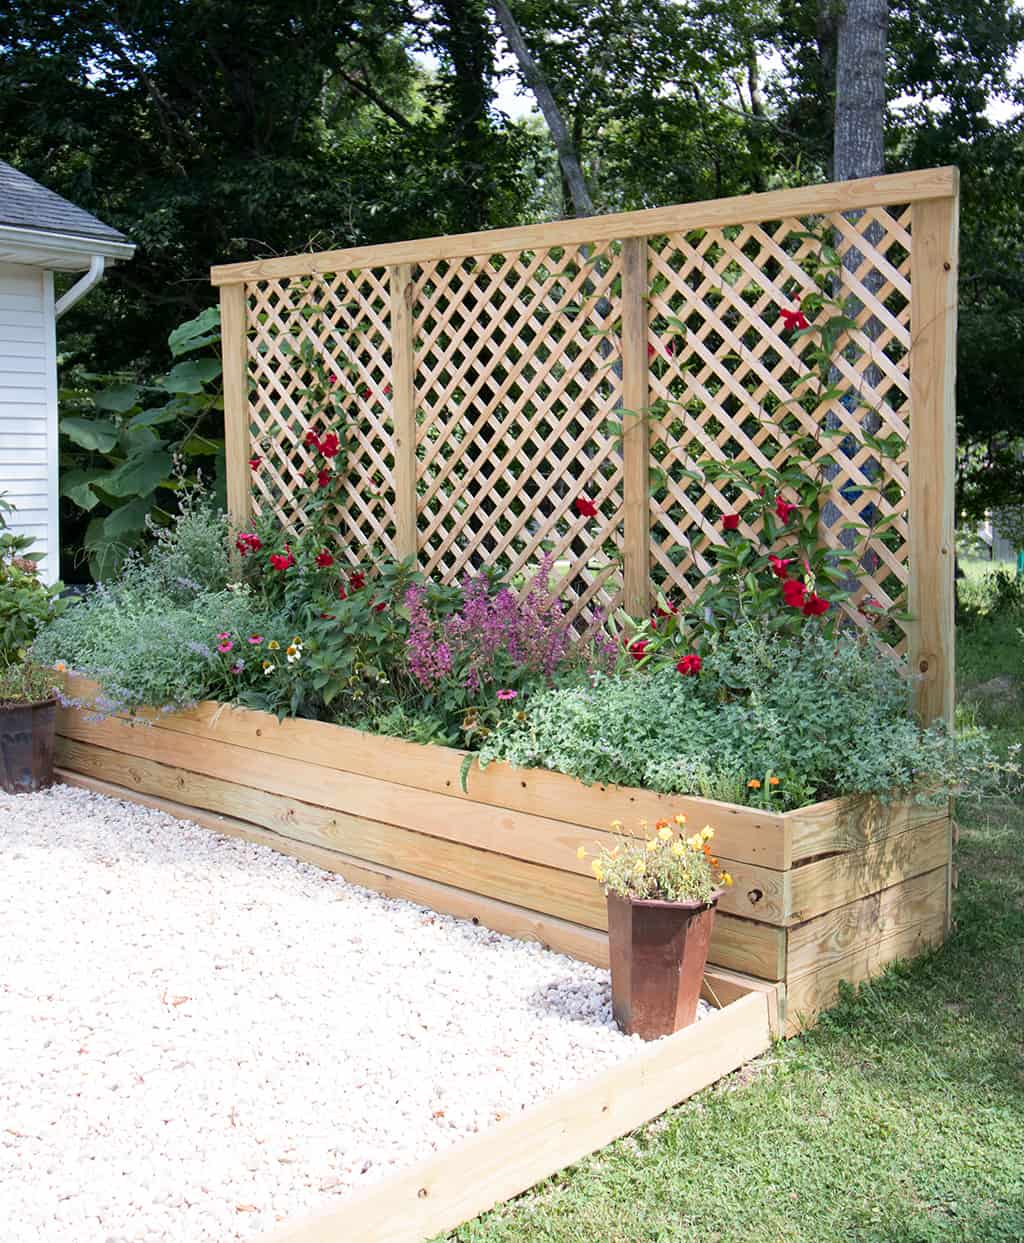
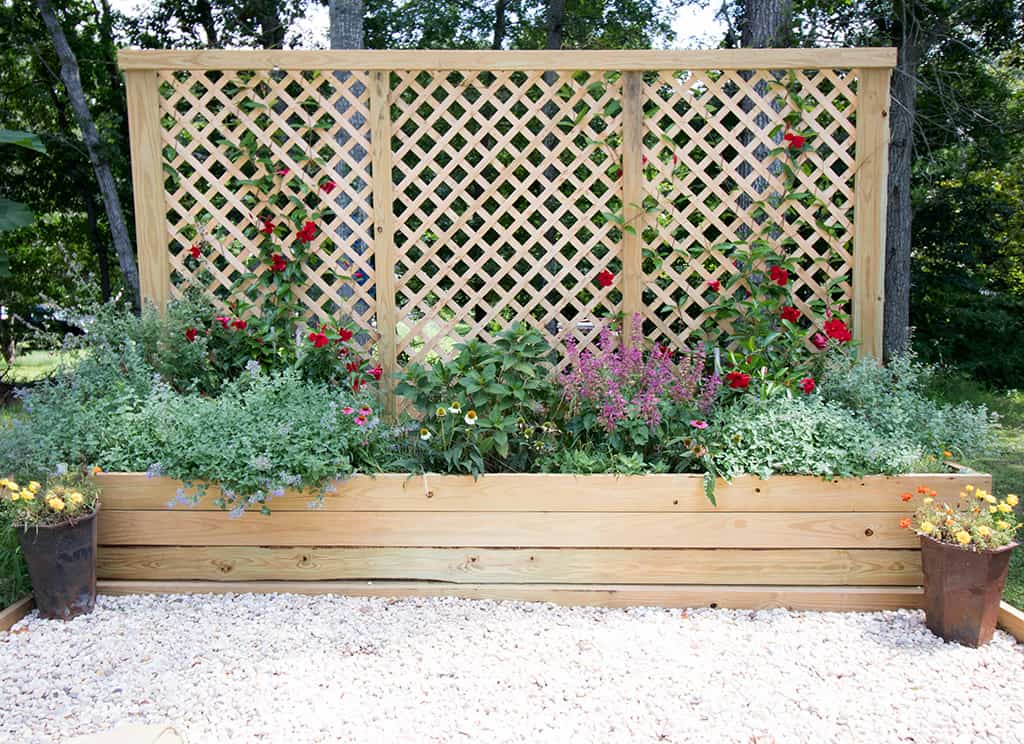
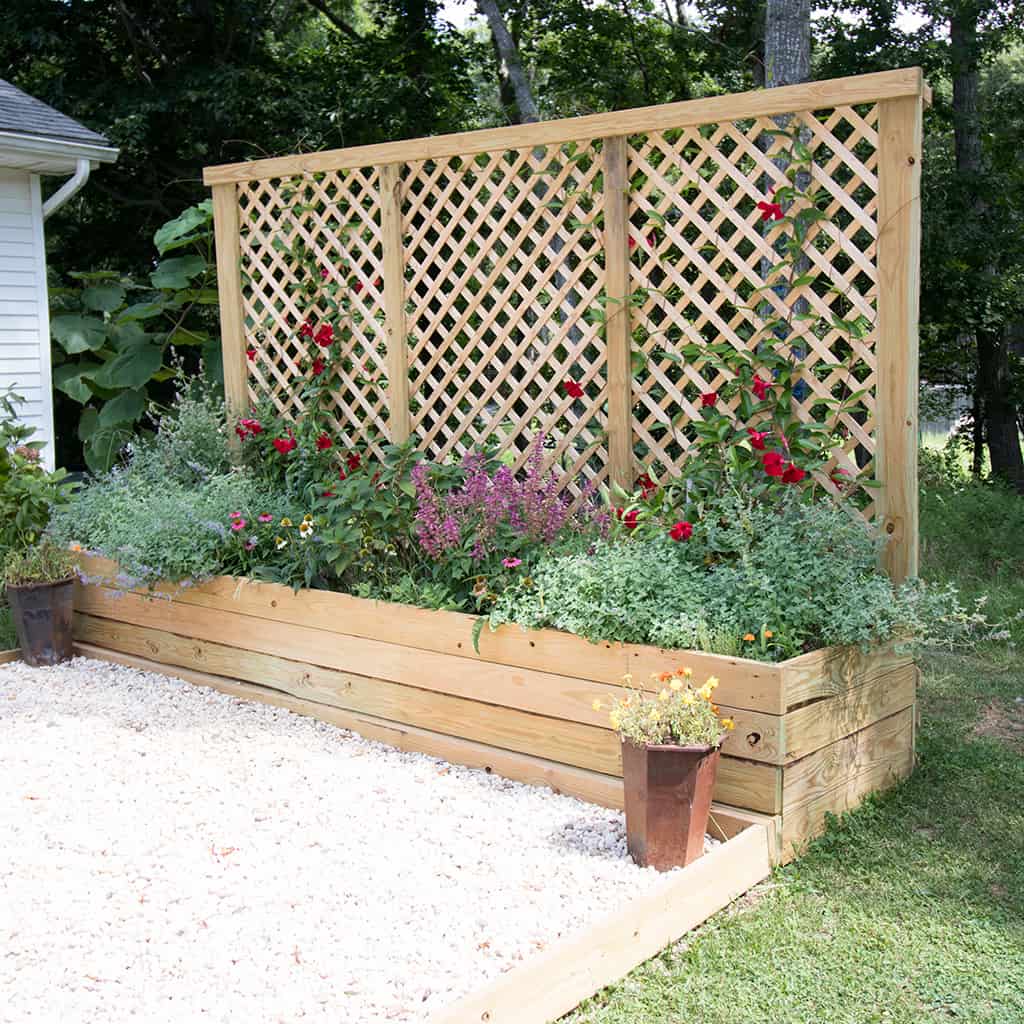
I built this Privacy Screen Planter DIY at the end of spring, but I wanted to wait until the plants filled it before I shared it. I’m really happy with this addition to my backyard! It creates a focal point on the side of the house, gives me more planter space (always a plus!) and it blocks the view of the dark, un-landscaped area on the border of my property.
This privacy wall was relatively easy to build and it only took a day. I should mention…filling it up with dirt took a lot longer! The planter box is constructed first and then the frame for the trellis is built. I used pre-made pressure-treated wood lattice panels which made this project a lot easier!
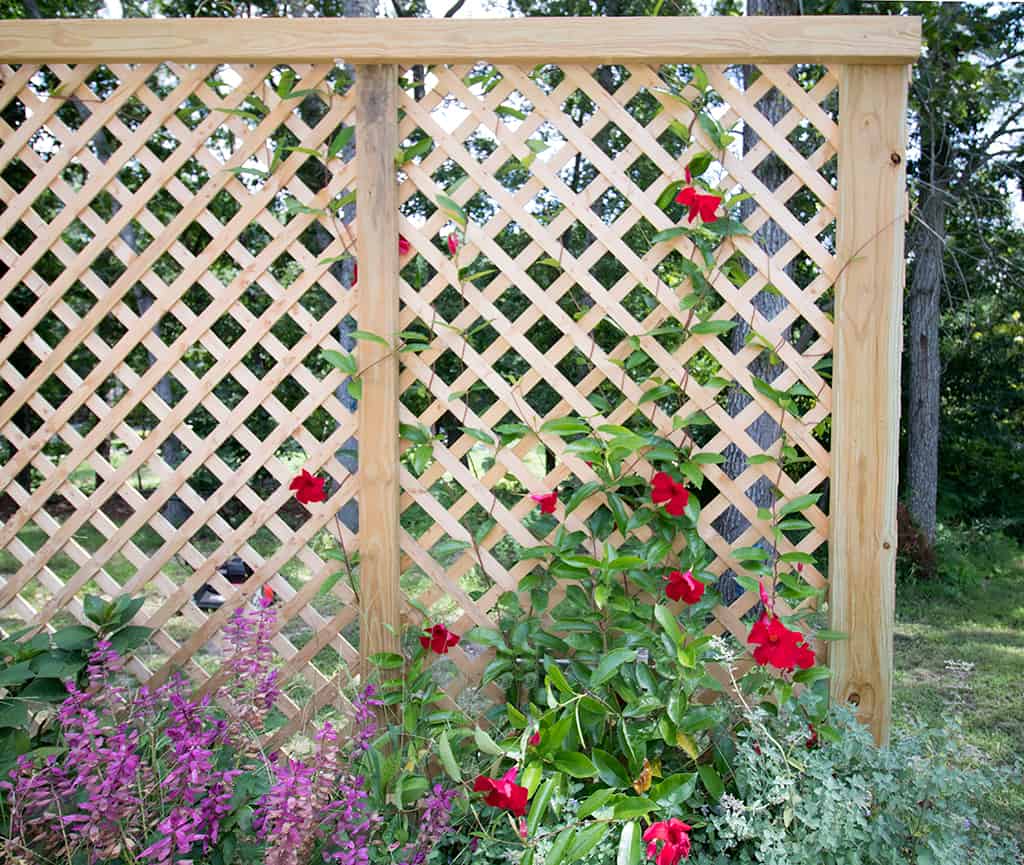
My finished Privacy Screen Planter DIY measures 12 feet long and 2 feet wide. The privacy fence is 8 feet high. This upright structure is very sturdy and the size of the planter allows for ample flowering bushes, herbs, hedges, small shrubs, and climbing vines. It’s also a nice source of shade in the summer.
KEEP IN TOUCH! FOR MORE INSPIRATION, TUTORIALS, AND FREE KNITTING PATTERNS, SIGN UP FOR OUR WEEKLY NEWSLETTER:
Supplies needed for Privacy Screen Planter DIY:
Pressure treated 2 x 6s
Pressure treated 2 x 4s (I used 2- 8 foot and 1- 12 foot) (for the center of the lattice frame and the top brace)
Pressure treated wood lattice (the 3/4 inch is sturdy and easy to work with) (These wood lattice panels also come in cedar, but they’re a lot more expensive)
Pressure treated scrap wood to use on the inside of the planter
3 1/2 inch exterior screws (I used deck screws)
Saw, Drill, Nail gun
Finished length: 12 feet
Finished width: 2 feet
Looking for more DIY Projects like this outdoor privacy screen?
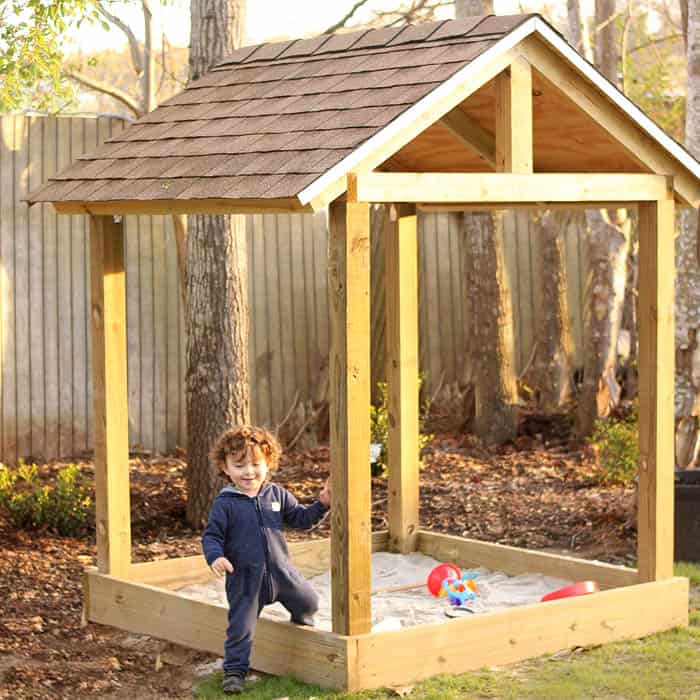
How to Build a Sandbox with a Roof
Tutorial
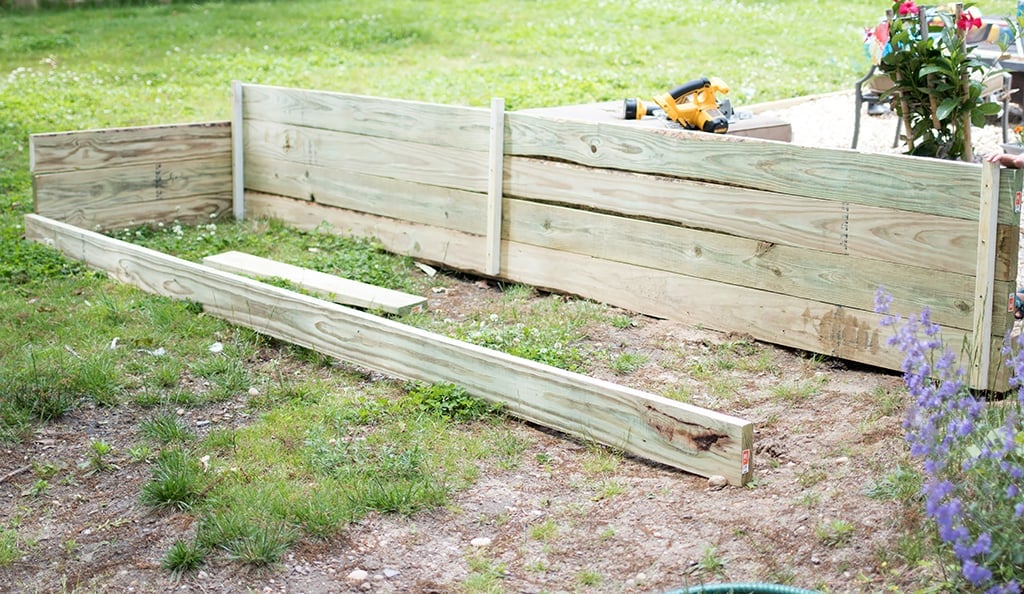
The first step is measure the area and buy the lumber in the correct lengths. Since my planter box was 12 feet long, I bought 8- 12 foot 2 x 6 boards. The sides were 2 feet so I bought 2- 8 foot 2 x 6 boards.
Building the planter is easy because you’re just making a simple rectangle. I used pressure-treated scrap wood on the inside of the box to prevent bowing and keep everything sturdy. It also helped to reinforce the corners.
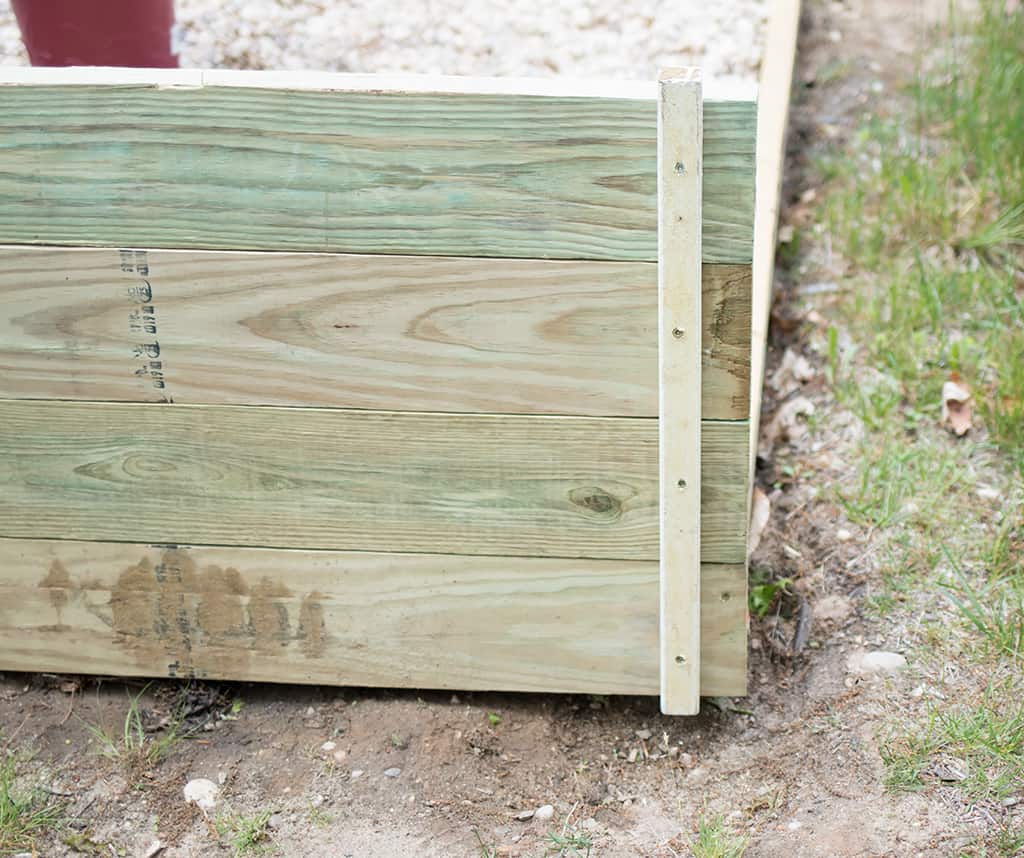
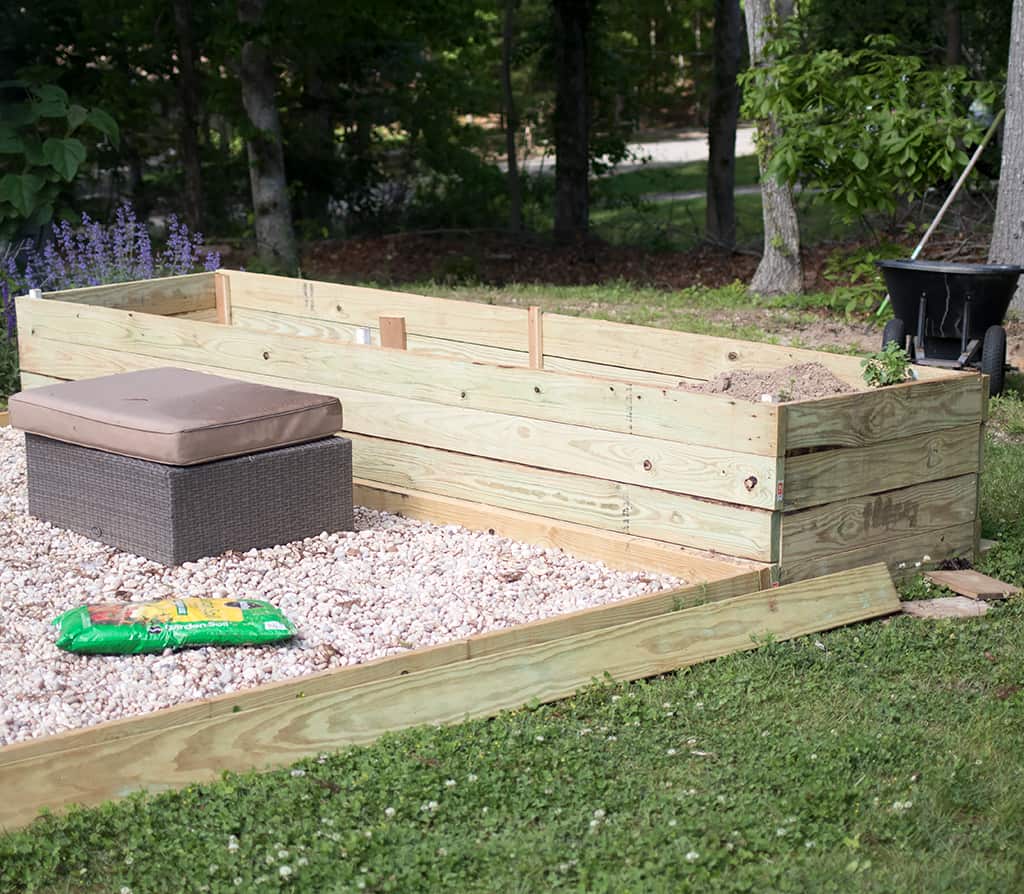
Once the planter was finished, I made some adjustments to make sure it was level.
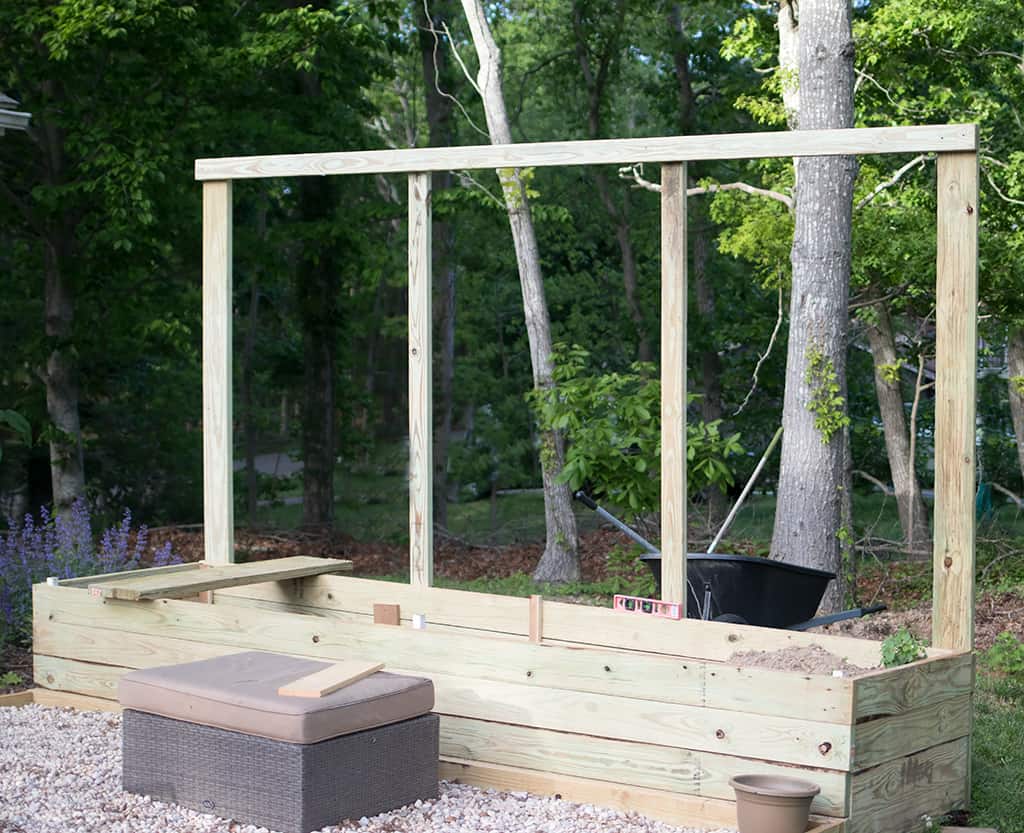
The next step was to make the wooden frame. I screwed a 2 x 6 x 8 pressure treated board to both ends, making sure they were plum. The lattice screen is 4 feet wide, so I added pressure treated 2 x 4 x 8s to the middle to hide the seams where the lattice joins together. These middle boards also make the screen secure. Once the boards are in place I attached the 2 x 4 x 12 across the top, making sure it was level.
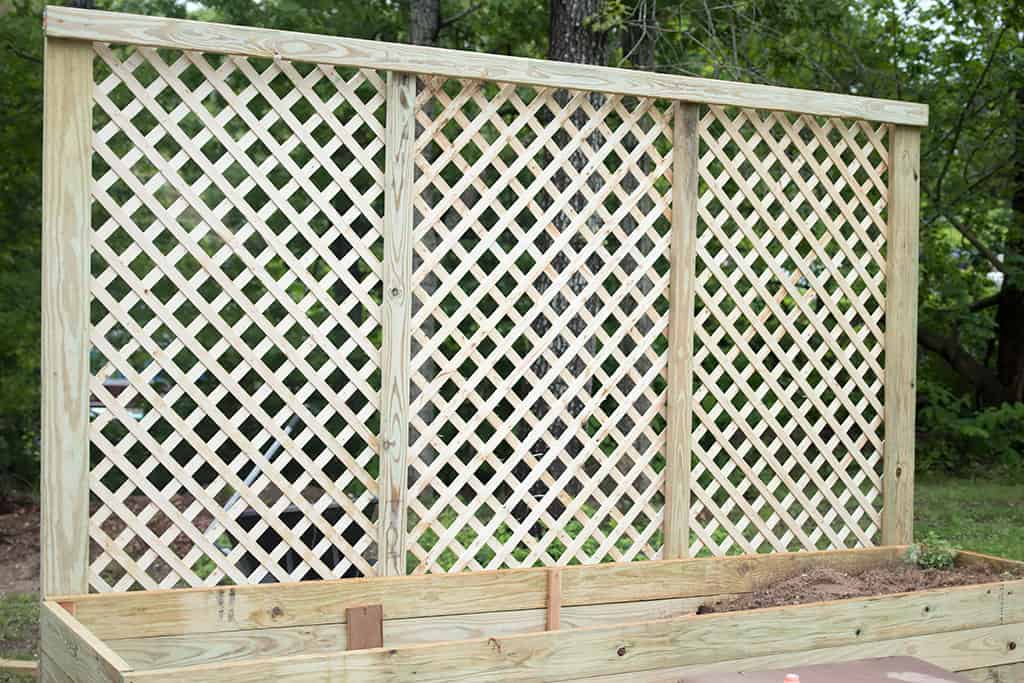
Then I attached the wood lattice using a nail gun. Best of all? No cutting was necessary! I used the full 8 foot height of the lattice and the 4 foot wide panels were perfect for my 12 foot planter. Once the planter is complete, fill with soil and add your favorite greenery and flowers.
I love seeing your finished projects! If you enjoyed making this backyard privacy screen, or any of my other DIY planters, I’d love to see yours on Instagram, just tag me @ginamicheleblog. Happy DIYing!

