Kid’s Wood Step Stool DIY
This is a sponsored conversation written by me on behalf of Charmin. The opinions and text are all mine.
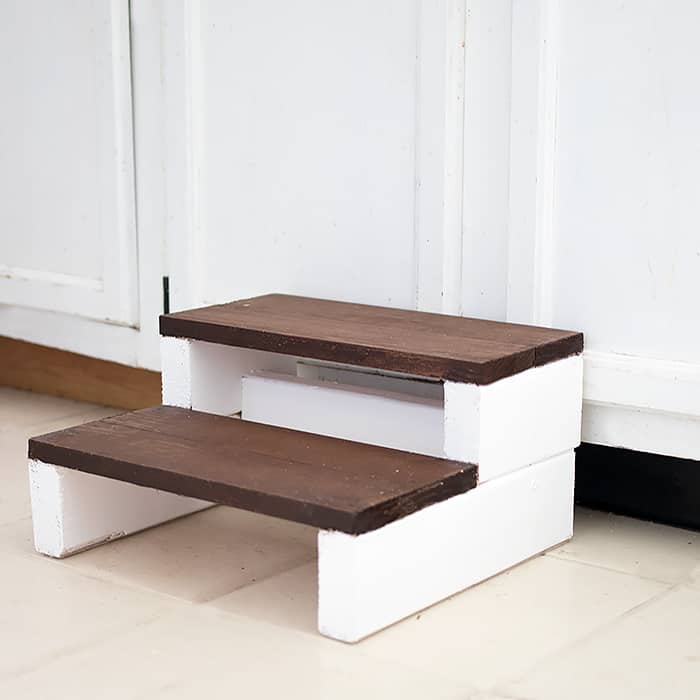
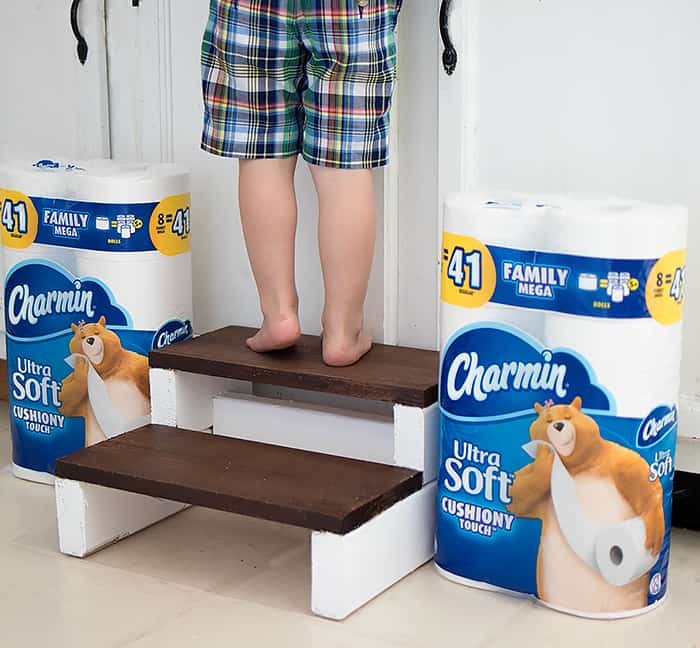 As Indigo approaches 3 years old, I’ve been transitioning the house to meet his needs. He needed a step stool for the bathroom, but the affordable ones I saw were all brightly-colored plastic. I wanted something that was sturdy and that would blend in with my decor. Today I teamed up with Charmin Cushion Soft 24 Ct Family Mega Rolls to show you how to build this easy Kid’s Wood Step Stool DIY!
I love adding simple touches to the bathroom to make it feel like a upscale hotel. Fragrant soap in a pretty bottle and and plush bath tissue are easy, inexpensive upgrades that will make your bathroom instantly feel luxe! Charmin Cushion Soft 24 Ct Family Mega Rolls are irresistibly soft and they have a unique cushion-y touch. 1 Charmin Family Mega Roll is equal to 5+ Regular Rolls based on number of sheets in Charmin Regular Roll bath tissue, which means you have to change the roll less often. Yay for less chores!
Charmin Cushion Soft 24 Ct Family Mega Rolls are sold exclusively on Amazon (I buy everything with Prime!).
For a limited time save $3 using promo code: 3MEGACHARMIN. An additional $2 off coupon can be applied at checkout for a total savings of $5!
This little step stool is perfect for helping kids reach the sink or potty. It’s very easy to build even if you don’t have experience with wood working. The materials are inexpensive and it can be painted/stained to match any decor!
Supplies needed for Kid’s Wood Step Stool DIY
1- 2 x 4 x 8
1- 1 x 4 x 8
Wood glue
Nail gun or hammer and finishing nails
Sandpaper or sander
Paint or stain & paintbrush
Felt (for the bottom)
Cut the wood into the following lengths:
1- 2 x 4 x 12″
2- 2 x 4 x 13 1/2″
2- 2 x 4 x 6 5/8″
4- 1 x 4 x 15″
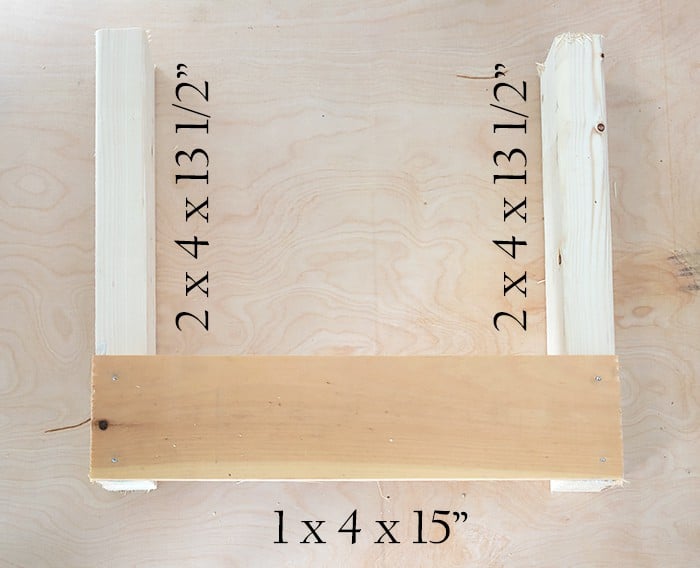
The 2 x 4 x 13 1/2″ boards make the base of the stool. Place them on their side and add a strip of wood glue to the end. Place the 1 x 4 x 15″ board on the end and nail into place.
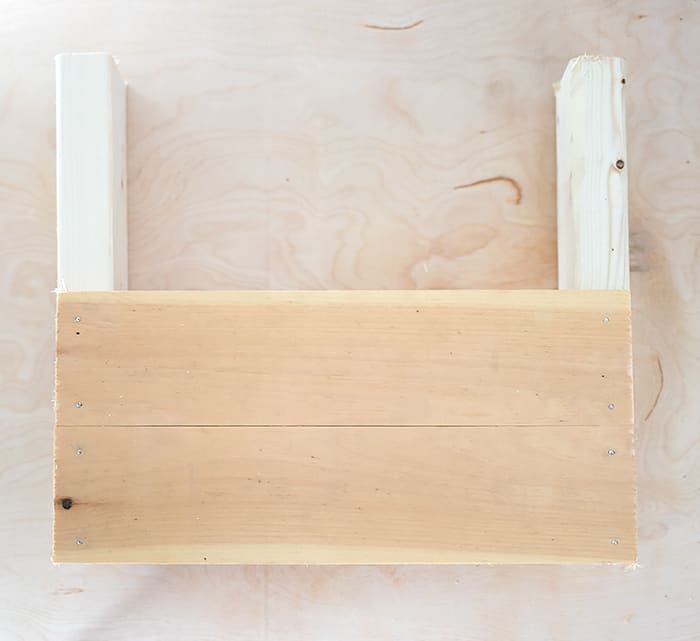
Add more glue to the base board and place the other 1 x 4 x 15″ board on top. Nail in place.
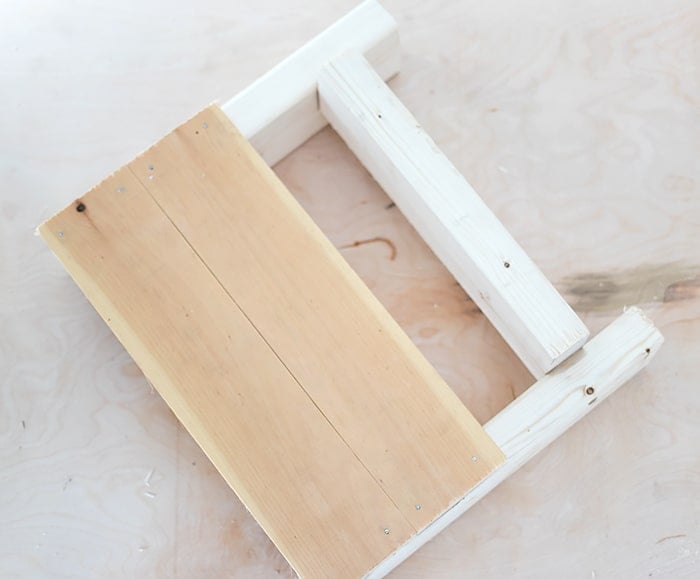
Next, take the 2 x 4 x 12″ board and place it halfway between the baseboards. Screw in place.
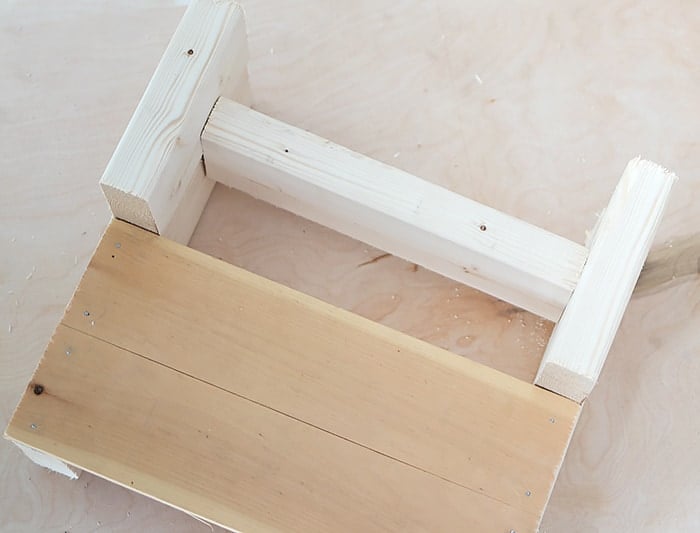
Take the 2 x 4 x 6 5/8″ and screw them into the brace on both ends to create the next step.
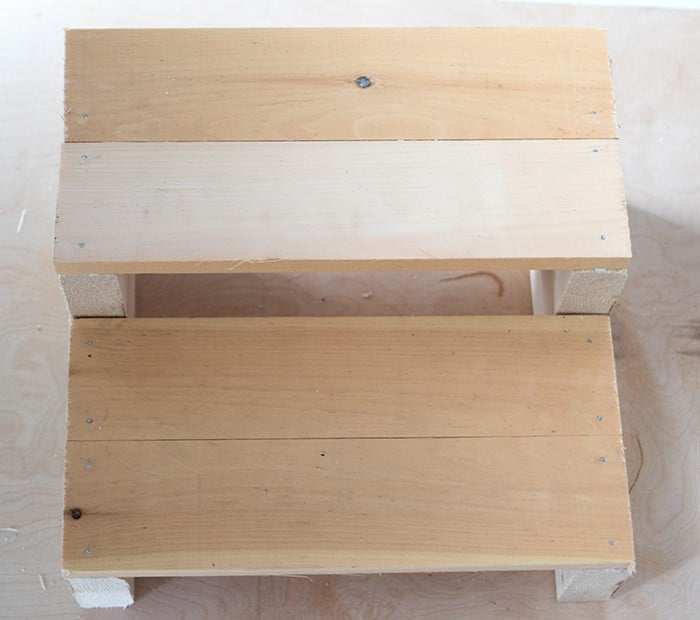
Glue and nail the last 2, 1 x 4 x 15: boards in place. Sand the step stool and paint as desired. I painted the base white and stained the steps with a gel stain. If the step stool is going directly on tile glue felt strips to the bottom to prevent slipping.
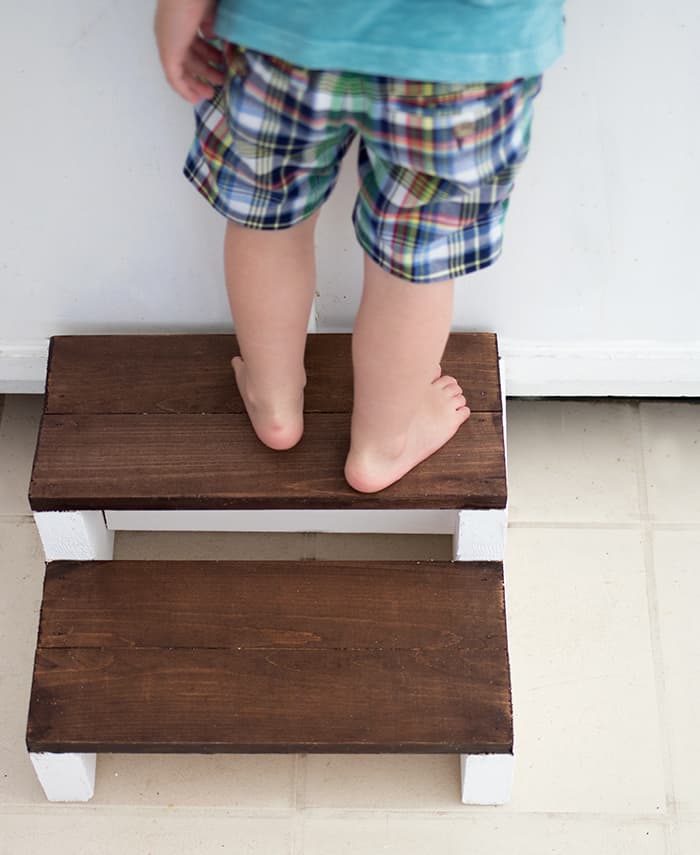
Before I built this step stool, I was lifting Indigo up every time he needed to wash his hands or use the potty. This is obviously a much better solution and as an added bonus, it looks super cute in the bathroom!


