How to Sew a Reversible Kid’s Tank Top
Learn How to Sew a Reversible Kid’s Tank Top with this easy sewing tutorial!
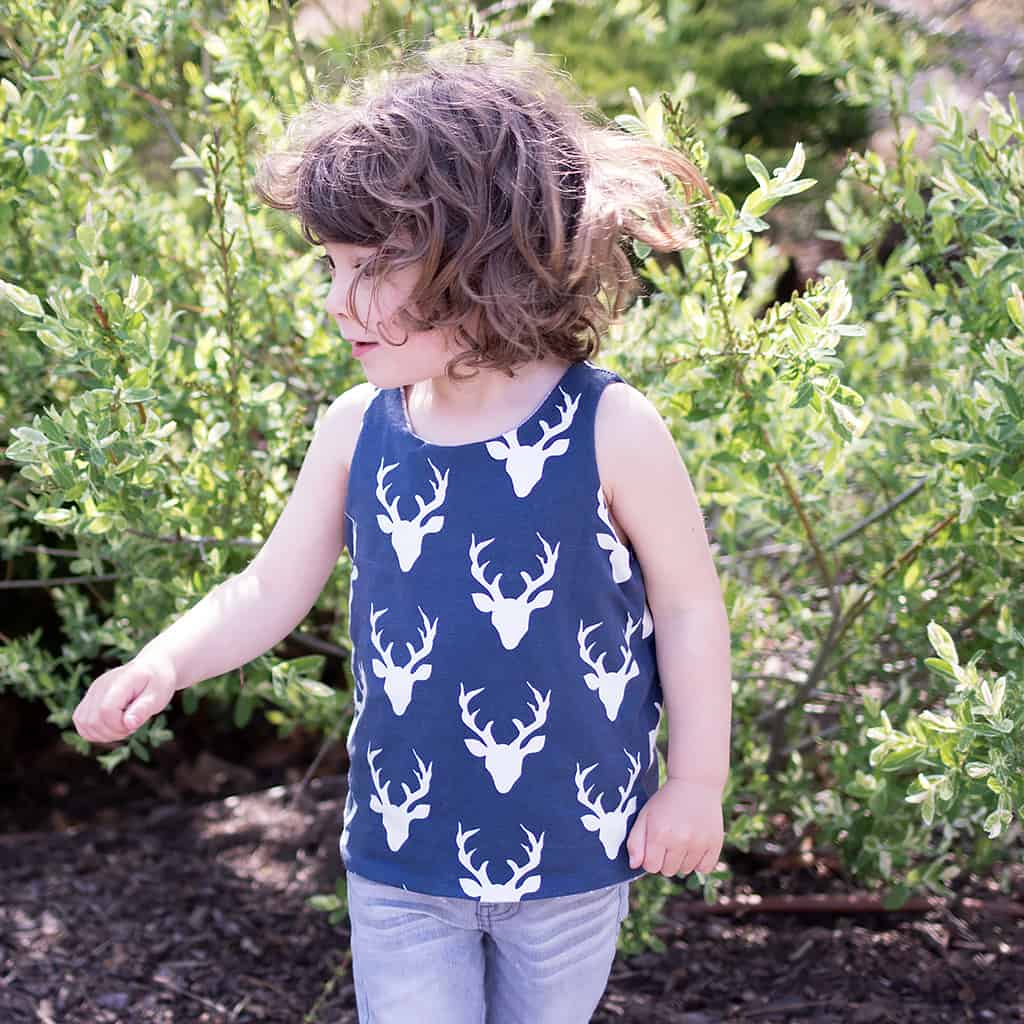
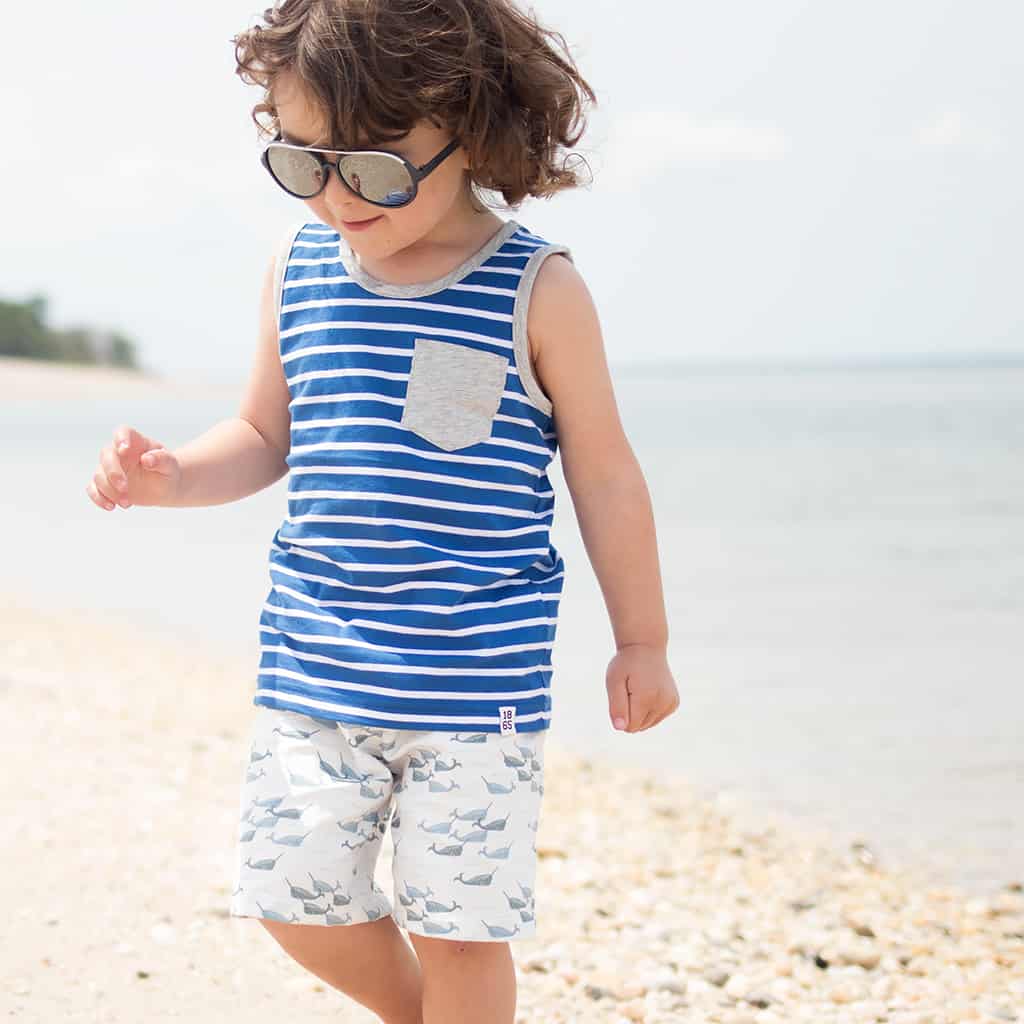
I was going through my fabric stash and I realized that I had a bunch of cotton jersey remnants. They weren’t large enough for me to make a top for myself, but they were perfect for Indigo! Today I’m going to show you How to Sew a Reversible Kid’s Tank Top! This sewing tutorial is perfect for beginners because you don’t have to worry about adding ribbed trim to the sleeves or neck. The tanks are made separately and then sewn together on the inside seams. The double layered jersey gives the tank a nice weight and drape.
I love anything reversible and this sewing projects gives you 2 tanks in one! This is a great way to destash your fabric collection!
Want more Easy Sewing Projects?
Supplies needed:
Kid’s tank top
1/2 yard cotton jersey fabric in one print
1/2 yard cotton jersey fabric in another print
How to Sew a Reversible Kid’s Tank Top
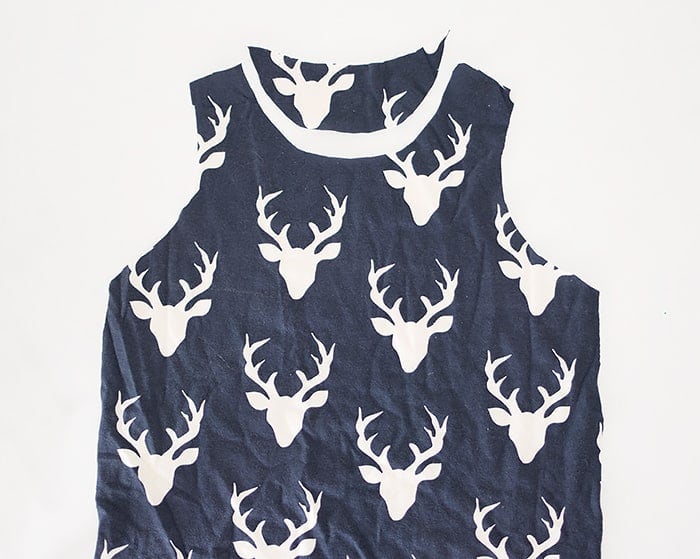
Fold the jersey fabric in half. Turn the tank right side out and place down on top of the jersey. Cut out the pattern leaving a 1/4 seam allowance around the sides, bottom and shoulders.
Mark 2 inches down t=from the middle of the neck hole. Cut the neck deeper for the front piece.
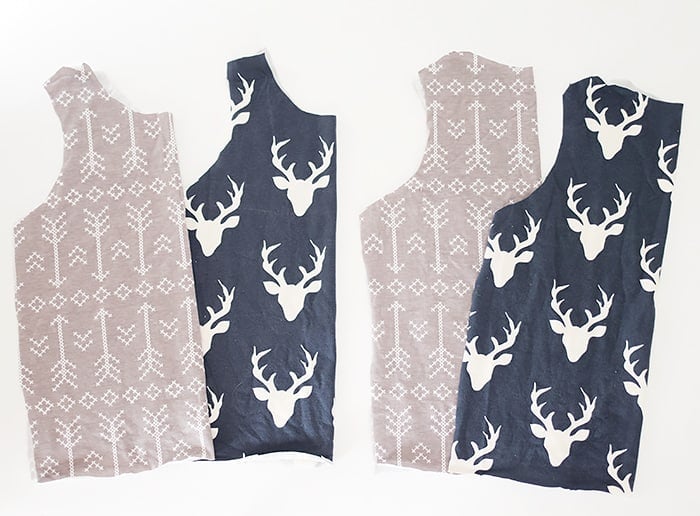
Using the front and back pattern pieces you just cut, cut another front and back from the contrasting fabric.
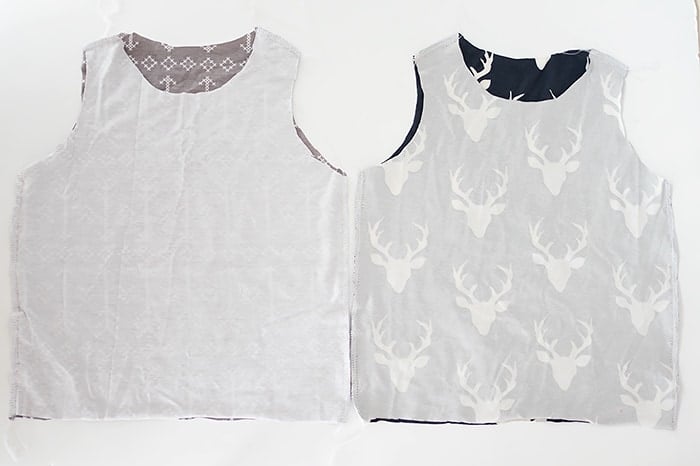
Match up the front and back for both tanks and sew side and shoulder seams.
Place one tank inside the other and sew together at the arm holes and neck hole. Sew the tanks together at the bottom leaving a small gap (approximately 2 inches) to turn them right side out. Hand sew the gap closed. Using an iron, press the shoulder and neck seams and the hem.


