I’m a firm believer that household chores are made more pleasant by using great products and pretty accessories! I teamed up with
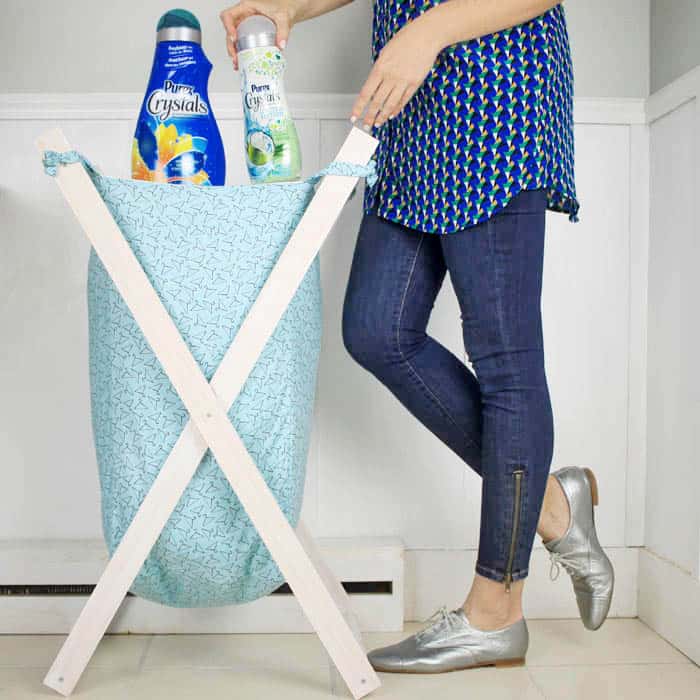
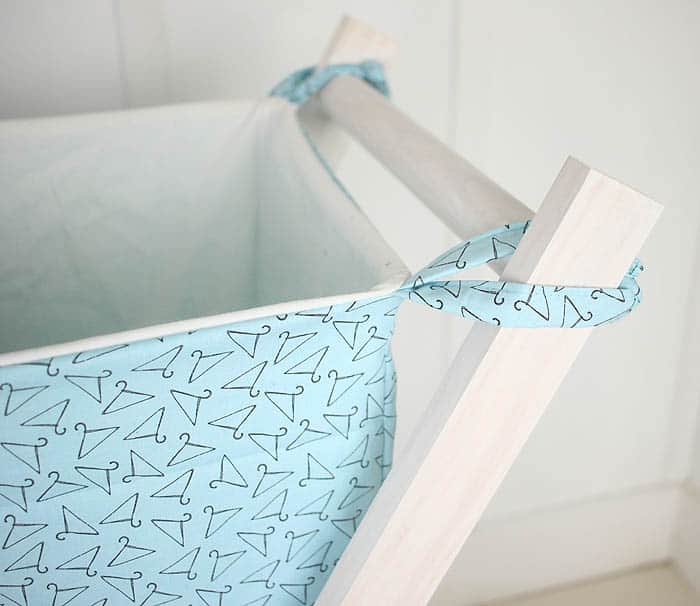
Purex®Crystals to show you a few ways to make doing the laundry more enjoyable. This foldable wood laundry hamper DIY looks much better than those plastic laundry baskets and it even holds more clothes! It also folds up for easy storage.
Using Purex Crystals is another way to make doing the laundry more enjoyable. Purex Crystals gives you great scent at a great price! I love the smell of freshly cleaned clothes, but the scent disappears right away. Purex Crystals is the perfect finishing touch on your laundry. The 2 scents I tried were Fresh Spring Waters and Oh So Chic (blend of mandarin, water lily, and vanilla sandalwood) The scents are fresh, clean and best of all… they last up to 12 weeks! I went on a bit of a laundry spree after smelling the Purex Crystals. I washed all; my curtains, throw pillow covers and towels. My house has smelled awesome for weeks now!
Foldable Wood Laundry Hamper DIY
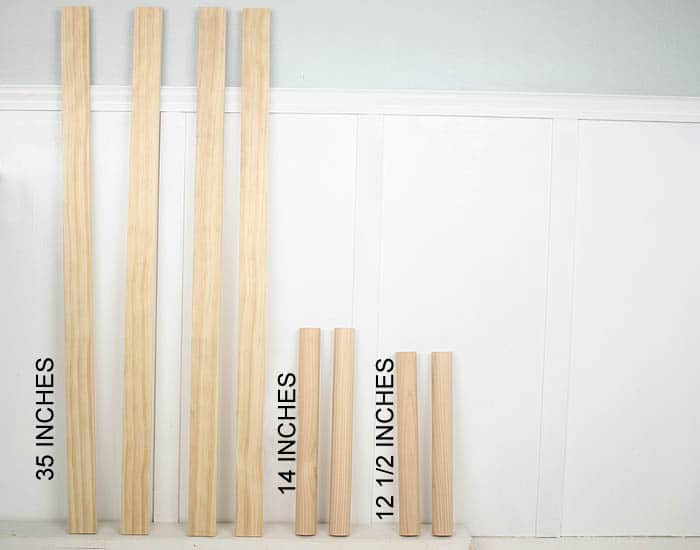
Cut 4 pieces of 1×2 wood to 35 inches in length. Cut the dowels in 2, 14 inch sections and 2, 12 1/2 inch sections.
Other supplies needed:
2 1/2″ multi purpose framing screws
2 Nuts and bolts for the sides
Paint or stain (optional)
1 1/2 yards cotton fabric
1 1/2 yards heavier twill
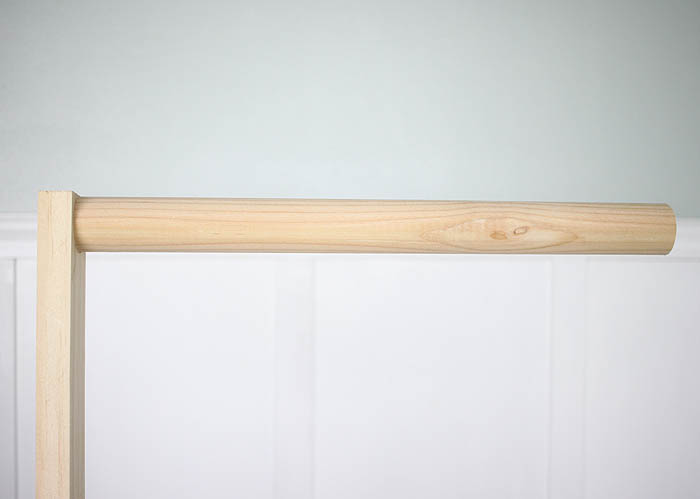
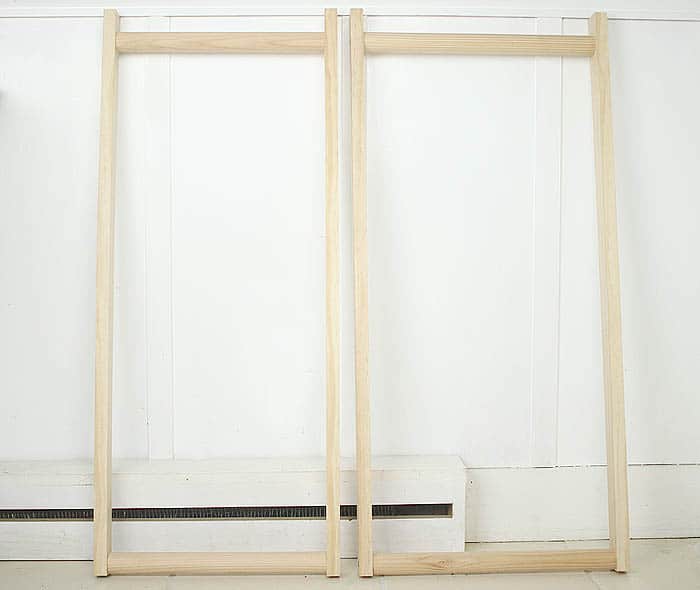
You’re going to make 2 rectangles. One with have the 14 inch boards in the middle and the other will have the 12 1/2 inch. One end of the rectangle has the boards screwed it at the bottom (this is the base of the hamper) and the other end, the boards are screwed 2 inches down from the top. This gives you a space at the top of the hamper to hang the
fabric ties.
Here are the finished rectangles. One is more narrow than the other so it can fit inside.
Next it’s time to add the nut and bolt to join the hamper sections together. Measure to find the middle of the 1×2. Drill a hole through. Repeat with the other 3 sides of the rectangles. Insert the nut and bolt to each side and screw on. Don’t make it too tight or the hamper won’t be able to fold up.
Here’s the finished frame. I gave mine a whitewash finish with some watered down acrylic paint.
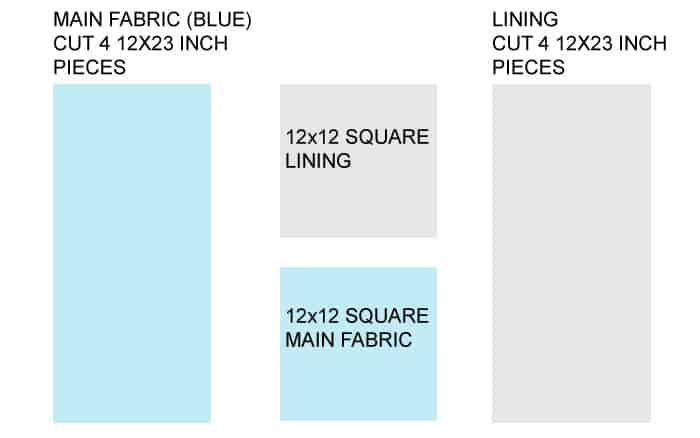
The fabric basket consists of a square for the bottom and 4 sides. I wanted my basket to be sturdy, so I lined the inside with a heavier twill. Cut the square bottom and 4 sides out of both the main fabric and the lining.
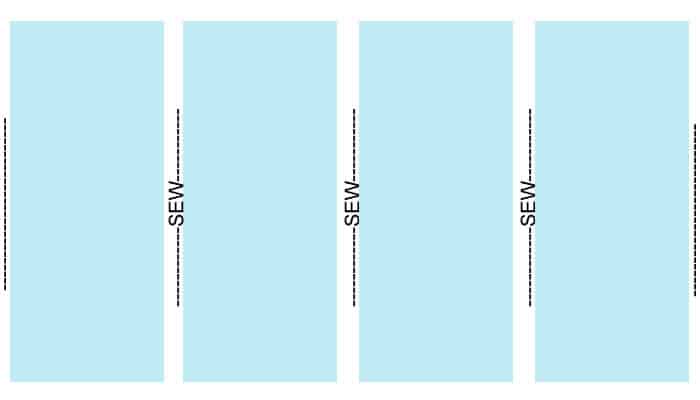
Sew the 4 12×23 pieces of fabric together at the sides to form a box. Do the same with the 4 pieces of lining fabric. Then sew the square bottom on to each box.
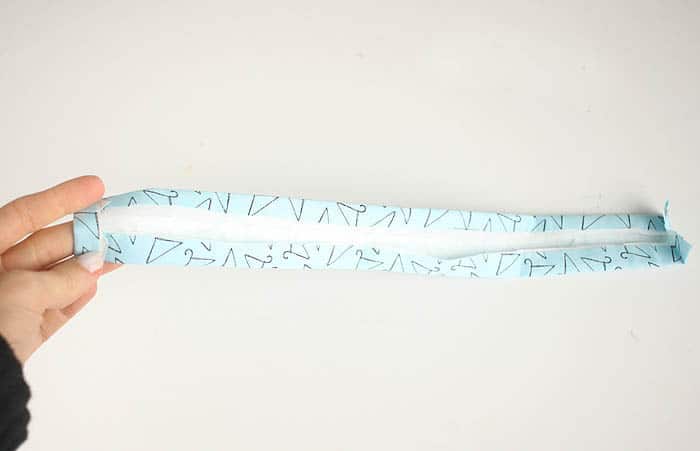
To make the fabric ties, cut 4 sections of fabric that measure 2 inches wide and 20 inches long. Iron the sides down and then fold lengthwise and iron.
Topstitch the ties on the edge.
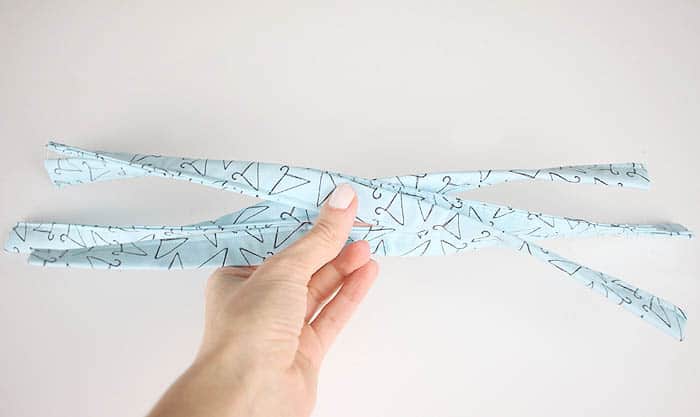
Sew the ties at the 4 corners. Sew the lining to the main fabric at the top.
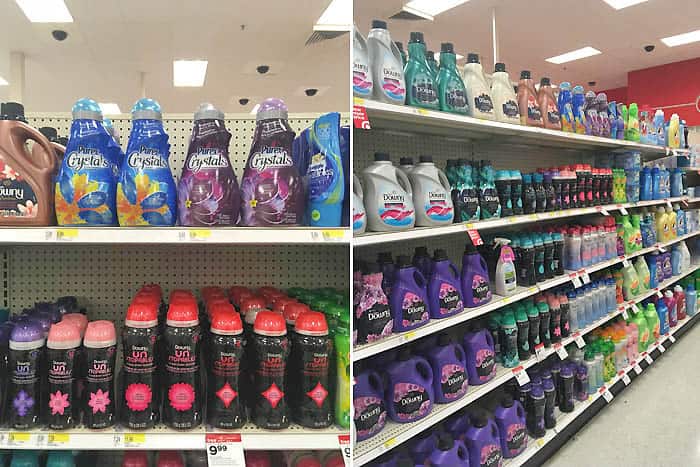
Next time you’re shopping in Target be sure to swing by the Laundry care aisle and pick up
Purex Crystals for up to 12 weeks of fresh smelling laundry!
This shop has been compensated by Collective Bias, Inc. and its advertiser. All opinions are mine alone. #PurexCrystalFresh #CollectiveBias








Wow, this is such an awesome tutorial – I love that it includes actual construction and sewing in one! And that hanger fabric is adorable. Thanks for sharing. #client
This turned out so great!!!
Great idea. As a DIY'er, I appreciate your job.
Thanks for this great post