Flat Knit Cable Pumpkins
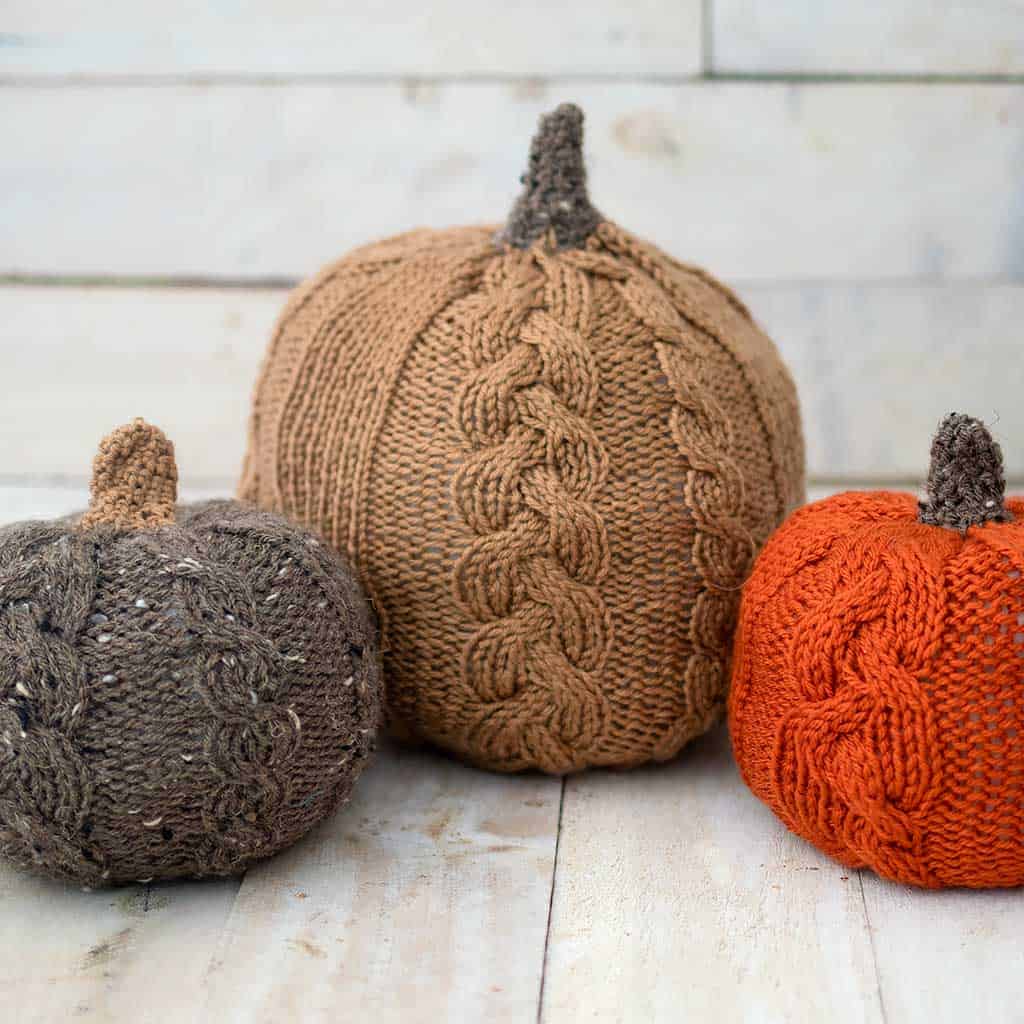
Add a touch of cozy charm to your autumn decor with the intricate artistry of these Flat Knit Cable Pumpkins.
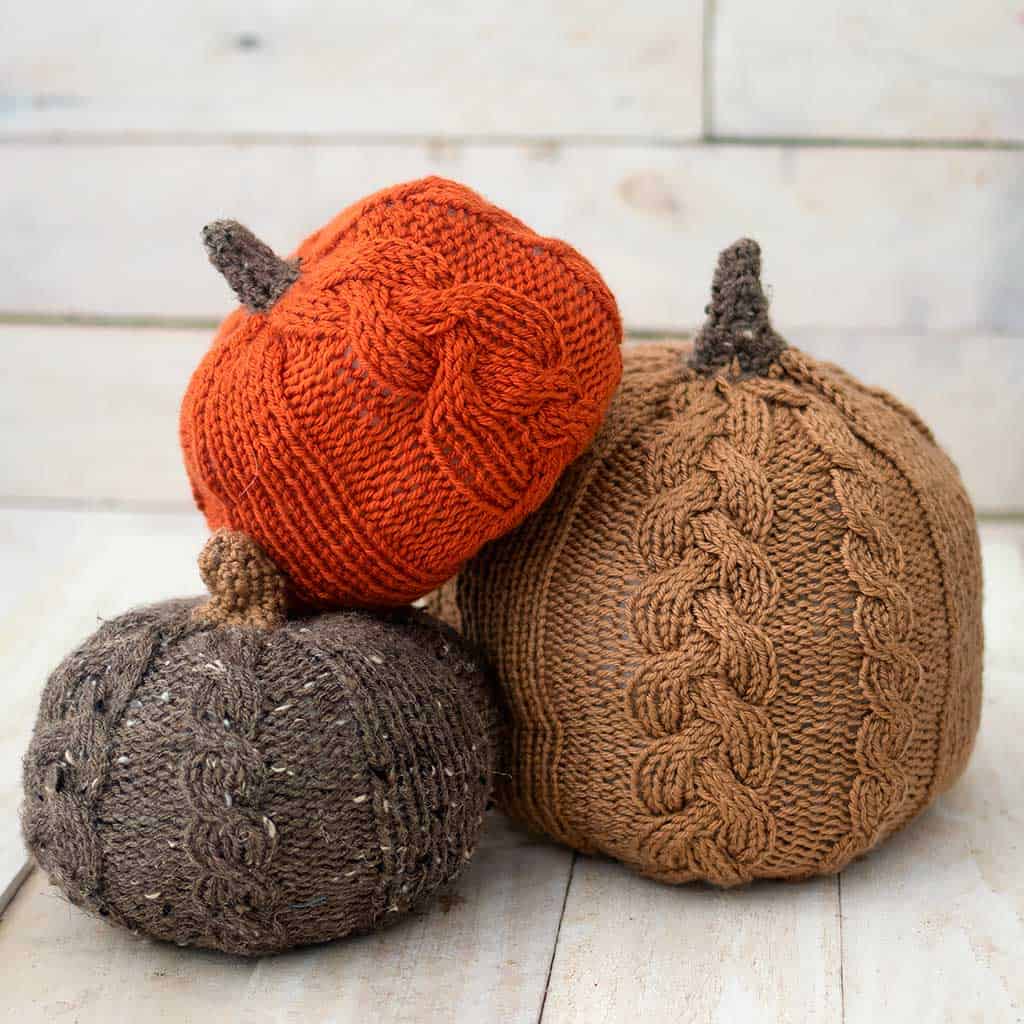
In the realm of autumnal decorations, few things capture the essence of fall quite like pumpkins. This time, we’re putting a twist on the classic with flat knit cable pumpkins – a charming and crafty way to embrace the cozy vibes of the season. So, gather your knitting needles, envision the rustic allure of intertwined cables, and let’s embark on a journey to craft pumpkin-inspired décor that will grace your home with elegance and coziness.
KEEP IN TOUCH! FOR MORE INSPIRATIONS, TUTORIALS, AND FREE KNITTING PATTERNS, SIGN UP FOR MY WEEKLY NEWSLETTER:
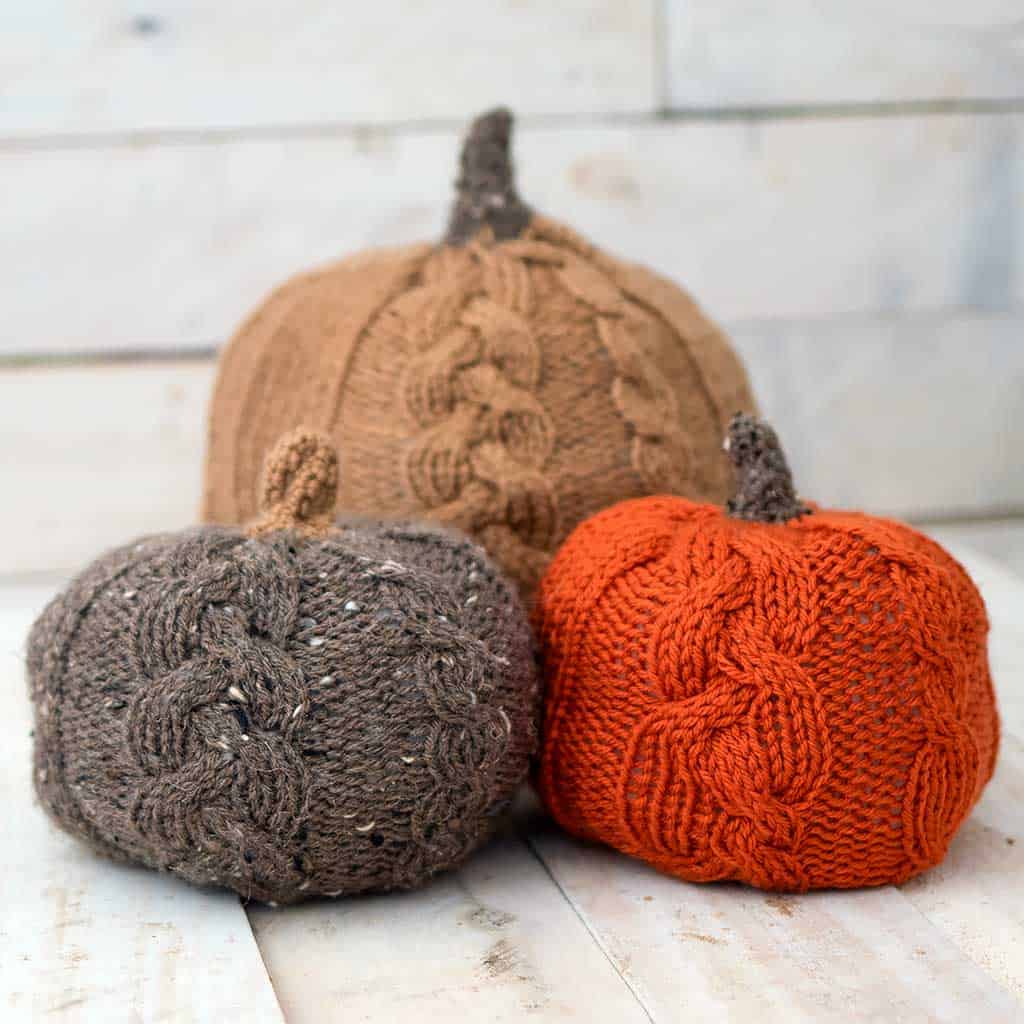
Flat Knit Cable Pumpkins
Yarn: #4 worsted weight yarn
Needles: Size US 7 single point knitting needles
Also needed: yarn needle, cable needle, poly fill, crochet hook
Gauge: not necessary for this project
Size: Large pumpkin measure 8 1/2 inches tall (not including stem)
Small pumpkin measures 4 1/2 inches tall (not including stem)
Pattern Instructions:
The body is worked in a 24-round pattern. For the large pumpkin, repeat the series of stitches 3 times across. For the small pumpkin, repeat the series of stitches 2 times across.
For the Large Pumpkin:
Cast on 84 sts. Knit 1 row.
Pattern: (repeat three times across the row)
Row 1 – *p3, k9, p3, k6, p3, k4*
Row 2 – work stitches as they present (knit the knit stitches and purl the purl stitches)
Row 3 – *p3, C6F, k3, p3, k6, p3, k4*
Row 4 – work stitches as they present
Row 5 – *p3, k9, p3, k6, p3, C4F*
Row 6 – work stitches as they present
Row 7 – *p3, k3, C6B, p3, k6, p3, k4*
Row 8 – work stitches as they present
Row 9 – work stitches as they present
Row 10 – work stitches as they present
Row 11 – *p3, C6F, k3, p3, k6, p3, C4F*
Row 12 – work stitches as they present
Row 13 – work stitches as they present
Row 14 – work stitches as they present
Row 15 – *p3, k3, C6B, p3, k6, p3, k4*
Row 16 – work stitches as they present
Row 17 – *p3, k9, p3, k6, p3, C4F*
Row 18 – work stitches as they present
Row 19 – *p3, C6F, k3, p3, k6, p3, k4*
Row 20 – work stitches as they present
Row 21 – work stitches as they present
Row 22 – work stitches as they present
Row 23 – *p3, k3, C6B, p3, k6, p3,C4F*
Row 24 – work stitches as they present
Repeat these 24 rows, 2 more times.
Knit 1 row and bind off.
For the small cable pumpkins
Cast on 56 stitches. Knit 1 row.
Repeat the pattern above 2 times across each row.
Repeat these 24 rows, 2 more times.
Knit 1 row and bind off.
Finishing the cable knit pumpkins
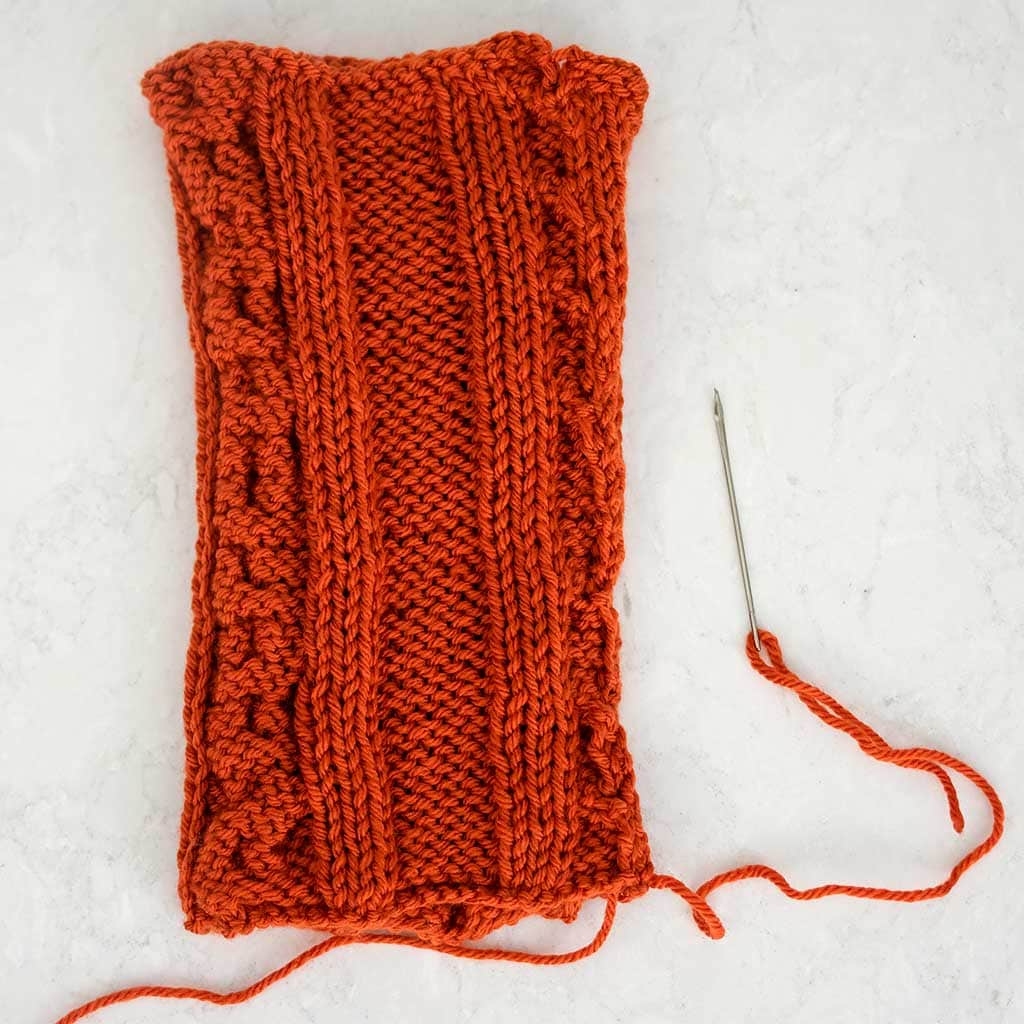
Fold the piece over and sew the side seam.
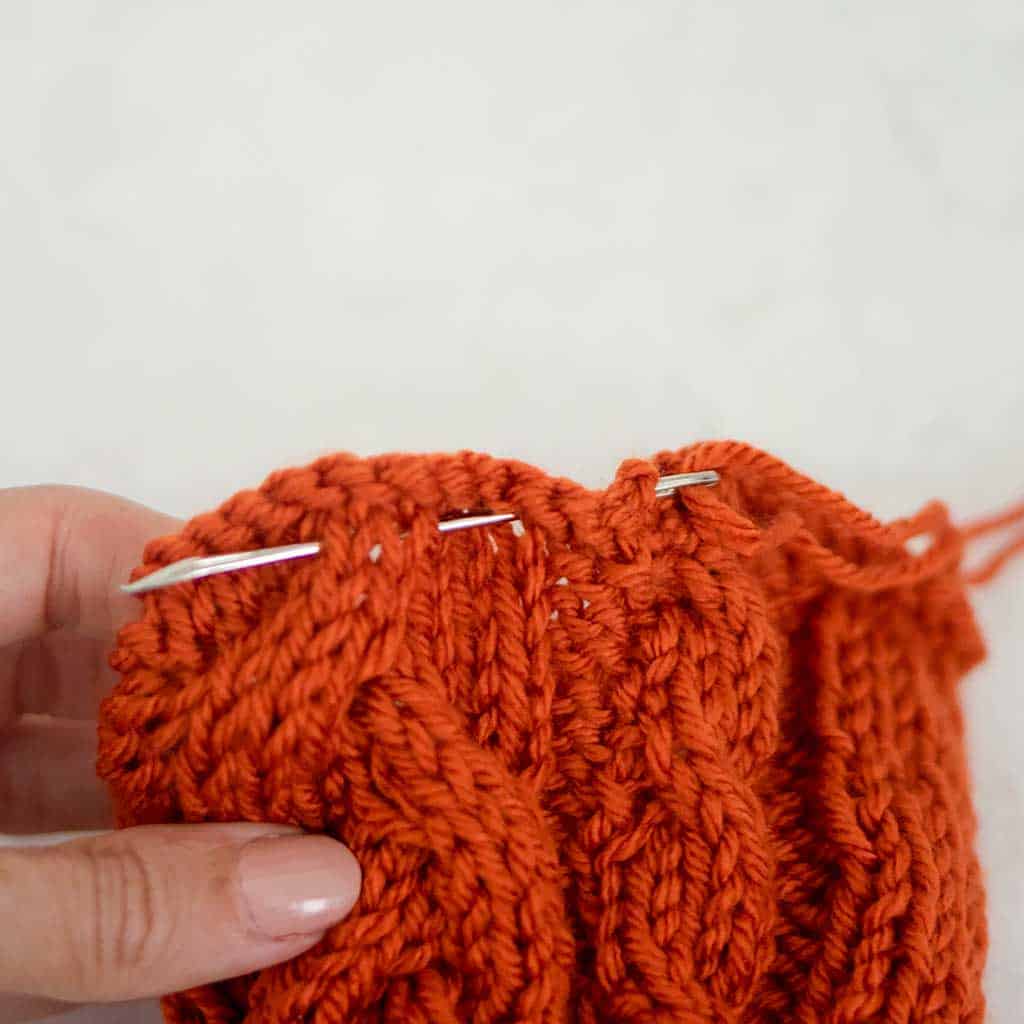
Make a running stitch along the bottom of the pumpkin and pull to gather. are a not to secure.
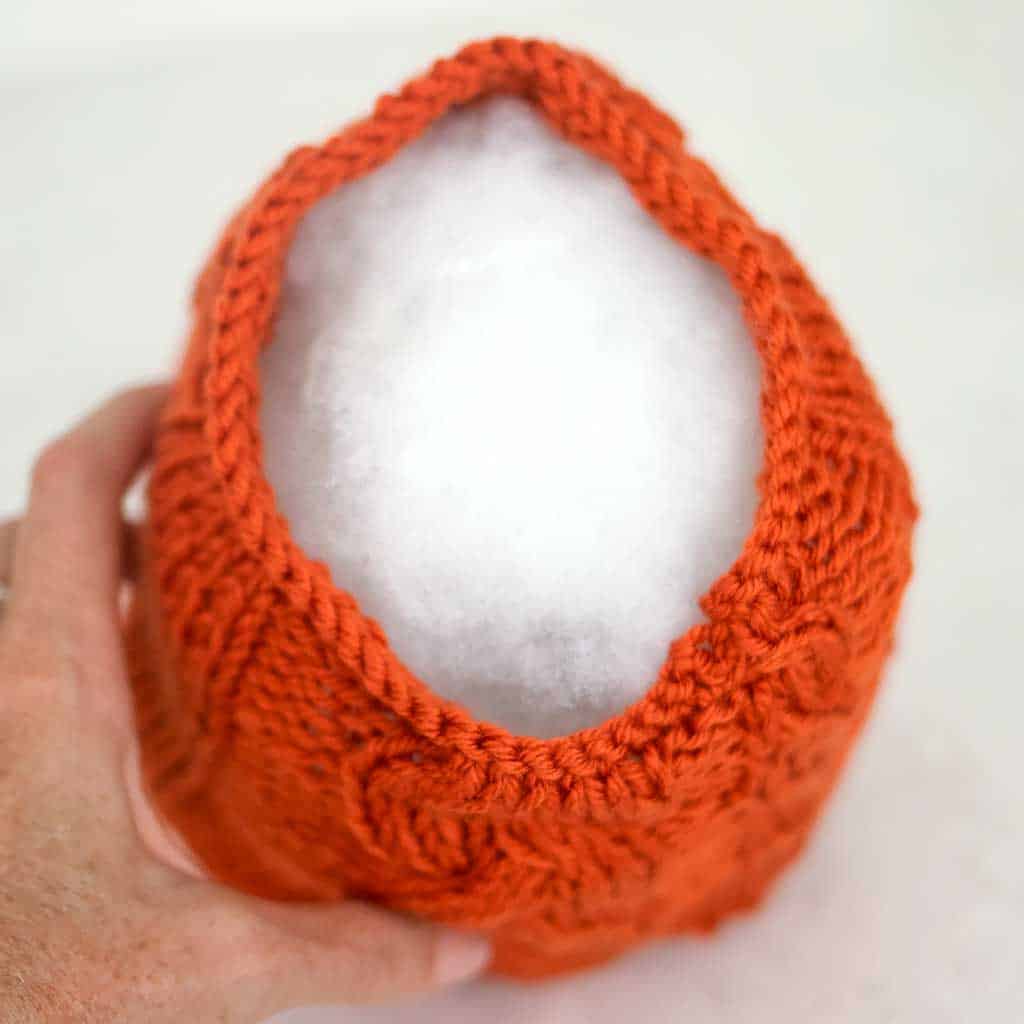
Stuff the pumpkin with poly-fill.
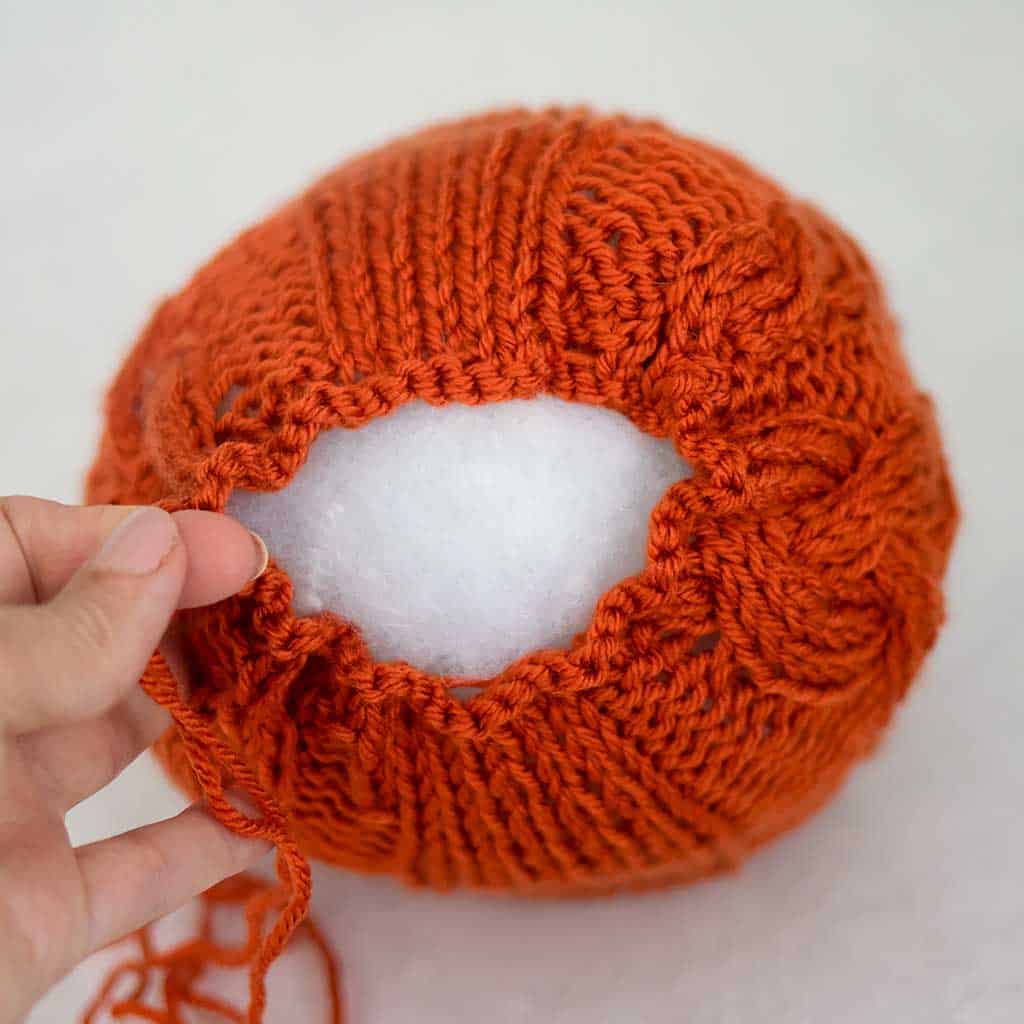
Make another running stitch around the top of the pumpkin and pull to gather. Make a knot to secure.
Optional: To give the pumpkin a “squatter” shape, I run a piece of yarn through the middle using a needle (push it through the stuffing). Pull tightly and knot on both ends to alter the shape of the pumpkin.
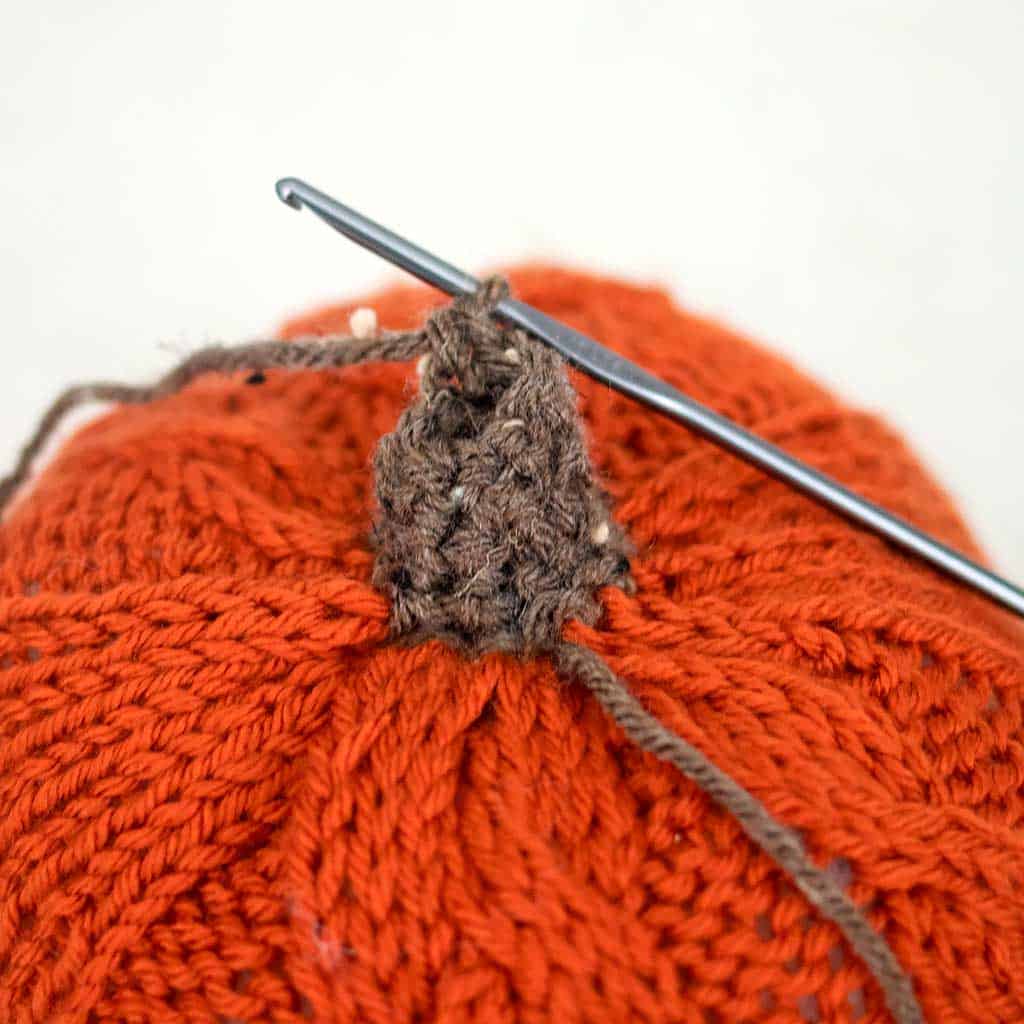
Pick up and single crochet the stitches around the top of the pumpkin’s closure. Work in single crochet until the stem measures 3-4 inches. On the last round, decrease every other stitch. Break yarn and weave in ends.
Looking for more fall knitting patterns like these Flat Knit Cable Pumpkins?
Easy Jumbo Pumpkins Knitting Patterns
Plush Candy Corn Knitting Pattern
Scrap Yarn Pumpkins Knitting Pattern
Kid’s Pumpkin Hat Knitting Pattern
I love seeing your finished projects! If you enjoyed making this Flat Knit Cable Pumpkins, or any of my other beginner knitting patterns, I’d love to see yours on Instagram, just tag me @ginamicheleblog. Happy knitting!


