How to Sew a Contoured Burp Cloth- no pattern necessary!
How to Sew a Contoured Burp Cloth- a fast & easy sewing project for a baby essential!
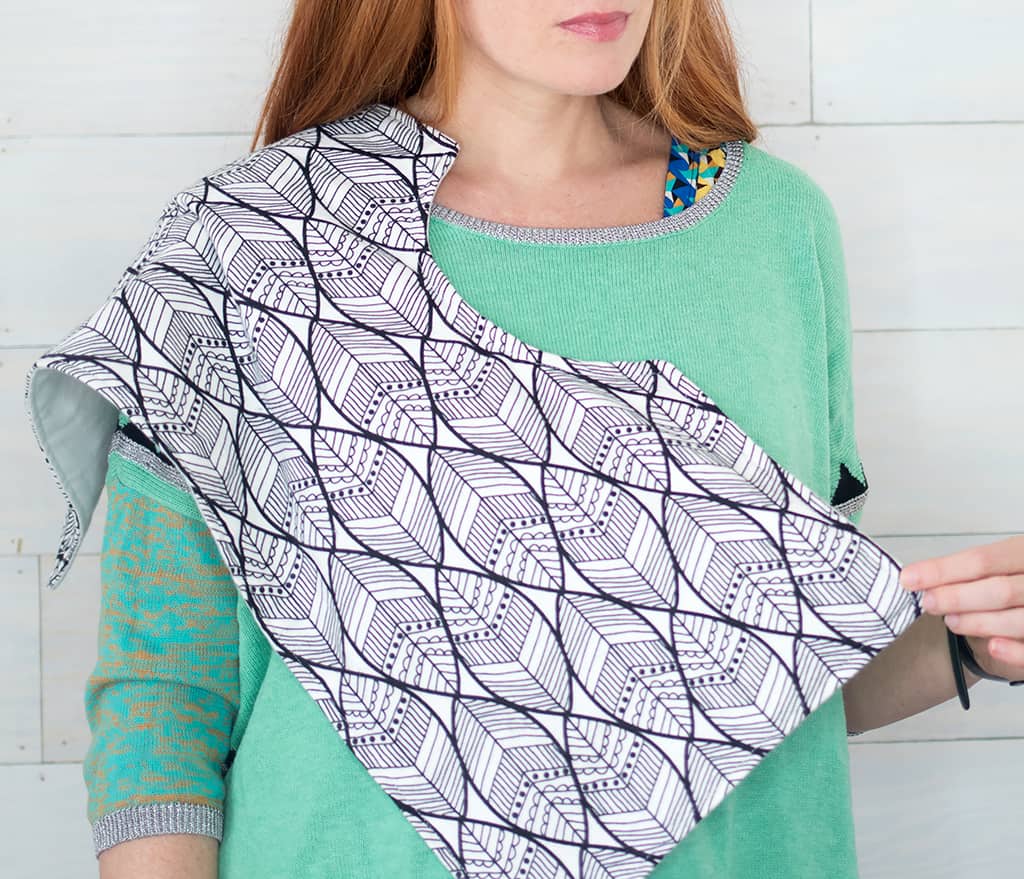
Anyone with a baby knows that burp cloths are essential! They’re also a fast, easy and beginner-friendly sewing project. I had been using hand towels, but I found that this contoured shape stays on the shoulder better. You can use a variety of fabric for this project. I chose cotton flannel, but lightweight terry cloth and cotton jersey would work as well.
There’s no printable pattern for this project which makes it ideal for sewing newbies. The contoured shape is created by tracing a bowl from the kitchen.
This Contoured Burp Cloth takes only 10 minutes to create and it makes a great gift!
Fabric:
Cotton flannel for the front (12 inches wide 30 inches long)
Cotton flannel for the back (12 inches wide 30 inches long)
Looking for more Easy Sewing Projects?
How to Sew a Contoured Burp Cloth
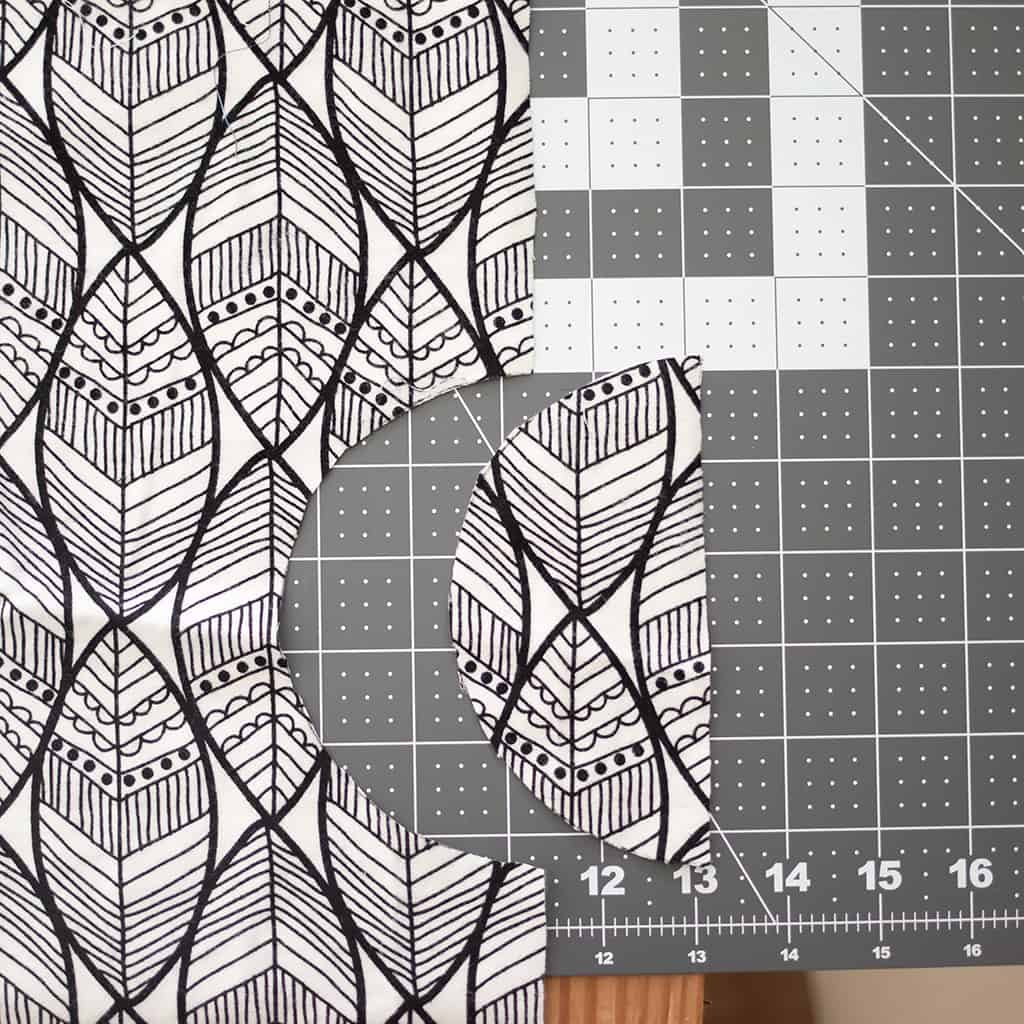
Lay the fabric down flat. Place a bowl (that measures approximately 5 1/2 across the top) 9 inches down from the top of the fabric. Trace a semi-circle.
Cut out the semi circle.
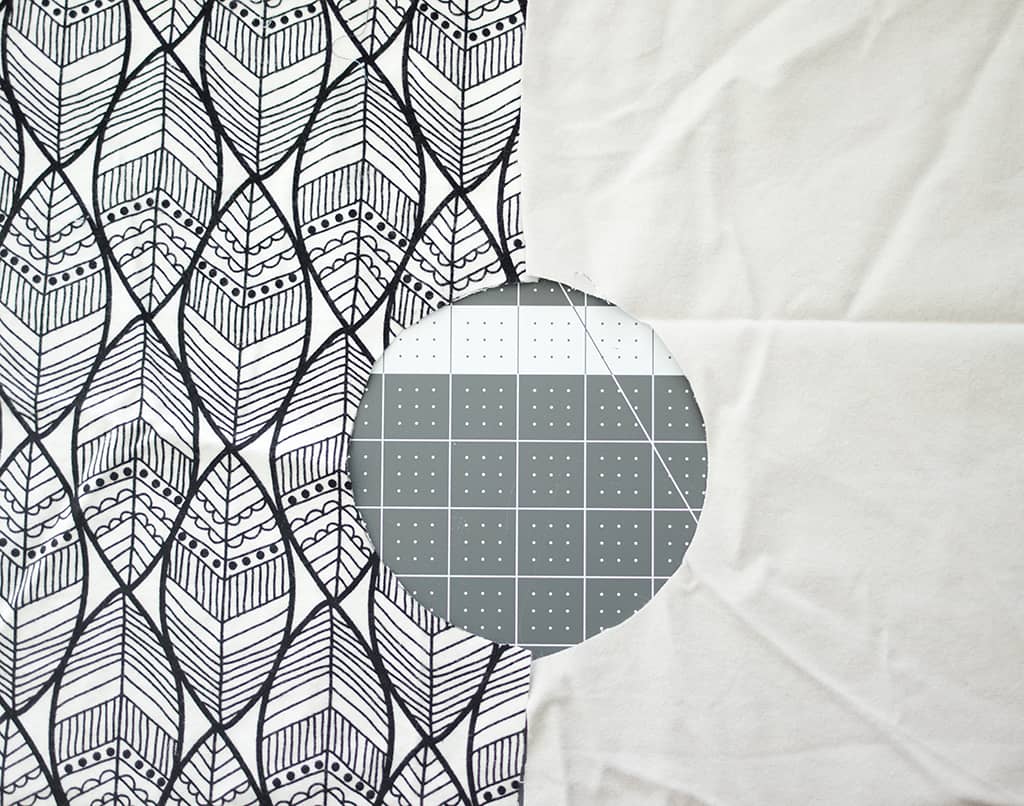
Using the front piece as a pattern, cut out the back.
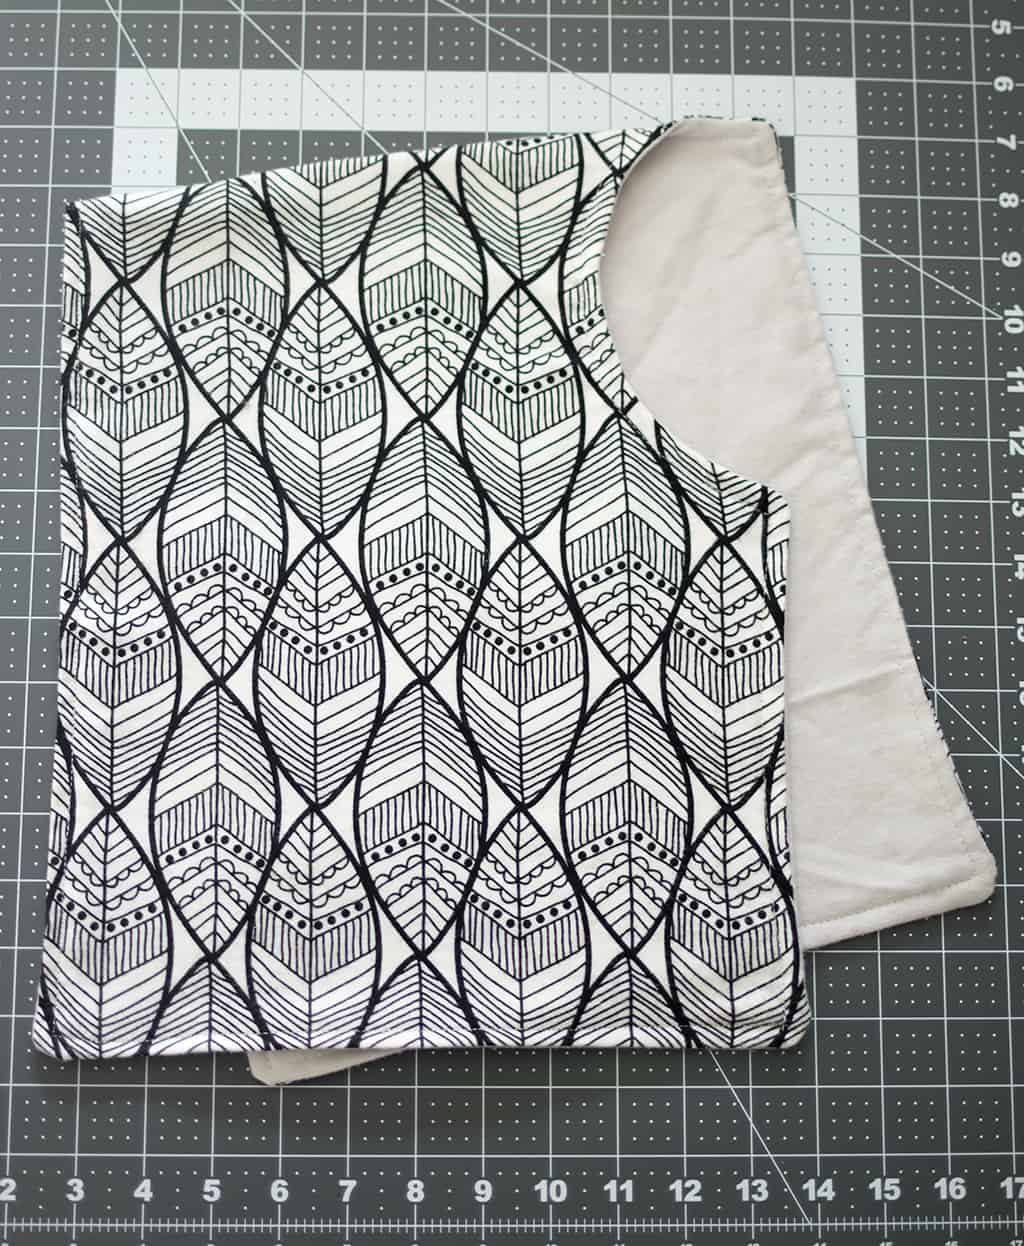
Place the pattern pieces on top of each other- right sides together. Sew all around, leaving an approximately 4 inch opening so you can turn the piece right side out. Once finished, iron the seams flat.
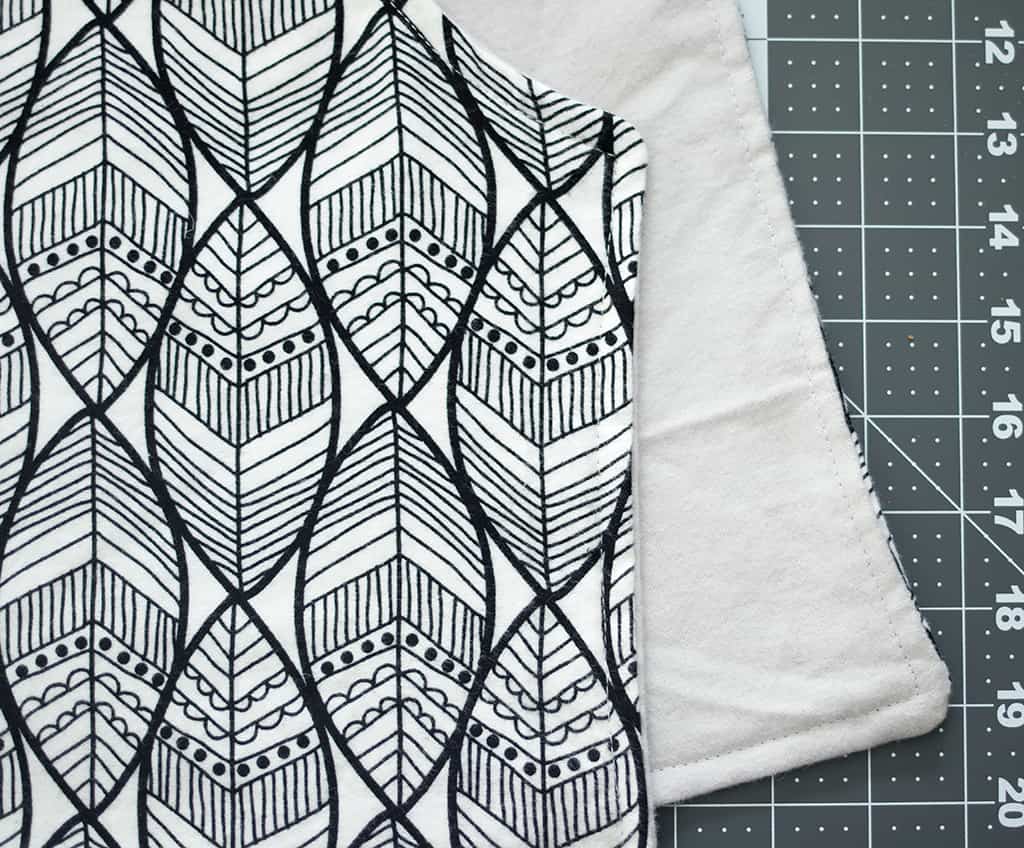
Topstitch around the burp cloth.


