Foolproof Way to Make Wood Slice Photo Ornaments
Foolproof Way to Make Wood Slice Photo Ornaments- this easy-to-follow tutorial will show you how to showcase your favorite photos as Christmas ornaments.

Wood slice ornaments are a great way to add a rustic touch to any Christmas tree. They also offer countless ways to customize and they’re a great way to make DIY photo ornaments..
A quick glance around Pinterest will show you that that are tons of methods for photo transfer. Modge Podge, Freezer paper, packing tape…they all transfer an image, but they can be very tricky. Images often get half-transferred or rip, or if you miss one little step, they won’t transfer at all. I’m going to show you an absolutely foolproof way to transfer images to wood slices and turn them into beautiful, rustic Christmas ornaments! I chose some pics of Indigo from his first Christmas (last year). That picture of him in the Santa hat is one of my absolute favorites! It makes me smile every time I see it.
These personalized photo ornaments would make a great gift and they’re a fun holiday craft to do with the kids.
KEEP IN TOUCH! FOR MORE INSPIRATIONS, PROJECTS, AND FREE KNITTING PATTERNS, SIGN UP FOR OUR WEEKLY NEWSLETTER:
Supplies:
Wood slices
Woven ribbon
Water transfer paper
Ink jet printer and printed out image
Scissors
Pencil
Craft glue
(Note- please be sure to read the directions on your water transfer paper. It may require different steps than the ones I posted)
Foolproof Way to Make Wood Slice Photo Ornaments

Resize your images so they’ll fit on the wood slices. Print them out on the water transfer paper.

Place your wood slice over the image and trace around using a pen.

Place the image on top of the wood slice and trim it more, if necessary. I cut my pictures smaller because I wanted some wood on the sides as a border.

Submerge your images in a 1 inch deep pan of water. After 1 minute the image will separate from the paper backing.

The water transfer paper needs adhesive on porous surfaces (like wood). Brush some glue or a thin layer of Mod Podge on the wood slices and place the images on top. If there are any air bubbles, smooth them out using a plastic card (like a gift card)Let dry. The images are transparent when they are wet, but they dry opaque.

Drill a hole in the top of the wood photo ornaments.

String a piece of ribbon through and tie ends.
Looking for more Christmas craft tutorials?
How to Make Scented Scrap Fabric Christmas Trees- 2 Ways.
How to Make Yarn Wrapped Christmas Ornaments
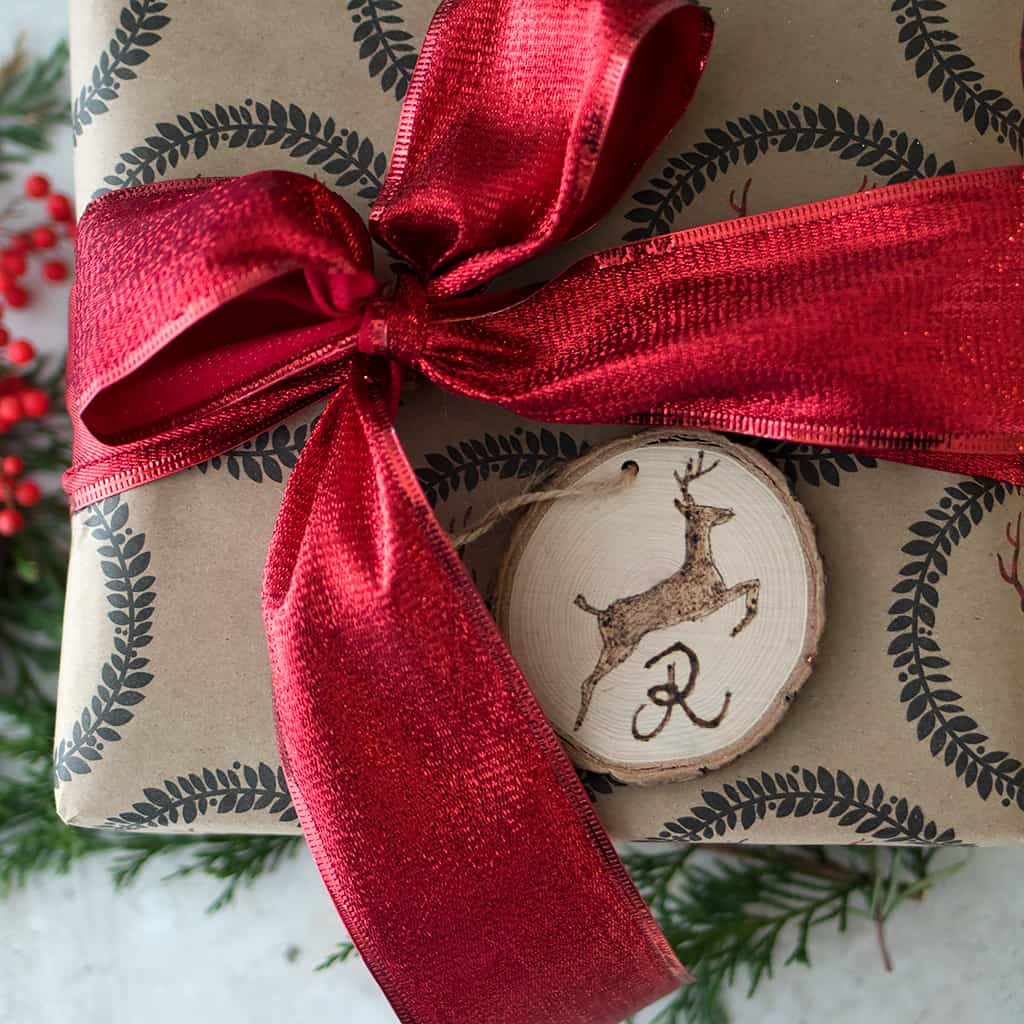
Easy Wood Burned Gift Tags or Christmas Ornaments


I love seeing your finished projects! If you enjoyed making these DIY Wood Slice Photo Ornaments, I’d love to see yours on Instagram, just tag me @ginamicheleblog. Happy holiday crafting!