How To (Easily!) Transfer a Photo to Wood
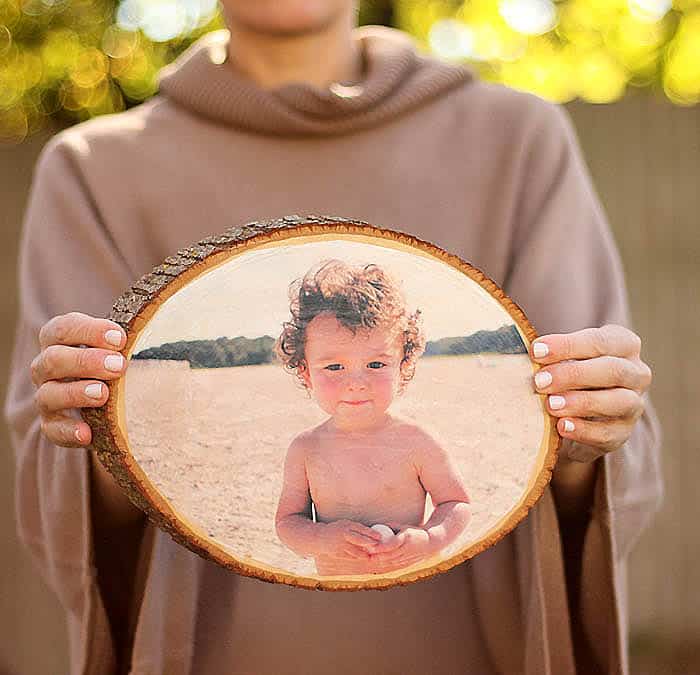
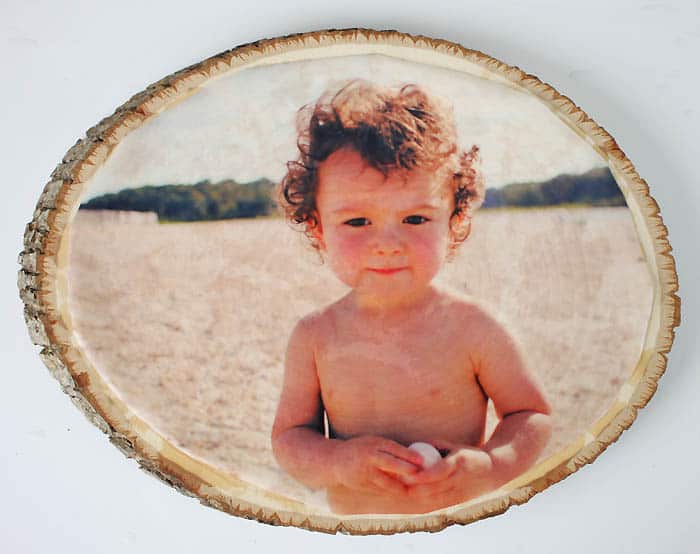
I love decorating with family pics around the house. Picture frames are great, but I wanted to try something different, that also fits in with my “beach house” vibe. I decided to transfer one of my favorite pictures of Indigo from this past summer to a slice of wood. There are many methods of transferring pictures to wood, but this is by far the easiest I’ve tried! The Water Transfer Paper acts like a decal once the paper is submerged in water and separated from the backing.
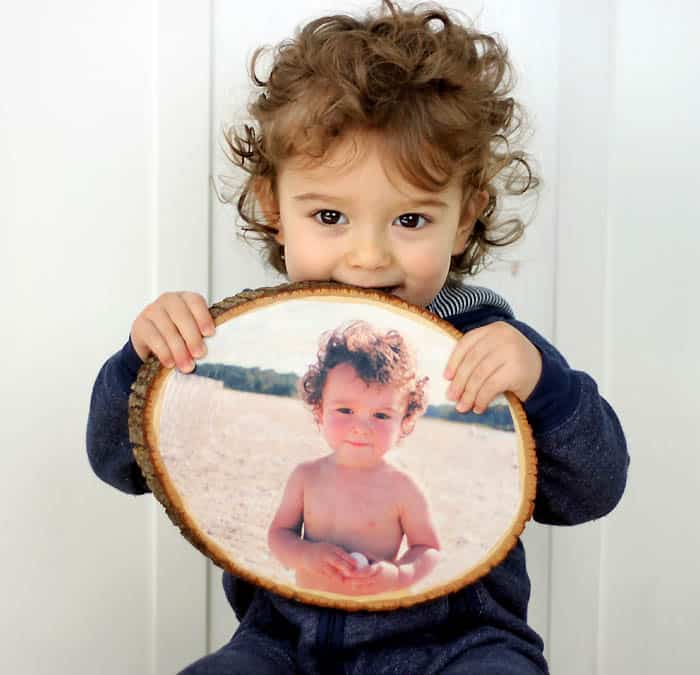
I’m really pleased with the way this DIY turned out and I think these would make great presents for Christmas!
Supplies:
Wood slice
Water Transfer Paper
Ink jet printer
Modge Podge
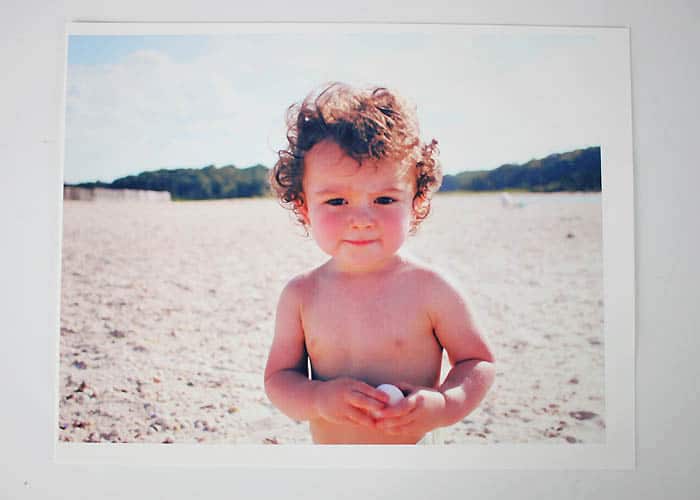
Resize your image in photo editing software so it will fit on the wood slice. The best photo to use is one that has some negative space, since you will be cutting it down to size. Using an ink jet printer and the water transfer paper, print the photograph. Let dry for about 30 minutes.
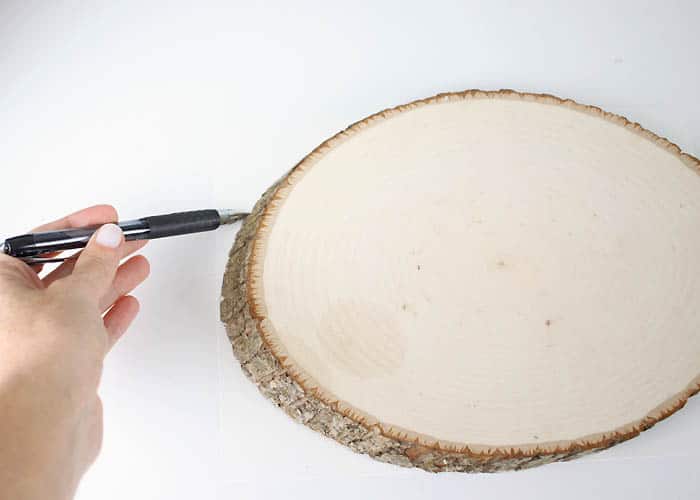
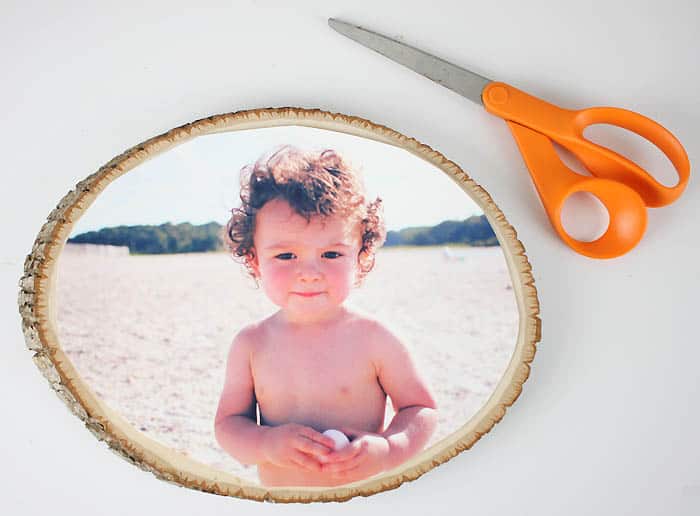
Place the image on top of the wood slice and cut around the border again. I wanted some of the wood to be visible around the border, so I cut my image slightly smaller than the wood slice.
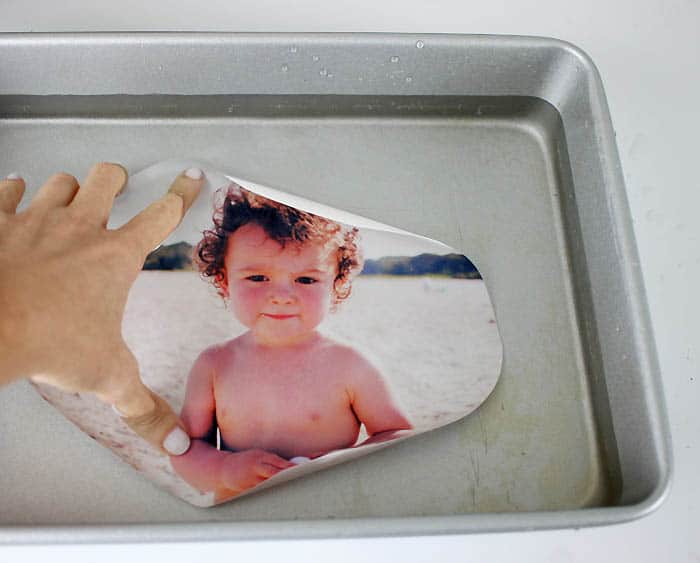
Fill a pan with about 1 inch of water. Submerge your image. It will start to roll up- use your hands to hols it flat. Once it gets wet enough, the image will lie flat. After 1 minute remove the image. You can easily peel the image from its’ paper backing at this point.
If these water transfer papers are being used with a non-porous surface (glass, ceramic, etc) you will not need an adhesive. Since wood is porous, you will need to coat the slice with as thin layer of Modge Podge. Place the image on top and let dry. When the image is wet, it is transparent. It dries opaque.

