
Hair Wrap Tutorial
Hair Wrap Tutorial- get festival-ready hair with this step by step tutorial!

The summer always inspires me to do some vaguely hippie-ish thing to my hair. Last year it was braids and beads. This time around the hair wrap was calling my name. As soon as I finished my wrap, I realized how cool an Ombré one would have been. Oh well, there’s always next time!
Supplies: hair elastic, bobby pins, embroidery floss (the length for each string should be 3X your hair length)
Hair Wrap Tutorial
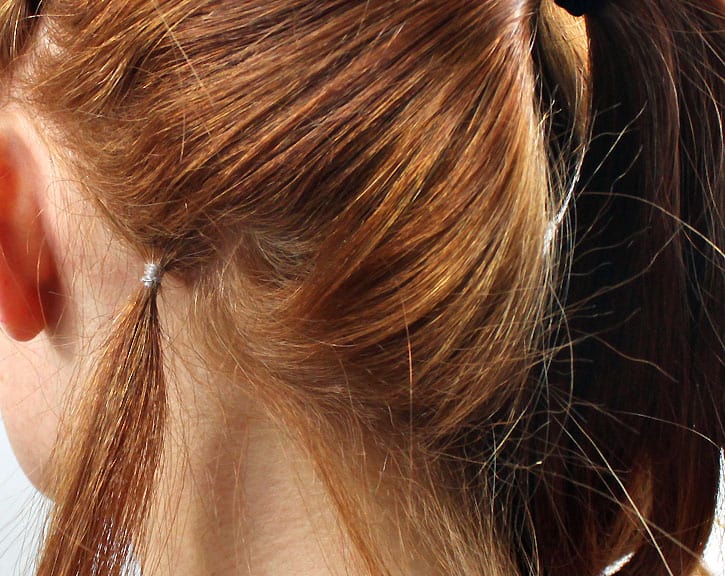
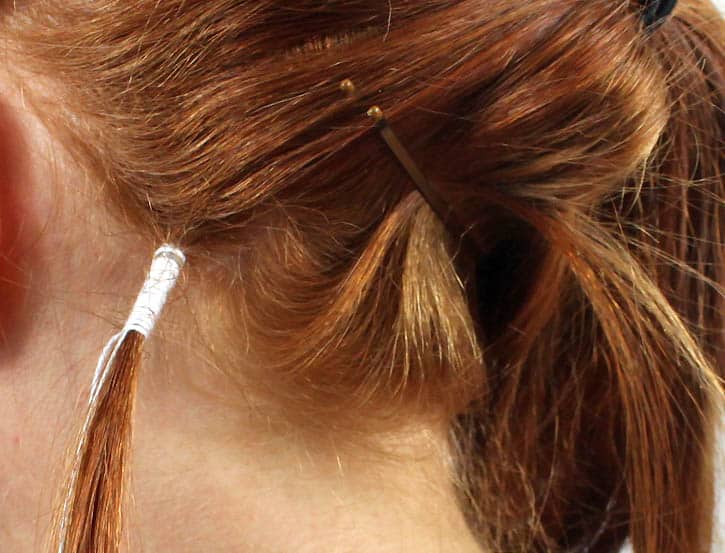
Step 1: Securely fasten elastic near the root of your hair. Use bobby pins to hold stray hair out of the way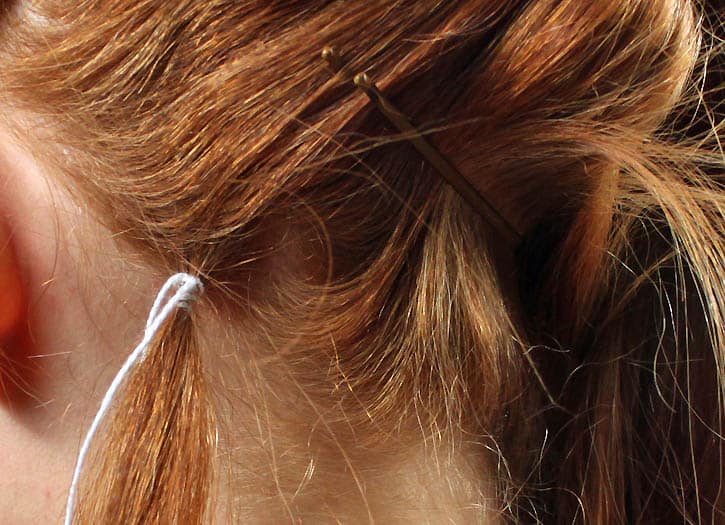 Step 2: Tie the first string in a single knot.
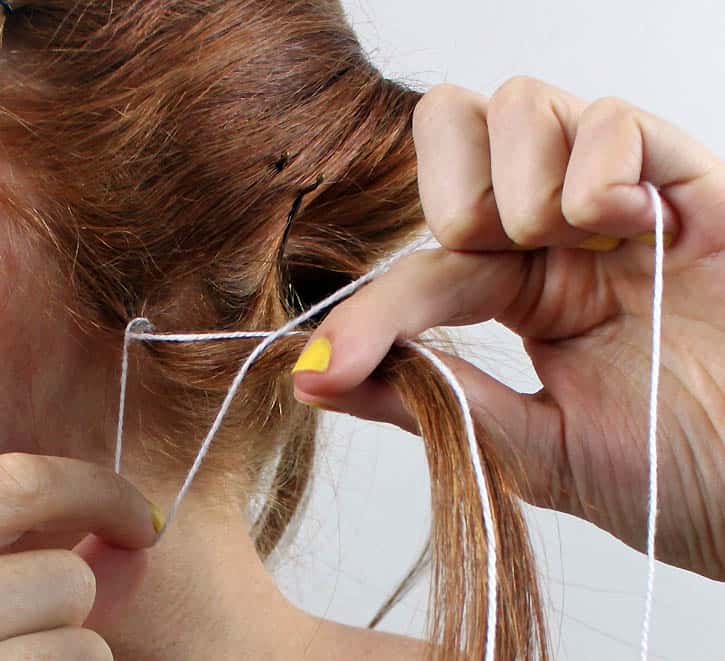 |
| Step 3: Make a loop with the thread. |
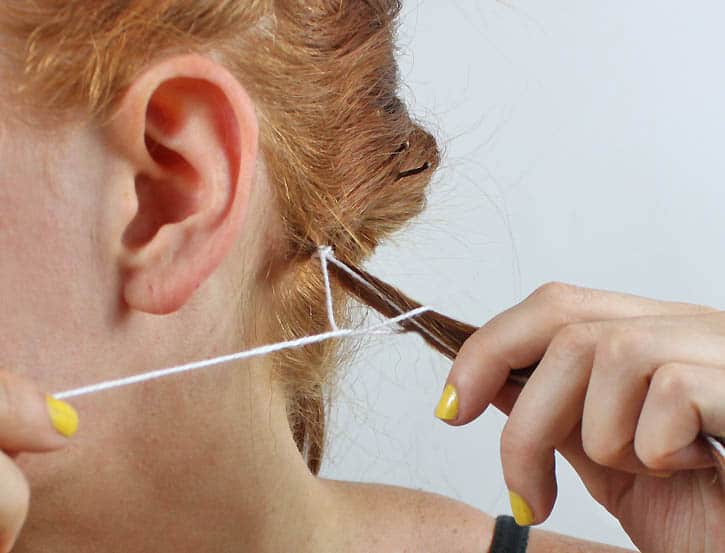 |
| Step 4: Draw the string through the loop from back to front. Close the loop by pulling in an upward and outward motion. |
 |
| Keep knotting until desired length has been achieved. Don’t cut the string when you’re done! It can be picked up again later on. |
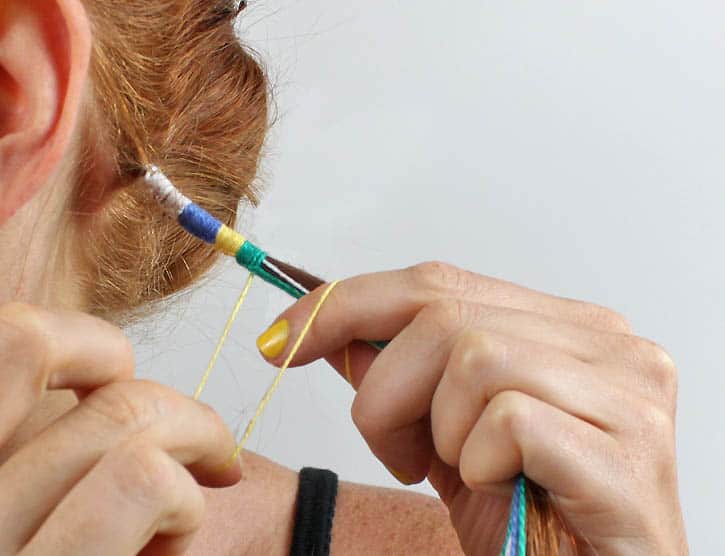 |
| The colors you are finished using get wrapped up along with your hair. When you want to repeat a color just separate it from your hair and the strings and begin knotting. |
 |
Continue wrapping until you almost reach the end. Leave the last 1/2 inch of your hair free. If you wrap it all the way to the tip of your hair it will start sliding off. I left the ends of mine free, but you can tie in beads or feathers if you’d like.


I love your blog and your long, red hair! I randomly clicked on you from Cupcakes and Cashmere because I liked the name Crochet Clouds. New follower!
http://thoreausdaughter.blogspot.com/
This is a super amazing tutorial, and you are absolutely gorgeous as always! 🙂
xoxo,
Addie
The Cat Hag
I really like your blog!
Follow me:)
So cool! Thanks for sharing 🙂
xo Julia
galmeetsglam.com
wow, this is so cool! perfect look to wear for summer!
what a great tutorial i love hair wraps!
<3 steffy
Steffys Pros and Cons
Great tutorial!
xo
AdelinaMictlan.com
your hair is so gorgeous! and what a lovely tutorial ~ thanks for sharing it! i just stumbled upon your blog ~ it's lovely!
xx ~ kristina
wow awesome post!
such a great idea and your hair is gorgeous!!
it looks so good in your hair, i'm so tempted to try it in mine even though i'm usually terrible with things like this! thanks for the tutorial, great post 🙂
MADAM PATTY
you have amazing hair!
New post up! Check it out, would love to have you as a follower
oooh I love this! great tutorial darling 🙂
amazing photos! and your hair looks so pretty!
bisous,
mia
heylilahey.blogspot.com
ah that looks pretty cool(: I gonna try it!
I love it, looks so cool 🙂
WHAT?!?! that is pure genius! thanks for sharing the tutorial. 🙂
xoxo
very veeery coll!! *_*
love
Amazing tutorial, I always wore it when I was child!
Cynthia.
I've never seen a hair wrap look so good, seriously!
http://www.stylecomb.com
i remember getting these when I was a kid! this is so awesome!
Great tutorial! Love the nail color too!
xoxo
Stella
i love hair wraps, i had no idea they were so simple to make!
Really nice blog youve got. enjoyed reading it. keep in touch okay.
following u now.
silvia @ http://www.poisepolish.com
This reminds me of when I was younger, and the holidays my parents would take me on. When I got back to school I would have to cut it out.
http://thekeypieces.blogspot.com
Thanks for stopping by my blog! I really like your blog! I've always wondered how they do that and now I know! Following you! Follow Back?
-Katherine
http://fashionablyawkwardr.blogspot.com/
Great tut- I remember doing this about 15 years ago : )
x
Michelle
http://www.michellesstylefile.blogspot.com
Very cool tutorial, totally gonna try this..awesome!
http://www.thehappeningblog.com
Talk about a Flash Back! I'll be doing this to my daughters hair tomorrow!
Thank you Pinterest, yet again.
(new follower)
Do u have to cut it out when u don't want it anymore?
You (carefully) cut it off at the bottom. Then you can gently pull it off starting at the bottom and working your way up.
i love it
How do you tie off the end? I tried this in my sisters hair my just wrapping the floss around but it slid out the next day. How do I keep it from unraveling or sliding off?
I stopped knotting about 1/2- 3/4 inch from the bottom of my hair. It stayed in with no problem. If you knot all the way down to the bottom it's more likely to fall out. Hope this helps!