Baby Hooded Sweater Knitting Pattern
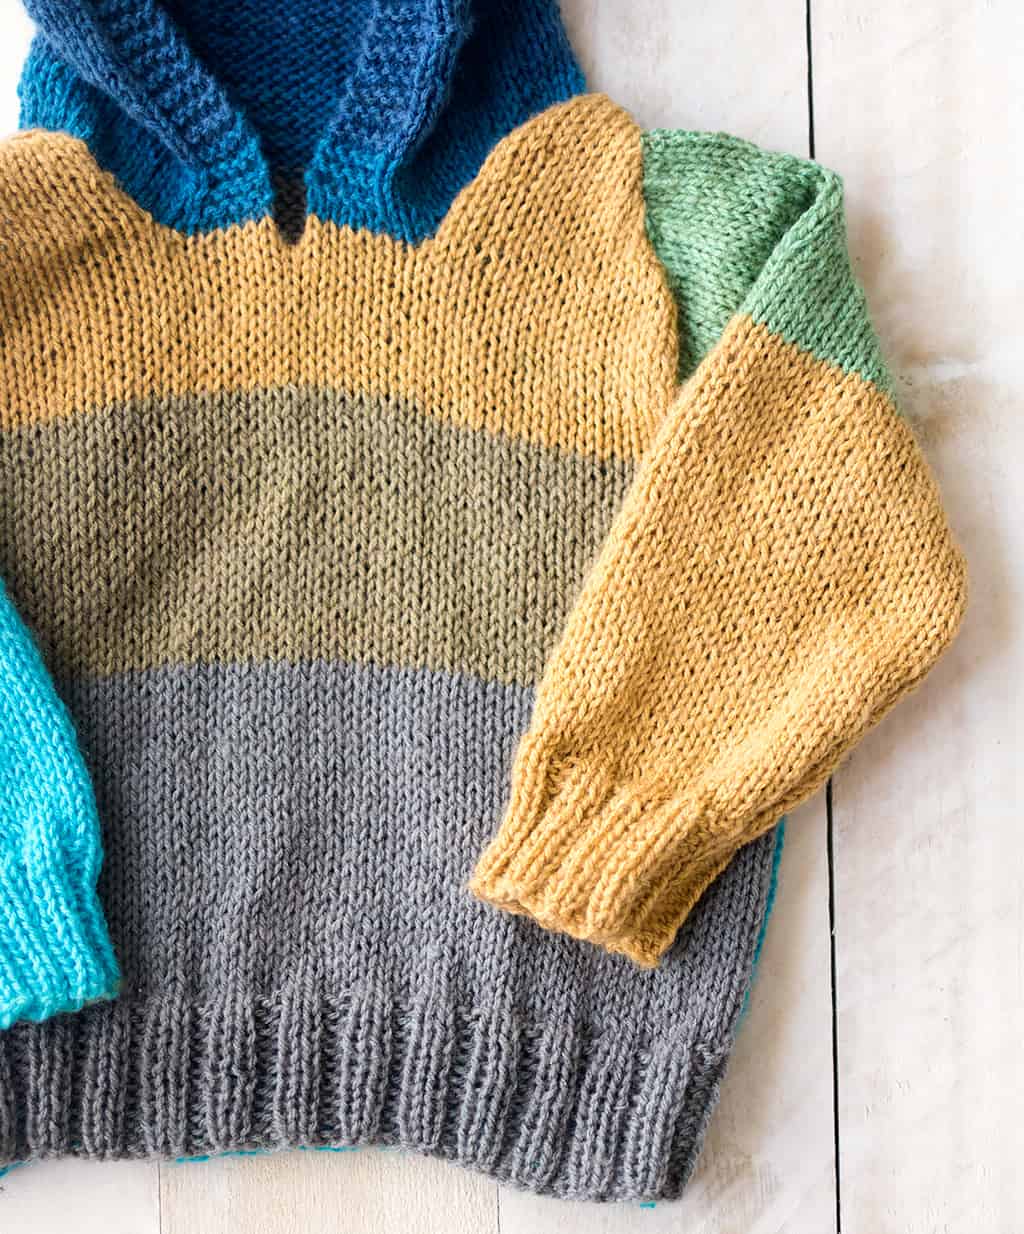
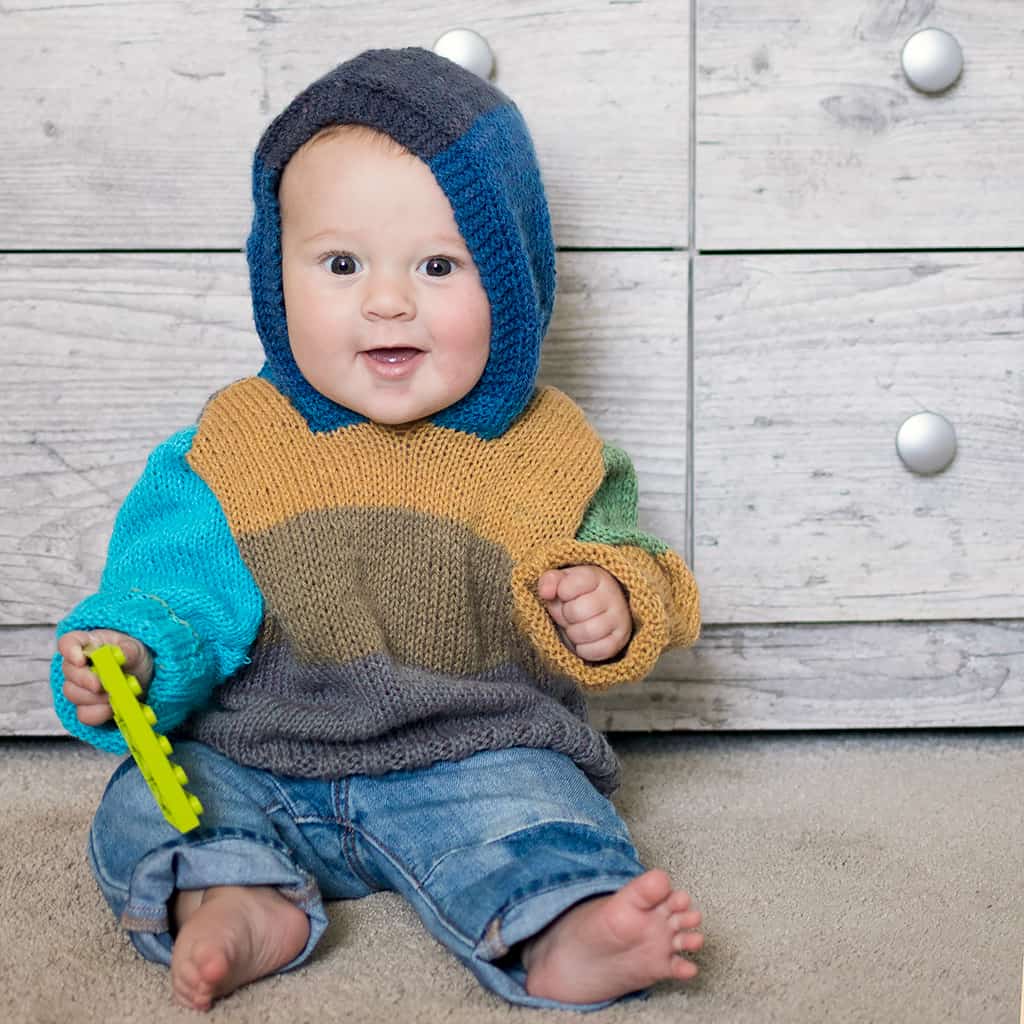
Baby Hooded Sweater Knitting Pattern- a classic design in a fun, color block pattern.
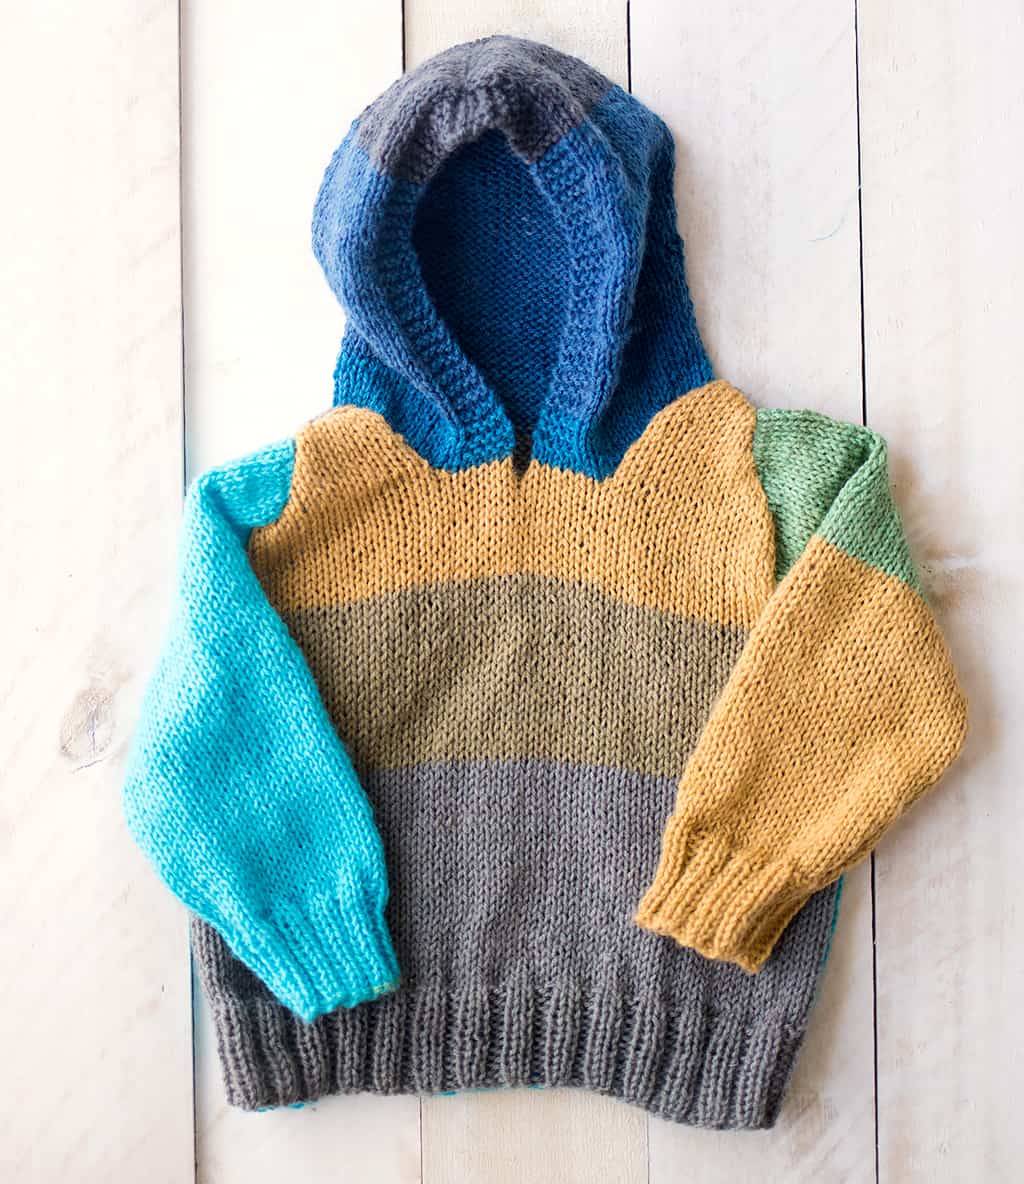
It may be scorching hot outside, but that didn’t stop me from starting my fall knitting projects! This Baby Hooded Sweater is the first new project that I’m excited to share. It’s worked in a basic Stockinette Stitch with ribbed hem and cuffs. There are some basic increases/decreases. The hooded is worked on circular needles.
I’m looking forward to sharing more fall patterns…in the meantime, happy knitting!
The ad-free, printable version of this pattern is available at Shop Gina Michele for a small fee.
Baby Hooded Sweater Knitting Pattern
Yarn: Lion Brand Mandala in Sphinx (1 skein)
Needles: Size 5 single point needles, Size 5 circular 16-inch needles (for the hood)
Gauge: 24 sts + 32 rows = 4 in
Size: 12 months
(Note- I usually get a lot of questions about what “M1” means in a pattern. “M1” means “make 1 stitch”. It’s an increase that’s created between stitches. Here’s an illustration showing how M1 is done.
Back
Cast on 62 sts.
Work in K2, p2 Rib until piece measures 2 in. from beg.
Beginning with a RS row, work in Stockinette Stitch until piece measures about 8 1/2 in. from beg, ending with a WS row.
Shape Armholes
Next 2 Rows: Continuing in Stockinette Stitch, bind off 3 sts, work to end of row.
Next 2 Rows: Bind off 2 sts, work to end of row.
Next Row (RS): K2tog, work to end of row.
Next Row: P2tog, work to end of row.
Rep last 2 rows once more – 48 sts
Continue in Stockinette Stitch until armholes measure about 4 in. from beg, end with a WS row as the last row you work.
Shape Neck and Shoulders
Next Row (RS): K13 sts, slip next 22 sts to a stitch holder for back neck; join a second ball of yarn and k last 13 sts.
Note: You will now be working both sides at the same time with separate balls of yarn.
Next 2 Rows: Continuing in St st as established, on first side, work to end of side; on second side, bind off 2 sts, work to end of side.
Next Row (WS): On first side, purl to last 2 sts, p2tog; on second side, p2tog, purl to end of side.
Next Row: On first side, knit to last 2 sts, k2tog; on second side, k2tog, knit to end of side.
Rep last 2 rows once more – 9 sts on each side when all decreases have been completed.
Next 4 Rows: Continuing in St st as established, on first side, bind off 3 sts, work to end of side; on second side, work to end of side.
Next Row: On first side, bind off rem sts; on second side, work to end of side. Bind off remaining sts of second side.
Front
Work same as Back until armholes measure about 3 in. from beginning, end with a WS row.
Shape Neck and Shoulders
Next Row (RS): K 18 sts, (slip next 6 to a stitch holder) twice; join a second ball of yarn and k last 18 sts.
Note: You will now be working both sides at the same time with separate balls of yarn.
Next 2 Rows: Continuing in St st as established, on first side, work to end of side; on second side, bind off 4 sts, work to end of side.
Next 2 Rows: On first side, work to end of side; on second side, bind off 2 sts, work to end of side.
Next Row (WS): On first side, purl to end of side; on second side, p2tog, purl to end of side.
Next Row: On first side, knit to end of side; on second side, k2tog, knit to end of side.
Rep last 2 rows twice more – 9 sts on each side when all decreases have been completed.
Continue in St st, working each side with separate balls of yarn until piece measures same as Back to shoulder shaping.
Next 4 Rows: Continuing in St st as established, on first side, bind off
3 sts, work to end of side; on second side, work to end of side.
Next Row: On first side, bind off rem sts; on second side, work to end of side.
Bind off remaining sts of second side.
Sleeves
(make 2)
With smaller needles, cast on 38 sts.
Work in K2, p2 Rib until piece measures 2 in. from beginning.
Change to larger straight needles and beg with a WS row, work in St st for 5 rows.
Next Row (RS): K1, M1, k to last st, M1, k1 – 40 sts.
Work in St st as established for 5 rows.
Rep last 6 rows 5 more times – 50 sts when all increases have been completed.
Work even in St st until sleeve measures 7 in. from beg, end with a WS row.
Shape Cap
Next 2 Rows: Bind off 3 sts, work in Stockinette Stitch to end of row -44 sts.
Next Row (RS): K2tog, k to last 2 sts, k2tog.
Purl 1 row.
Rep last 2 rows 8 more times – 26 sts when all decreases have been completed.
Next 4 Rows: Bind off 4 sts, work in Stockinette Stitch to end of row.
Bind off remaining 10 sts
Finishing
Sew shoulder seams.
Hood
From RS with circular needle, and starting at center front, k across 6 sts of right front holder, pick up and k21 sts evenly
spaced along right neck edge to holder, k across 22 sts on holder for back neck, pick up and k21 sts evenly spaced along
left front neck edge then across 6 sts on left front st holder – 76 sts.
Note: Work back and forth on circular needle as if working on straight needles.
Next Row (WS): K5 , place marker, p to last 5 sts, place marker, k to end of row.
Next Row (RS): Knit.
Rep last 2 rows, keeping first and last 5 sts in Garter st, while working rest of hood in St st.
Work even until hood measures 8 in. from beginning, end with WS row.
Shape Top of Hood
Next Row (RS): K38 sts for right side of hood, slip
rem 38 sts for left side of hood to st holder.
Next Row (WS): Bind off 3 sts, p to last 5 sts, k to end of row.
Next Row (RS): Knit.
Rep last 2 rows 5 more times – 20 sts.
Bind off.
Slip rem 38 sts of left side to needle ready to work a RS row, join yarn and knit to end of row.
Next Row (WS): K5, purl to end.
Next Row (RS): Bind off 3 sts, knit to end.
Rep last 2 rows 5 times – 20 sts.
Bind off.
Sew top of hood.
Finishing
Sew sleeves and side seams. Sew in sleeves.
I hope you enjoyed this Baby Hooded Sweater Knitting Pattern
Looking for more Knitting Patterns for Babies?
Easiest Newborn Hat Knitting Pattern

